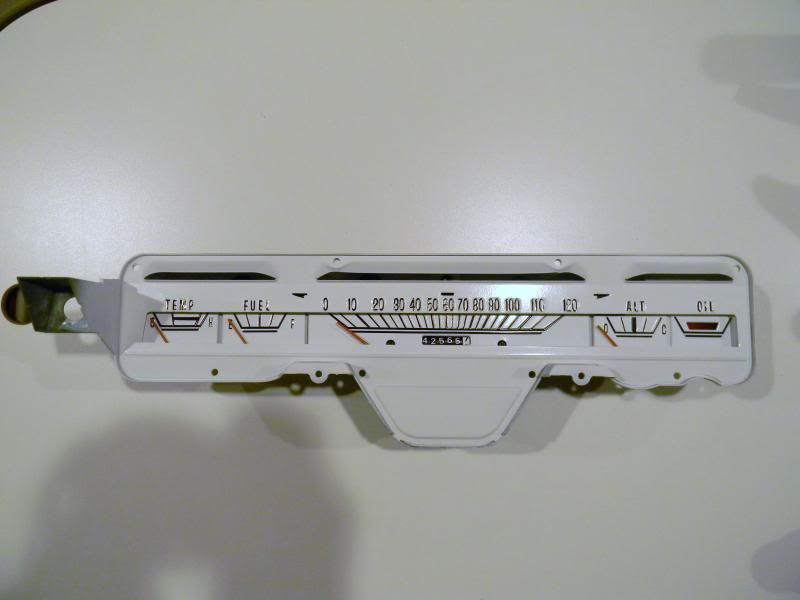
I've been working on the gauges. I still need to get them calibrated and buy a sold state voltage limiter.
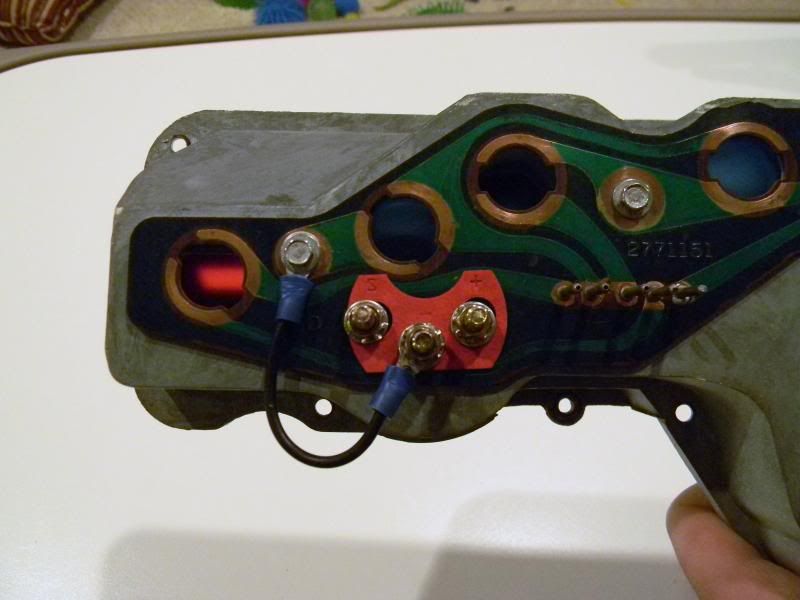
I was a little too aggressive when I removed one of the connectors from the printed circuit and damaged two of the pins. I read where I could fix them by inserting a paper clip as reinforcement so I thought I'd give it a try. I coated the inside of the pins with flux, inserted a paper clip through the pins and soldered them in. Then I cut off the excess paper clip from either end. I had to grind a little on the back side so the repair would clear the gauge cluster housing. It seemed to work and the pins are now solid.
The two pins on the right were loose.
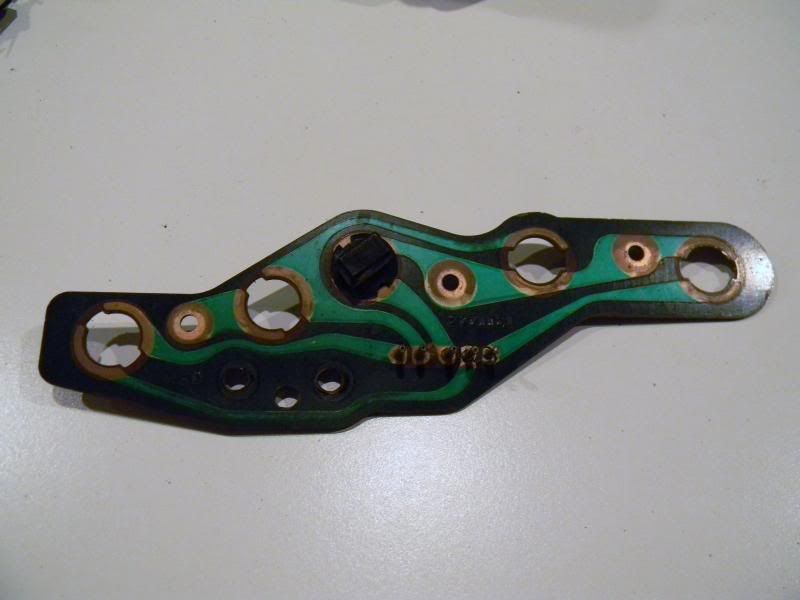
You can see they are now filled with solder.
The car didn't come with an oil pressure gauge...just and idiot light. I wanted to add an oil pressure gauge but I don't like the look of extra gauges under the dash. I thought about adding one where the idiot light was but there wasn't enough room.(plus I like the idea of the idiot light)
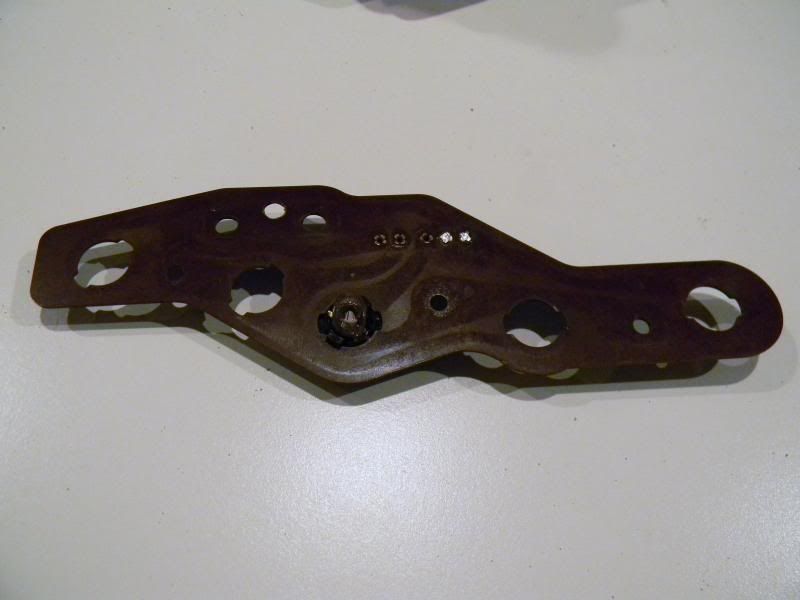
I was going to bypass the AMP gauge anyway so I thought an oil pressure gauge would be more important than a volt gauge. I ended up buying a 2" SunPro electric oil pressure gauge and gutted it. I took the mechanism and mounted it in the gauge cluster housing in place of the AMP gauge. The + and sender terminals were the same distance apart as the factory AMP gauge. I had to drill a hole through the cluster housing and the printed circuit for the ground wire. Luckily there was a blank area in the printed circuit where I had to drill the hole.
The mechanism just barely clears the blue lense.
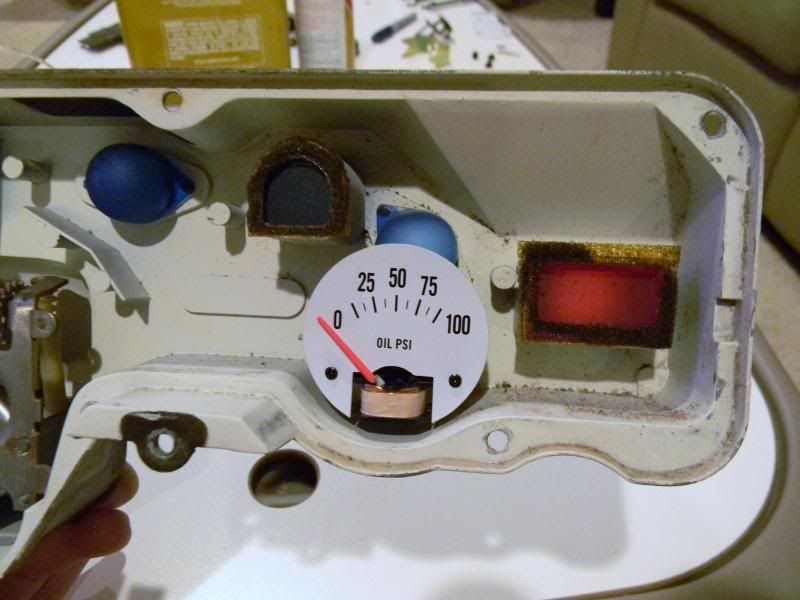
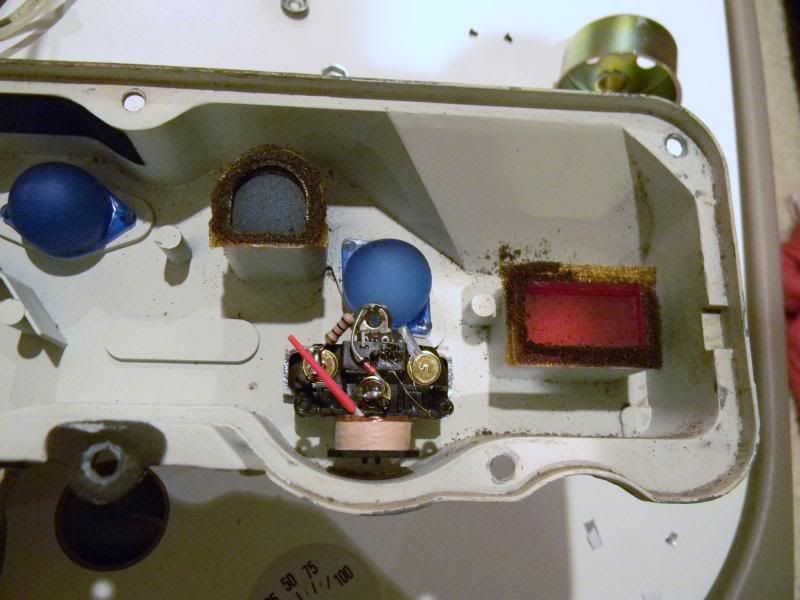
I removed the SunPro gauge face and used it as a template. I had to cut away some of the original gauge face so it would clear the new mechanism. I also cut off the AMP gauge needle and glued it onto the oil pressure gauge needle.
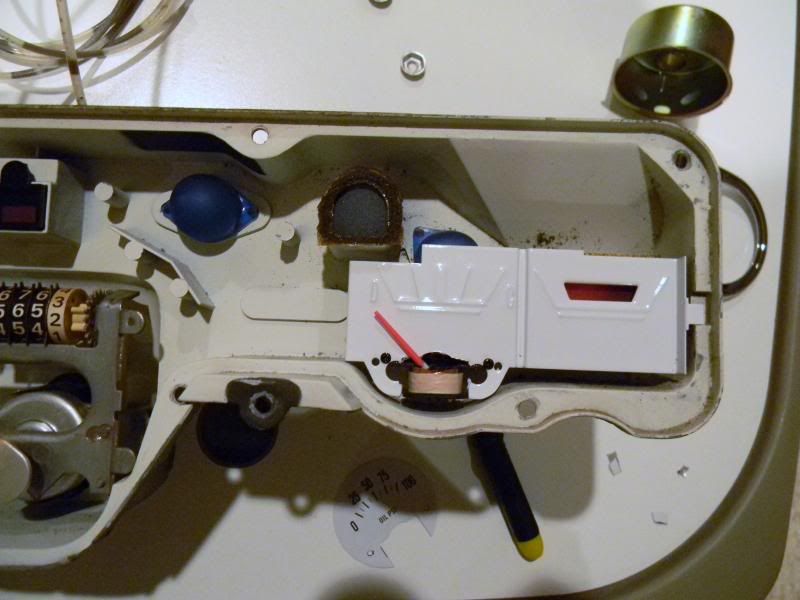
Here is what the back of the gauge looks like mounted in the cluster housing.
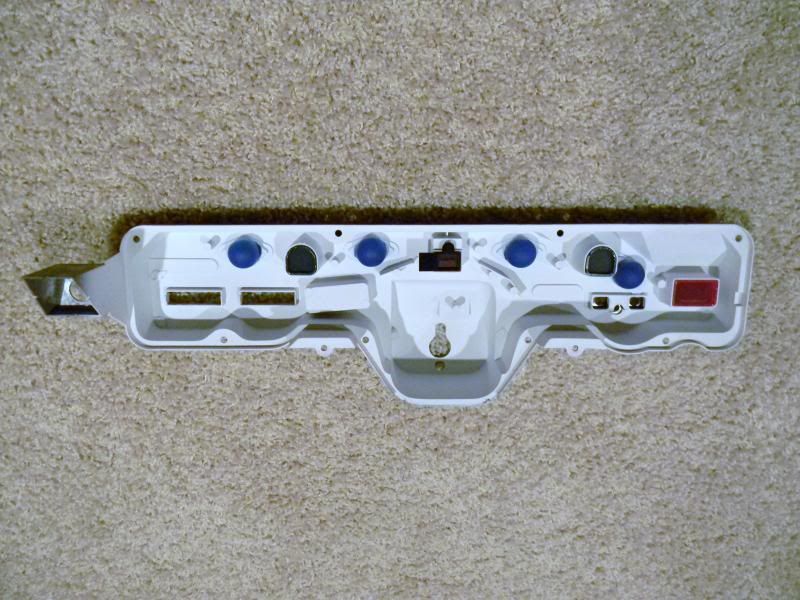
Next, I cleaned and repainted the inside of the cluster housing. I also made some new gaskets for the turn signal lenses and idiot light lense. Scrap foam from DMT gasket kits comes in handy for things like that.
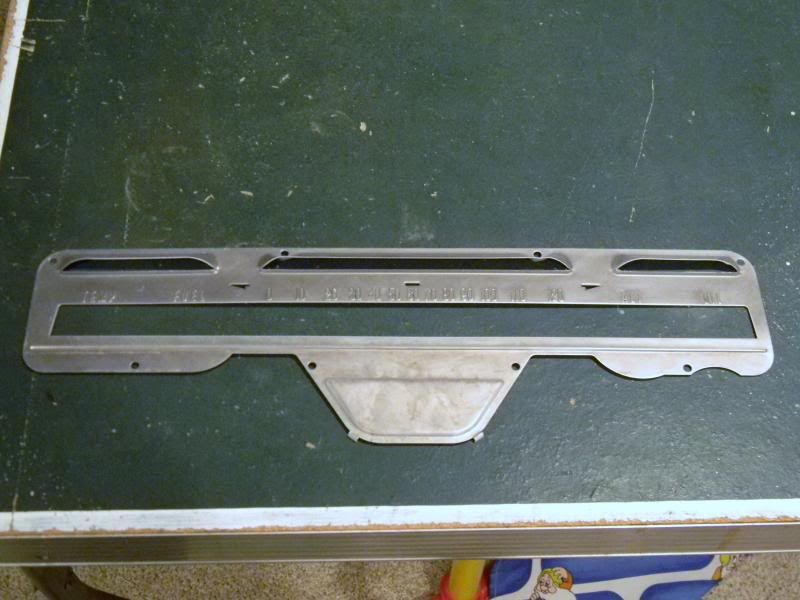
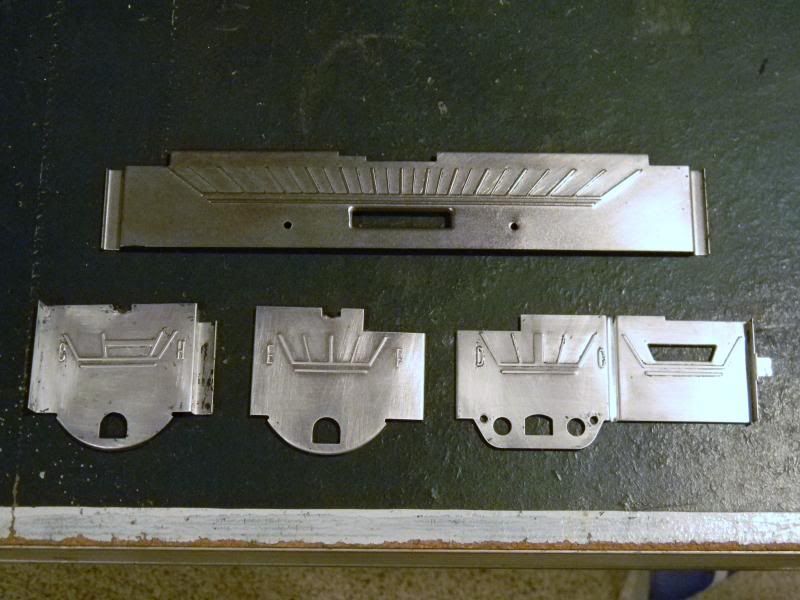
I tried repainting the gauge faces but I didn't have any luck. My plan was to paint the faces white, then spray SEM trim black over it. Then I was going to wipe off the black from the raised areas with lacquer thinner. I stripped the faces and painted them with single stage Centari with a Prevail sprayer. After four days I sprayed them with trim black. Four days wasn't long enough because the white paint lifted as soon as I sprayed the pieces with the trim black.
I stripped the faces back down to bare metal and purchased a white overlay kit. I'm not sold on the white gauge look so this may just be temporary. Since the interior is white, there's a chance it may look OK.
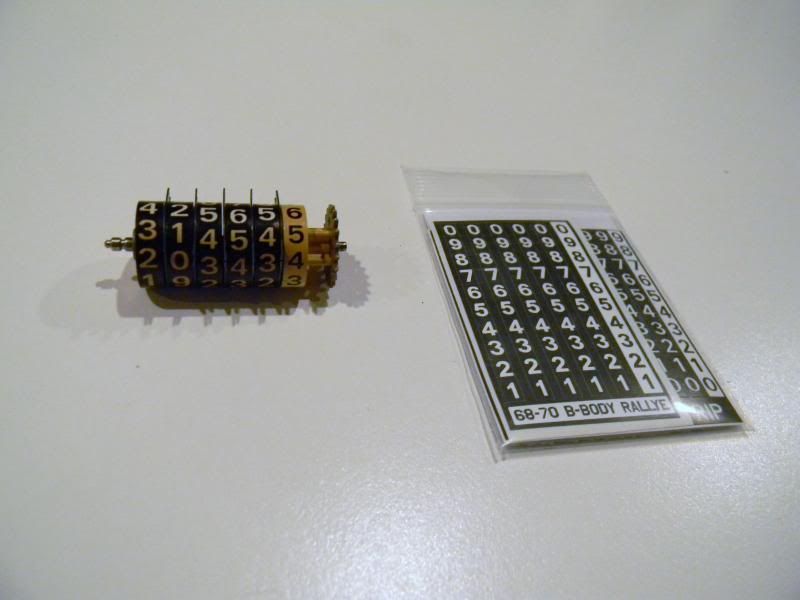
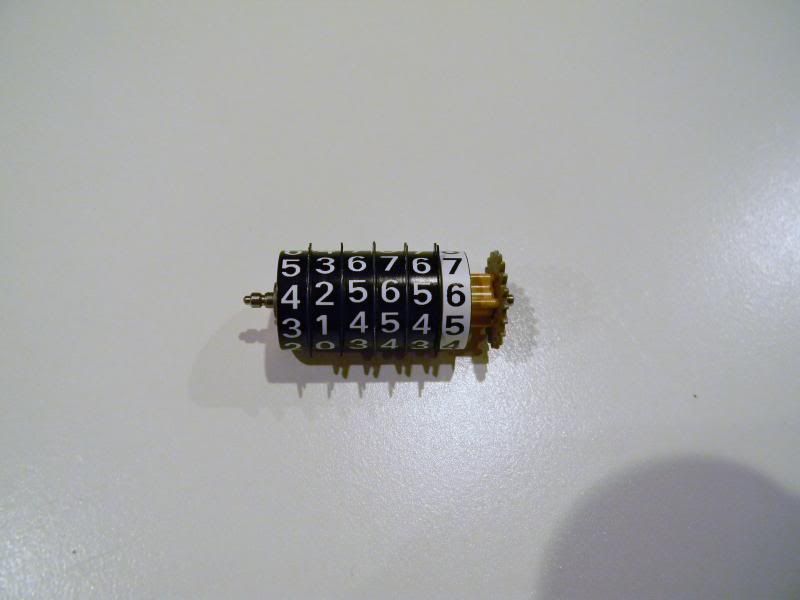
I also bought an odometer reface kit. Originally I bought one for a standard dash E-body since they didn't offer one for the Dart. The size of the overlays was correct but the Dart's odometer spins in the opposite direction so the numbers were reversed. They sent me an E-body Rallye gauge kit as well as a B-body kit to try. The E-body Rallye gauge kit worked great.
Here's what the gauge cluster looks like now. I'm going to wait for final judgment until I can see what it looks like with the entire dash assembly together. I've seen a picture of the gauges at night and they look cool with the blue light on them. I'm just not sure about how they'll look in the daylight.
