You have to tug on the seat a little bit to get the pivot pin back in the other side of the seat.

Flip the seat back over and wiggle it around until you can get both bolts to go through the relining mechanism and into the lower seat frame.

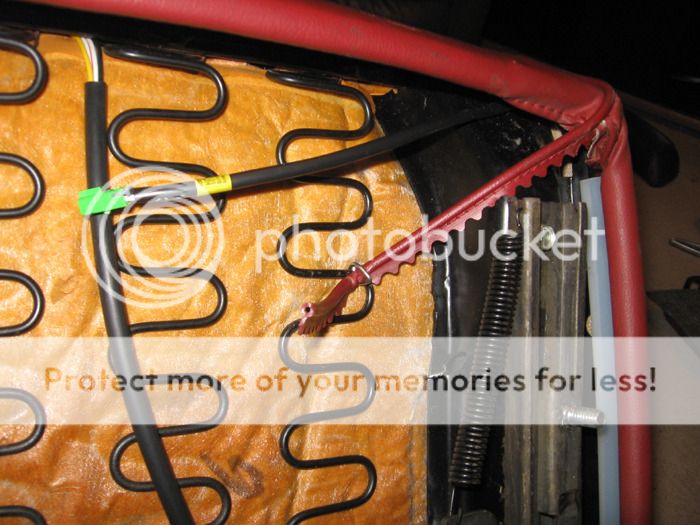
I ran the wires for the seat back heater inside the skirt of the lower cover. There's an opening in the frame that the wires can slide through. They will not get pushed, pulled, stomped on, or cut in this location.

Here's something you don't want to overlook. The seat frame has a gap in it. With all the pushing and pulling required to get the seat cover off there's a chance the frame was bent a wee bit. Make sure the parts of the frame line up. If one of them sticks out farther than the other it can rip the seat cover. Mine needed to be bent back into position.

Once the skirt is pulled down around the frame you need to slip the white clip/strip pieces over the metal frame. Be sure to zip the skirt at the front of the seat.
Remember those dangly pieces of welt that were hog ringed to the seat springs? Pull 'em down snug and attach them to the springs with new hog rings. Attach the seat cushion to the frame using more hog rings just like those you pulled off earlier.
Note that wires for both heaters are under the front seat cushion.
Remember that arm rest base that gave me so much trouble? It's time to put it back on. Don't forget the washer that slides over the arm rest stud.
Slide the arm rest back on and reinstall the shouldered screw. I had to run the screw half way in then pop the arm rest cover over the screw. You can pull the material back and screw it in the rest of the way.

Pop the hinge covers and release lever back on. After that, the seat will be ready to reinstall in the vehicle.
Now for the electrical bit. Unfortunately, I forgot to take my camera to work with me today. You have to settle for really ugly cell phone pics.
I installed relays to run the headlights on this truck. You're looking at them. A sharp eye will notice that one wire runs off the battery side of the circuit breaker and back towards the cab. That black wire with the red trace is the power wire for my seat heaters. Others may notice an odd relay to the left. It powers an electric fan mounted on the condenser for better A/C at idle.
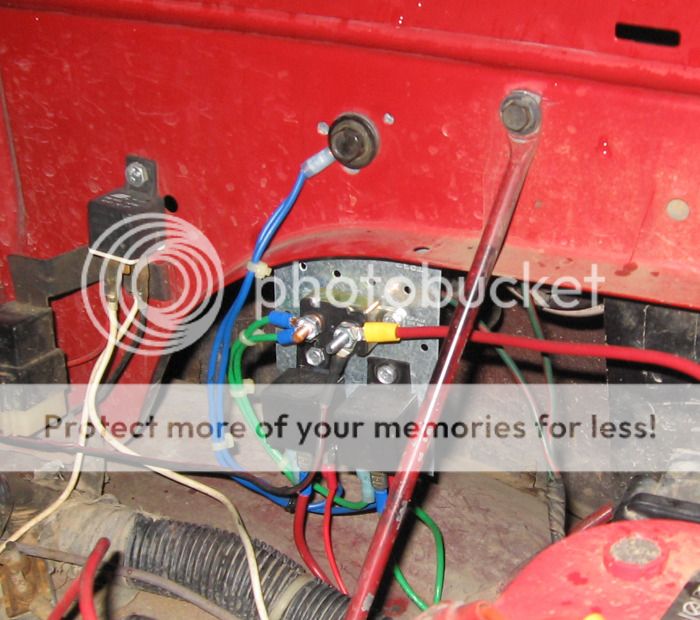
This is obviously an "after" photo. Do not connect the wire to power until you're ready to test the system.
I ran that wire back to the firewall and through the large rubber grommet. I already have a few things running through that gromet so it was time to make a new hole. If you do this, make it smaller than the wire you intend to put through it. A tight fit will help it seal.


