|
 Re: Project Young Gun: 1971 Super Bee Budget Build
[Re: CuriousYella70]
#43770
Re: Project Young Gun: 1971 Super Bee Budget Build
[Re: CuriousYella70]
#43770
12/23/08 11:13 PM
12/23/08 11:13 PM
|
Joined: Aug 2003
Posts: 8,000
Millersville, PA
HemiChallenger
 OP
OP
master
|
OP
master
Joined: Aug 2003
Posts: 8,000
Millersville, PA
|
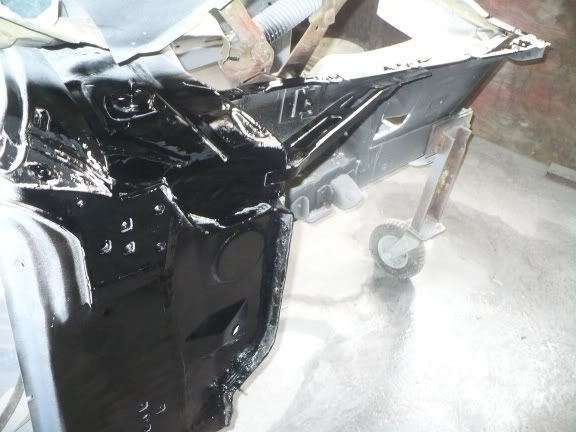
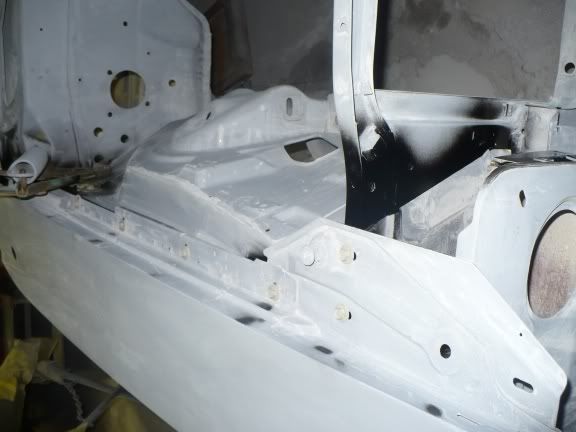
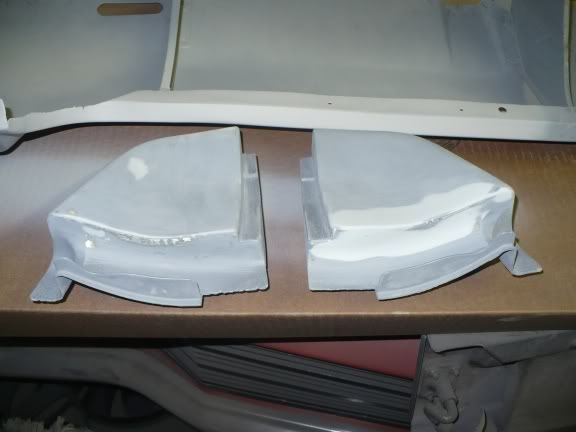
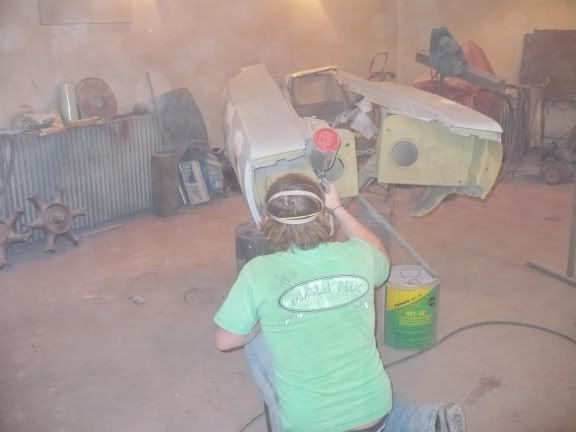
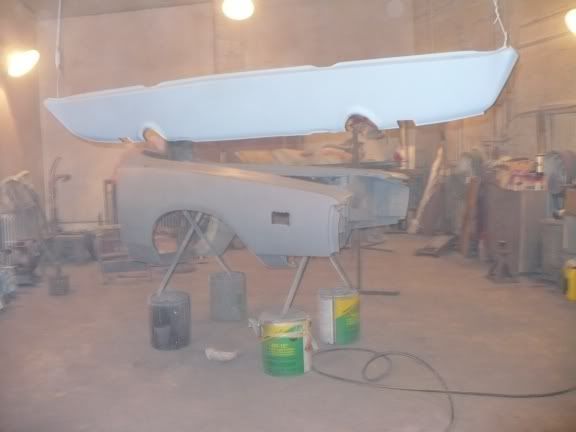
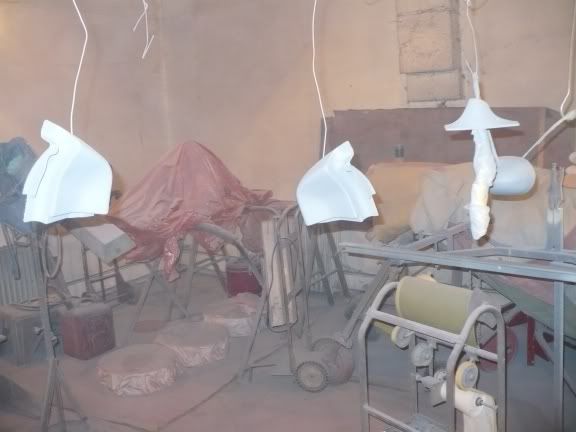
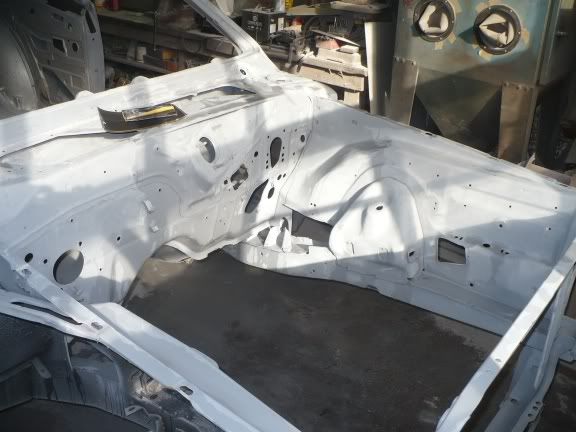
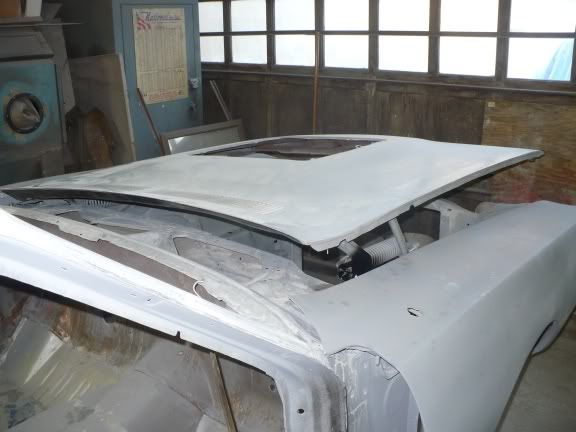
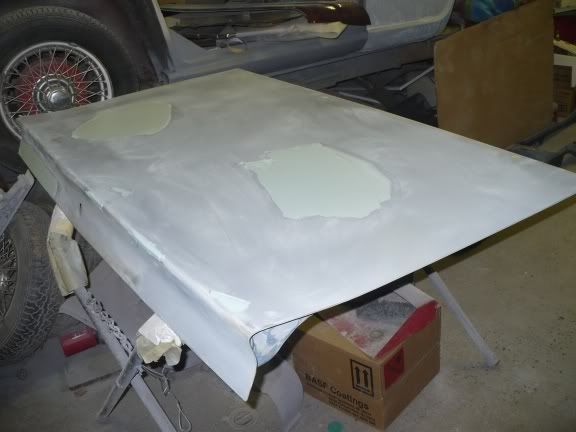
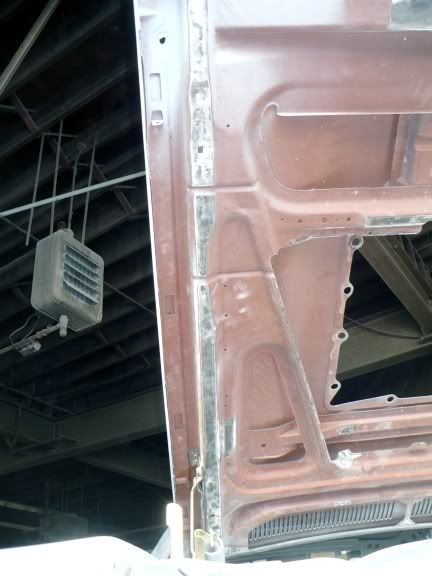
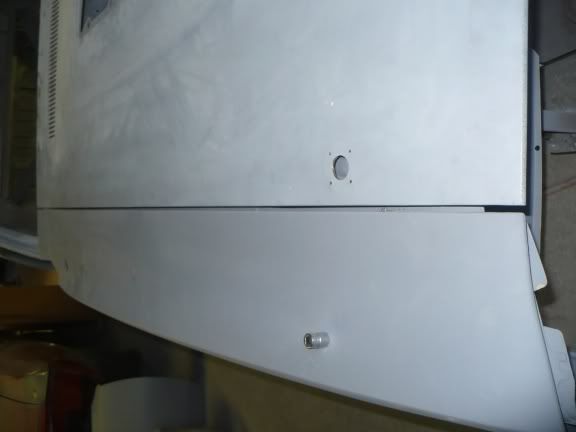
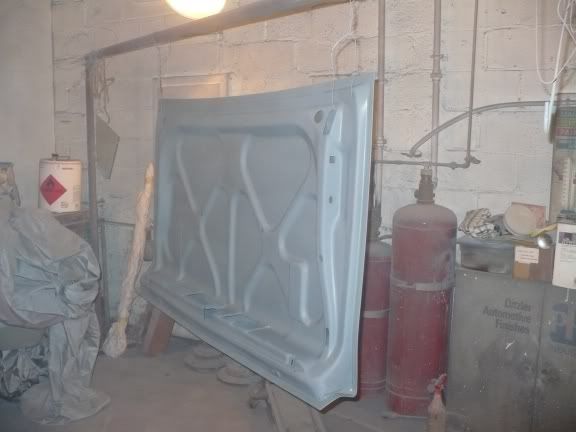
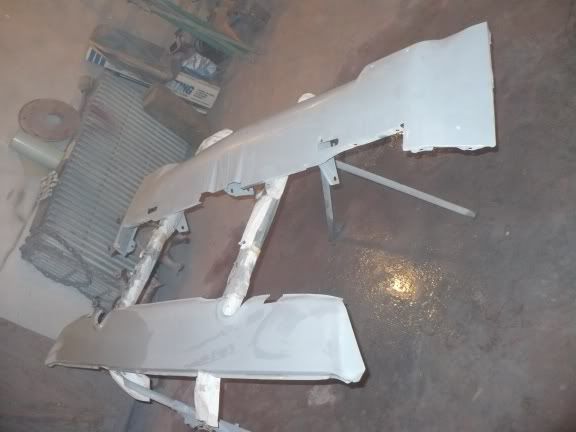
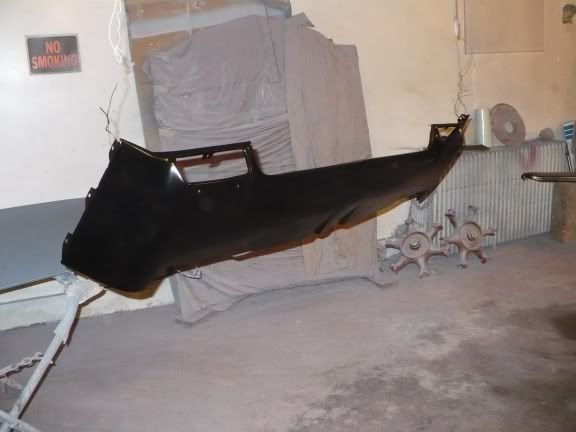
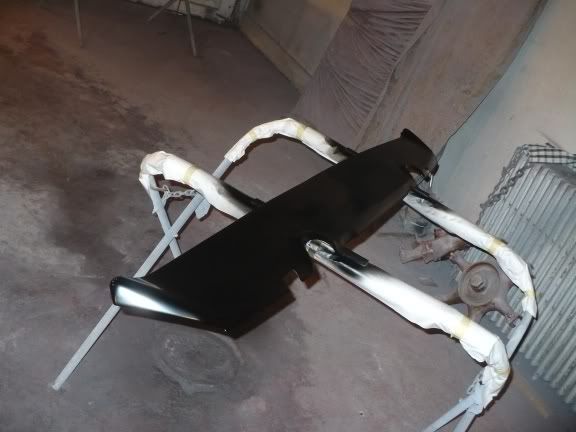
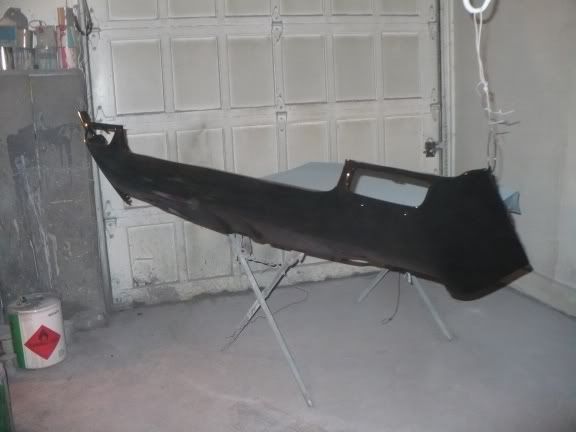
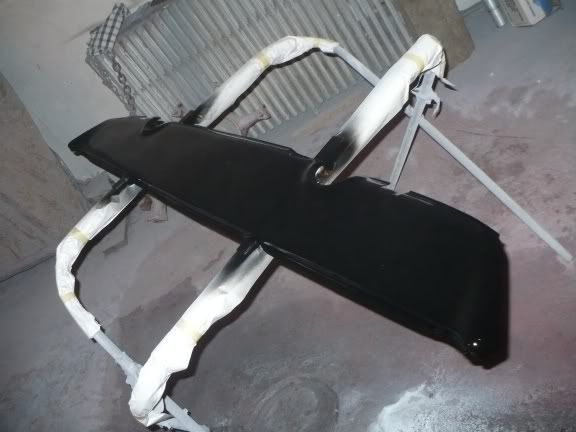
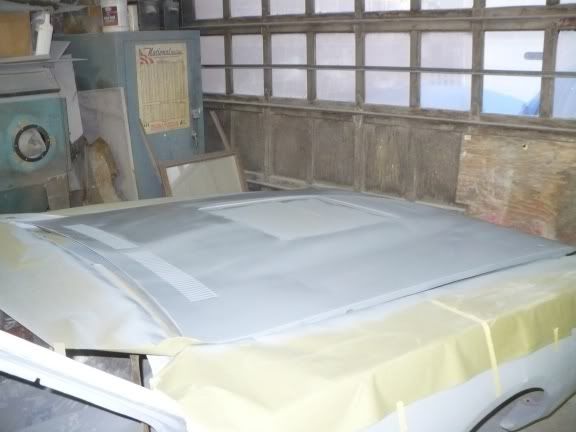
CuriousYella70 Thanks man! Alls i can say is try it yourself. It takes time to get it right but its a learning expierence. You will learn from it (mostly how NOT to do things  ) Best of luck with the project too. Start a thread everyones comments really help you stay on track with it  WILD BILL WILD BILL I look back at the forum once and awhile and always cannot believe the difference. I also always see picture that make me remember stuff that was done. Your thinking for what it will look like is exactly what it will look like. Blacked out. Black body, bumps, R/T lights, stripes, interior. I will be putting on some polished Alum. or chrome wheels, never was a fan of black wheels, thats when it too black, just looks gothic to me Thanks Joe and Bill. Color Is on the way soon  May be painting a few of the pieces here soon. Since its black you really dont have a problem of the panels being different shades  
|
|
|
Re: Project Young Gun: 1971 Super Bee Budget Build
[Re: HemiChallenger]
#43783
01/04/09 02:56 PM
01/04/09 02:56 PM
|
Joined: Dec 2008
Posts: 82
Austria
3eighty3
member
|
member
Joined: Dec 2008
Posts: 82
Austria
|
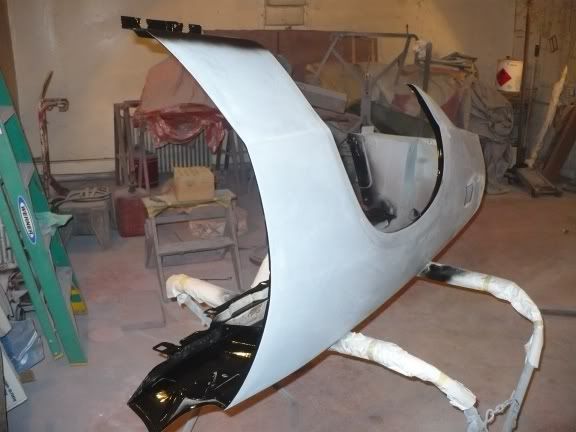
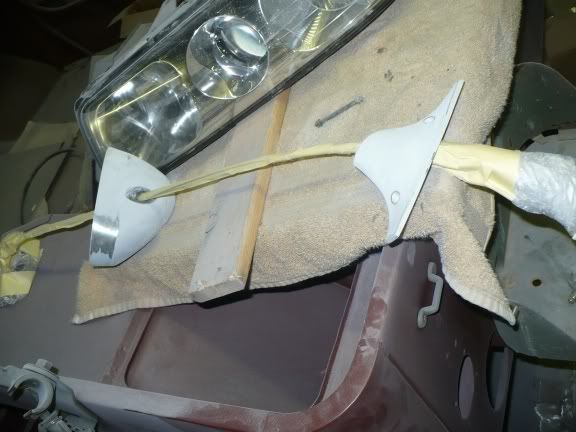
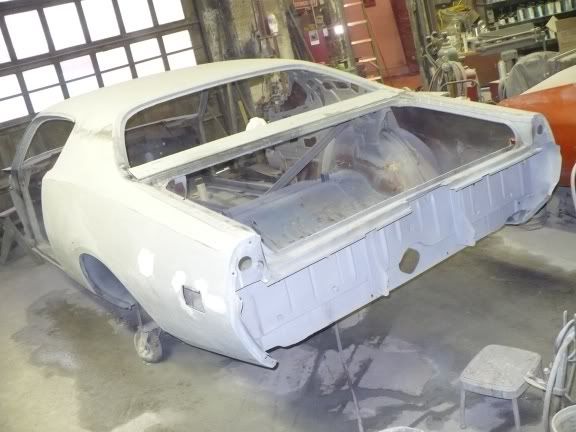
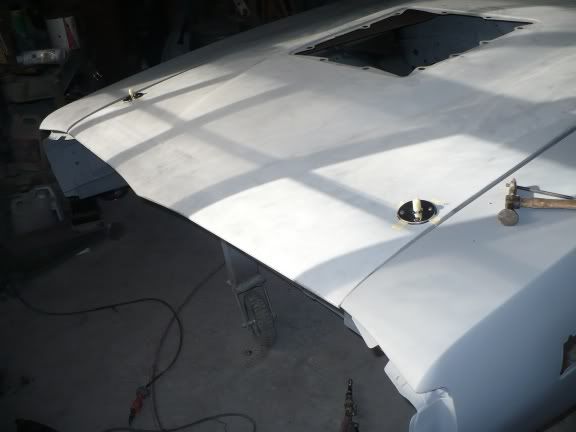
What an amazing project! I've never seen anyone replace so many small bits and pieces on a car. Thumbs up for saving that one thomas ______________________________________ cuda blog
Last edited by 3eighty3; 01/04/09 02:57 PM.
|
|
|
Re: Project Young Gun: 1971 Super Bee Budget Build
[Re: HemiChallenger]
#43785
01/05/09 06:46 AM
01/05/09 06:46 AM
|
Joined: Dec 2008
Posts: 82
Austria
3eighty3
member
|
member
Joined: Dec 2008
Posts: 82
Austria
|
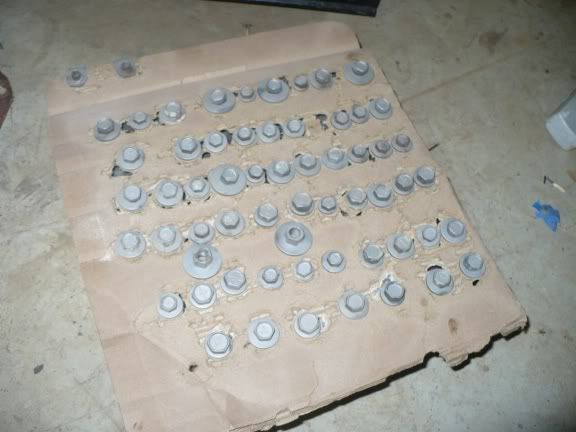
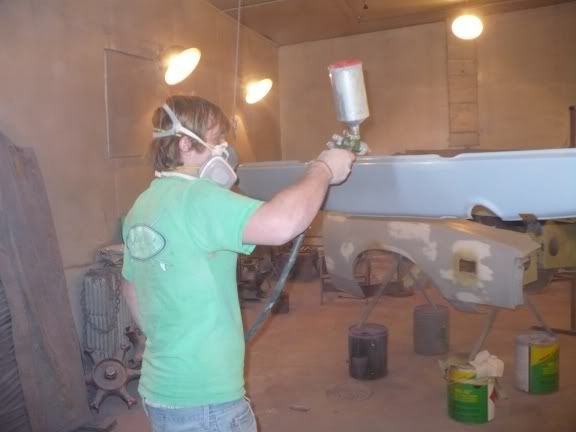
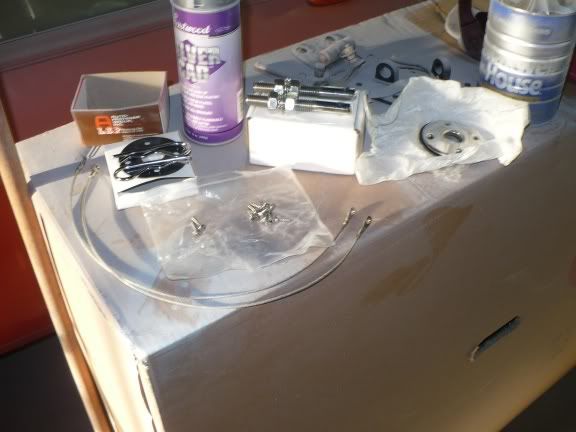
Great progress Steve! Won't the paint scratch off the bolts once you tighten them? thomas _______________________________________________ cuda blog
|
|
|
Re: Project Young Gun: 1971 Super Bee Budget Build
[Re: 3eighty3]
#43786
01/05/09 07:57 AM
01/05/09 07:57 AM
|
Joined: Aug 2003
Posts: 8,000
Millersville, PA
HemiChallenger
OP
master
|
OP
master
Joined: Aug 2003
Posts: 8,000
Millersville, PA
|
Quote:
Great progress Steve! Won't the paint scratch off the bolts once you tighten them?
thomas
_______________________________________________
cuda blog
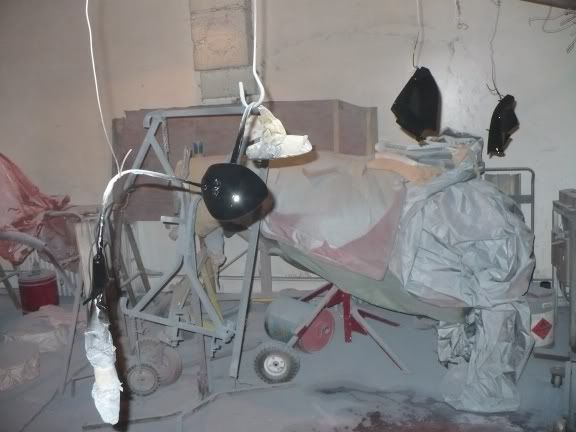
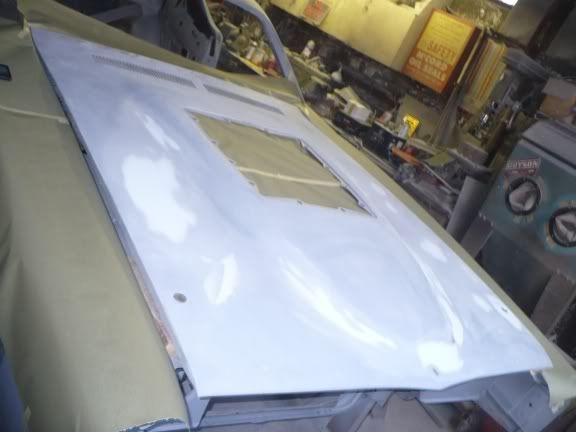
Yes it will but i am putting all the bolts on the front end NOW so they wont have to be touched after paint
|
|
|
Re: Project Young Gun: 1971 Super Bee Budget Build
[Re: 69Cuda340S]
#43789
01/05/09 10:51 PM
01/05/09 10:51 PM
|
Joined: Dec 2007
Posts: 10,542
BROOK PARK, OH
WILD BILL
Senior Member of the Junior Dragster Club
|
Senior Member of the Junior Dragster Club
Joined: Dec 2007
Posts: 10,542
BROOK PARK, OH
|
That's what I call attention to details 
|
|
|
|
|


 It's been so long now but what the original colors and what is the combo you decided to go with again?