|
 sapphire blue
[Re: 69DartGT]
#38734
sapphire blue
[Re: 69DartGT]
#38734
05/02/09 07:03 PM
05/02/09 07:03 PM
|
Anonymous
Unregistered
|
Anonymous
Unregistered
|
Does anyone have pictures of brightside sapphire blue on any car?
I've started my project black but now I'm itching to finish her off in blue
|
|
|
Re: New Paint job on a budget thread Part III
[Re: 69DartGT]
#38735
05/03/09 01:26 AM
05/03/09 01:26 AM
|
Anonymous
Unregistered
|
Anonymous
Unregistered
|
Ok thanks, that's an idea. I've rolled before and never before I had this problem with airbubbles. Nomather how thin the paint is. If I paint slow or fast, no pressure at all always those %$#@ bubbles.
Yesterday, I've painted as a test my rightfrontfender with only a brush, and that helped. No bubbles and the result looks promising.
|
|
|
Re: New Paint job on a budget thread Part III
#38736
05/04/09 09:42 AM
05/04/09 09:42 AM
|
Joined: May 2009
Posts: 6
United States
DSLStuff

member
|
member
Joined: May 2009
Posts: 6
United States
|
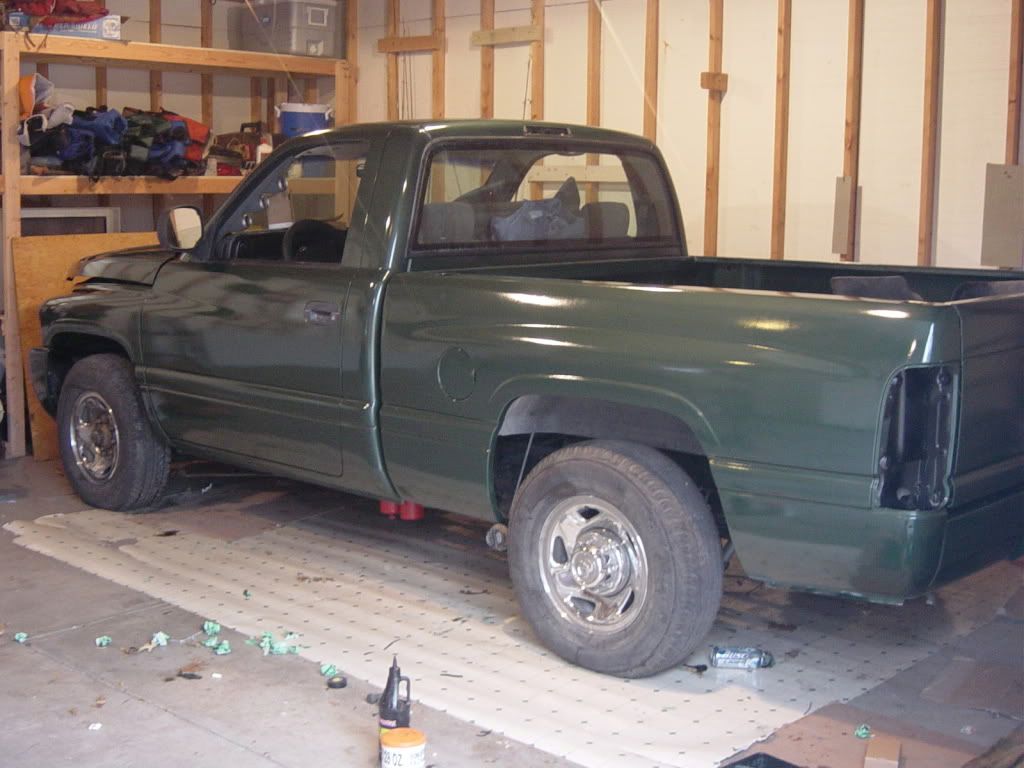
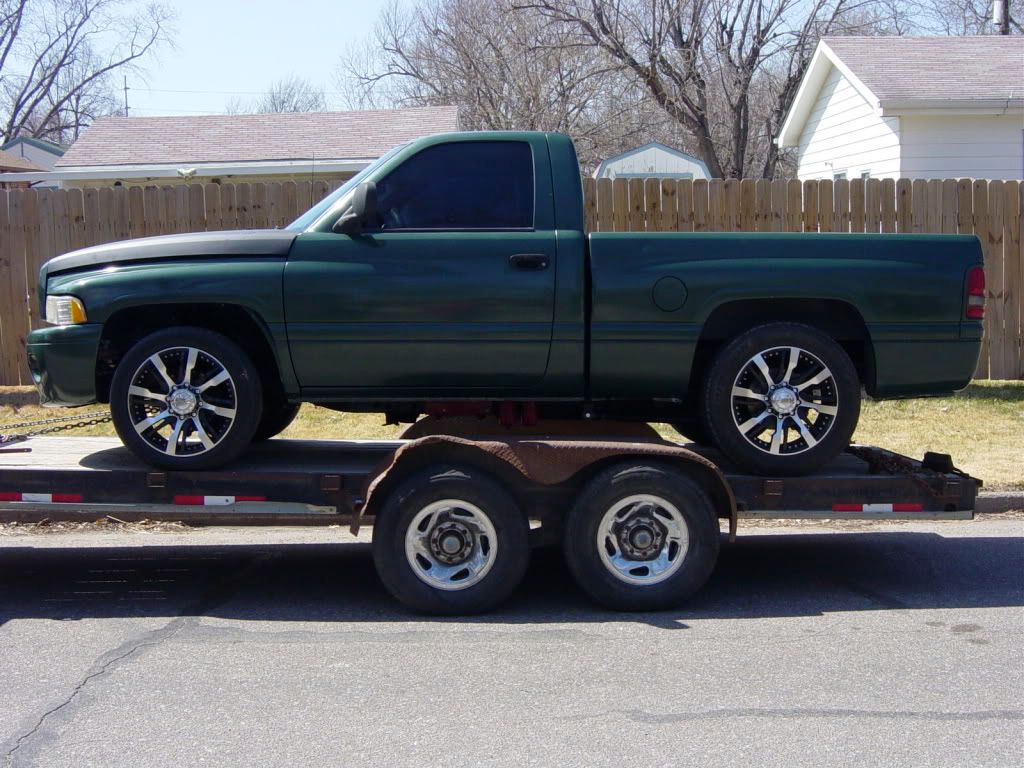
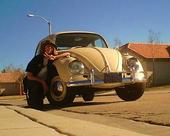
I have been following this thread for a long time. I have to thank all of you for your work on this topic. My biggest obstacle on this was trying to get others to believe you that it WILL work. This spring I just finished painting my 94 dodge drag truck. The best part so far was when I showed a guy the truck this past weekend and he didn't believe me when I said I painted it for ~$100 with a roller! Started with this stock 200k mile truck 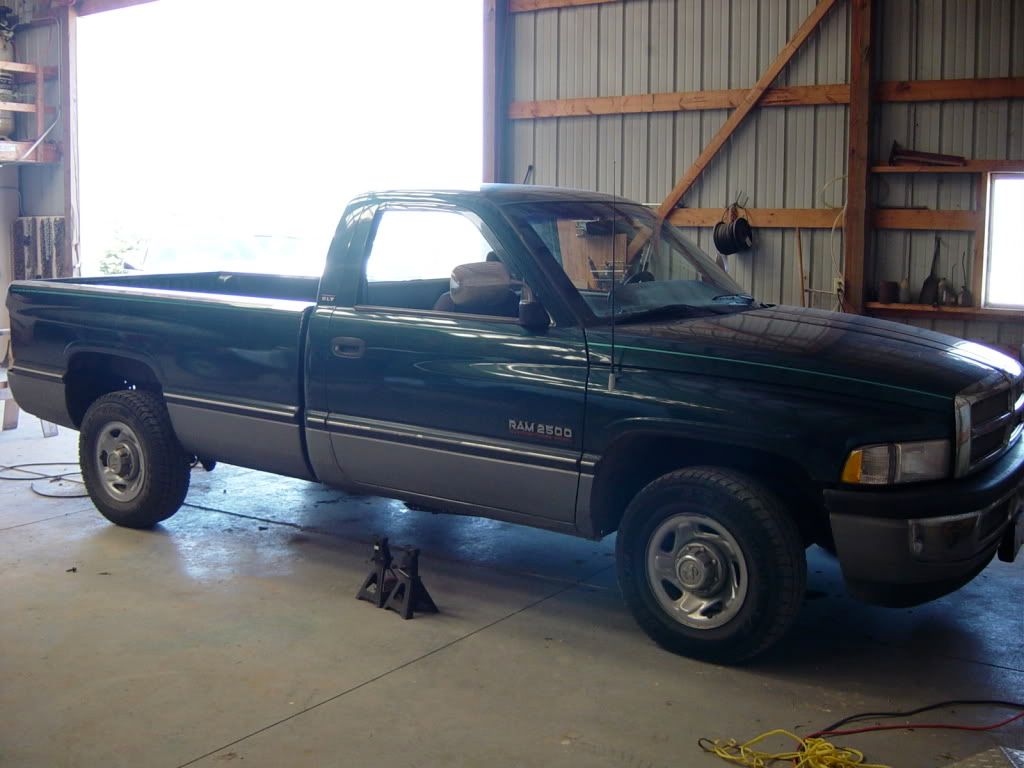 Then made it into this. 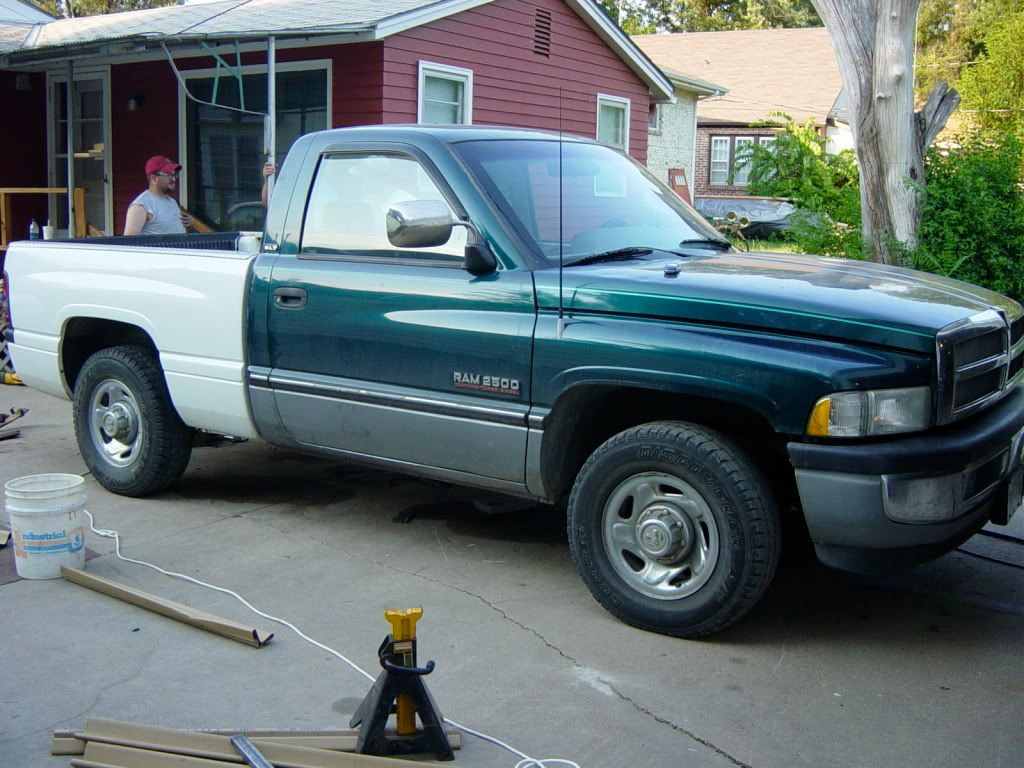 New paint!! 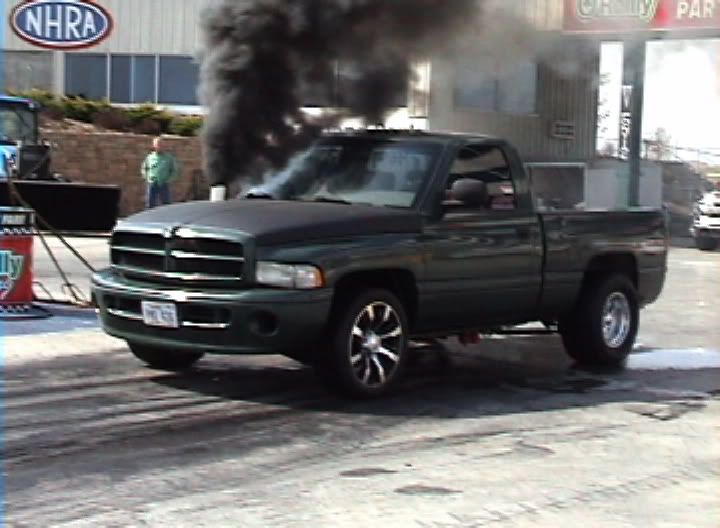 It is by no means perfect. We learned a lot on this first project, all the way to the end of the project. Trial and error made it turn out pretty good in the end.
94 Dodge Cummins Reg Cab Short Box 2wd
"It only needs to look good at 100mph!"
|
|
|
Having an issue
[Re: dodgeram440]
#38739
05/04/09 02:00 PM
05/04/09 02:00 PM
|
Anonymous
Unregistered
|
Anonymous
Unregistered
|
Alright, so I got 2 layers of paint on my car but I can see roller marks big time
I'm doing it in flat black by the way if that helps to solve my problem
So basically, I cant paint without having thos horrible roller marks. I am now wetsanding it all in order to get a uniform ( lol ) coat to try again
Also, I barely get any orange peel with flat color, I could almost call my car done if it wasnt for the horrible roller marks. Is there a way to avoid it? I'm very bad at this
|
|
|
Re: New Paint job on a budget thread Part III
[Re: dodgeram440]
#38740
05/04/09 04:06 PM
05/04/09 04:06 PM
|
Joined: May 2009
Posts: 6
United States
DSLStuff
member
|
member
Joined: May 2009
Posts: 6
United States
|
Quote:
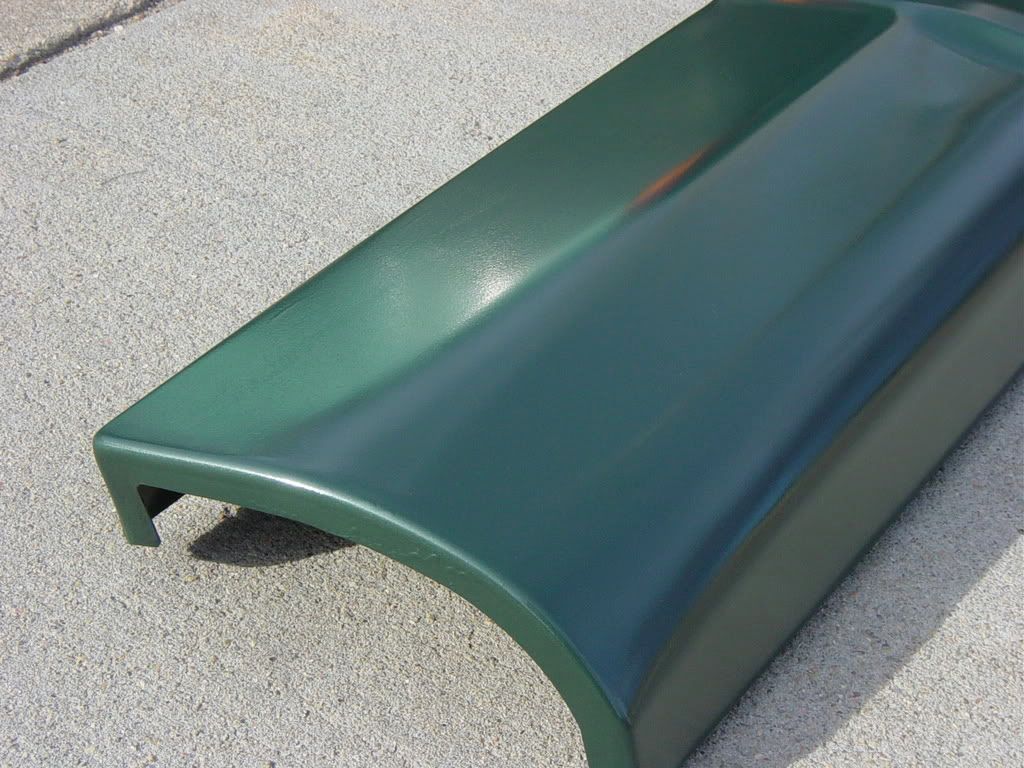
Dude, that's a bad a$$ truck! But we need more info! How did you shorten it for the shortbed? What's that bar seen under the bed? Some kind of 4-link or something? With the aluminum paint mixed in, I'm assuming it has a metalic look to it. How did that turn out with all the sanding and stuff? Truck really looks great!
Thanks for the compliments
Bar you can see is a traction bar used with the factory leaf springs.
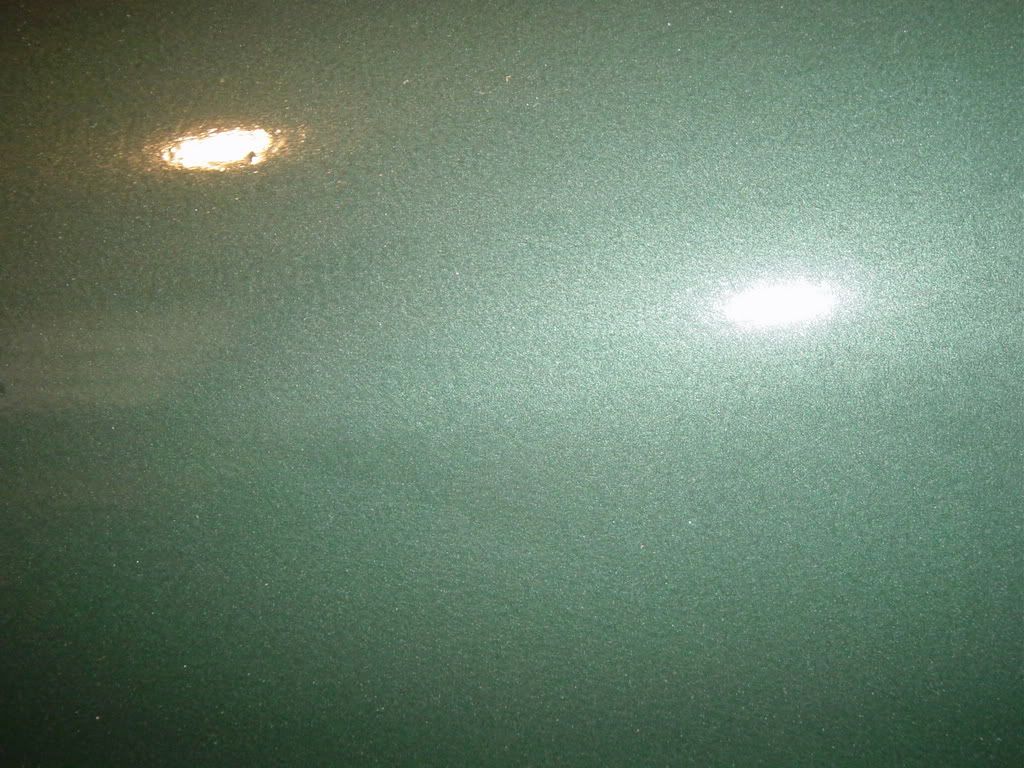
The paint turned out like what you see in the second picture of my second post. That is a close up of the front fender after 3 coats, 1 sanding of 800, and then one more coat.
Short video of the truck HERE
|
|
|
Re: New Paint job on a budget thread Part III
[Re: Ivarb]
#38746
05/08/09 11:12 AM
05/08/09 11:12 AM
|
Joined: May 2006
Posts: 575
Canada
Marq
mopar addict
|
mopar addict
Joined: May 2006
Posts: 575
Canada
|
Quote:
What type of polish and what type of pads do you guys use for buffing after last wetsand?
PADS: with my Cable Porter, I simply use the white foam pad that comes with that polisher. I use it to apply rubbing compounds, polishes and waxes. Occassionally I will put a microfiber cloth between the foam head and the paint... and use the microfiber to get the best shine I can.
I do know that some of the guys have used the wooly head on their polisher when doing the rubbing compound stage. That is because the wooly head gives them additional 'cutting' when trying to polish the surface. But you have to be careful because it may give 'too much' cutting IF YOU don't keep the polisher constantly moving and stay too long on one spot.
Now... back to a quick chat about rubbing compounds, polishes and waxes..
Once you have the paint wetsanded to its best point, you next move to using a Rubbing Compound. I believe originally that Charger made use of the Turtle Rubbing compound... which basically looks like a brown clay in a tub 
The thing to keep in mind is that after you have taken your paintjob to the smoothest point using wetsanding.... you basically are continuing to further polish the surface with a rubbing compound. For example, if the sandpaper you worked it up to was 2000, 2500, or 3000 grit... well the rubbing compound is simply the next highest grit to get the surface even smoother.
Other then the Turtle Rubbing compound, there are also excellent polishing and cutting compounds made by 3M which basically do the same job. They are just like using liquified sandpaper - but at a higher level of grit.
You follow your 'rubbing compound' stage with a polish. Even plain old Turtle polish can be used at that point. Or just about any other car polish.
You need to watch out what is actually in the various polishes that are sold. Some are solely polishes... some are polishes with cleaners... some are polishes with waxing compounds... some are polishes with acrylic or synthetic shine compounds.
Ideally you want just a straight polishing wax... but you can substitute a polishing/cleanser as well.
Once you nail down the polishing stage..... you next move to the final 'waxing' stage. I tend to prefer using Meguirs 'pure Carnuba' wax... but most car waxes can do the job equally well. You have to remember that the whole objective of the waxing stage is to achieve 3 things :
a ) you are sealing the paint surface to reduce the amount of oxygen or other foreign matter that might want to get to the paint. It also provides some Ultra Violet protection to reduce future fading from the UV of the sun.
b ) you are trying to tweak up the shine by adding a layer of the refractive qualities of the wax. This gives the paint more depth and shine.
c ) you are trying to put a coating on the paint that will repel road grit, bird poo and smashed bugs from embedding in to the paint.
One thing that I have learned is that the acrylic type 'waxes' or the synthetic type waxes, that promise one year shines or diamond hard coatings, are best to stay away from. At this point you want a real wax on the car and not some synthetic shine.
Although I held high hopes for the Turtle ICE wax, NuShine and other synthetic shines... they all were crap in the end. I would have gotten the same result by spraying Armorall on the paint. It looks good when wet and fresh... but dries out to look like crap or that nothing was used.
Hope these thoughts help out...
.
Last edited by Marq; 05/08/09 11:16 AM.
|
|
|
Re: New Paint job on a budget thread Part III
[Re: aussie]
#38750
05/10/09 11:42 AM
05/10/09 11:42 AM
|
Joined: May 2009
Posts: 6
United States
DSLStuff
member
|
member
Joined: May 2009
Posts: 6
United States
|
You have to keep it mixed really well. Other than that I did not have any trouble applying it. Not heavy spots, no sanding issues, etc.
Everyone is different. Maybe it would have turned out better without it I don't know. I am happy with it.
94 Dodge Cummins Reg Cab Short Box 2wd
"It only needs to look good at 100mph!"
|
|
|
Re: New Paint job on a budget thread Part III
[Re: Ivarb]
#38752
05/12/09 01:00 PM
05/12/09 01:00 PM
|
Joined: Jan 2003
Posts: 12,405
Southern, Ca.
69DartGT
OP
moparts member
|
OP
moparts member
Joined: Jan 2003
Posts: 12,405
Southern, Ca.
|
Quote:
I�m going to paint my ranger in june, should i put primer before paint og should I just wetsand the original paint and put the paint on.
What primer is the best? How do you guys do it. Do you roll the primer og spray it on?
I will post pictures of my car when I start my paintjob.
Just sanding the original paint is fine, but I did find that the area's I primed (just used lacquer primer) actually covered much better than the area's I sanded.
I cheated and sprayed the primer though.
|
|
|
|
|