Good advice so far. Basically, make the surface of the plug as smooth as possible. If need be spray a coat of primer on it and sand it to a fine finish.
Determine if the mould can be one piece or not.
Wax the plug. Then wax it again. Go have rum or two. Come back, wax it again. Roll or spray on some PVA. The beauty of PVA is it is water soluble. If the mould or part is sticking work in some water and it will dissolve the PVA allowing release.
Lay out the plug formerly known as a bumper so it is level in a couple of planes.
If it is a one piece mould, start laying up a couple of layers of mat using polyester resin as it is cheap. The mat will conform to pretty much any shape. You can, if desired, use tooling gelcoat over the plug as a first coat. This gives a nice finished surface to the mould. Otherwise, lay up some more layers of glass. To build up thickness throw in some roving with the roving. Mat and roving are the cheapest glass out there. Remember thickness is your friend to make the mould stiff. If a two piece mould figure out where the seam will be located.
After the mould has cured, tab on a grid to the backside. Plywood laid out in an eggcrate fashion works great. I like to make sure the grid pieces are level as when the mould comes off the plug you can set it up on some saw horses or a work bench and if it lies level you know the bumper is not twisted.
Wax the mould again. Keep waxing. Open next bottle of rum while waiting for wax to cure. Wax again. Spray or roll in some PVA.
Next, decide what fibre you want to use. Glass or Carbon? Carbon is much stiffer. Also much more expensive. Will you want to add core? Core adds lots of stiffness at minimal weight. Coremat is an inexpensive although heavy alternative to foam, balsa or honeycomb. Still lighter than solid glass, it comes in 2-4mm thicknesses. Remember for it to function as a core it must be between the inner and outer skins.
Start laying up material in mould, wetting it out on a table with plastic over it. Squeegee out the excess resin. Ideally use epoxy as it has better properties. Add a few layers. Throw on some peelply. Work the peel ply into the mould using a laminate roller. Snip as required to make it fit at inside corners. Throw some bleeder cloth over the peel ply. Then put a vacuum bag over the whole mess. Run vacuum tube under bag, making sure it is over the bleeder cloth. Turn on vacuum pump. Chase leaks. When leaks hunted down and killed, let vacuum pump run until part cured. Finish rum bottle.
Remove vacuum bag, bleeder cloth and peel ply. Using a wedge, pop part out of mould. Wash PVA off with soap and water. Spray with a coat of primer. Finish to level desired. I work with epoxy so never use gelcoat. Gelcoat is basically pigmented resin, which adds no strength, does add weight, is heavy and eventually cracks. If you do want to use gelcoat and epoxy resin, you must let the gelcoat cure after being sprayed into the mould as it is a polyester product. Then scuff it and apply the epoxy laminate. Epoxy will bond to cured polyester, the other way not so much.
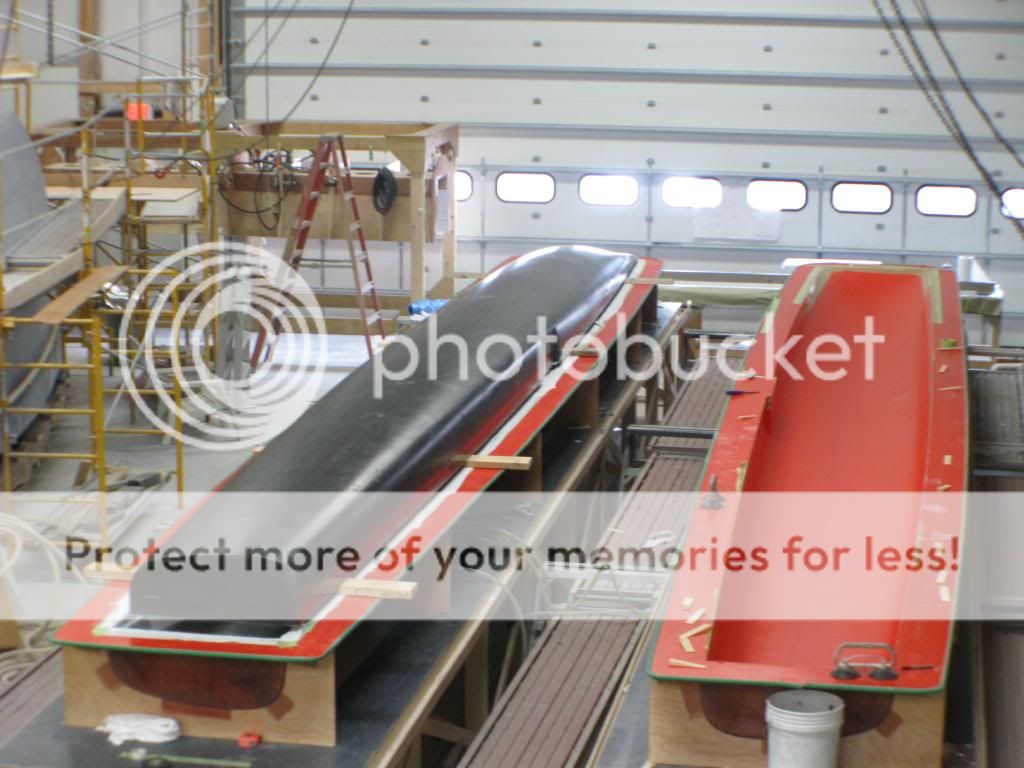
Done right the part will come out of the mould looking like this: