Ok I'm back. I bought another complete bushing set for $15 from Transtar and elicited the advice of new friend Randy Ray of Randy's Racing Transmissions in Spokane Valley, WA. Randy is a Mopar guy and has hundreds of transmission rebuilds and quarter mile runs under his belt. Please note that while Randy is helping me with advice I welcome your ideas and thoughts.
Once Randy explained how to remove a bushing it was pretty simple. You look for the seam in the bushing and then get a very small screw driver and tap at the edge right behind it on either side of the seam, splitting it and then pushing it inward. then you get a cold chisel and just start whacking the bearing inward and splitting the seam all the way down. Sorry no picture, but it looks a bit like unzipping your pants.

This go round I lubricated both the drum and bearing with plenty of lube...

(Okay, I didn't use that, but I if it were good for lubing a trans, it would be the ONLY thing that crap is good for)
...And started it with a small 3/8" thick piece of plywood.
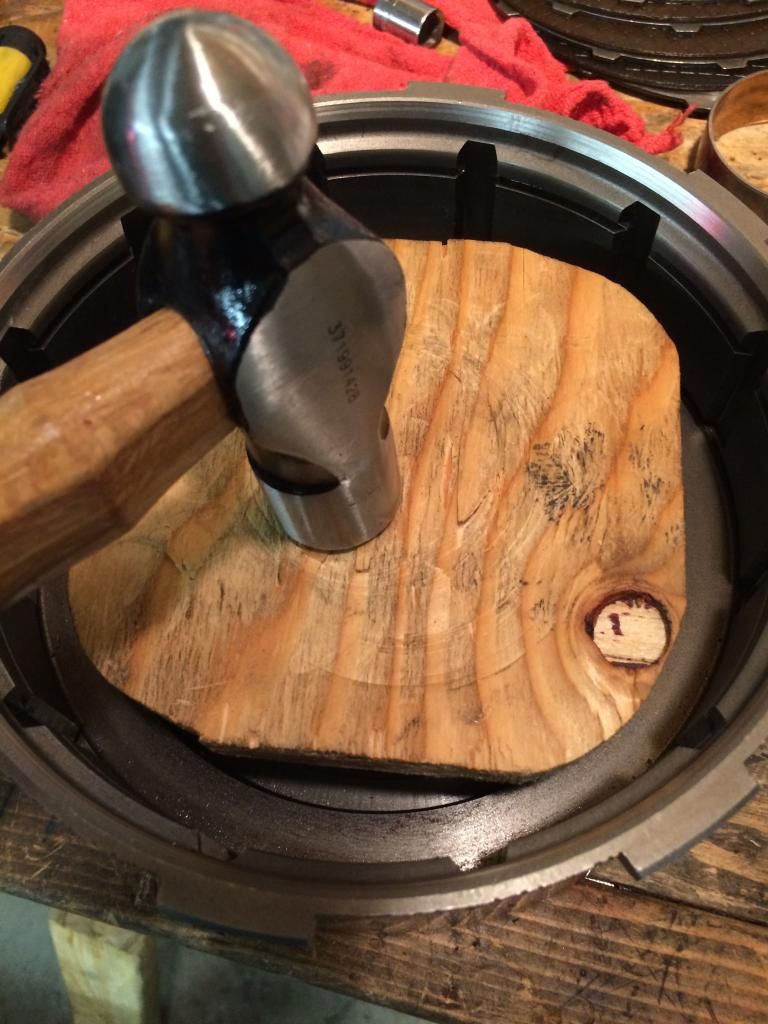
I set the correct depth just below the bevel in the steel race by tapping it in the rest of the way with the edge of a fir 2x4. VICTORY!!!

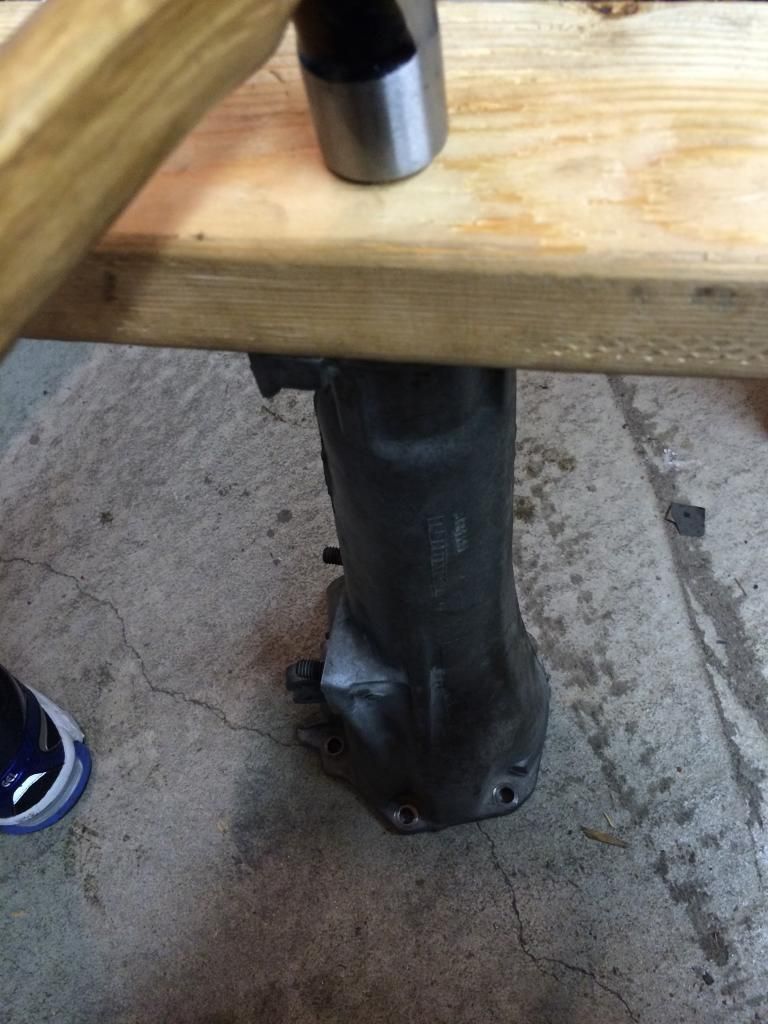
Next I tried to do the same the tail housing bushing.
Um No.

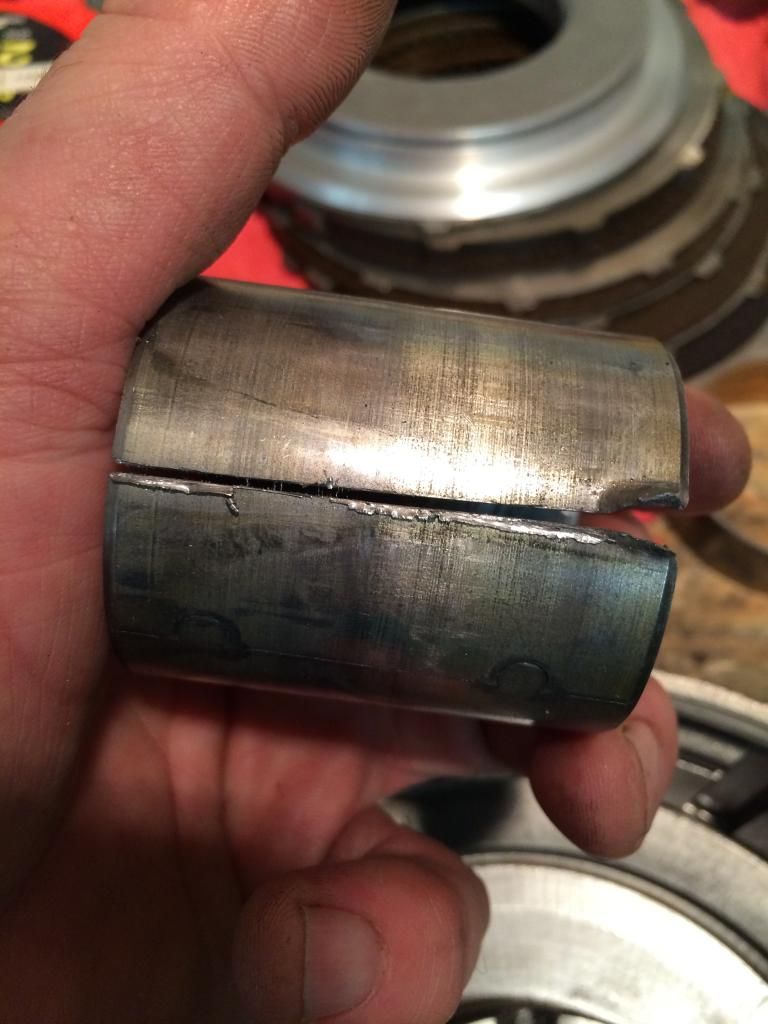
It's too thick. There is an oil channel that runs the length or the bushing in the tail housing. Taking a suggestion from Mike (mr P Body) I got a fresh hacksaw blade and went about sawing through the bushing. It took about a half hour but when I got through it, it literally fell out.
I lubed up the bushing, Made sure to orient it so the hole in it lined up with the correct oil duct and rammed it home with the side of a 2x4.
I tapped it the rest of the way in with a fender washer.
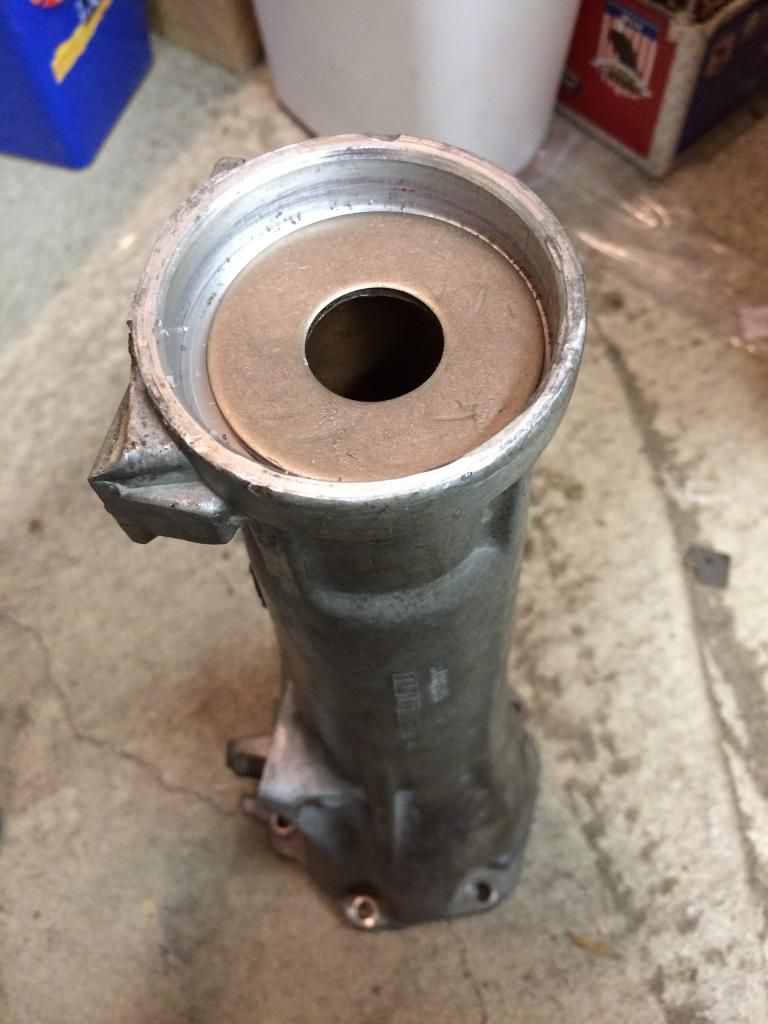
Note. Without the shoulder that a bushing driver has, the bushing tends to pucker inward when you hit it. I test fit the driveshaft and the bushing had swelled on the end too much. I took a knife and ran it around the lip of the bushing a few times, beveling the lip and removing a little material. Now the driveshaft fits great.
I think I have the bushing issue conquered so I moved to my next pitfall, the sprag. After talking to you guys here and Randy and consulting Munroe's manual, I went with a new TCI bolt-in sprag. Yes, the Super Sprag is cool and adds an extra measure of safety but the majority say it's overkill for my application. JohnRR, I really respect you. You've taught me a lot about the best way to go about building my car. I hope you keep giving your opinion here even though this time around I didn't take your advice.
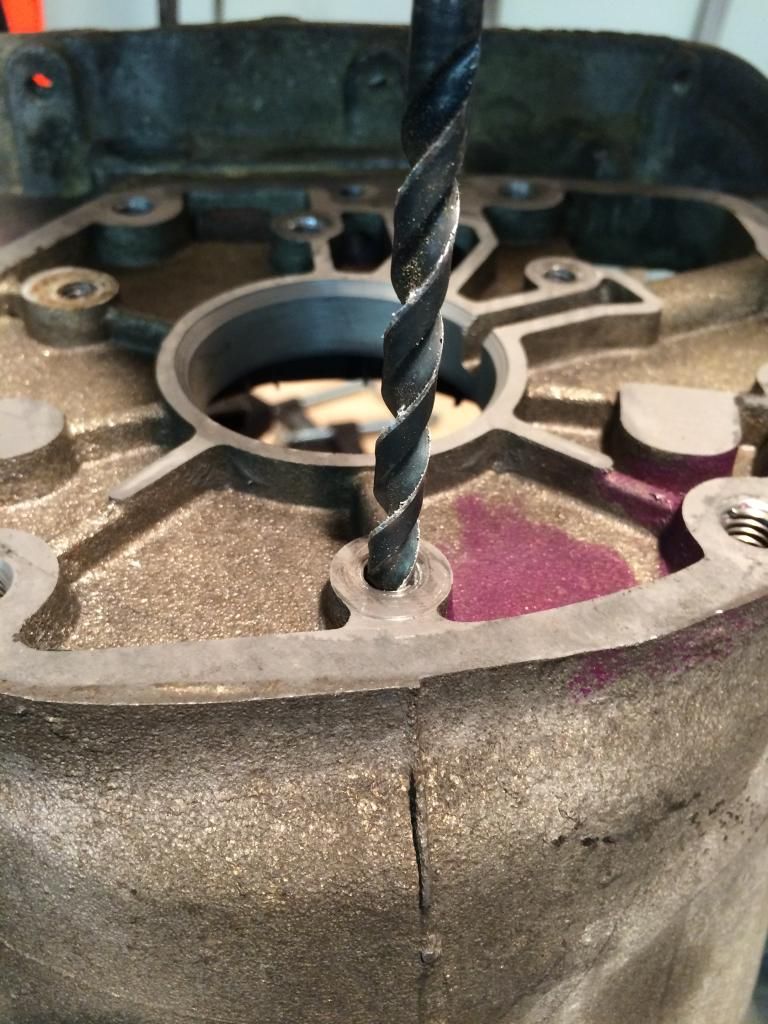
I prepped the case by taking a die grinder and beveling the teeth that the sprag meshes with. The original sprag is peened in around the edge with a small chisel. If you don't grind each of those spots where the peen is, the new sprag can possibly stick and you could crack the case.
I drilled out the threads in the case ever so slightly to give the sprag bolts a wee bit more tolerance.
Then I bent in the retaining prongs of the backing plate slightly so that they would grip the sprag during installation.

Then I put washers on the supplied allen head bolts and sucked it up to the housing turning each bolt one full revolution at a time working in a criss-cross pattern like changing a tire.

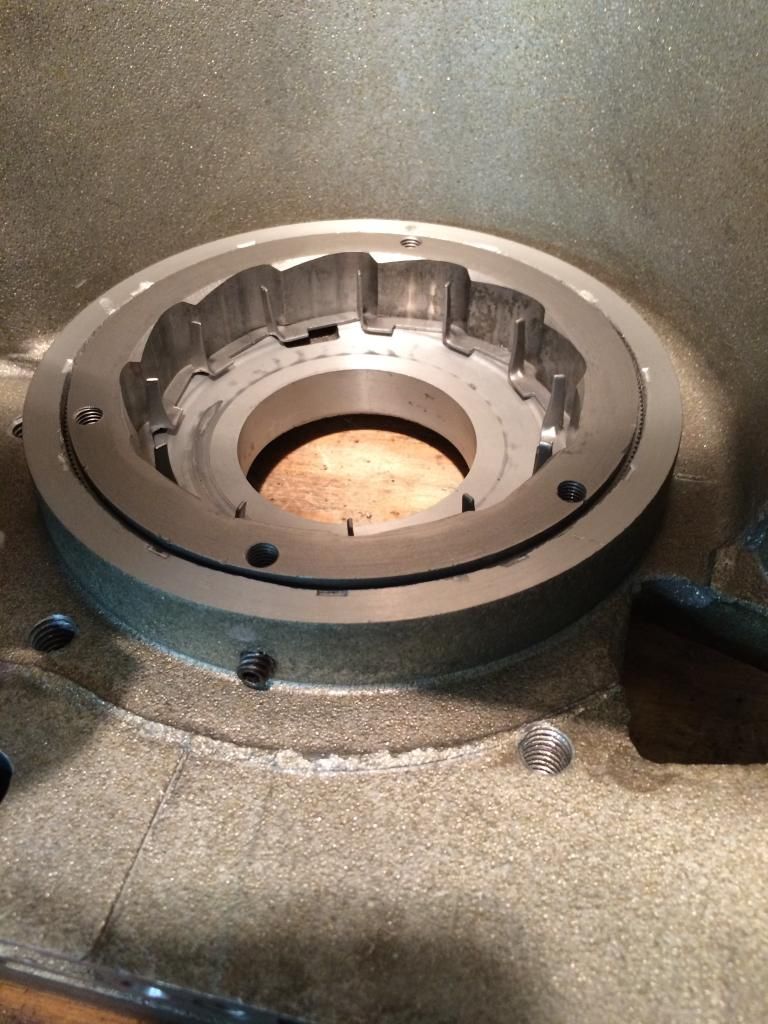
here it's sucked about 2/3 of the way in.

Done
Now that I know I can do this without destroying the case, I'll go back to disassembling each subassembly, inspecting and cleaning, and then follow Munroe's step by step reassembly and calibration.


