|
 How to do a fresh 4 speed conversion in an afternoon
#34299
How to do a fresh 4 speed conversion in an afternoon
#34299
02/05/07 07:29 PM
02/05/07 07:29 PM
|
Joined: Jul 2003
Posts: 12,129
Cleveland
sunroofgtx
 OP
OP
I Live Here
|
OP
I Live Here
Joined: Jul 2003
Posts: 12,129
Cleveland
|
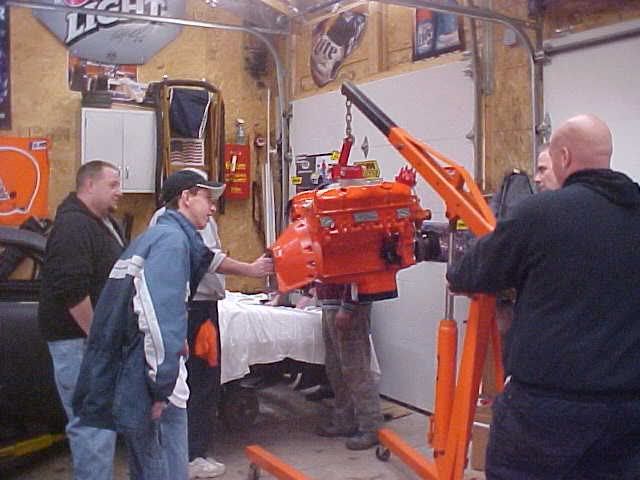
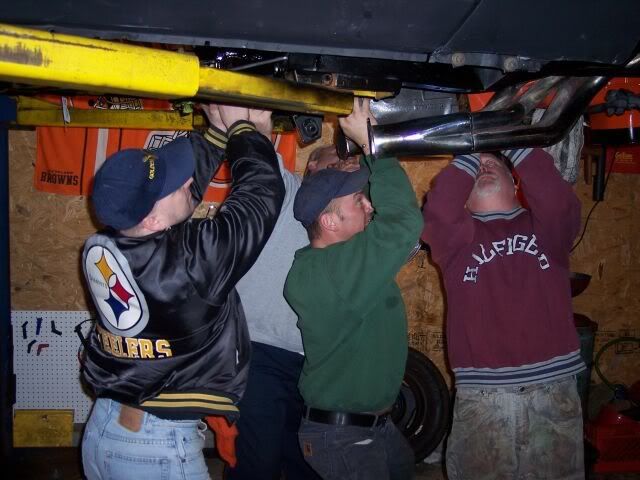
Well, the North East Ohio crew came armed with knowledge and strong backs. With help from 2 guys with 3.5 hour drives also,the 12 of us involved ourselves with a "how to" seminar of epic proportions, and we all walked away knowing a little bit of what's in that crazy head of FourgearSavoy. He not only was able to show us how to do the install, but why and where to do what was needed. Besides, he's a full time certified mechanic as well.. Before I start, if I forgot a step or you see something I typed was way off, please add your details, so this can be a perfect reference for future projects. We started off examining the said project car,a perfectly clean and painted, 71 Satellite Sebring Plus. It was the perfect candidate. Several years ago, I set out to do this to another car. So I started gathering parts. First call was to Brewer's Performance. They had everything, and I mean everything in stock for the conversion. I then purchased the 23 spline, dual shifter padded tranny from Dave Johnson of Syracuse, NY at the Norwalk show 3 years ago. After I found the Satellite in Reno, Nevada, I started getting to the nitty-gritty of setting up the car how I wanted. In talking to dozens of friends and Moparts member's, I concluded I was going to go with the CenterForce Dual Friction clutch package. For some reason I thought it would be cool to go with an aluminum flywheel. I had worked out a deal with Jamie Passon at the Nat's last year, and he sent it out to me. I went with an 11 inch setup because of parts found, and never thought an 11 inch flywheel would only have 130 teeth. I needed 143 and quick. It was 5 days until the install, and had to make the decision of 1) Swapping everything over to 10 1/2 inch 2) finding a billet 11 inch flywheel,BUT, in doing this, TTI says you have to "dent" the headers I have of theirs. That sucks. 3)Moparts Member RobbMc chimes in and tells me he's engineered a mini-starter that is made to clear TTI headers, and will work with the 143 tooth, 11 inch flywheel. #3 was the winner, so I contacted Passon to work another deal on a Billet 143, 11 inch flywheel, and ordered the RobbMc starter. Jamie Passon cme through in a pinch, he got the flywheel , somehow, from someone and got it to my house by Friday Morning !! RobbMc sent that beauty starter immediately also.. These were the final parts I felt I needed for the complete 4 speed conversion. Here are most of the parts I started with, not including the trans, pedals, starter or correct flywheel. 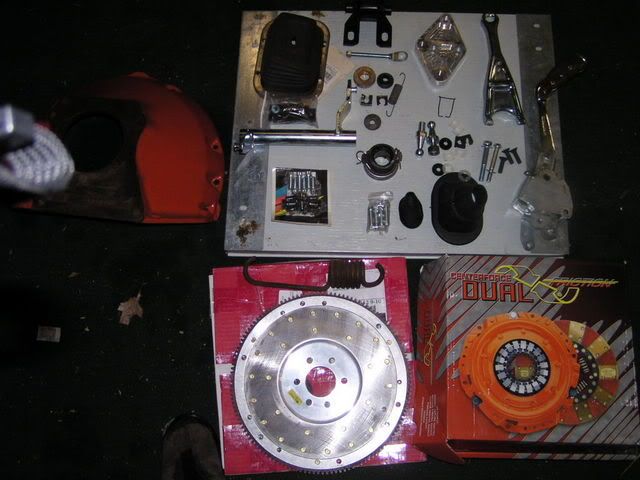 Ok, so the men start showing up , Sat. morning. FourgearSavoy was going to be running the seminar, so I made sure he was happy. He brought along his good friend Fireman Rick. We started inspecting parts and we got to work. Fluffy and Katfysh then showed up, each driving over 3 hours each to get to the show. Notacharger and NorthcoastMopar were right behind them. Northcoast brought along an incredible carb-plate device used to tilt the engine when needed. The Jim500 Sr and Jr show arrived just as we began our day..even Fran and IMBILL swung over to eat some soup and chips. 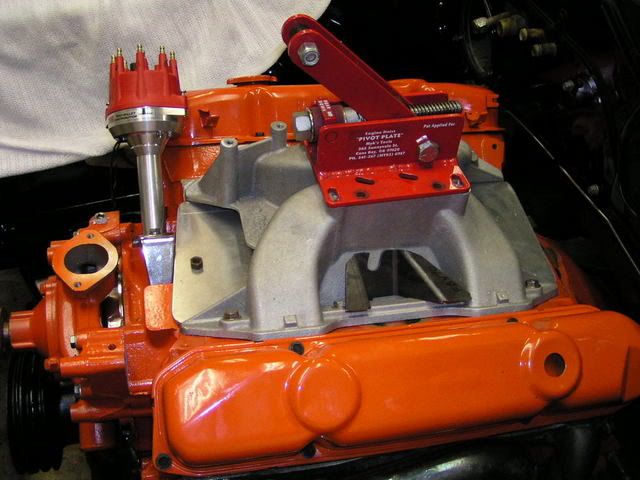
|
|
|
 Re: How to mostly do a fresh 4 speed swap in an afternoon
[Re: KatFysh]
#34301
Re: How to mostly do a fresh 4 speed swap in an afternoon
[Re: KatFysh]
#34301
02/05/07 09:30 PM
02/05/07 09:30 PM
|
Joined: Jul 2003
Posts: 12,129
Cleveland
sunroofgtx
OP
I Live Here
|
OP
I Live Here
Joined: Jul 2003
Posts: 12,129
Cleveland
|
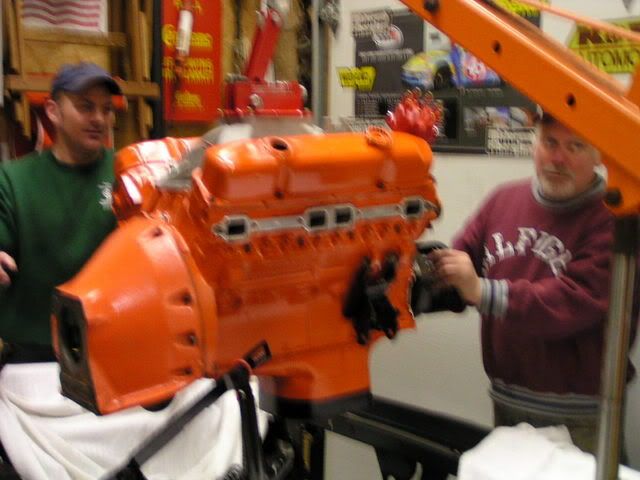
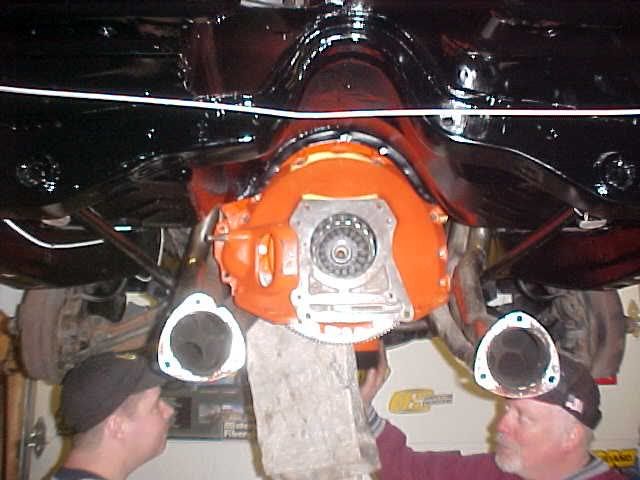
First and foremost, you should check to make sure you either have a 4 speed crank, or have it drilled to accept an input shaft, and measure your input shaft hole depth to make sure the shaft will go all the way into the crank without bottoming out. We were fine. 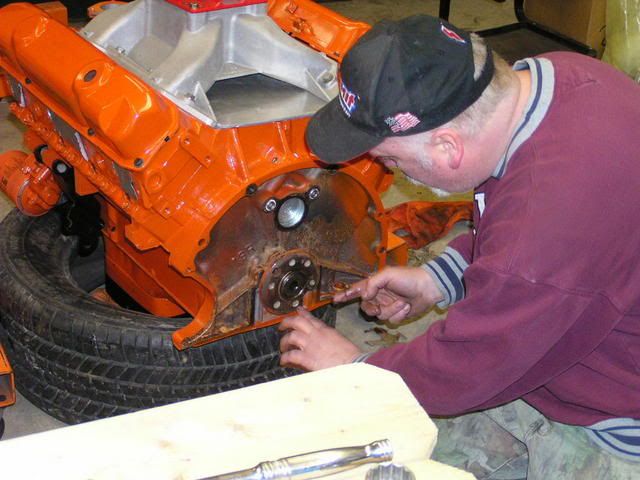 Our assembler brought his own pilot shaft to help with alignment throughout the assembly process. Another important point is having to preassemble everything to make sure it will all work together. This was already done by me during the week, just so there were no unseen surprises. I also chased all of the thread holes to ensure ease of assembly..  Our first major task was to dial in the bellhousing to block. One wants to make sure it centers the tranny to the crank centerline as possible. without it close ,the engine will slowly eat itself to death, and bad vibrations will tell the tale of it being off. We used new dowel pins to get a baseline of where our bell to block lined up. we cleaned them up with emory and a drill press.  First off, clean the flywheel, and bolt it onto the crank, leaving one bolt out for the magnetic dial indicator assembly.  Next, clean each surface that will be mated to each other. You need nice, clean surfaces to work with. 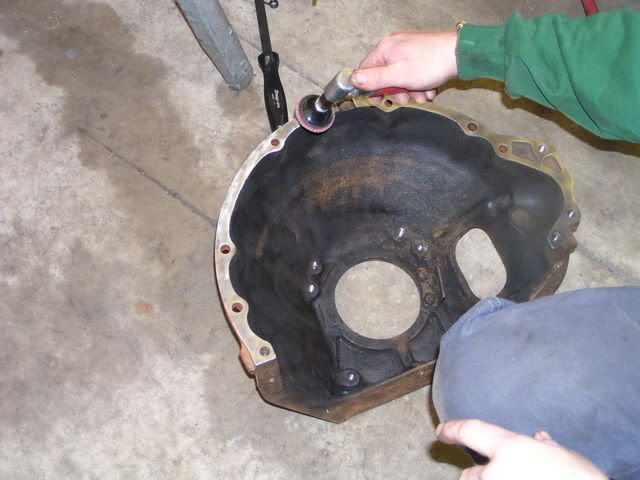
Join the quickest team in motorsports. Team FireCore. CustomWiresets.com
|
|
|
Re: How to mostly do a fresh 4 speed swap in an afternoon
[Re: sunroofgtx]
#34302
02/05/07 09:41 PM
02/05/07 09:41 PM
|
Joined: Jul 2003
Posts: 12,129
Cleveland
sunroofgtx
OP
I Live Here
|
OP
I Live Here
Joined: Jul 2003
Posts: 12,129
Cleveland
|
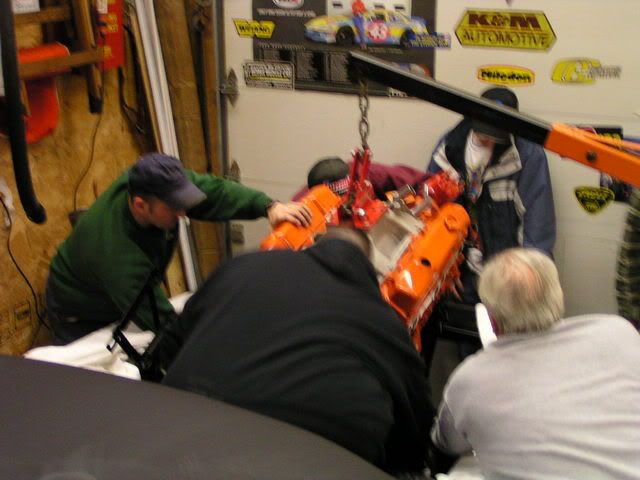
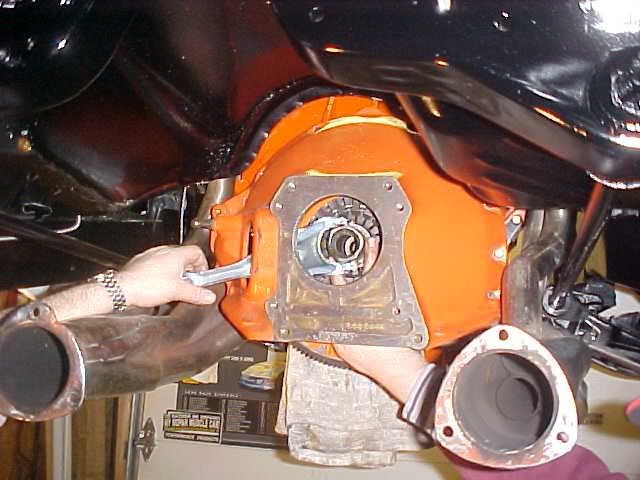
Next, bolt and torque the bell to 55 ft lbs, as per Chrysler specs.  You want to line up the indicator to the bell opening for referencing. Have your slave-boy spin the crank from the front slowly to get a starting reference number and zero out the gauge. Turn the crank while watching the needle sweep, and get the maximum number read.After it was all said and done, were within 8.5 thousandth's. We were all impressed with the number and left it at that. 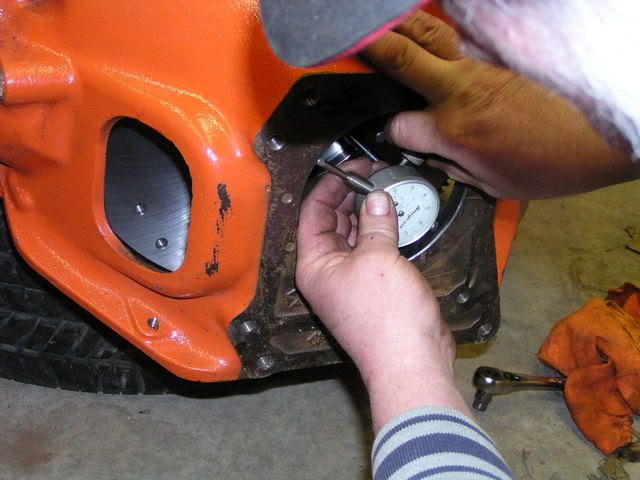 Next, take off the bell and prep the clutch assembly. Making sure all surfaces are clean, align to correct boltholes and assemble. Make a reference mark for final assembly correctness. 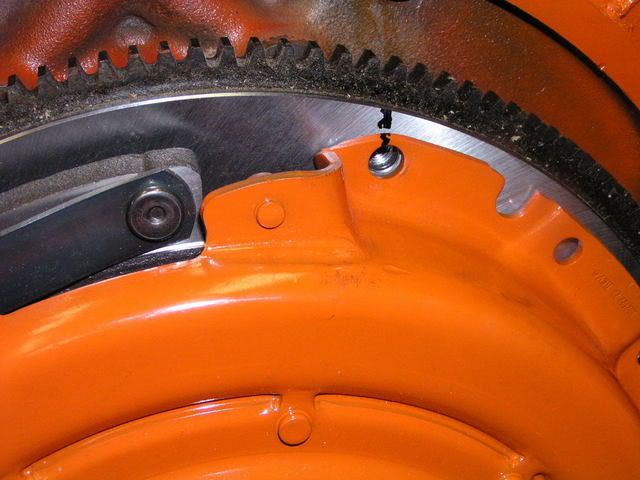 Preassemble the clutch onto the flywheel for correct fit. You can use the plastic tool, or like our seminar VIP, use an actual input shaft. Clean all clutch surfaces, and reassemble , using brand new bolts. Always use brand new bolts if you can on everything. 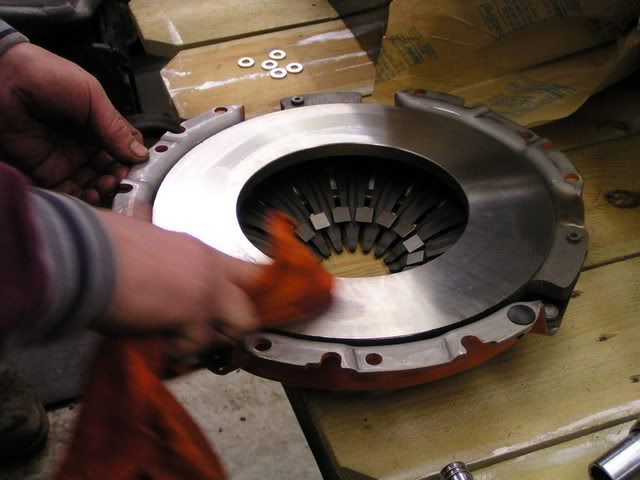 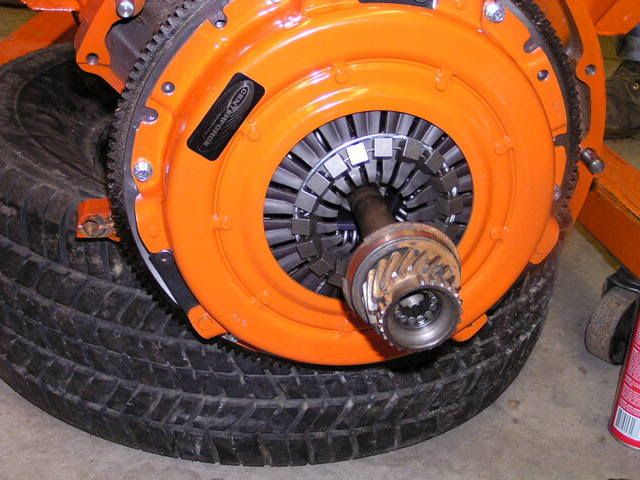 Torque to specs.. 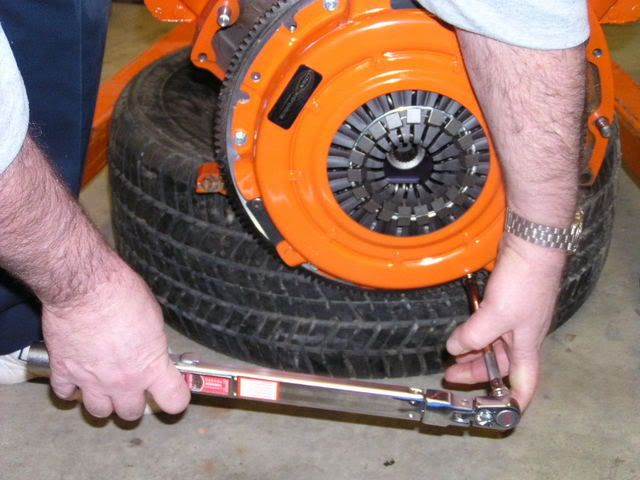
|
|
|
Re: How to mostly do a fresh 4 speed swap in an afternoon
[Re: sunroofgtx]
#34303
02/05/07 10:04 PM
02/05/07 10:04 PM
|
Joined: Jul 2003
Posts: 12,129
Cleveland
sunroofgtx
OP
I Live Here
|
OP
I Live Here
Joined: Jul 2003
Posts: 12,129
Cleveland
|
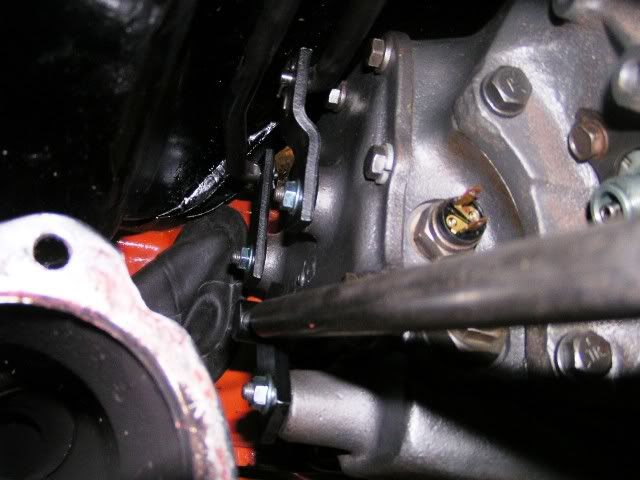
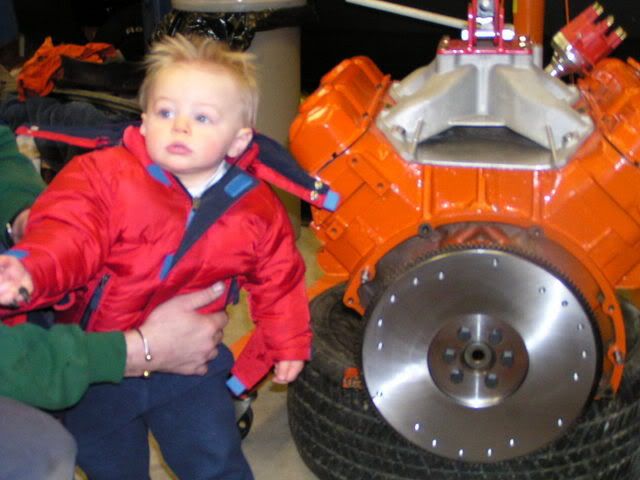
While we were prepping the clutch assembly and final installing, we had Jim Sr and Jr preassemble the drivers side header and that awesome RobbMc starter.. Perfect fit.. It is an incredible piece..  And Gus gave it his authorization..  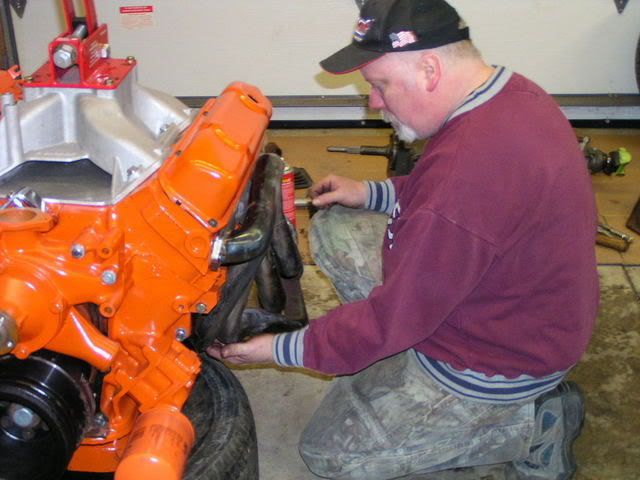 After everything is torqued down, check for proper alignment again.. Next, final assemble the bell to the block, again, try to use new bolts and thread lock on all of the bolts used in assembly. 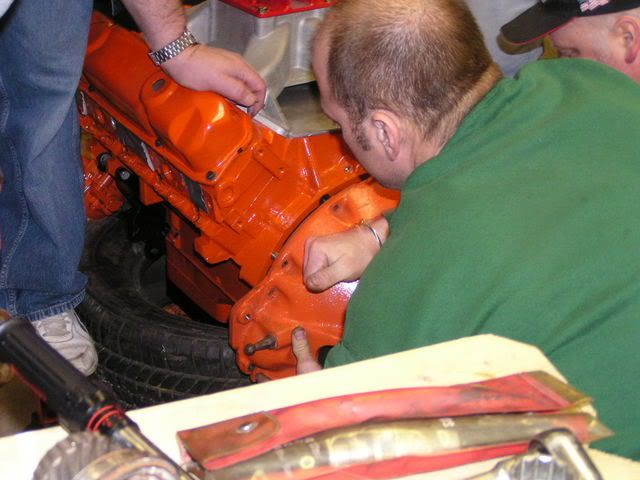 Now for the actual transmission prep. Gus wasn't happy with how reverse shifted, so we loosened all of the sidecover bolts, and worked the synchros smoothly, while tightening opposite side bolts to the case. Make sure all of the bolts have the same size washers. 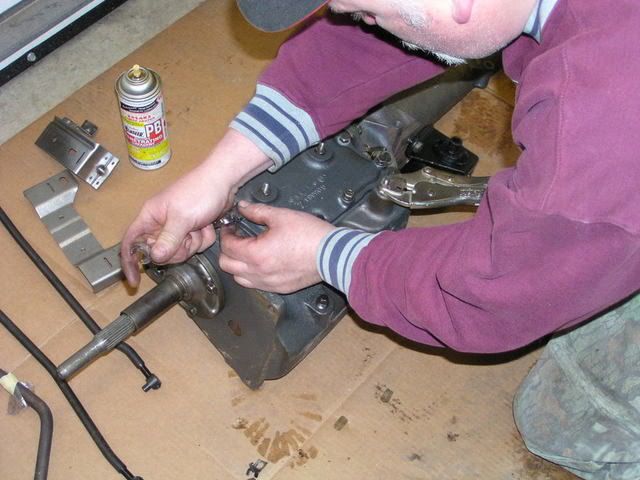 Preassemble the shifter, rods and shifting levers also. You must align and preset the swivel brackets to near proper position. You do this by aligning the holes above the arms and stick in a 1/4 rod. Set all forward gears this way. Reverse can be done in the car. Final adjustment will be done test driving the car.   Make sure there is a speedometer gear and seal in the gear assembly, clean and install. 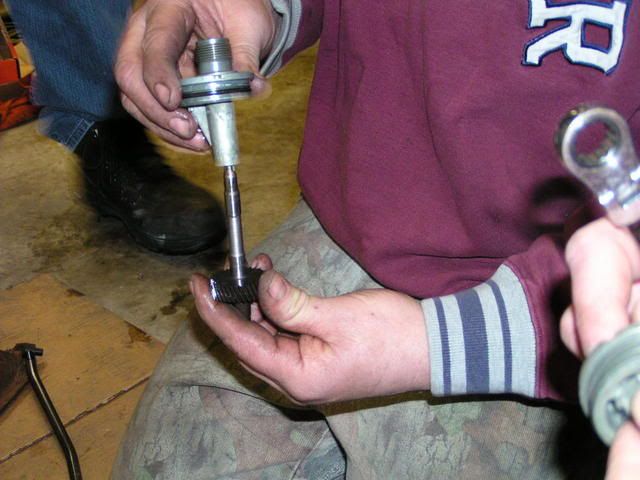
|
|
|
Re: How to mostly do a fresh 4 speed swap in an afterno
[Re: sunroofgtx]
#34312
02/06/07 09:08 PM
02/06/07 09:08 PM
|
Joined: Jul 2003
Posts: 12,129
Cleveland
sunroofgtx
OP
I Live Here
|
OP
I Live Here
Joined: Jul 2003
Posts: 12,129
Cleveland
|
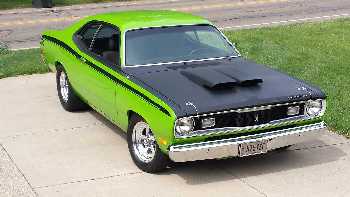
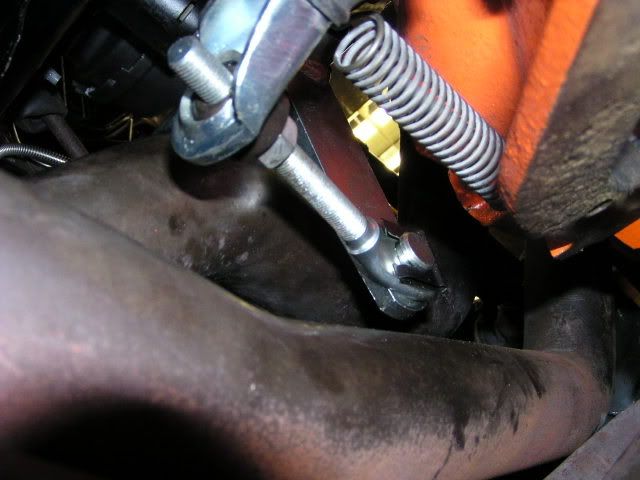
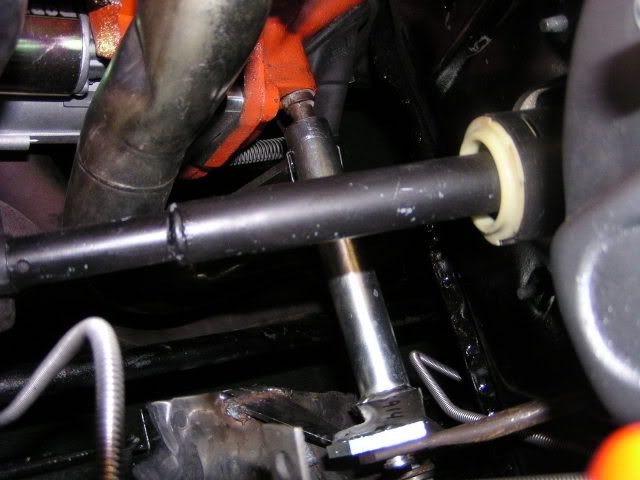
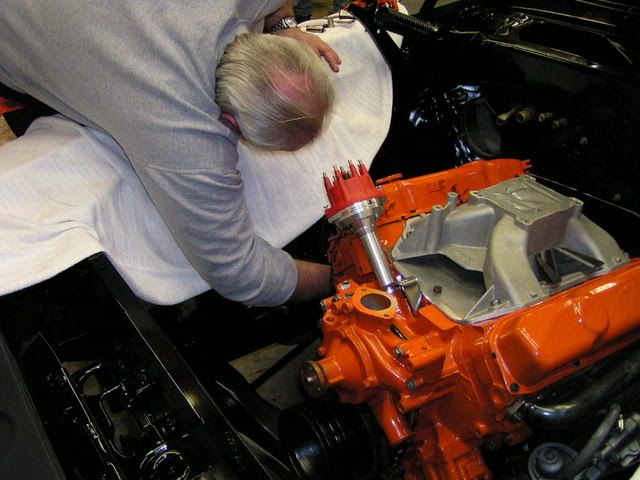
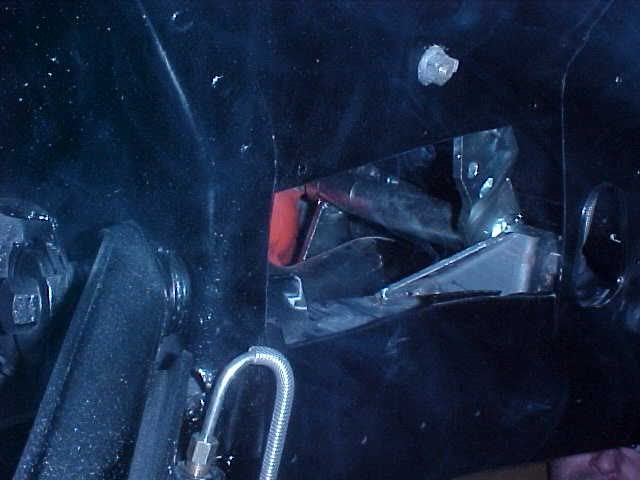
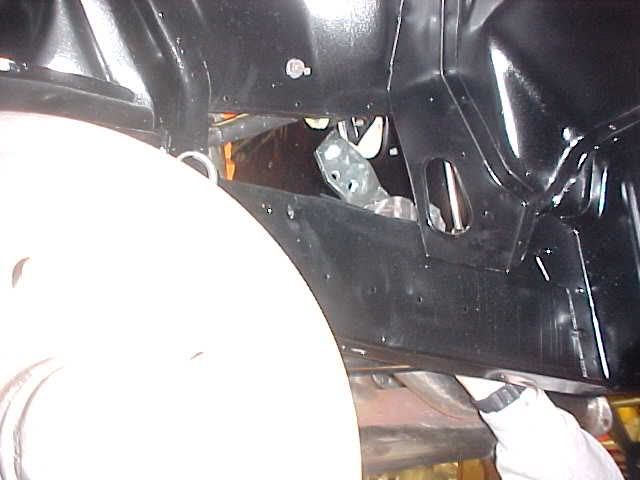
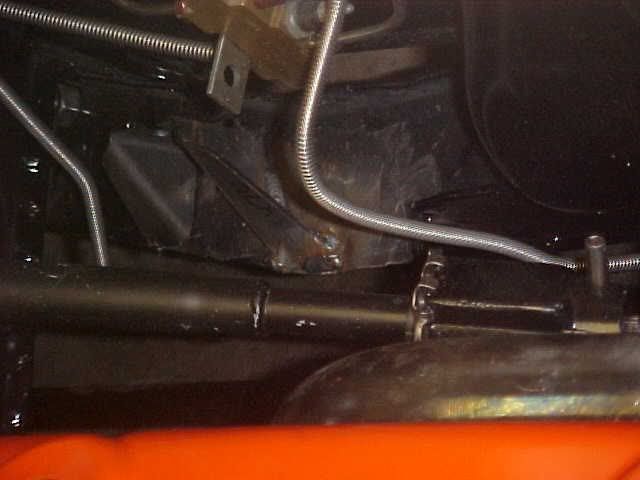
Ok, I'll post some more pics, and Gus can chime in. I was locked in my car, up ontop of the lift.. I helped with the pedal end of adjustments.. Here is a pic of how the RobbMc starter fits 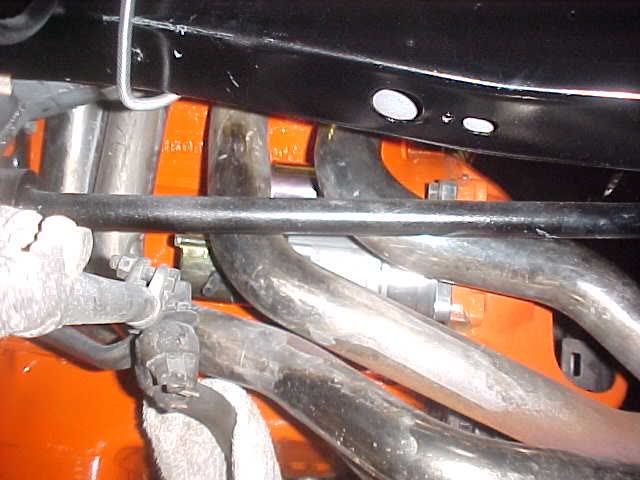 After bolying in the cross member and mount, we move to the shifter rods and shift levers. 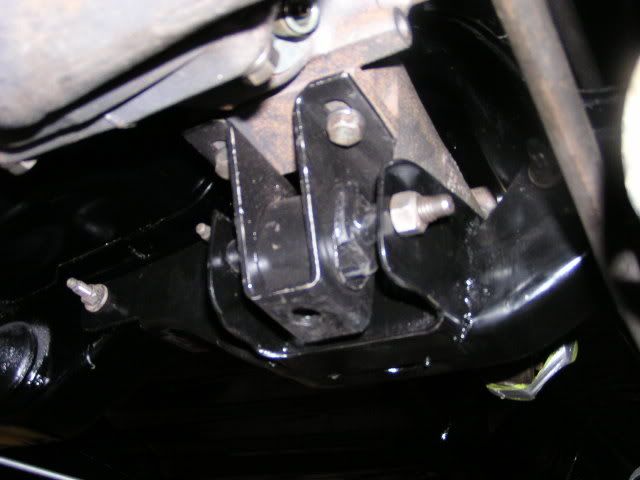 
Join the quickest team in motorsports. Team FireCore. CustomWiresets.com
|
|
|
Re: How to mostly do a fresh 4 speed swap in an afterno
[Re: sunroofgtx]
#34314
02/06/07 09:27 PM
02/06/07 09:27 PM
|
Joined: Jan 2003
Posts: 9,116
Falconer, NY
KatFysh
master
|
master
Joined: Jan 2003
Posts: 9,116
Falconer, NY
|
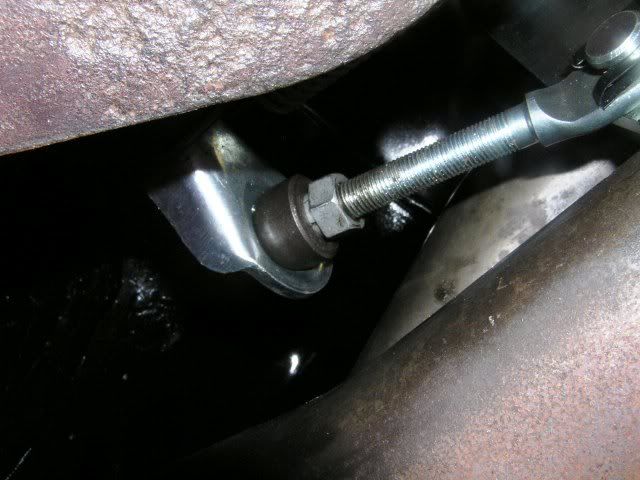
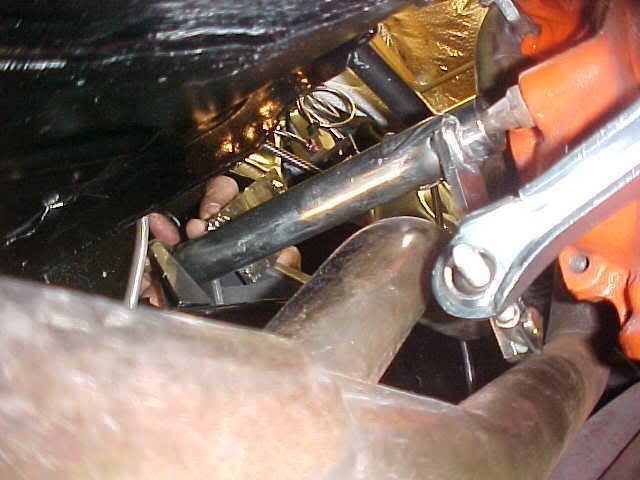
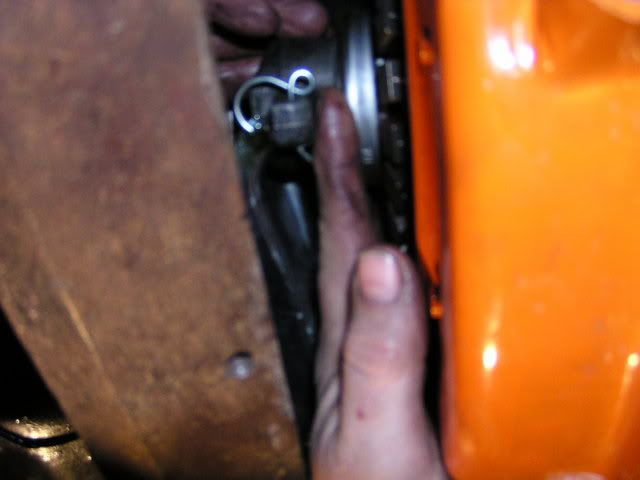
In this pic.. I was trying to show the clearance of the headers to the inner tie rod end and the a bad shot of how you can actually get to the starter. I was really impressed with the TTI header clearance. Especially since all I've done anything with is Super Comps.. Man, night and day.. I think I sent ya 1 or 2 more to show clearances.
When you decide to quit, THAT is the moment when you would've succeeded..
|
|
|
|
|


 Nice step by step.. Hey Fluffy, didn't he tell us to shush for the pic..