 Redoing rear seat back upholstery of Challenger
#907041
Redoing rear seat back upholstery of Challenger
#907041
01/17/11 10:22 AM
01/17/11 10:22 AM
|
Joined: Sep 2009
Posts: 263
Switzerland, Europe
Swiss_Robert
 OP
OP
enthusiast
|
OP
enthusiast
Joined: Sep 2009
Posts: 263
Switzerland, Europe
|
The partial-resto of my 1970 Challenger hardtop progresses and now I start dealing with seat upholstery. Beginning with rear seat back.
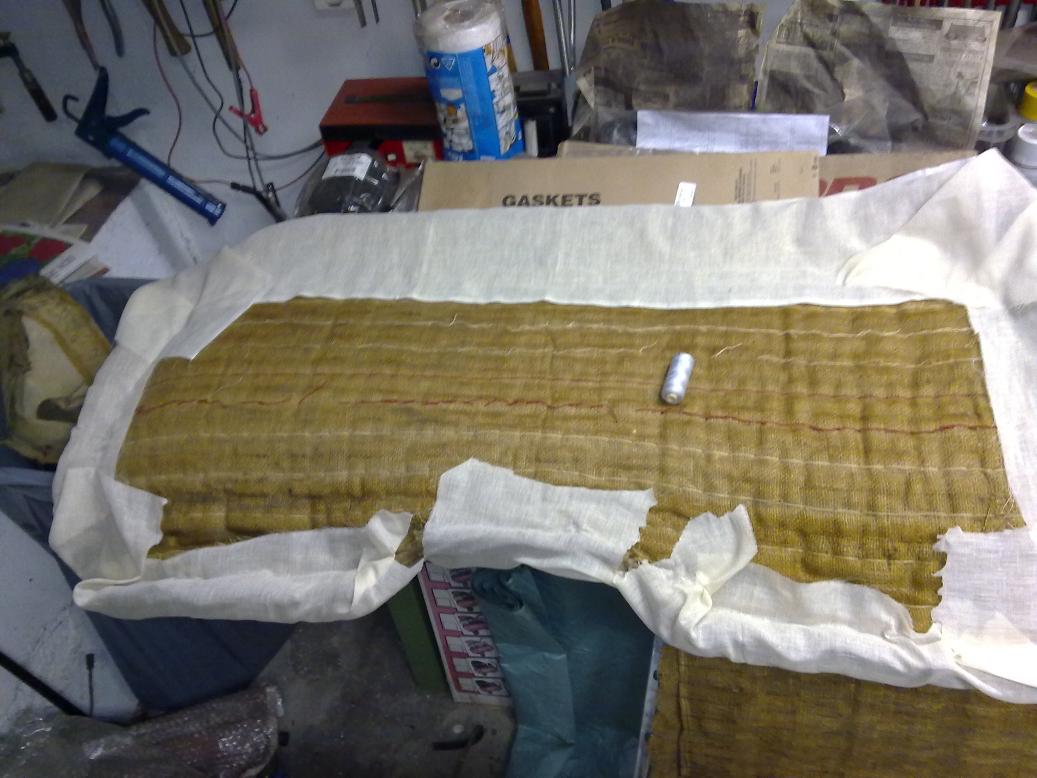
Removing the partially rotted cover I found the upholstery looking not too bad - it's not foam but may be wool or like enwrapped in mull and having a jute backside. I'll use it again, as I also will reuse the additional divider (between feathers and upholstery) out of jute with horizontal wires through it.
But now to my question:
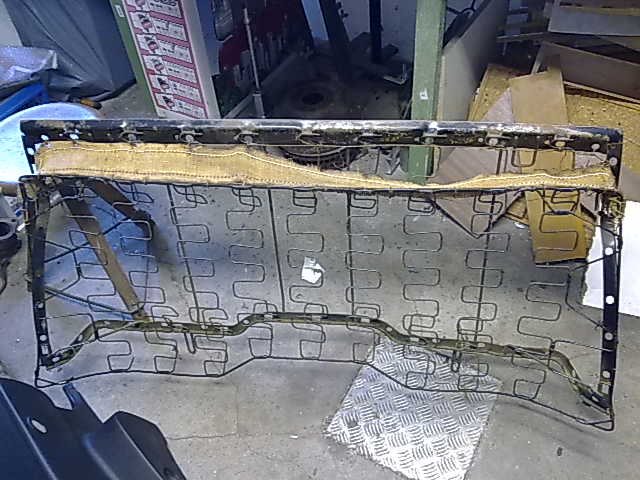
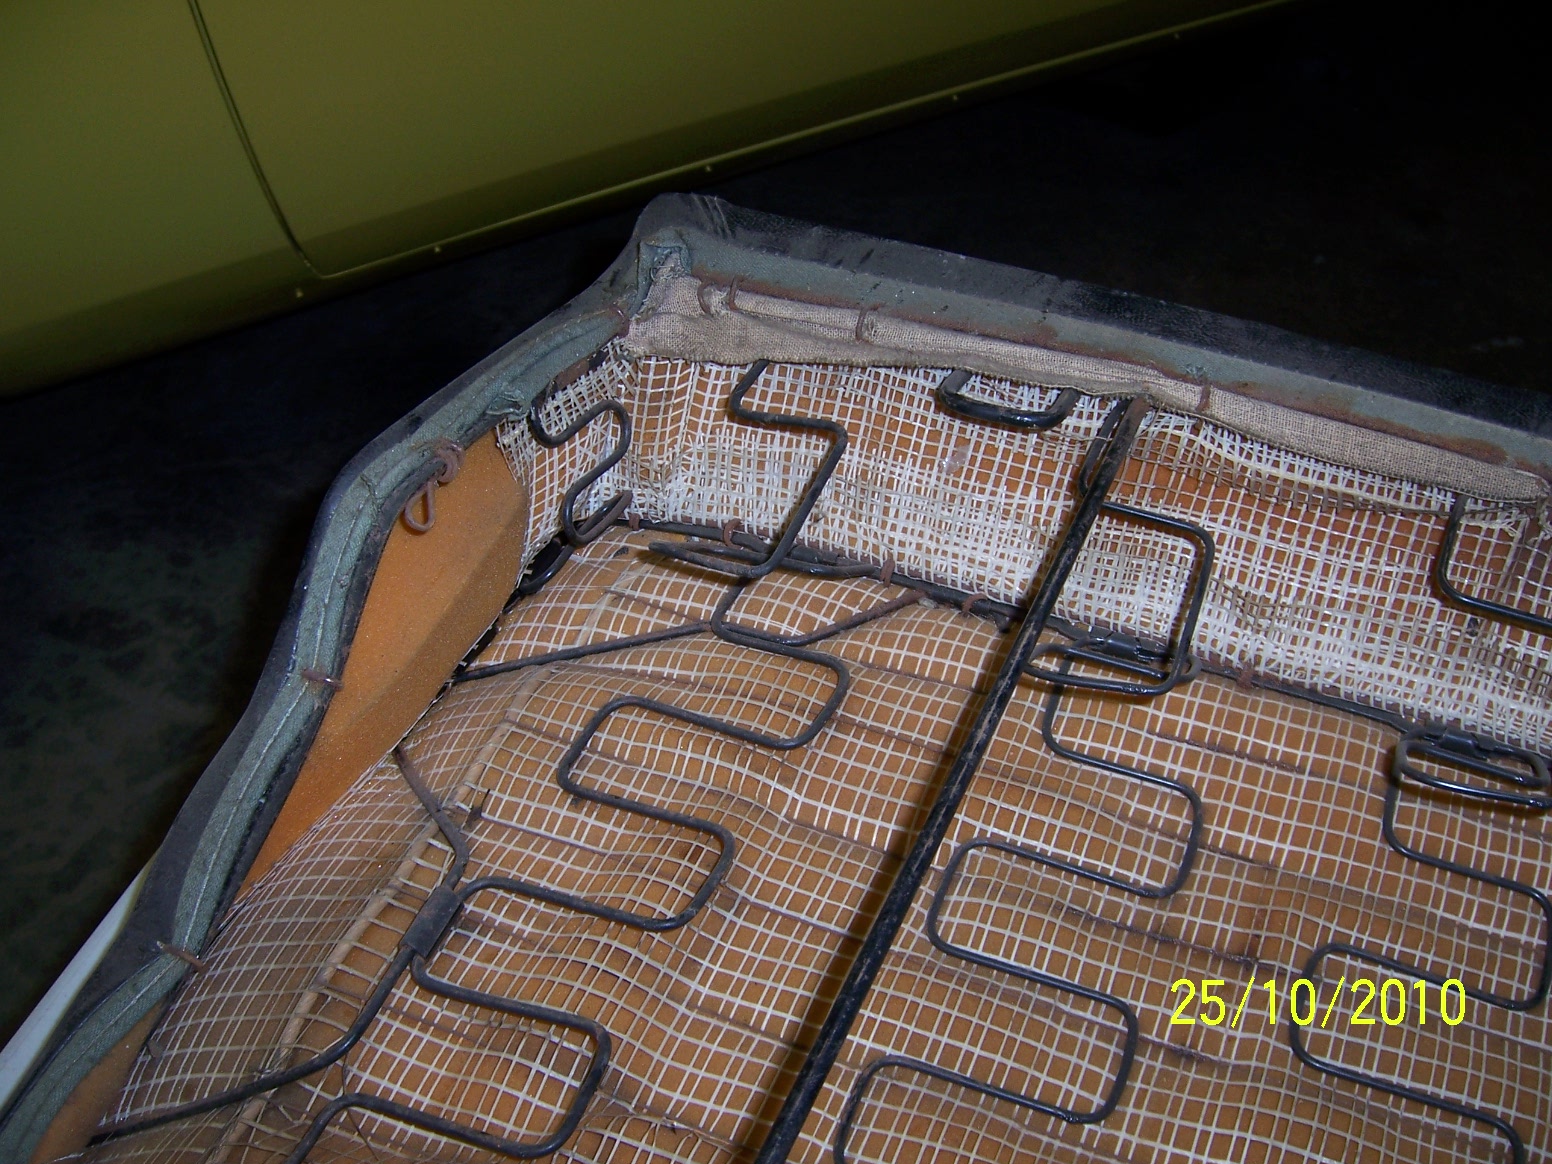
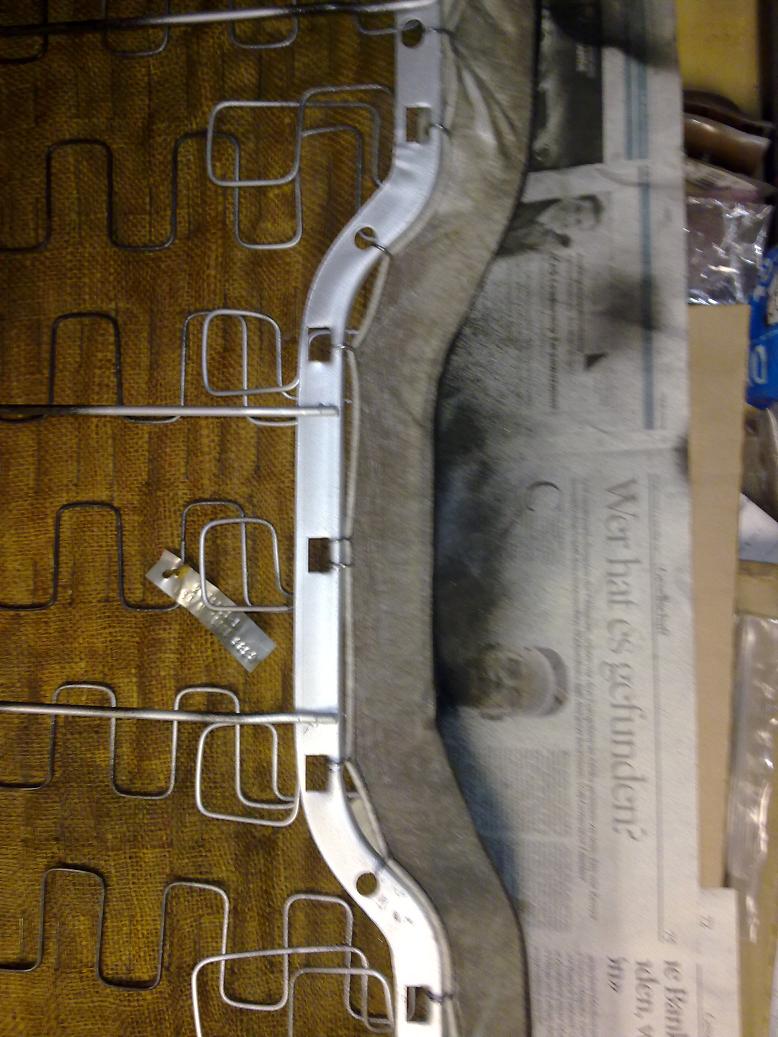
The remaining, metal feather-skeleton has on its top another stripe of jute attached (see pic). It has a wire stitched in on both edges (that's where it has cracked).
What's the duty of that stripe out of jute? What will happen, when it's left away?
Is it appropriate to just use textile cord to knot a rough web instead of that stripe?
After all these years having a 440 I realized that this means having an attitude... and a budget.
|
|
|
Re: Redoing rear seat back upholstery of Challenger
[Re: Swiss_Robert]
#907044
01/18/11 11:00 AM
01/18/11 11:00 AM
|
Joined: Jan 2008
Posts: 1,300
Washington
19cuda73
pro stock
|
pro stock
Joined: Jan 2008
Posts: 1,300
Washington
|
Mine was the same way. I believe it is just support for the foam and cover. I reinstalled it prior to recovering.
1966 Charger 383 4 speed (Black with Red interior)
1973 Cuda 340 4 speed (Lemontwist)
1972 Corvette
|
|
|
Re: Redoing rear seat back upholstery of Challenger
[Re: Swiss_Robert]
#907048
01/31/11 08:56 AM
01/31/11 08:56 AM
|
Joined: Sep 2009
Posts: 263
Switzerland, Europe
Swiss_Robert
OP
enthusiast
|
OP
enthusiast
Joined: Sep 2009
Posts: 263
Switzerland, Europe
|
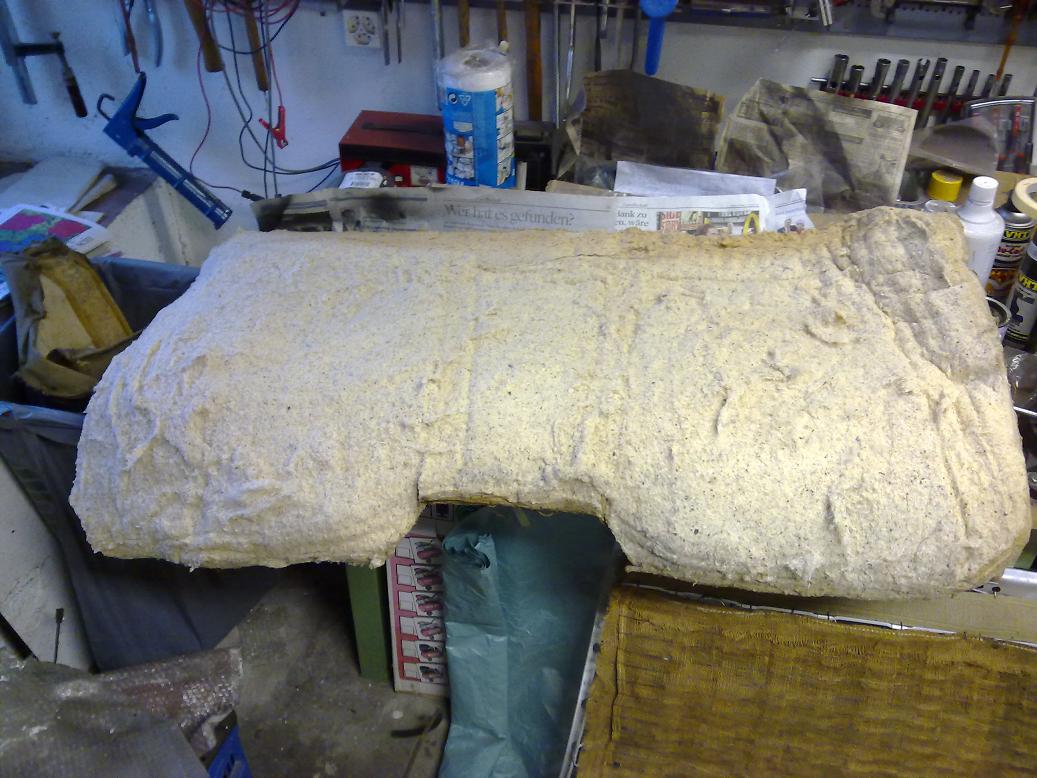
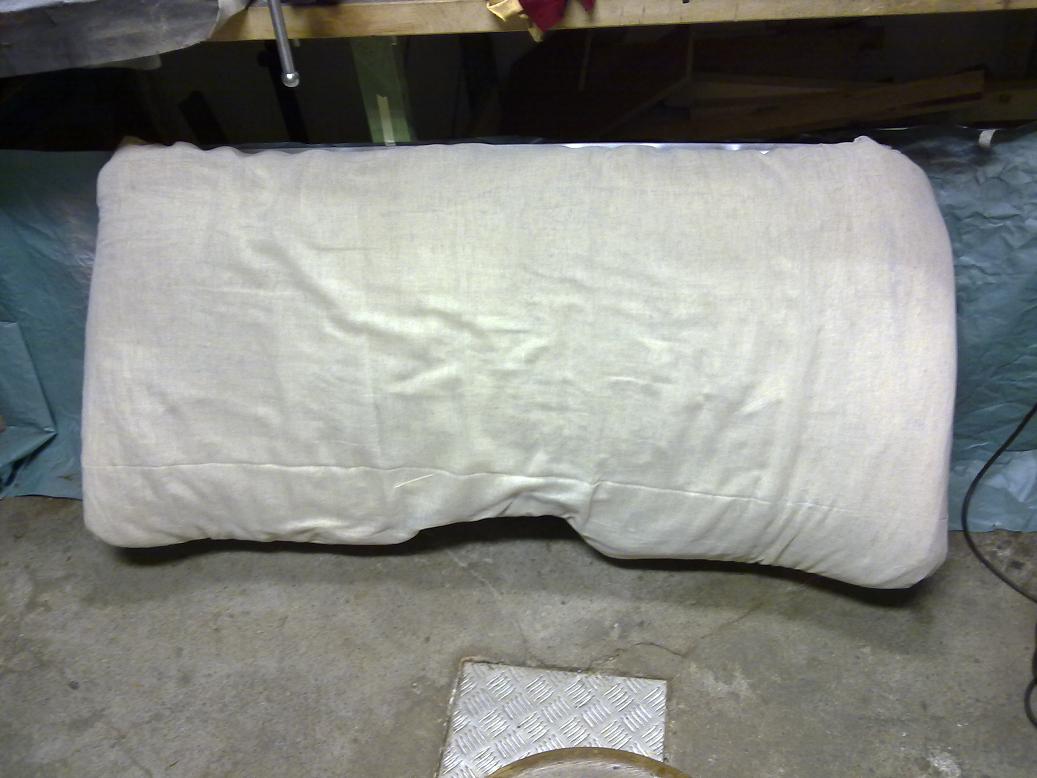
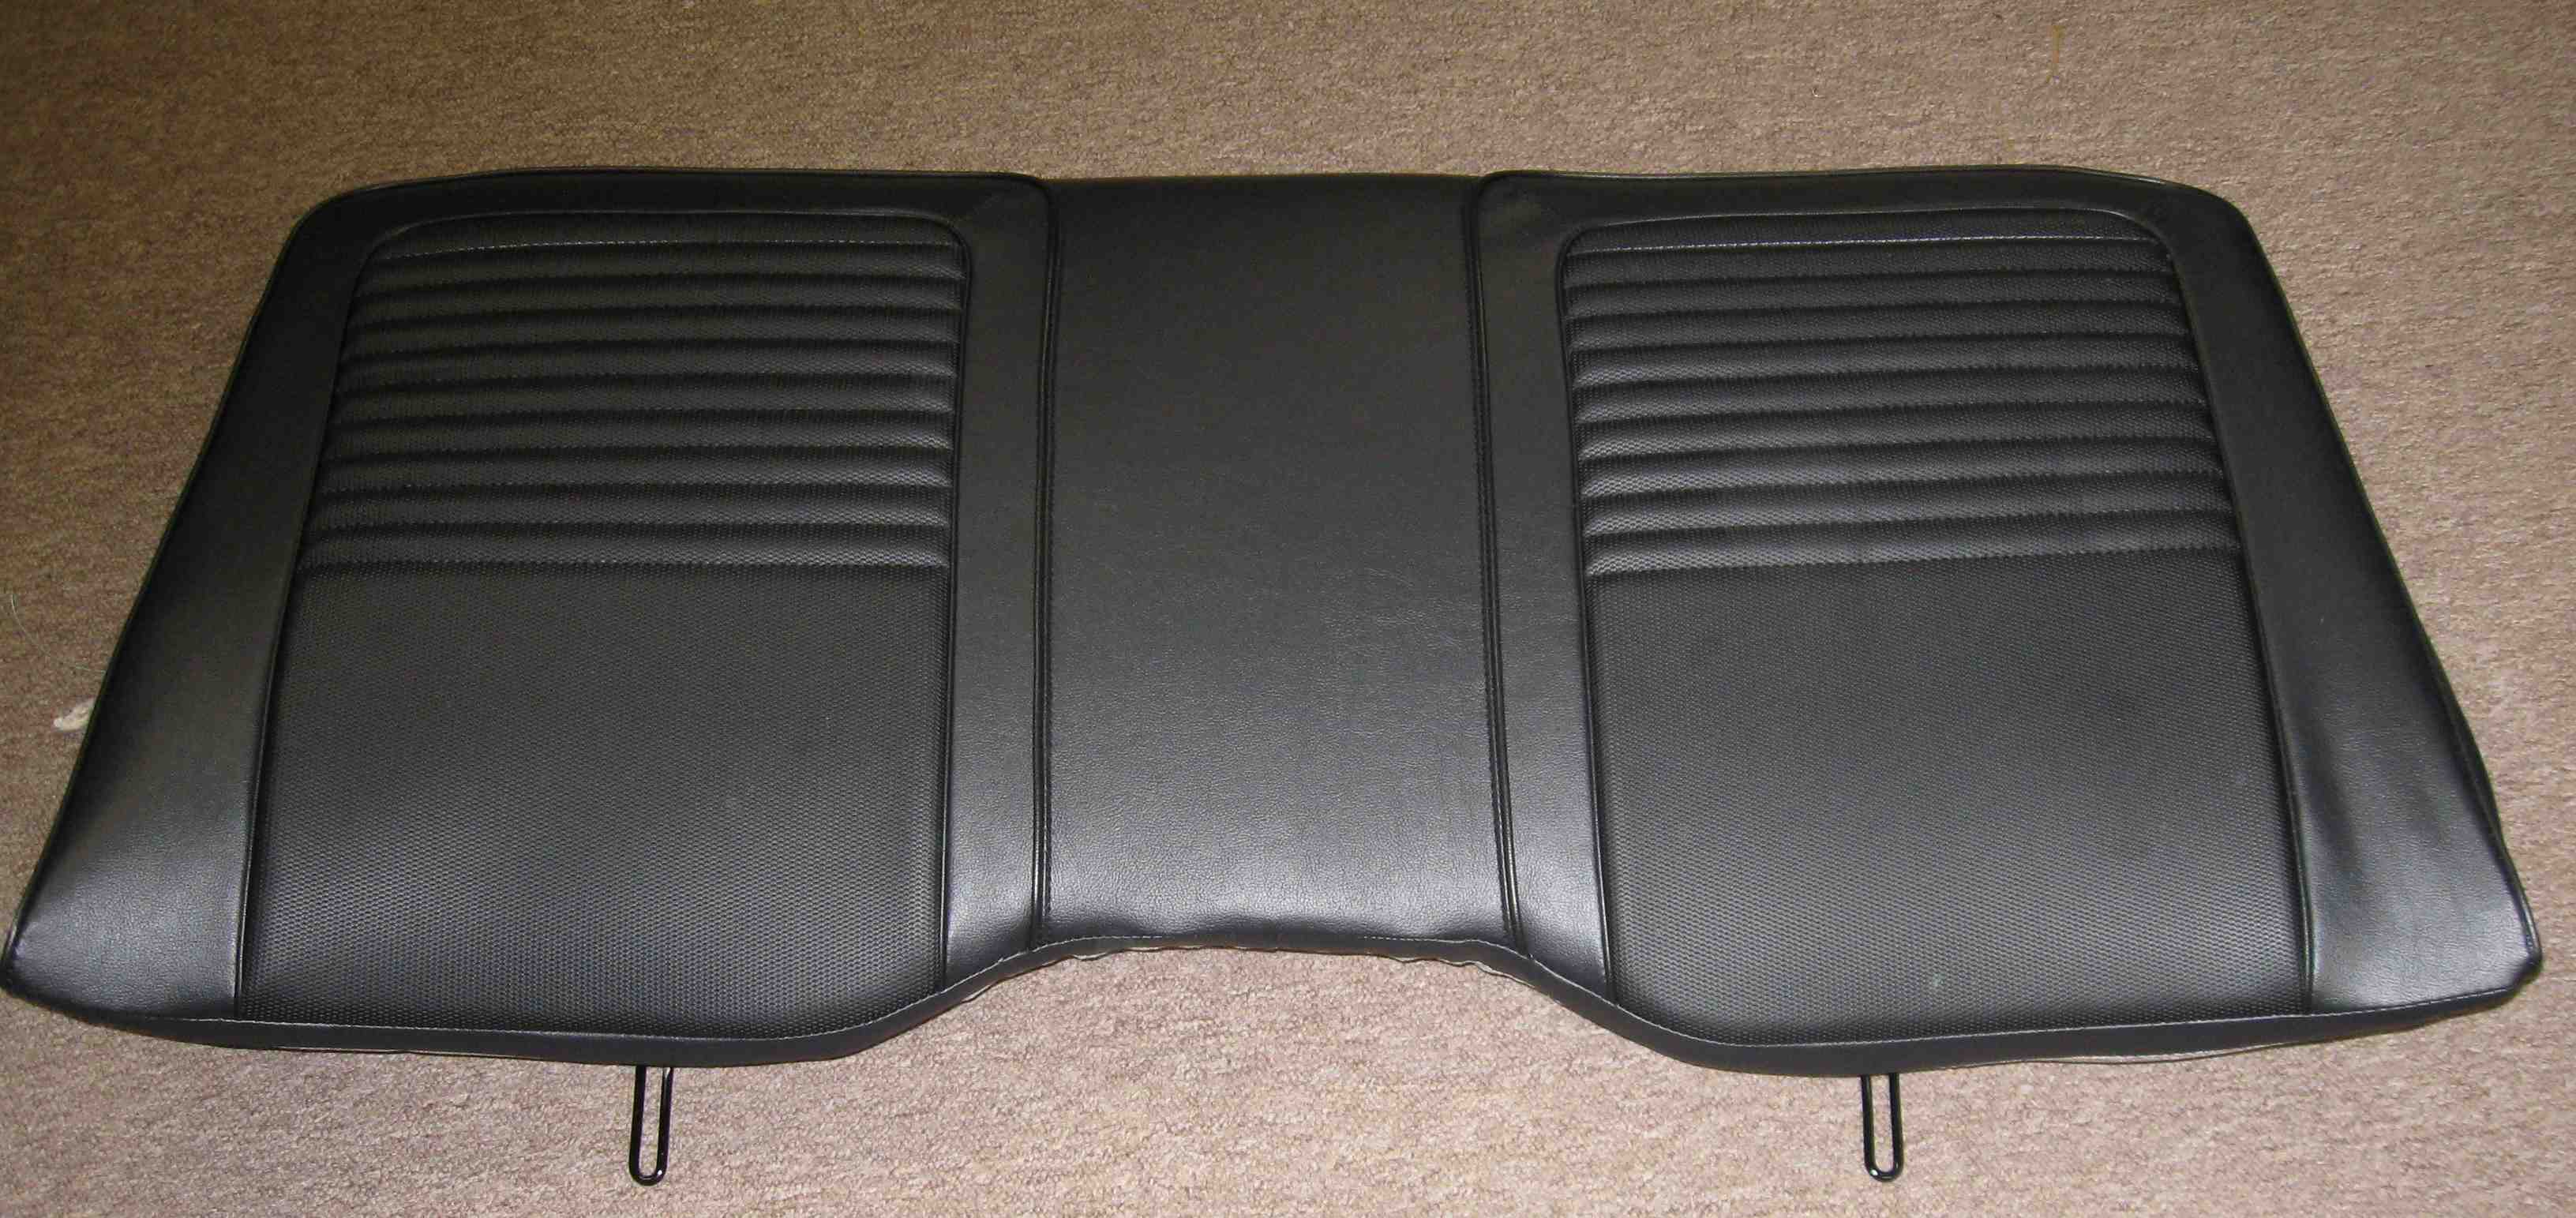
It worked - this is just sharing the pics:
Sewed a new stripe out of burlap.
After all these years having a 440 I realized that this means having an attitude... and a budget.
|
|
|
Re: Redoing rear seat back upholstery of Challenger
[Re: Swiss_Robert]
#907055
02/01/11 11:09 AM
02/01/11 11:09 AM
|
Joined: Aug 2009
Posts: 1,083
Long Island, NY
70plymA34
super stock
|
super stock
Joined: Aug 2009
Posts: 1,083
Long Island, NY
|
Quote:
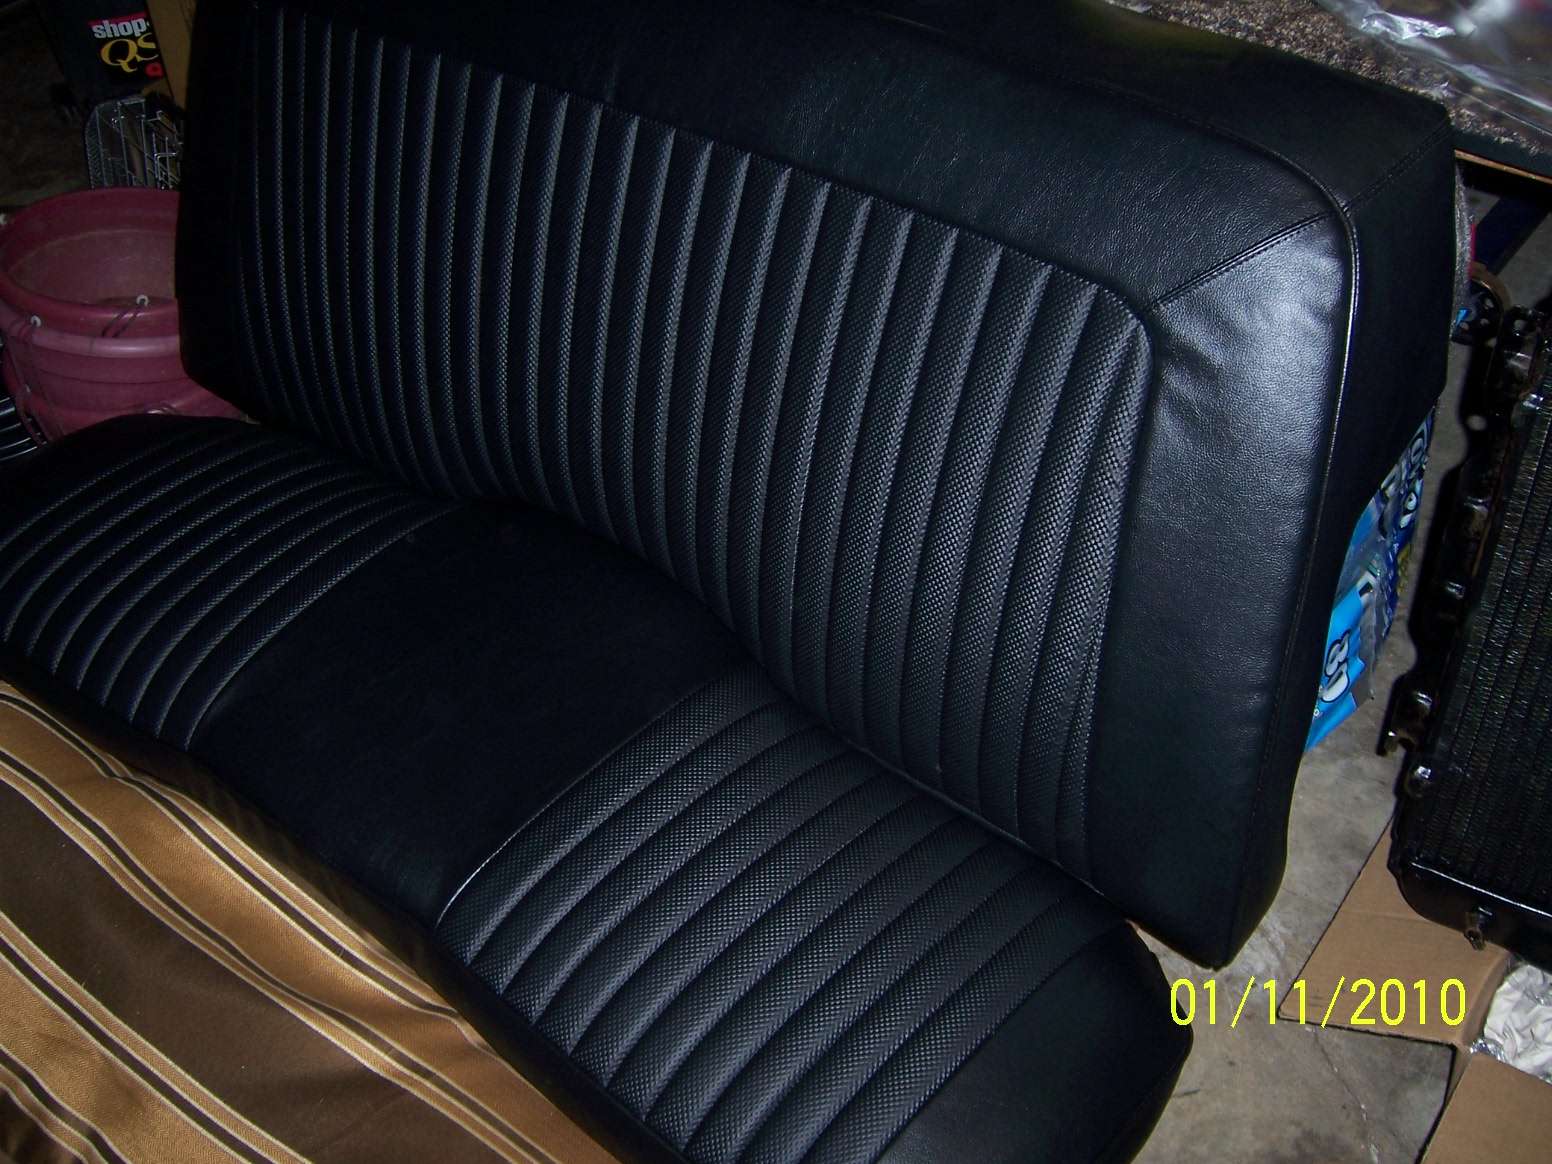
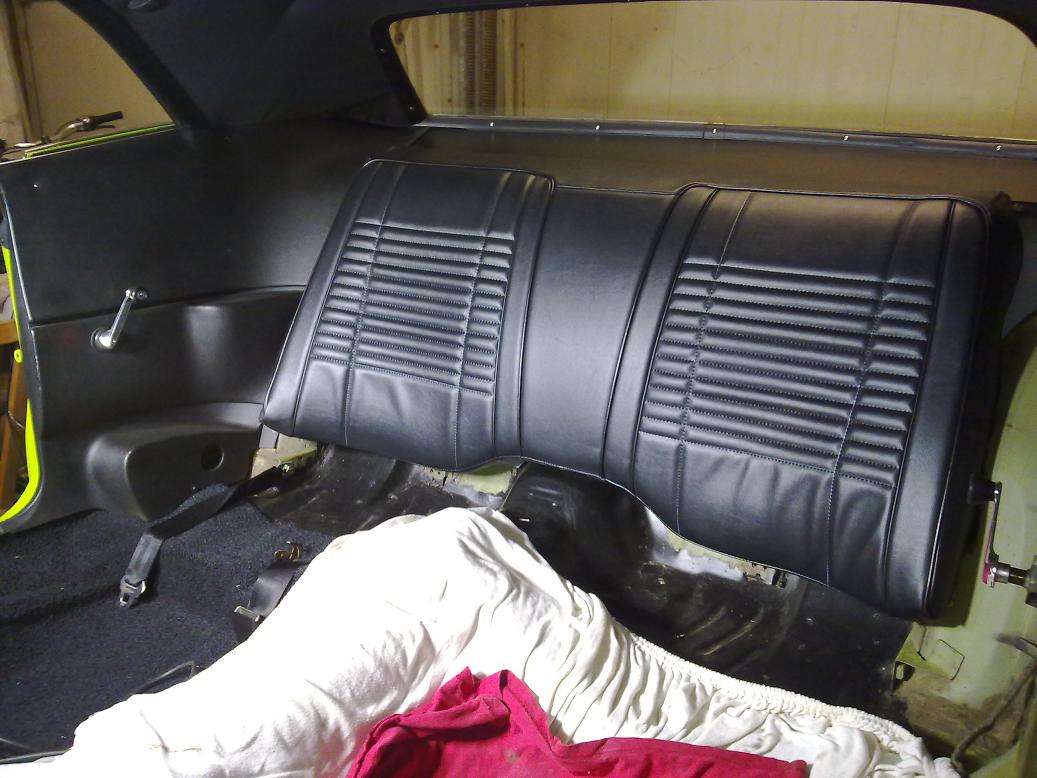
Looks not too bad! Some folding I could not pull out, may be upholstery needed to be filled up a bit - but the seams are where they should be. Took me about 20 minutes to admire it 
Just a quick tip to get those wrinkles out if you want to go through the trouble. remove all the hog rings and follow the exact directions from legendary. i think that they say to start at the center and work your way out to the edges and that should pull the right tension to get rid of those wrinkles. It worked for me on my rear seats and there were no problems. Nice job either way. Seat Upholstery is no walk in the park and can be annoying at times. Legendary has online instructions off their website.
|
|
|
Re: Redoing rear seat back upholstery of Challenger
[Re: 70plymA34]
#907056
02/01/11 11:18 AM
02/01/11 11:18 AM
|
Joined: Sep 2009
Posts: 263
Switzerland, Europe
Swiss_Robert
OP
enthusiast
|
OP
enthusiast
Joined: Sep 2009
Posts: 263
Switzerland, Europe
|
Well, I DID follow those directions.
If the seam of the cover is on the edge of the upholstery - it cannot be pulled more sidewards.
I assume I lost a bit volume in the upholstery material.
Usually the rear bench is the easiest piece to start with... will get harder.
After all these years having a 440 I realized that this means having an attitude... and a budget.
|
|
|
Re: Redoing rear seat back upholstery of Challenger
[Re: Swiss_Robert]
#907057
02/01/11 12:56 PM
02/01/11 12:56 PM
|
Joined: Aug 2009
Posts: 1,083
Long Island, NY
70plymA34
super stock
|
super stock
Joined: Aug 2009
Posts: 1,083
Long Island, NY
|
Quote:
Well, I DID follow those directions.
If the seam of the cover is on the edge of the upholstery - it cannot be pulled more sidewards.
I assume I lost a bit volume in the upholstery material.
Usually the rear bench is the easiest piece to start with... will get harder.
I tried to duplicate exactly what was under my seat cover with new material. The best way to possibly fix that problem is to maybe start again. I used 3 or 4 layers of cotton batting cut to the exact dimensions of the original batting then wrapped it in cheesecloth which holds the batting together. Also did you slightly heat the covers to make them more elastic to work with before installation. here is a pic of my rear seat after installation and to legendarys instructions. I noticed with each hog ring placed it would eliminate the wrinkle.
Just some advice to you if you are doing bucket seats. Bring them to a seat shop with a small steam unit. That makes installation a little easier. You are right, the rear seats are easiest, the fronts are a different story. Be patient and I am sure your rear seat will come out fine.
|
|
|
|
|


