|
 Re: New Paint job on a budget thread Part III(help!)
[Re: Jones0007]
#38895
Re: New Paint job on a budget thread Part III(help!)
[Re: Jones0007]
#38895
08/07/09 11:11 PM
08/07/09 11:11 PM
|
Joined: May 2006
Posts: 575
Canada
Marq

mopar addict
|
mopar addict
Joined: May 2006
Posts: 575
Canada
|
Quote:
still doesnt asnwer my question can i use those sprays?
http://www.homedepot.com/webapp/wcs/stor...amp;R=100670334 
It's a Rustoleum product... and so I would assume that to get the 2X coverage they have just doubled up the amount of pigment being sprayed.
It should be compatible as long as it is the pigment that has been doubled and not the amount of paint being sprayed. Even if it is a different formulation of paint and carrier - the odds are that 'since it is Rustoleum, it in theory should be compatible with previous Rustoleum paints - and that in turn would mean that it is compatible with Brightside.
.
.
|
|
|
Re: New Paint job on a budget thread Part III
#38897
08/09/09 10:37 PM
08/09/09 10:37 PM
|
Anonymous
Unregistered
|
Anonymous
Unregistered
|
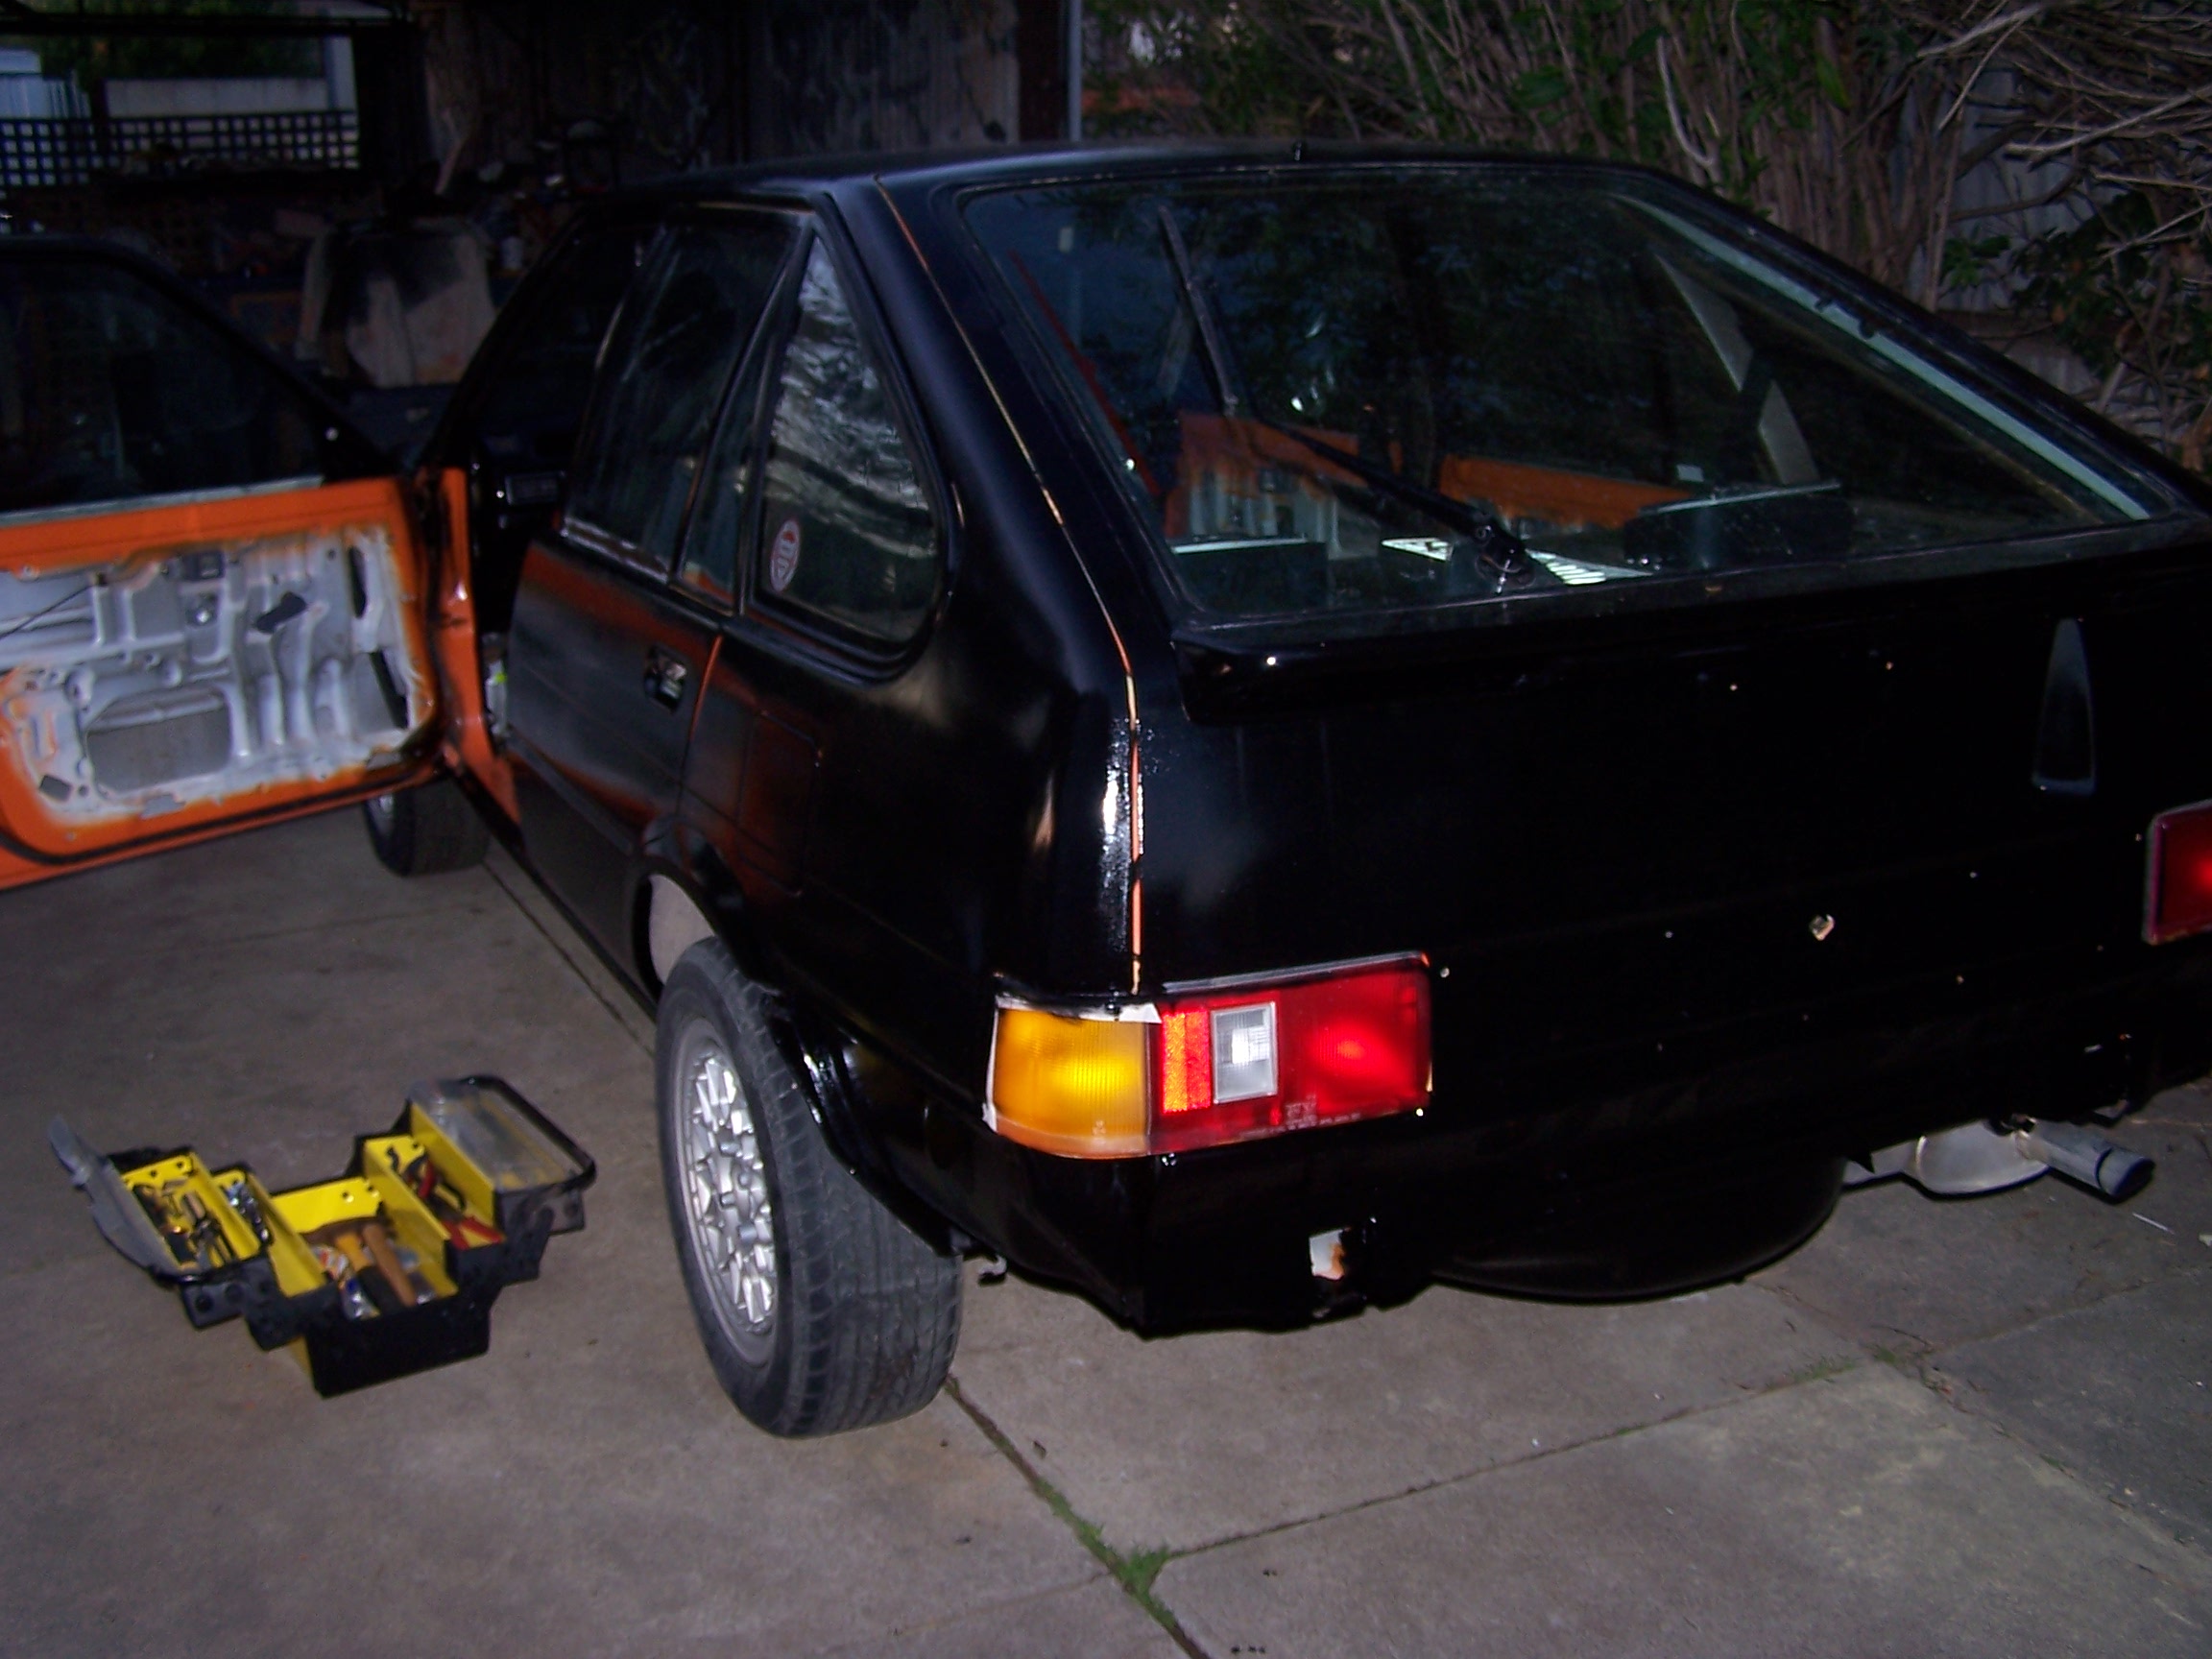
Against everyones advice regarding adding pearl to a rolling paint job, I decided to give it a try. I figure if it didn't work 220 grit paper and a couple of hours of wetsanding would bring me back to square one. I added Satin Silver Pearl from "Painting with Pearl", and rolled 3 coats. I added .75 tablespoons per 200 ml of brightside paint. Each time before loading the roller I would stir the paint to make sure the pearl was well mixed. I spread the paint in many direction to reduce the chances of streaking and finished with lightly rolling in one direction along the length of the car. I think it looks pretty good and I did not see the streaking that was expected and it did make the paint sparkle in the sun light. I am now starting the final wetsanding process, I plan on finishing one panel including polishing to see how it turns out, before moving on. Here are some pics: 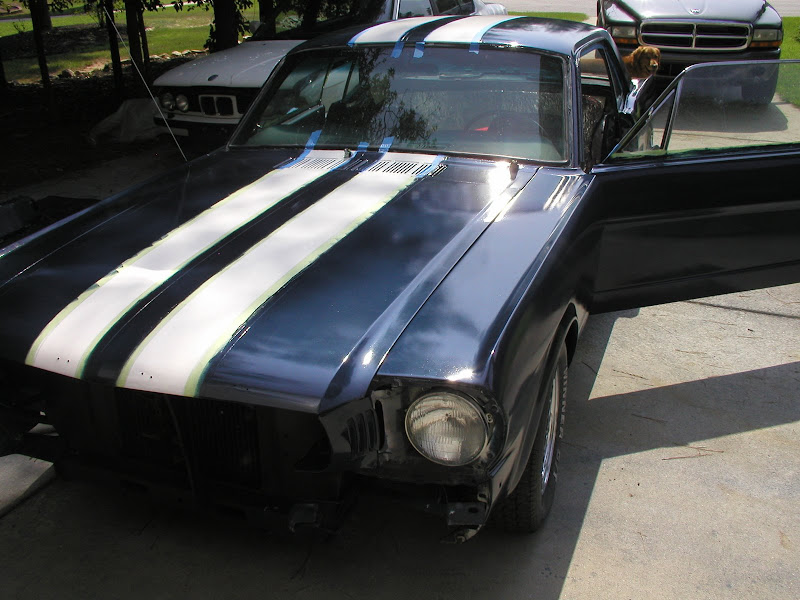 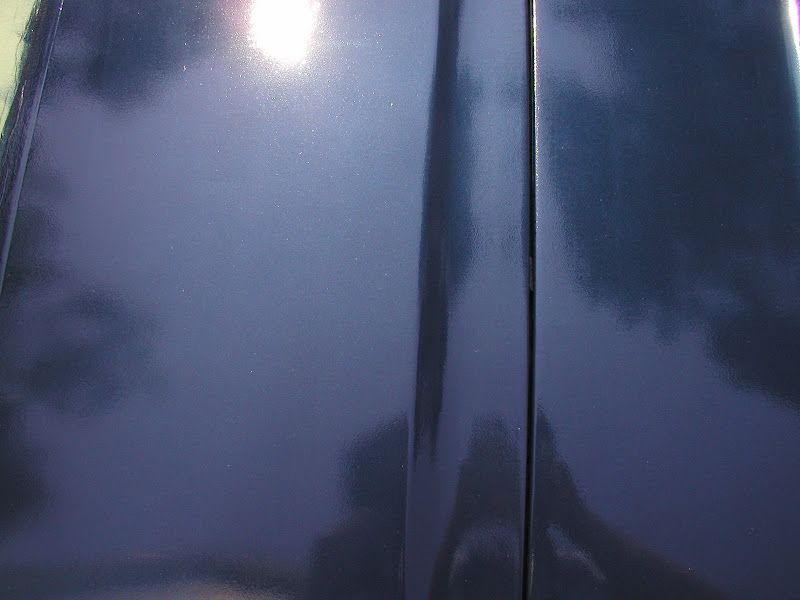 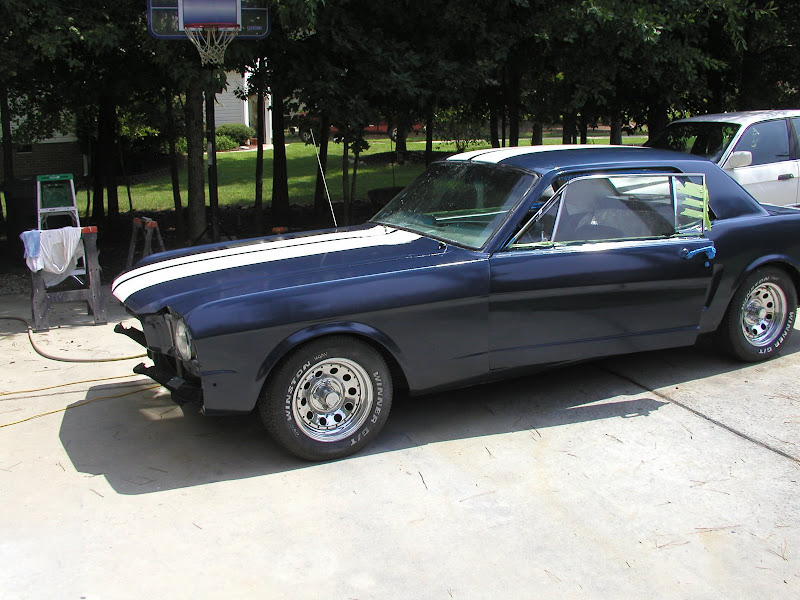  
|
|
|
Re: New Paint job on a budget thread Part III
[Re: THEYOUNGGUN53]
#38900
08/10/09 05:01 AM
08/10/09 05:01 AM
|
Anonymous
Unregistered
|
Anonymous
Unregistered
|
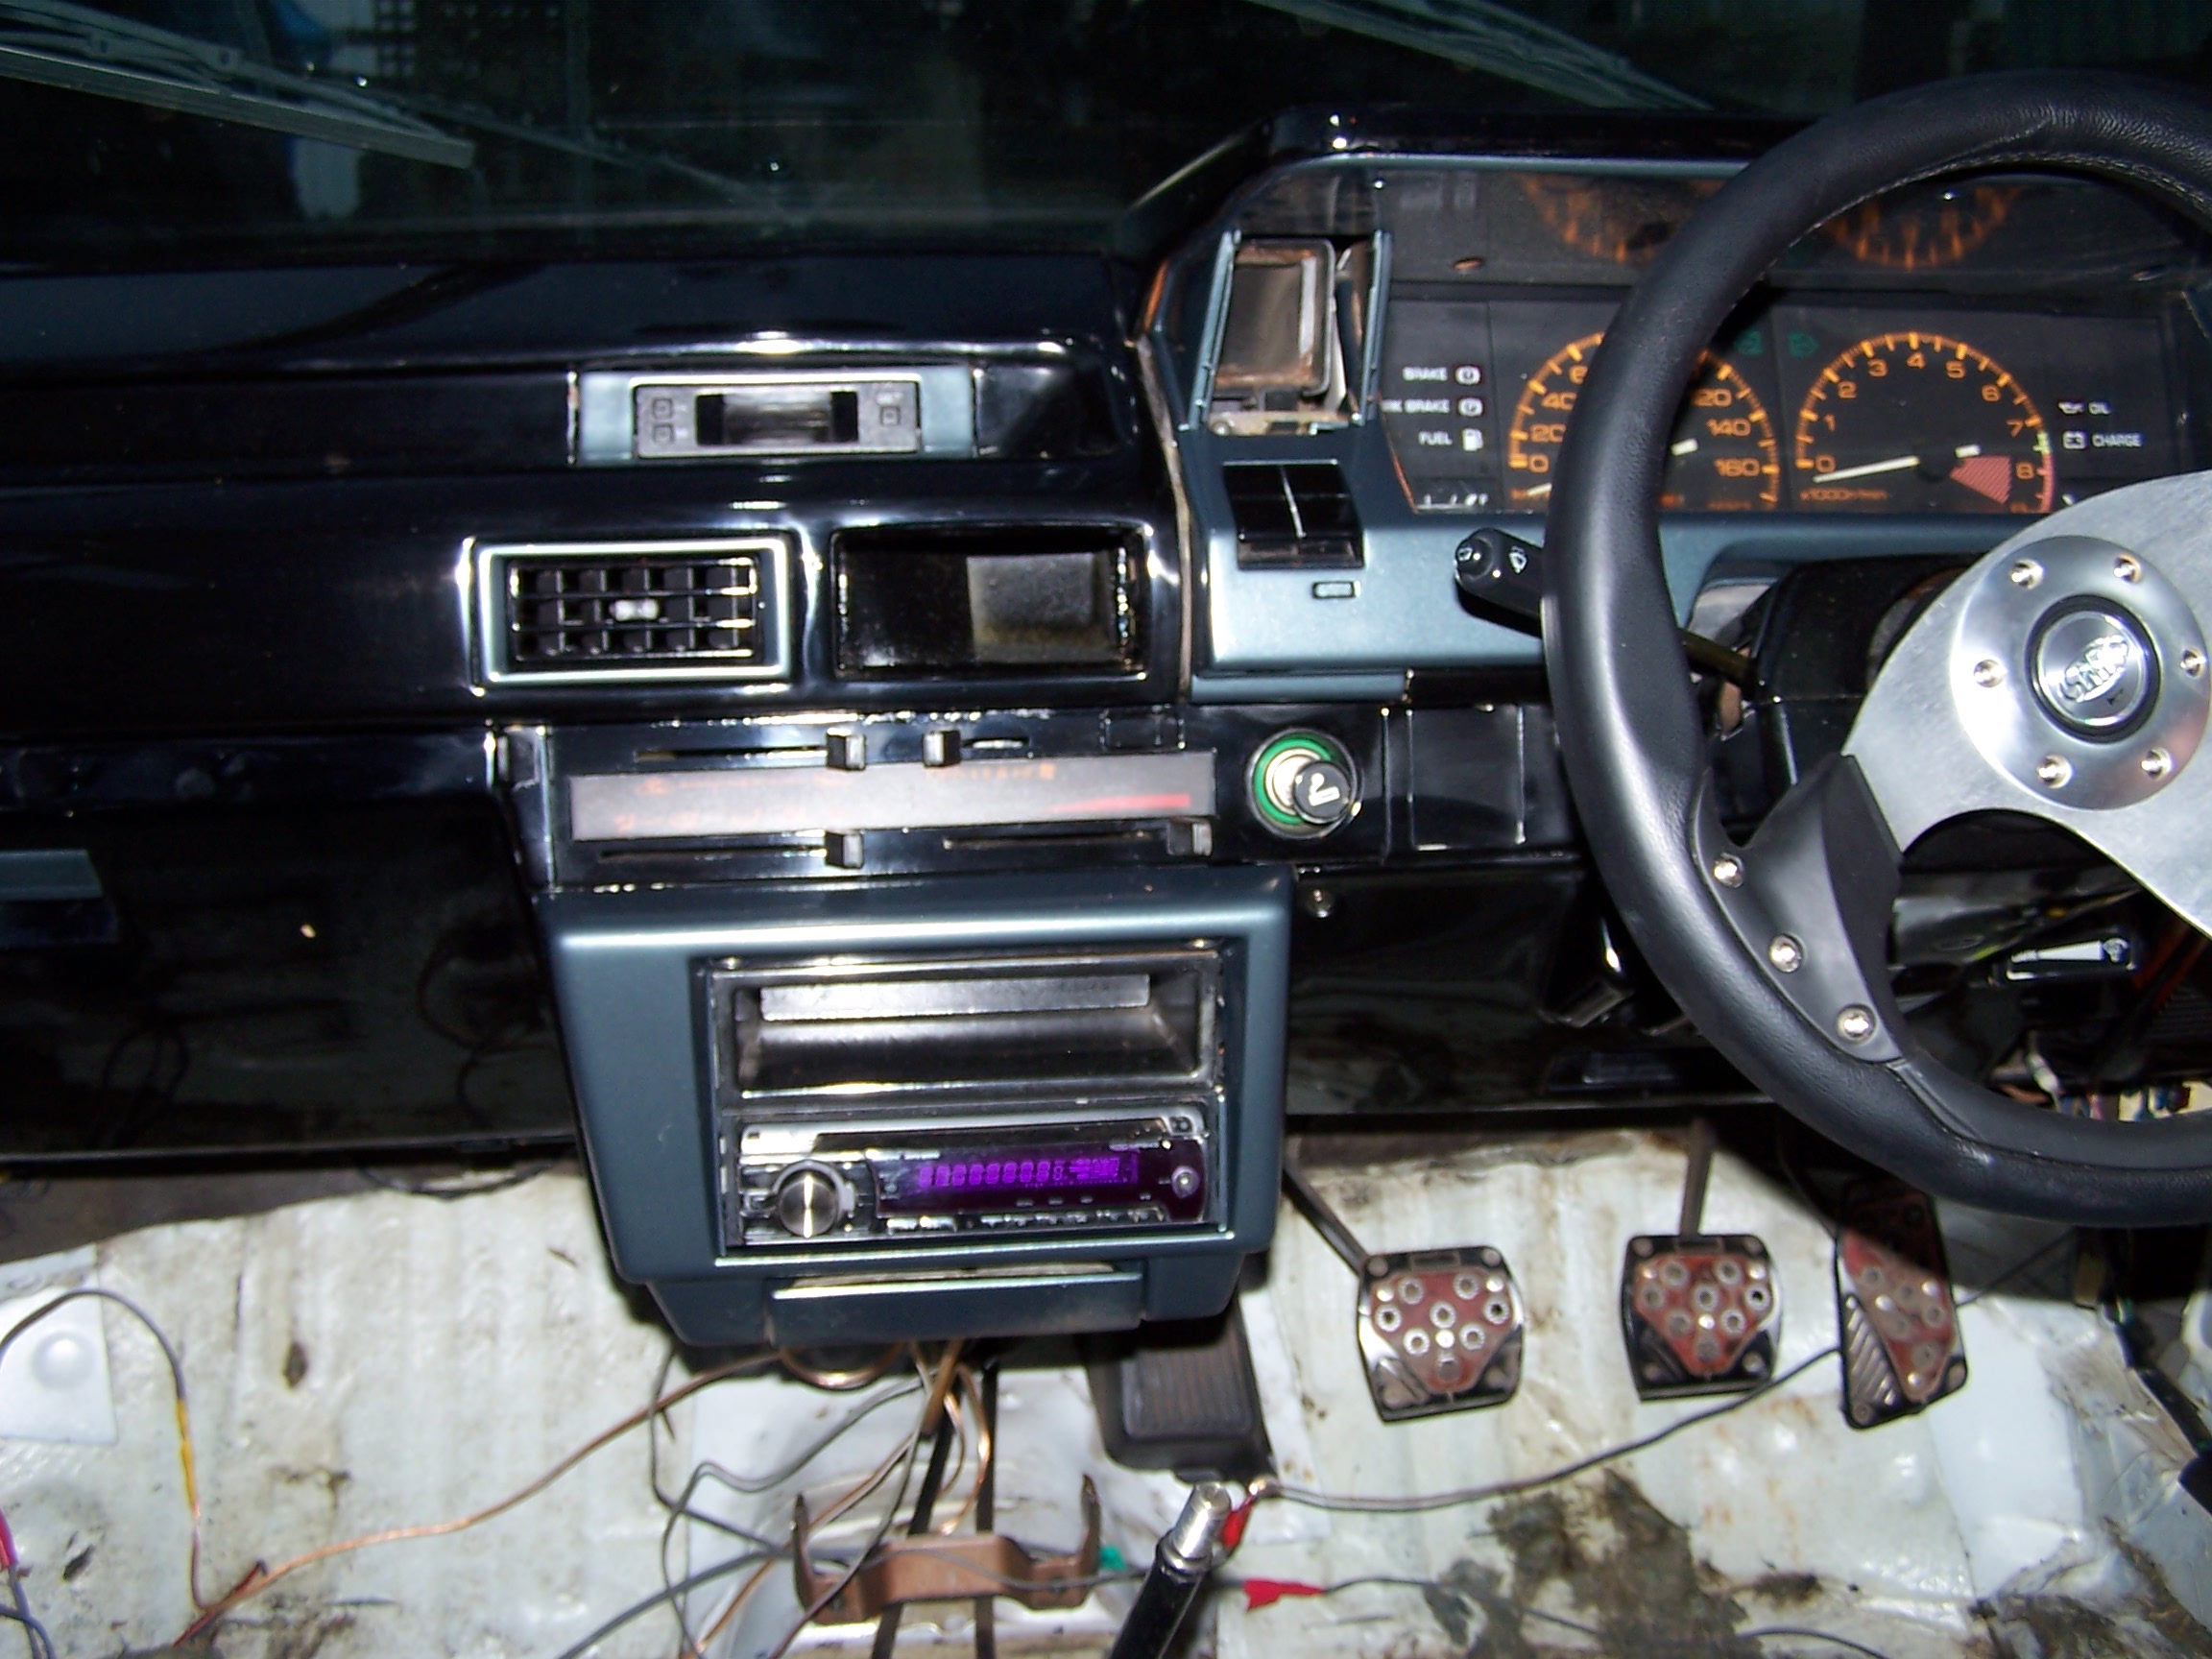
making a few changes dash will now be black and gunmetal grey got new sports steering wheel car is going brightside black
|
|
|
Re: New Paint job on a budget thread Part III
#38901
08/10/09 05:04 AM
08/10/09 05:04 AM
|
Anonymous
Unregistered
|
Anonymous
Unregistered
|
|
|
|
Re: New Paint job on a budget thread Part III
[Re: THEYOUNGGUN53]
#38903
08/11/09 01:00 PM
08/11/09 01:00 PM
|
Joined: Feb 2007
Posts: 13
Beaverton, OR
StevesBug
member
|
member
Joined: Feb 2007
Posts: 13
Beaverton, OR
|
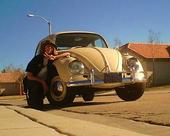
Thanks for the attaboy Younggun53. I think you�ll be really happy with your results. The bug was my first time with body work, paint prep and painting. My only regret is that I got impatient during prep and didn�t block sand as well as I should have. The finish will show every short cut. Most folks can�t see the problems, but I can. That said, I feel like a million bucks driving a car that I rescued from the crusher and restored myself. Can�t beat that with a stick ! 
|
|
|
Re: New Paint job on a budget thread Part III
[Re: StevesBug]
#38904
08/11/09 11:25 PM
08/11/09 11:25 PM
|
Joined: Aug 2009
Posts: 51
CA
Peckinpah
member
|
member
Joined: Aug 2009
Posts: 51
CA
|
Beaverton is cool, I used to live on Allen Ave. I really miss it, especially the Summers.
Anybody see a problem with the method I suggested above, which eliminates wet sanding between coats?
My idea was, do all your body work, then sand with 120, then 220, and then 400. The a coat of primer, followed by two light coats a day of your thinned out paint until you have 6-8 coats down. Give it a week or two or maybe three to completely dry.
Then start your wet sanding, beginning with 600 (400 for especially rough areas) followed by 800, then 1000, then 1500. Then do your buffing with Turtle Wax compound, then wax.
I really don't see the point of all that wet sanding between coats, why not wait until all your paint is down and dry?
I found I was spending hours wet sanding off a lot of the paint I had just applied, then I would lay down another coat and the paint would look just as rough as it did before I sanded. Seemed like a waste of time (and paint) to me.
|
|
|
Re: New Paint job on a budget thread Part III
[Re: Peckinpah]
#38905
08/12/09 01:42 AM
08/12/09 01:42 AM
|
Joined: Feb 2007
Posts: 13
Beaverton, OR
StevesBug
member
|
member
Joined: Feb 2007
Posts: 13
Beaverton, OR
|
Hey Peckinpah, I�ve lived about 3 blocks from Allen for 30 years. Looking at your post, you most likely didn�t thin enough, ( orange peel ),
and applied too much paint ( runs ). It really is a juggling act to find the balance, but you�re probably not that far off. When you wet sand, if
you dry an area you�ve just finished, you should see a very consistent flat ( not shiny ) surface. Anything in the way of dimples or craters needs
to be sanded some more. In the early coats, you are adding color and filling in small imperfections. Take your time painting each panel, and as
you finish each new patch, go back and check your previous one for runs. There�s time to still work runs out with the roller ( or
foam brush ) so you don�t have to sand them later. By the time you get to your last 2 coats, you�ll have a perfectly flat surface to buff and wax.
If you were to do all your painting and then come back and wet sand, you�d have to sand right through several coats of paint to get it flat,
and you would be able to see where you burned through.
|
|
|
Re: New Paint job on a budget thread Part III
[Re: Peckinpah]
#38907
08/12/09 10:29 AM
08/12/09 10:29 AM
|
Joined: Feb 2007
Posts: 13
Beaverton, OR
StevesBug
member
|
member
Joined: Feb 2007
Posts: 13
Beaverton, OR
|
Not trying to give you any grief, but enough paint to do the whole hood is way too much. As an experiment,
try going to the other extreme and squeeze almost all the paint out before you roll. You should do 1/3 to �
your hood and then be out. That will cure most of your runs. As far as thinning, thin it even more than 50/50.
It took me so long to figure this out that I painted in temps from 25F to 95F ( Feb to August ). Lots of guys
did it in weeks, so I don�t claim to be the brightest bulb, but I am persistent. It will not hurt anything to over-thin
while you experiment. Get all this sorted on one panel to minimize your trouble. I would recommend a door, because
that�ll expose runs if you�re going to have them. And it really will self level when you find the right thinning ratio.
When I had to repaint my fender after my wife hit it, I did 2 coats over the weekend and didn�t sand the last one.
Put the fender on and drove til the following weekend, and did the last 2 coats. It came out perfect.
Last edited by StevesBug; 08/12/09 10:33 AM.
|
|
|
Re: New Paint job on a budget thread Part III
#38908
08/13/09 03:39 PM
08/13/09 03:39 PM
|
Anonymous
Unregistered
|
Anonymous
Unregistered
|
Quote:
interior pic
Dude, your dashboard, pedals, and steering are backwards. ..  
(just kiddin' . . .looks great!)
|
|
|
Re: New Paint job on a budget thread Part III
[Re: Peckinpah]
#38909
08/13/09 05:22 PM
08/13/09 05:22 PM
|
Joined: May 2006
Posts: 575
Canada
Marq
mopar addict
|
mopar addict
Joined: May 2006
Posts: 575
Canada
|
Quote:
I really don't see the point of all that wet sanding between coats, why not wait until all your paint is down and dry?
The whole point to the wet sanding between every second coat is to keep the surface as smooth as possible. The smoother the surface that you are applying the thin coats on to.. the shinier the paint will be when you finish.
IF there are slight imperfections in one coat... the later coats will act like magnifiers and make them more visually pronounced. So if you can knock those slight imperfections back as you go along... well the next coat will hopefully look 'that much better'.
Although the paint ( when thinned ) does 'self level', that doesn't mean that it is going to self level imperfections.
But in a way it is kind of a 'you will probably wet sand' anyway situation... because wet sanding helps you eliminate the bugs, spiders, hair and other foreign matter that 'may' land on your fresh coats of paint 
.
|
|
|
Re: New Paint job on a budget thread Part III
[Re: Peckinpah]
#38911
08/14/09 09:04 AM
08/14/09 09:04 AM
|
Anonymous
Unregistered
|
Anonymous
Unregistered
|
i tend to agree everytime time i wet sand i go back to far i and have to start from scratch in those areas so i am thinking get a few decent coats on first then wetsand then start my layers from that point.
|
|
|
Re: New Paint job on a budget thread Part III
#38912
08/14/09 09:12 AM
08/14/09 09:12 AM
|
Anonymous
Unregistered
|
Anonymous
Unregistered
|
? for marq if you remember i had the problem of putting autopaint on my car after a couple of months and had it all bubble up. so i gave up on the roller method but i am now back rolling after a few days drying i decided to try a test patch and put some autopaint over the brightside and nothing happened and i thought this is cool well after sand ing the brightside smooth i tried the autopaint again and it bubbled only around the edge of areas where i had sanded thru the brightside. other than that the brightside is looking fantastic.
wayne
|
|
|
Re: New Paint job on a budget thread Part III
[Re: Peckinpah]
#38913
08/14/09 09:30 AM
08/14/09 09:30 AM
|
Joined: May 2006
Posts: 575
Canada
Marq
mopar addict
|
mopar addict
Joined: May 2006
Posts: 575
Canada
|
Quote:
Additionally, in places where I sanded all the way down to the original factory paint, the thinned out Rustoleum would simply bead off those areas. So I'm afraid to thin it out any more than I did for fear that I'd get no coverage at all.
BTW, the factory paint and clear coat were well sanded beforehand (120, then 220, then 400) so I don't know why the Rustoleum was not sticking and being repelled off the factory paint like it was. I suppose this is one of the problems inherent in going from a darker color to white like I did.
That is weird. It sounds like you well sanded the surface and there shouldn't have been anything to cause a repellant type effect. The only thing I could think of would possibly be if you didn't use a clean cloth, dampened with mineral spirits, to wipe down the entire surface prior to painting....
.
|
|
|
|
|


