|
 Re: New Paint job on a budget thread.
#36834
Re: New Paint job on a budget thread.
#36834
06/21/07 12:38 PM
06/21/07 12:38 PM
|
Anonymous
Unregistered
|
Anonymous
Unregistered
|
Quote:
yes u "need" to sand the whole car. try to stay away from edges tho, i burned thru the edges so many times, thats probly the most annoying part of the whole job..
Two general questions:
1.) Edges. I'm looking for advice on dealing with edges. Everyone says, "Stay away from the edges". I'm confused.
I can understand staying away from the edges in the FINAL color sand and polishing stage(s) -- but during metal prep and primering (assuming you're doing this), or initial scuff up of factory paint through intermediate coats... wouldn't the edges need to have some sanding done to provide a "key" for the paint? What's the general rule for dealing with edges from the start?
2.) Windshield or other windows' rubber trim: If not removing the glass and surround, for spraying I've heard of wedging a cord or rope underneath the rubber trim to keep it way from the metal surface. When spraying, this allows some spray to shoot underneath the rubber trim -- so as not to create a hard paint line.
So, for rollering / brushing -- what advice do people have for these areas?
Thanks in advance,
- Dan
|
|
|
Re: New Paint job on a budget thread.
[Re: Gusteve]
#36835
06/21/07 01:15 PM
06/21/07 01:15 PM
|
Joined: Jun 2007
Posts: 6
Toronto, Canada
DavidP

member
|
member
Joined: Jun 2007
Posts: 6
Toronto, Canada
|
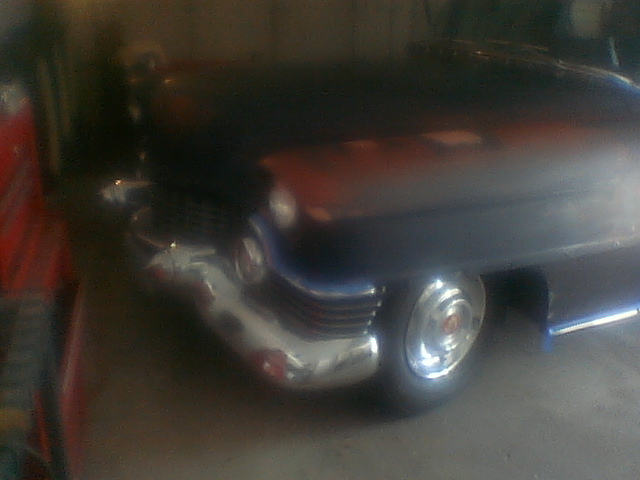
Just to say Hello, I've been enjoying this forum, origionally from the Modified Cadillac Forum - Been reading this thread for a few weeks and decided to start doing my own car, a 1954 Cadillac. I'm using the BrightSide Black, to replace the origional dark Cobalt Blue Poly. Because of the size of the car, and all the chrome, I'm breaking it into 2 sections, the roof and front end, and the rest. Here's a picture of the origional condition, just starting with a bit of body work/primer, some rust, lots of scratches, gouges, dings from things falling on it over the years ... 
|
|
|
Re: New Paint job on a budget thread.
[Re: DavidP]
#36837
06/21/07 01:21 PM
06/21/07 01:21 PM
|
Joined: Jun 2007
Posts: 6
Toronto, Canada
DavidP
member
|
member
Joined: Jun 2007
Posts: 6
Toronto, Canada
|
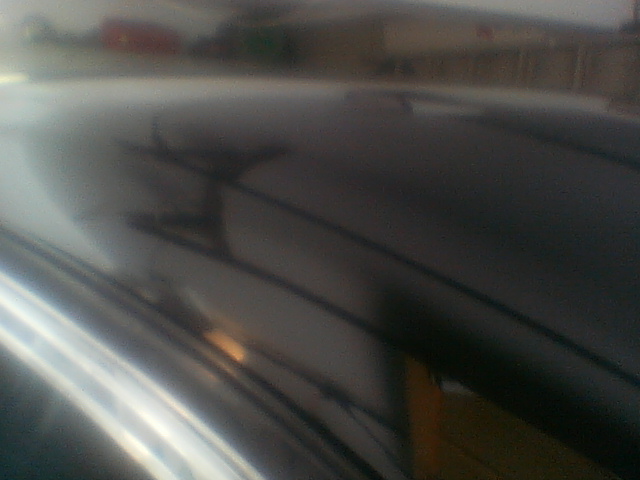
The roof, 1st coat of BrightSide, with 5-10% of the 333 additive ... I'm really amazed, very good coverage, just barely seeing the primer repairs in spots, very little orange peel, slight lint even protected in the garage as it is ...  I've been using the same roller for 3 days, doing an earlier test sample, just storing it wrapped tightly in regular kitchen SaranRap ...
|
|
|
Re: New Paint job on a budget thread.
[Re: DavidP]
#36838
06/21/07 01:47 PM
06/21/07 01:47 PM
|
Joined: Jun 2007
Posts: 6
Toronto, Canada
DavidP
member
|
member
Joined: Jun 2007
Posts: 6
Toronto, Canada
|
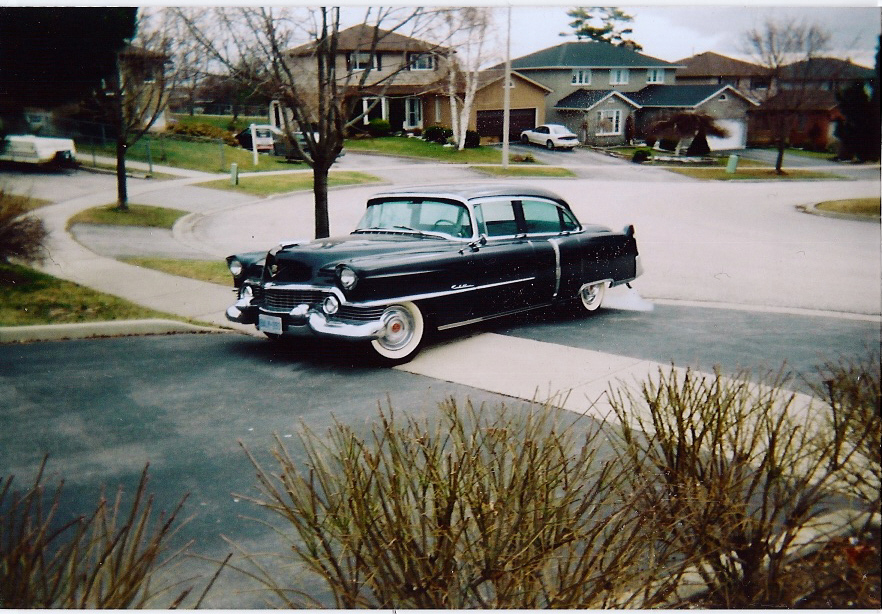
The origional car, just washed after being stored away for the winter, not too bad from a distance, but multiple scratches/dings/touchups/fading ...
Looked much worse from even 20 feet away!!!!!
Strangely enough, it does look pretty good in this picture, or from a distance if its a bit overcast, but up close, it was unbelieveably rough!!
Last edited by DavidP; 06/21/07 01:51 PM.
|
|
|
Re: New Paint job on a budget thread.
#36839
06/21/07 01:53 PM
06/21/07 01:53 PM
|
Joined: Dec 2006
Posts: 69
Lake George
blue195
member
|
member
Joined: Dec 2006
Posts: 69
Lake George
|
Quote:
Quote:
yes u "need" to sand the whole car. try to stay away from edges tho, i burned thru the edges so many times, thats probly the most annoying part of the whole job..
Two general questions:
1.) Edges. I'm looking for advice on dealing with edges. Everyone says, "Stay away from the edges". I'm confused.
I can understand staying away from the edges in the FINAL color sand and polishing stage(s) -- but during metal prep and primering (assuming you're doing this), or initial scuff up of factory paint through intermediate coats... wouldn't the edges need to have some sanding done to provide a "key" for the paint? What's the general rule for dealing with edges from the start?
2.) Windshield or other windows' rubber trim: If not removing the glass and surround, for spraying I've heard of wedging a cord or rope underneath the rubber trim to keep it way from the metal surface. When spraying, this allows some spray to shoot underneath the rubber trim -- so as not to create a hard paint line.
So, for rollering / brushing -- what advice do people have for these areas?
Thanks in advance,
- Dan
Staying away from the edges when buffing keeps you from burning through the paint. Edges places extra surface pressure on the paint surface from the buffing pad. The same is true when sanding. What I did when I was a professional bodyman was sand the edges carefully by hand using sandpaper wrapped in a sponge and kept it extra wet. I turned off the radio and listened for any little "squeak squeak squeak" sound when sanding; this meant either trash was under the paper, or I was bearing down too hard. I machine buffed the entire vehicle, but did all the corners and edges by hand. As for sanding primer, I did the same procedure.
As for rubber trim, use the same method you'd use when spraying, with the rope trick. If you thin your roller paint enough, material will flow underneath.
|
|
|
New Paint job on a beater
[Re: blue195]
#36840
06/21/07 02:11 PM
06/21/07 02:11 PM
|
Joined: Dec 2006
Posts: 69
Lake George
blue195
member
|
member
Joined: Dec 2006
Posts: 69
Lake George
|
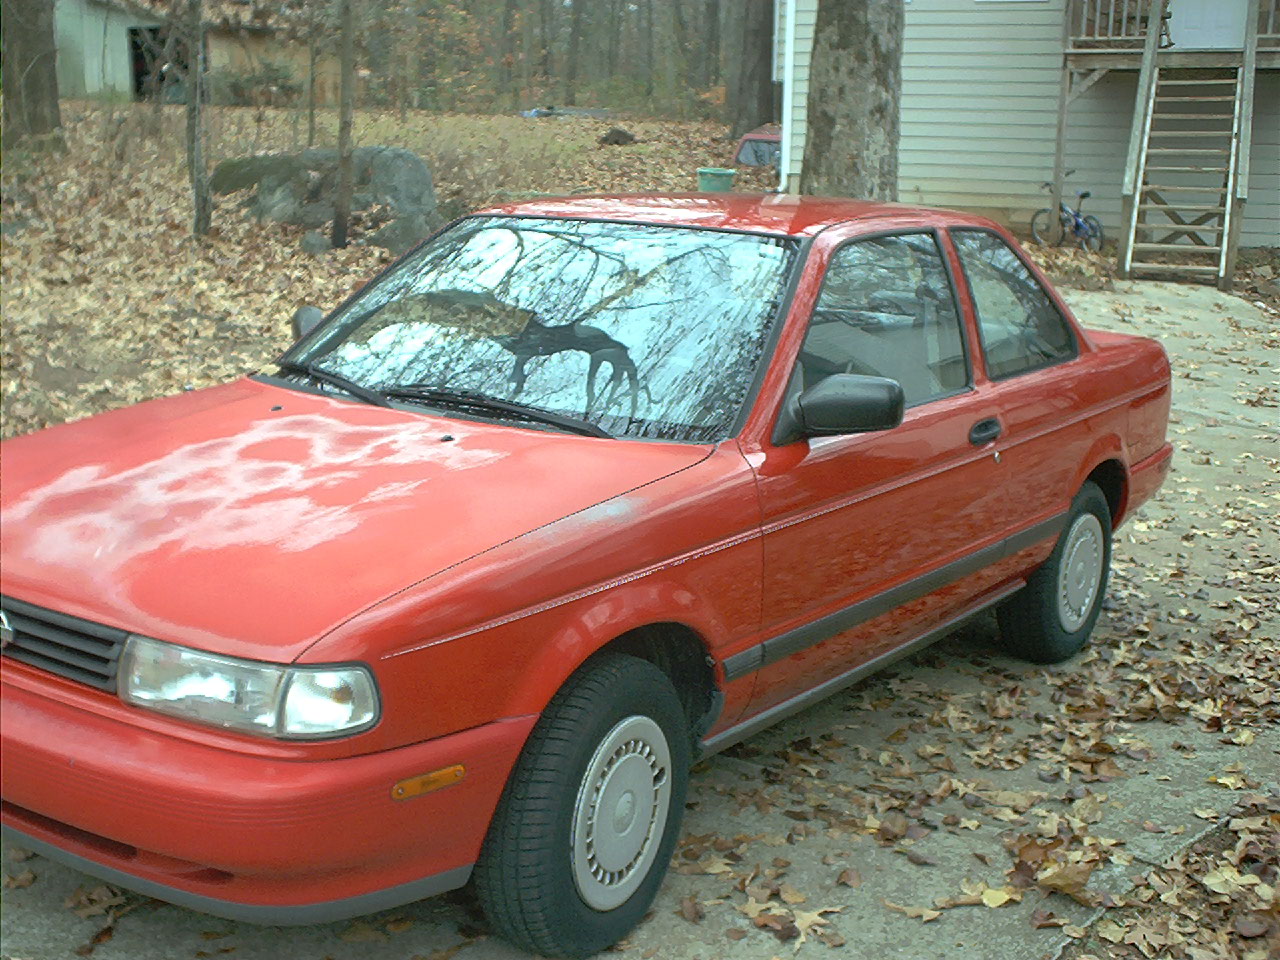
Well, after reading every post on this topic (all 700 million of them!) I took the plunge this morning. My wife was miffed that I used my last day of vacation to do it rather than clean out the garage and then spend time with her, but oh well.  Anyway, my son totalled my daily driver with only 84K on it  but I was able to buy it back from the insurance company for a pittance. With the rest of the money we bought new body and suspension parts, and decided it would be worth doing. It's "only" a 1992 Nissan Sentra but it's been in our family for 15 years, seeing duty only as a back-and-forth-to-work car, 14 miles at a stretch. Not once has it failed me in all those years! I learned a few things today: 1. I used a gradiated measuring cup, and thinned the Rustoleum Safety Red 5%. That simply is too thick! I got an amazing amount of orange peel, and in this near-100 degree Georgia heat it almost dried instantly. Lesson learned. 2. Even at 20% for the second coat, the orange peel was horrendous. Lesson learned: don't do this in direct sunlight. 3. My house *used to* be in the country, but the developers built three near-million-dollars-each-house subdivisions nearby, and the snooty neighbors do no like to see a fat, middle-aged, shirtless man painting a car in his driveway! Anyhoo, once this project is done I'm giving this car to my youngest son, who is helping with all the sanding to pay pennance for totalling it. Then we're doing my Dodge Ram (replacement for my beloved Nissan) and my race truck Ford Ranger (5.8/c-4), all in the same Safety Red. Whoever came up with this process deserves a medal!
|
|
|
Re: New Paint job on a budget thread.
#36841
06/21/07 03:58 PM
06/21/07 03:58 PM
|
Anonymous
Unregistered
|
Anonymous
Unregistered
|
|
|
|
Re: New Paint job on a budget thread.
#36844
06/21/07 06:25 PM
06/21/07 06:25 PM
|
Anonymous
Unregistered
|
Anonymous
Unregistered
|
My93Civic,
You going to try and knock some more of that orange peel down, or are you pleased with it and going to leave it as is?
Last edited by cyberbackpacker; 06/21/07 06:34 PM.
|
|
|
Re: New Paint job on a budget thread.
#36845
06/21/07 07:13 PM
06/21/07 07:13 PM
|
Anonymous
Unregistered
|
Anonymous
Unregistered
|
Quote:
My93Civic,
You going to try and knock some more of that orange peel down, or are you pleased with it and going to leave it as is?
I can live with it, but yes I am gonna do full wetsand and polish in 2 months time.
|
|
|
Re: New Paint job on a budget thread.
#36846
06/21/07 08:10 PM
06/21/07 08:10 PM
|
Anonymous
Unregistered
|
Anonymous
Unregistered
|
Hey guys! First post after having read a majority of all three threads and I think I am going to try this. I figure it's a hardly anything to lose situation, well, except for time. Aswell, I don't have much money to invest in this. Anyway, I will be painting my 95 BMW roof which is unpeeling and the bare plastic spoiler on back.
So my question is, where can I get the Brightside paint mixed to match the current black color of my car? I guess first off I've got to find the paint but it is sold only at marine/boat places right? Would they mix it there? Could I take it to Home Depot maybe? Thanks!
|
|
|
Re: New Paint job on a budget thread.
#36847
06/21/07 08:20 PM
06/21/07 08:20 PM
|
Anonymous
Unregistered
|
Anonymous
Unregistered
|
Quote:
Hey guys! First post after having read a majority of all three threads and I think I am going to try this. I figure it's a hardly anything to lose situation, well, except for time. Aswell, I don't have much money to invest in this. Anyway, I will be painting my 95 BMW roof which is unpeeling and the bare plastic spoiler on back.
So my question is, where can I get the Brightside paint mixed to match the current black color of my car? I guess first off I've got to find the paint but it is sold only at marine/boat places right? Would they mix it there? Could I take it to Home Depot maybe? Thanks!
What are you going to mix it with? There is only 1 shade of Black that Interlux offers...???
|
|
|
Re: New Paint job on a budget thread.
#36848
06/21/07 09:09 PM
06/21/07 09:09 PM
|
Anonymous
Unregistered
|
Anonymous
Unregistered
|
Quote:
What are you going to mix it with? There is only 1 shade of Black that Interlux offers...???
Ha, ha... I don't know. There is always gray and white to lighten but I guess if it needs to be darker I'm out of luck. Unless there are other one step premium marine paints similar to the Brightside just another brand in different black shades. Is it even possible to mix the other interlux one step premium paint called toplac with the Brightside? It comes in a jet black shade that I assume is different. Sorry, I don't know much about mixing paint.
|
|
|
Re: New Paint job on a beater
[Re: Marq]
#36850
06/21/07 10:39 PM
06/21/07 10:39 PM
|
Joined: Dec 2006
Posts: 69
Lake George
blue195
member
|
member
Joined: Dec 2006
Posts: 69
Lake George
|
Quote:
Quote:
OK, here's a crappy pic of the bumper. This was with the paint thinned 20%; the 5% paint on the fender and spoiler are far more orange-peely. Nothing a little wet sanding tomorrow won't cure, but still it's a bit disappointing.
I would pull out the trusty 800 grit sandpaper and knock down all the peel. If you find it is not knocking it down agressively then resort to the 320 or 400 grit. Then wipe the entire puppy down with a clean rag that is lightly dampened with mineral spirit to remove all debris and foreign crap off it. Then hit the puppy again with a 20% or 30% mineral spirit to paint mix again.
Hopefully this time is the charm.
I know that spot on the bumper is a bit of a pain to work around because of all the different surfaces. I did the inner surfaces and more difficult to reach surfaces first and then went after the easier and more accessible surfaces after. This way I could blend out any over-runs coming from the more difficult surfaces.
.
Thanks for the tips. Once the fender settled out and dried it ended up being pretty decent, but that bumper is gonna be a real pain to sand! The spoiler is just as peely as the bumper but it's a flat surface and will be far easier than a flexible bumper with a zillion curves. I'm planning on hitting it all with 400 in the morning and applying another coat. All is not lost just yet! That's what I love about this method; if I sprayed the paint I'd be pretty pissed about now, but with rolling, you can fix a goof pretty easy! 
|
|
|
Re: New Paint job on a budget thread.
#36852
06/22/07 03:37 PM
06/22/07 03:37 PM
|
Anonymous
Unregistered
|
Anonymous
Unregistered
|
very nice work 93civic. fyi, I have wetsanded and polished my brightside paint only 1 day after rolling it on, without problems. I used both my rotary and DA PC polisher without problems. Even used a yellow LC cutting pad with the rotary, without messing up the paint. Brightside does dry pretty quick (dries to the touch in about 4 hours here in Hawaii). Even with time, however, it dries nowhere near as hard as other paints. The lacquer paint on my friends' cars are like 4X harder than this paint. My spoiler has had brightside on it for almost 40 days, and it is still fairly soft. I was thinking of adding some Japan Dryer to the brightside paint to quicken the drying, since it's available at Home Depot. Also, despite the added teflon in the paint, I find it difficult to clean (especially dried water spots) the surface.
|
|
|
Re: New Paint job on a beater
[Re: FarDarter]
#36853
06/22/07 03:54 PM
06/22/07 03:54 PM
|
Anonymous
Unregistered
|
Anonymous
Unregistered
|
Quote:
Rustoleum roller here. After putting my first coat on too thick by the guidelines established here, I'm starting to wonder if it might be the right way to do it after all. I wetsanded it down to get the peel out and broke through to primer in a number of areas but was left with a decent coat of black paint.
Last night I did a layer of "properly" thinned paint and while it did lay down with absolutely no peel at all, I'm left wondering about something. There is quite a lot of "stuff" in the paint: dust, fibers, cottonwood lint... I really don't see myself painting a second coat over that junk as prescribed by the method, yet I'm afraid that sanding it enough to remove the stuff will just take my whole layer off, since it's so thin. I'm tempted to just go back to thicker coats and peel sanding. Any opinions on this matter?
In my experience so far, rolling uncut Rustoleum is about as time consuming and difficult as rolling it on thin. If you roll it on thick/uncut, it has very very good leveling properties, but ends up creating a peely, almost hammered surface. I'd say more than 50% of the paint will have to be sanded to get it level again, since alot of the paint will be the mountains of peel you will be sanding off.
For brightside users, I absolutely recommended cutting it with mineral spirits, not interlux brushing liquid. Do NOT roll this paint on uncut, I have tried rolling it on uncut on my fender and it really doesn't level at all on the vertical surfaces, and has very very little working time before drying. I imagine I will have to sand off about 70% of this final layer to get it flat and even. Brushing fluid flashes slowly, is expensive (compared to mineral spirits), and it just sucks, period.
The brushing liquid I have added to brightside creates tons of fisheye in the paint as it dries. I bought another can of Brightside and cut it with odorless spirits, and it rolls on and levels much better, and flashes 100X better than the brushing fluid. There are more bubbles in the spirit-cut paint as it is rolled on, but they pop quickly and easily, unlike the paint with brushing fluid.
Last edited by worldcrafter; 06/22/07 03:56 PM.
|
|
|
|
|


