|
 Re: Paint job on a budget!? CONTINUED..page 44........
#24998
Re: Paint job on a budget!? CONTINUED..page 44........
#24998
07/09/06 04:16 PM
07/09/06 04:16 PM
|
Joined: Jul 2006
Posts: 1,475
Ontario, Canada
78D150CLUB

My avatar is a self portrait!!
|
My avatar is a self portrait!!
Joined: Jul 2006
Posts: 1,475
Ontario, Canada
|
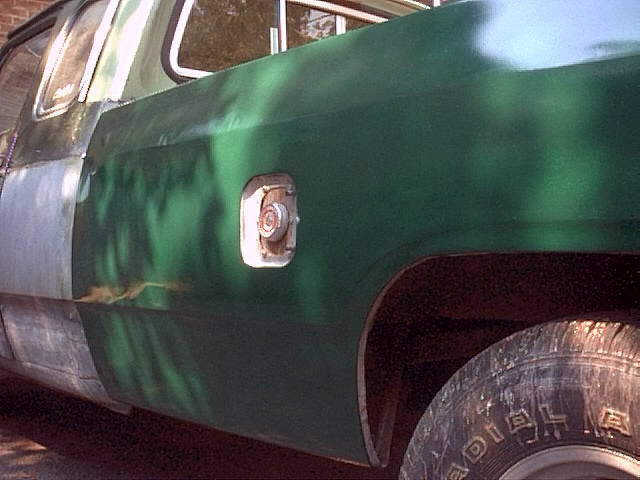
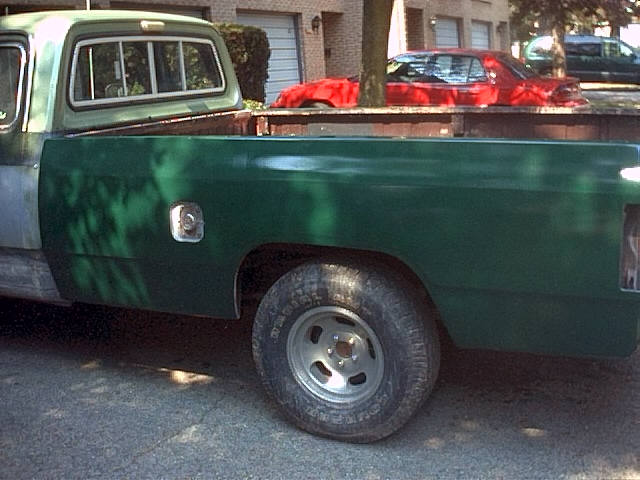
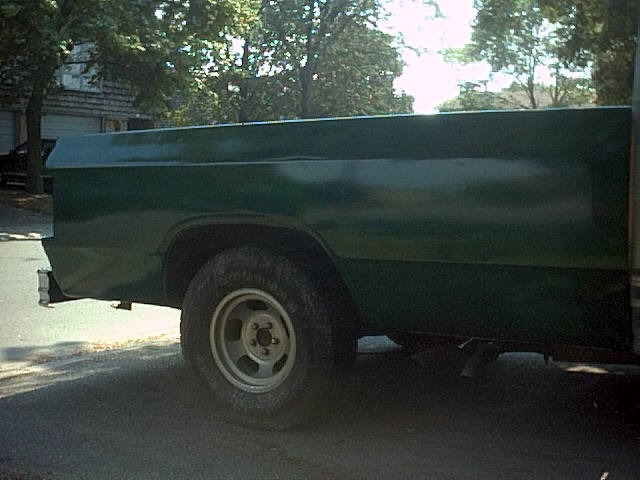
First, that white is really looking good, exit. I liked the red as well, but the work in both cases looks great. Farfire, I'm using the same color as your tests, although it seems muchdarker. Hunter Green, and then I'm gonna do the two tone section with a custom tinted green. I found that the paint was just the right thickness if you can create bubbles when pressing the roller out in the tray, and then watch the layer of bubbles. They should look like coke or root beer sizzling, then the paint is thin enough. I press the roller almost dry, and apply very thin, working across first and rolling out up and down. Hard to describe, but with practice it becomes second nature. These pictures are from today, 5th coat on driver side, 3rd on passenger. 
|
|
|
 Re: Paint job on a budget!? CONTINUED..page 44........
#25001
Re: Paint job on a budget!? CONTINUED..page 44........
#25001
07/09/06 07:19 PM
07/09/06 07:19 PM
|
Joined: Jul 2003
Posts: 3,378
Rancho Cordova, CA
Exit1965
master
|
master
Joined: Jul 2003
Posts: 3,378
Rancho Cordova, CA
|
Quote:
Looking good. You have an amazing shine going there. I really need to work on my technique. I'm getting orange peel really bad. Take a look at my pictures from my 5th coat:
5th coat Orange Peel
I'm confused on where the solutions lies for this. I'm using the same exact roller pan as you are shown above and when I fill up the roller, i move it to the bumpy section and roll with a lot of pressure and watch the paint seap out. I think put the paint over the edge into the flatter part and do this a few times. So I know my layers are thin. Also, I have no bubbles to speak of so I think that my mixtures it pretty good. I mixed it up initially for the first coat then add a little mineral spirits for each coat. Any suggestions would be great cause I'm getting a little iffy about starting on the car since I'm having this trouble now.
Also, look at my wetsanding shot, I'm really only focusing on the initially bare metal sections since the other painted areas were poorly prepped. When I wetsand, I work the area then wash it off, wipe with a cloth then let it draw and see out the color is. If the color is a solid hazy green then I continue. If there are dark and light spots, I continue. Is this a good practice? Hope you all can help me because I'm excited about this paint and would love to see it working smoothly for me.
Hmm well I know if you have orange peel on from previous coats, a new coat with a little orange peel will make it look worse. When wetsanding, and spraying, you should be able to see the water sitting level on the surface after running wet sandpaper over it. If not, then keep wetsanding until it does that. 400 grit will get you there fast but I've been using 800 grit at this point since the orange peel isn't that bad.
I have noticed to that the coats tend to flatten out when initially I'm worried about orange peel. I usually have the worse orange peel on the hood, decklid and roof (flat sections) so they take more wetsanding. But the good thing is, even now you have added more paint. If it dries with orange peel, just wetsand it down FLAT and do your next coat. It looks like the last coat was on there pretty thick, try thinning the mixture more next time, as it sounds like you are OK in how you're putting little of it on, but I think it just needs to be thinner to sit down flat.
I would not go by how the surface looks (solid hazy green) but more on how the water lays on it once you move the sandpaper over it. You might try also sanding with deliberate strokes, and push down so you get some traction, then you'll see the flatness come about quicker I think.
|
|
|
Re: Paint job on a budget!? CONTINUED..page 44........
[Re: 78D150CLUB]
#25002
07/09/06 07:57 PM
07/09/06 07:57 PM
|
Anonymous
Unregistered
|
Anonymous
Unregistered
|
That's looking good. I think I'll try thinning the paint down a little to get the right consistance. I think I'll wetsand tomorrow to try using the water technique exit is mentioning. To get an idea, how long would it take you to wetsand the door? I think my problem is with my wetsanding... 
|
|
|
After four coats....
[Re: Exit1965]
#25004
07/09/06 08:35 PM
07/09/06 08:35 PM
|
Anonymous
Unregistered
|
Anonymous
Unregistered
|
...this was with the Penetrol mixture, for those with longer memories.
The good news is the flow was excellent and it dried quicker than I feared.
The bad new has been a laborious amount of wet sanding to knock down the orange peel.
But it's an option for those who don't mind the elbow grease....
|
|
|
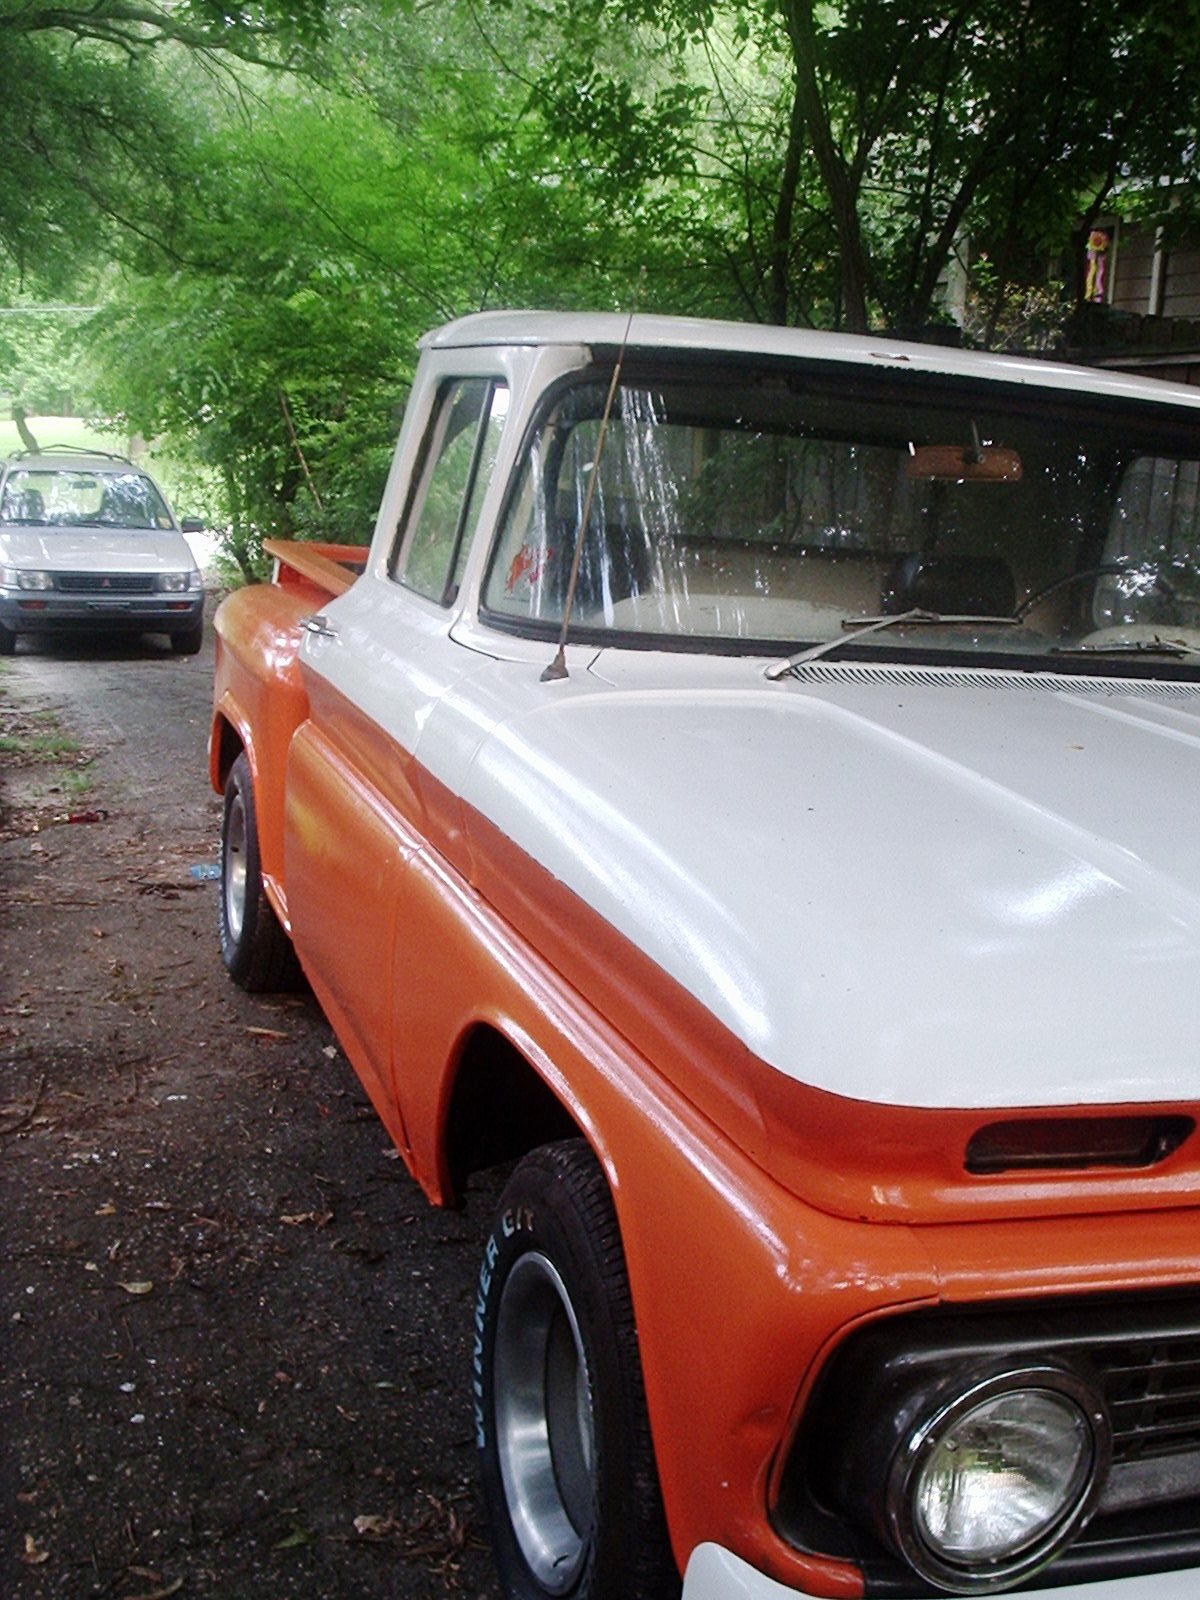
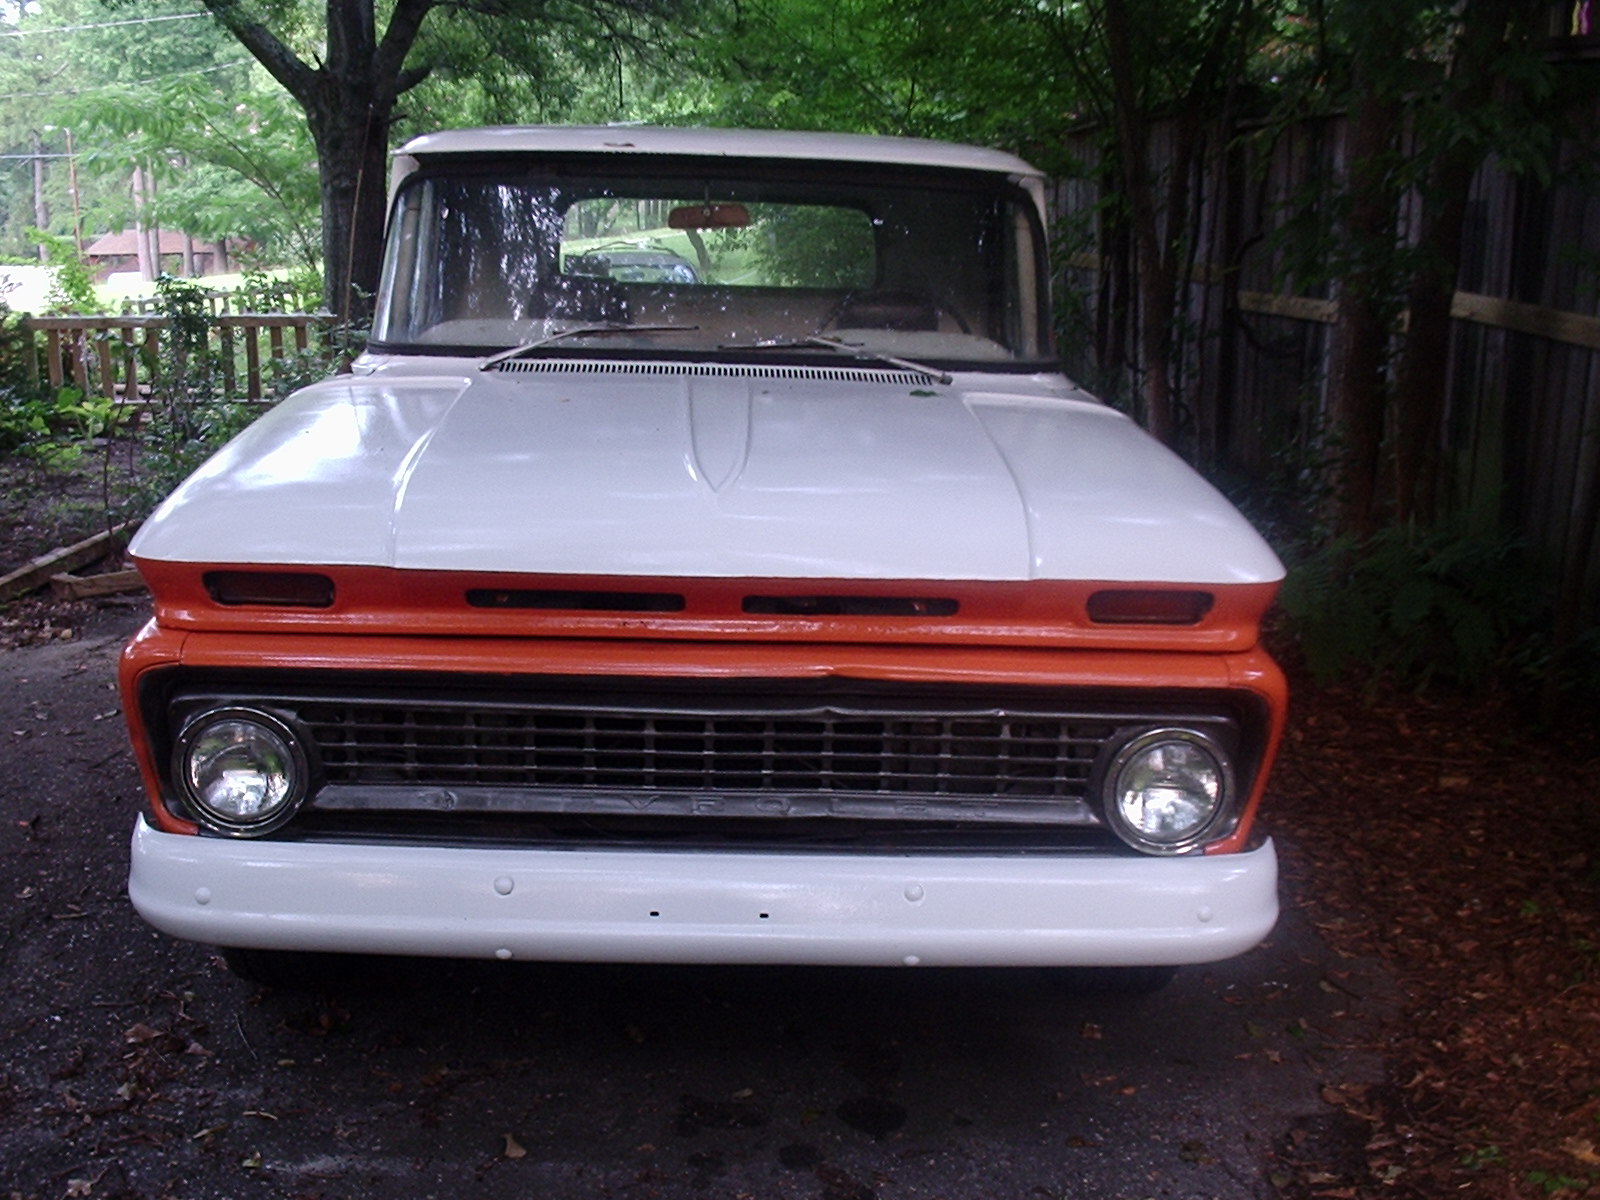
and another shot from the front....
#25005
07/09/06 08:38 PM
07/09/06 08:38 PM
|
Anonymous
Unregistered
|
Anonymous
Unregistered
|
BTW, I'll use pinstriping to keep the two colors separate. Right now the truck passes the 10-foot test, after another (sigh!) wet-sanding and eventual polishing, I anticipate reaching the 5-foot barrier...which is all my poor old beast ever dreamed of.
This has been a great adventure! Thanks to everyone who's been taking part!
Last edited by RevDodd; 07/09/06 08:39 PM.
|
|
|
Re: and another shot from the front....
#25006
07/09/06 09:02 PM
07/09/06 09:02 PM
|
Joined: Jul 2006
Posts: 1,475
Ontario, Canada
78D150CLUB
My avatar is a self portrait!!
|
My avatar is a self portrait!!
Joined: Jul 2006
Posts: 1,475
Ontario, Canada
|
That's looking good, Rev! Polishing and pinstripe should really finish it up nice. I'm actually going for the speed factor on my lump  If some one running for their life doesn't spot the mistakes, I'm Happy  Looks like some great results and some interesting variations on a theme here. Keep up the great work, and remember the one ingredient most necessary: Patience ( I know, some say it's beer  )
|
|
|
Re: After four coats....
[Re: Exit1965]
#25008
07/10/06 06:55 AM
07/10/06 06:55 AM
|
Anonymous
Unregistered
|
Anonymous
Unregistered
|
Looking good exit, can't wait to see the final product, I really do like the Canvas White over the Red. Seems to go better with the car. I finnally got some pics of the car me and my friend have done, some before, and after (granted these were taken with my cell phone and my phone doesn't have a good camera, so you do the math). We've done about 7 coats, or something, so far. Now granted...we are not taking our time, we are doing a halfway decent job, we just wanted to get the idea of wetsanding, polishing, rolling on the paint, how to do the thickness, with the whole car and not just a test piece (we do stuff like this a lot, sort of dumb if you ask me  ). I've got a couple of the before pics, and the after ones, and we should be finished in a few days (wetsand once more, another coat, final with 1500 and polish and wax). Once we finish completely I will get a good digital camera and get good pictures. I really feel bad for not getting pictures of the rusted spots (there were full blown holes in the fenders), they look so immaculate now. http://s74.photobucket.com/albums/i272/efhatchpaintjob/Pictures there, the red was the original, smoke grey is what we used.
|
|
|
Thinning with Penetrol
[Re: Exit1965]
#25009
07/10/06 09:38 AM
07/10/06 09:38 AM
|
Anonymous
Unregistered
|
Anonymous
Unregistered
|
First two coats, I thinned 25 percent with Penetrol. The white came out fine, but the orange showed the peel more...as colors are likely to do.
I added a splash (literally) maybe 5 percent of mineral spirit to the orange, thinking it would thin the paint and ease the peel. It seemed to help. For the last two coats, I'll add another splash (a smaller splash, since there's less paint remaining.
That'll put us at 65 paint, 25 penetrol and 10 mineral spirits. Sort of like finding the perfect barbecue sauce.
And yes, I cheated and shot hammmered metal on the grill, just for fun.
I think my biggest problem has been inexperience, Southern humidity and bugs. But considering where this fellow was and where he is now, it's been great.
|
|
|
Re: Thinning with Penetrol
#25010
07/10/06 04:37 PM
07/10/06 04:37 PM
|
Anonymous
Unregistered
|
Anonymous
Unregistered
|
I just applied my 6th coat and things got a little more complicated. I over-thinned the mixture and it ran a little on me but I made sure the coat was thin enough that it stopped running after I rolled over it ligthly. Tomorrow I'm going to wetsand with 1000 then apply another coat, see how it sits and maybe wrapped it up with 1500 and then 2000. Here's pictures: 6th Coat Gallery The orange peel looks more extreme in the pictures than it is and if this coat follows the last, most of the orange peel will level out. Plus this gives me a chance to work on my wetsanding. I also found this wesbite on wetsanding. Car Craft How To WetsandIf you look at the pictures, they help a lot in giving a visual guide. This is very similiar to what I am doing but I think I am working the surface too harshly once the orange peel begins to disappear and am taking off more paint than needed.
|
|
|
Re: Paint job on a budget!? CONTINUED..page 44........
[Re: Marq]
#25011
07/10/06 08:50 PM
07/10/06 08:50 PM
|
Anonymous
Unregistered
|
Anonymous
Unregistered
|
MARQ How is the next {or}last coat of the brightside paint job coming? Would love to see the finshed product. Has anyone else tryed the brightside way yet ? I have a spare door for my 36 chev coupe I may try it on. Thanx Bryan 
|
|
|
Re: Paint job on a budget!? CONTINUED..page 44........
#25012
07/10/06 09:48 PM
07/10/06 09:48 PM
|
Joined: Jul 2006
Posts: 1,475
Ontario, Canada
78D150CLUB
My avatar is a self portrait!!
|
My avatar is a self portrait!!
Joined: Jul 2006
Posts: 1,475
Ontario, Canada
|
 I'd love to see the finished product, Marq. I can't add a pic of mine, camera battery is pushing up daisies. The metallic dusting between the unsanded layers seems to be working out, though. Subtle sparkle, but still there. BTW, is anyone thinking of hitting Moparfest on the 19/20 of Aug in New Hamburg? I'm close enough that I think i might take Godzilla out for a couple of days on the fun field. 
I want to die like my Grampa, peacefully, in his sleep. Not screaming in terror like his passengers.
|
|
|
Re: Paint job on a budget!? CONTINUED..page 44........
#25013
07/11/06 12:29 AM
07/11/06 12:29 AM
|
Joined: May 2006
Posts: 575
Canada
Marq
mopar addict
|
mopar addict
Joined: May 2006
Posts: 575
Canada
|
Quote:
MARQ
How is the next {or}last coat of the brightside paint job coming?
Would love to see the finshed product.
Has anyone else tryed the brightside way yet ?
I have a spare door for my 36 chev coupe I may try it on.
Thanx
Bryan
I might be in position to snap some pictures this Saturday. I have been swamped with non-automotive activities this week.
I did learn one more thing about working with Brightside on a car....
The Interlux primer is called Pre-Cote. According to the folks at Yachtpaint.com, you should use the primer to provide a single color substrate to lay your paint on.
Ok... we all knew that. It makes sense and it is something that I concluded would help to make the best finish possible.
But what I picked up in the way of new info is that you can lay a second layer of primer AND YOU CAN ADD 50% OF YOUR color choice to the primer before laying it on. Apparently this gives the final finish an even deeper and richer look to your color.
I assume that if someone ONLY wanted to put on one layer of Pre-Cote primer... they could do the 50 / 50 trick in that one layer of primer.
And as I learned about that, it struck me that I had seen at the craft store these jars of metallic sparkles. That's right just the sparkles ( not in a spray bomb ). I started wondering if this 50 / 50 mix of primer and paint might be an interesting spot to dump those powdered sparkles... and lay them on in this primer coat.
I guess you just have to make sure that the sparkles are evenly distributed and suspended in the paint / primer solution.
Oh wll.. yet another potential experiment in the quest fo 'get something different and unique'
.
|
|
|
Re: Thinning with Penetrol
#25014
07/11/06 01:02 AM
07/11/06 01:02 AM
|
Anonymous
Unregistered
|
Anonymous
Unregistered
|
Quote:
First two coats, I thinned 25 percent with Penetrol. The white came out fine, but the orange showed the peel more...as colors are likely to do.
That'll put us at 65 paint, 25 penetrol and 10 mineral spirits. Sort of like finding the perfect barbecue sauce.
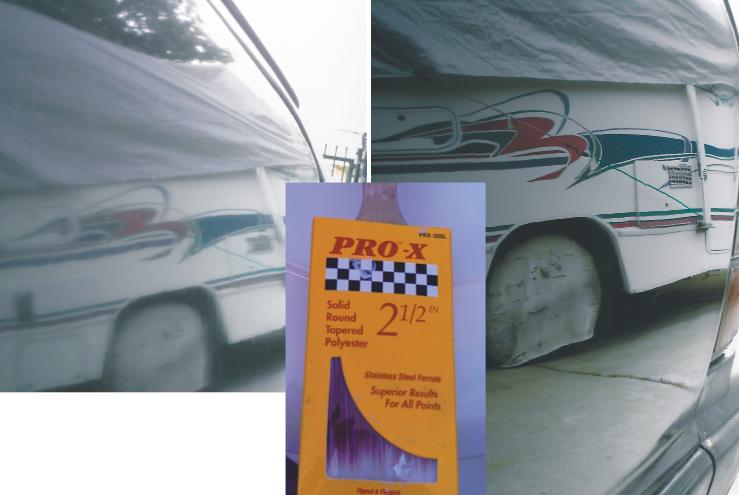
Hi Rev! Great job with the truck by the way! That's about the same proportions I used. White worked fine with Penetrol alone but black dried too quickly. Adding mineral spirits until I got a milky consistency made the mixture easier to work with.
It also seems that the trick to using the Penetrol variation is to just immediately tip the rolled on paint with a brush. Bubbles become a non-issue...just brush them away. I used a brush similar to what Coach painters use- one with flags (i.e., split ends.) I found one at Dixieline Lumber. After rollering a horizontal cover coat, I brushed in a downward motion, then again using light pressure. This gave me super-fine brush marks. In some areas there were no marks at all. I found the brush marks easier to sand away then orange peel.
Letting the paint sun bake also helped (at least in my experience.) When I first tried polishing after a day, I got the haze Exit had mentioned before...probably because the paint was too soft. For my Black Mustang I let the paint dry in the shade a day and then it sat out in the sun for the rest of the week. This gave me a harder surface to polish. After using Turtlewax polish I also finished off with a Scratch and Haze remover then wax. (See before and after pics on attachment.)
The polish surface was not only mirror smooth, it also revealed a problem others came across...transparency. But then again I was only up to 4 coats. In addition, this combo does tend to dilute the pigment more than normal. Also, I'm only using the Rustoleum/Penetrol combo as a base coat. It allows me to see low spots and other imperfections (sometimes more than I care for) that I still need to work on.
After I get the imperfections out (the question is when?  ) I'll apply a final gloss coat of Dutchlac marine paint, let that dry a month then polish it. ) I'll apply a final gloss coat of Dutchlac marine paint, let that dry a month then polish it.
|
|
|
Re: Thinning with Penetrol...nice job, Bugg!
#25015
07/11/06 06:17 AM
07/11/06 06:17 AM
|
Anonymous
Unregistered
|
Anonymous
Unregistered
|
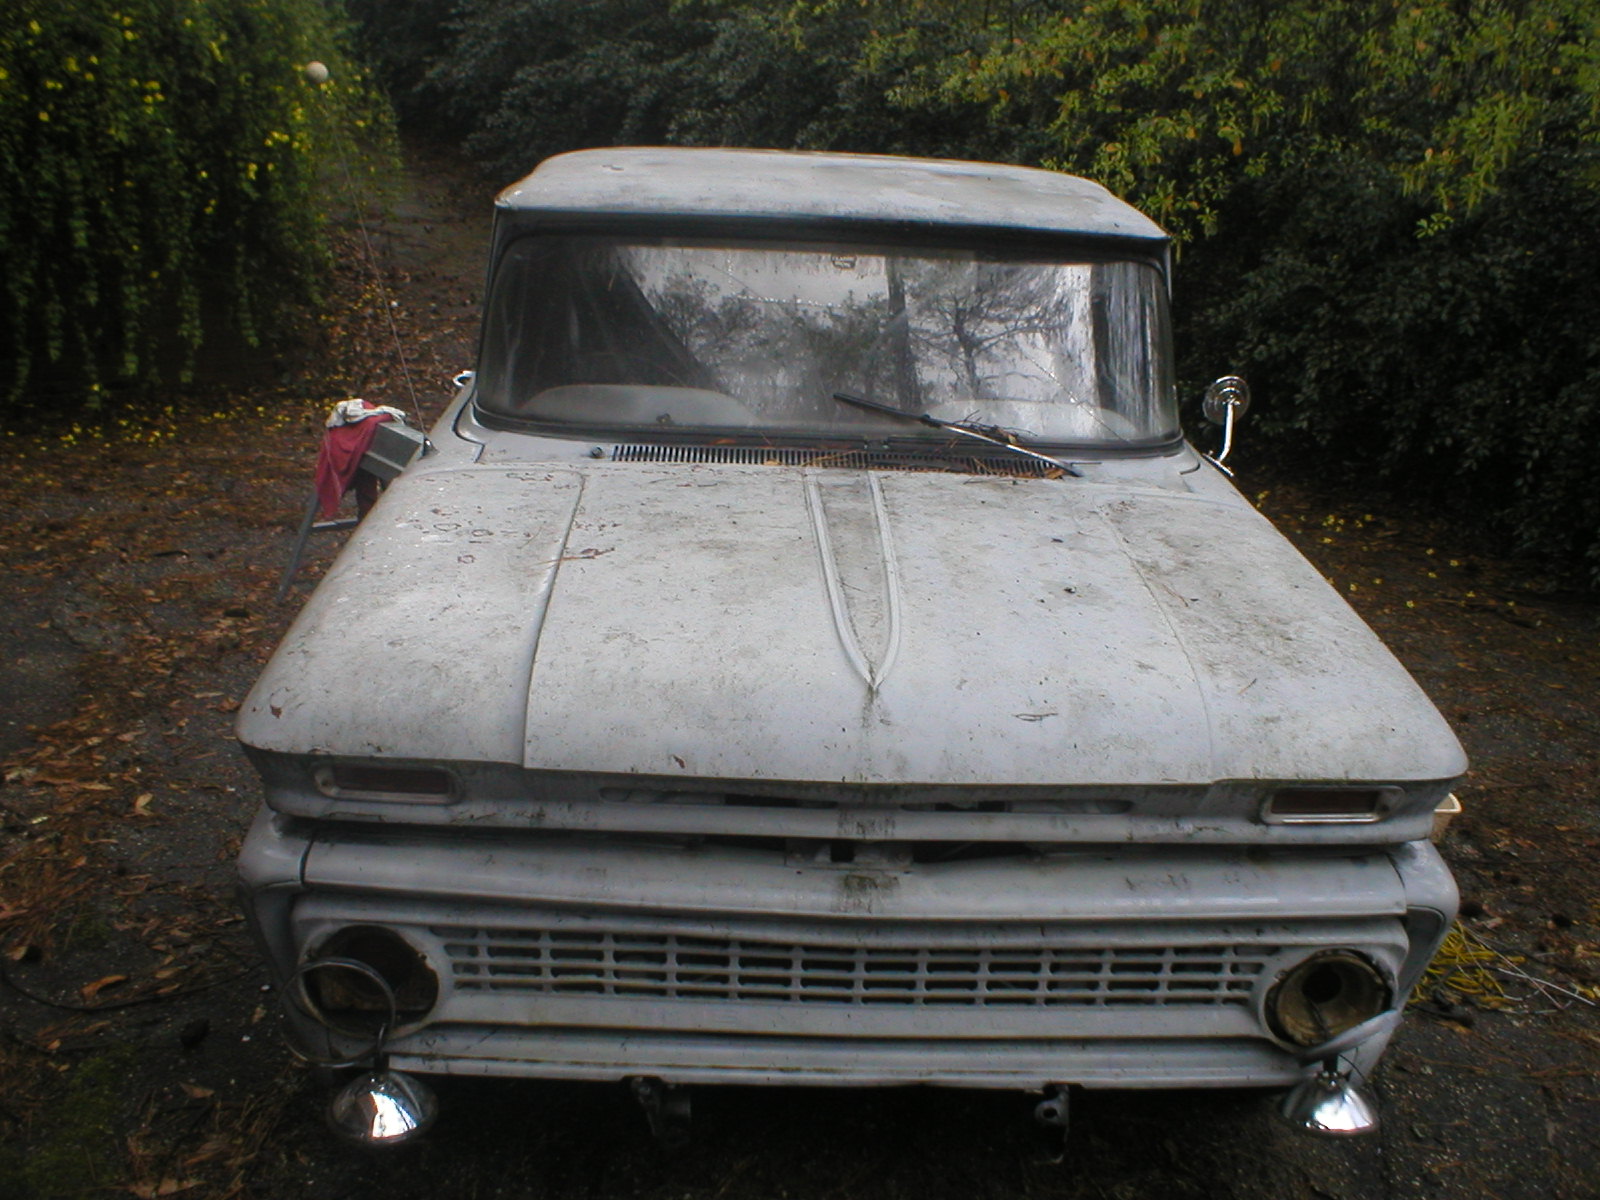
I'll try that for the next round. Of course, my truck's a working-class sort of guy, and anything that shows off the dings and imperfections may be counter-productive. I've enclosed an attachment to show what we had to start with...
But that's a great finish you've worked up. If I can't find a flagged brush, would foam work tolerably? Or should I go with a high-end brush?
Second question for the room...has anyone tried this on the inside of their vehicle?
Last edited by RevDodd; 07/11/06 06:18 AM.
|
|
|
Re: Paint job on a budget!? CONTINUED..page 44........
[Re: Marq]
#25016
07/11/06 07:46 AM
07/11/06 07:46 AM
|
Anonymous
Unregistered
|
Anonymous
Unregistered
|
Yeah I picked up the brightside largo blue as I said earlier and completed all body work last night god that was touch. I did the initial sanding then went to bed.
My car has some bondo'ed surfaces and I don't plan on laying down primer. It'm hoping it won't make much of a difference. Did you notice any problems when you did your mustang marq?
So it's off to paint tonight for me. I have pictures of the process so far, pictures to come once I start to roll the stuff. To clarify with the brightside I just roll straight out of the can making sure that I empty my roller out almost completely before each coat like they are doing with the rustoleum then go the other way across my stroke with a foam brush? Sounds simple. God I hope this looks nice...
I had the oh crap what did I do to my car moment last night after I had sanded it to scratch it up...
I sanded with 120 the entire car. Should I sand with a higher grit before painting now? Or will the paint cover it up? I'm not sure how this will work. With rustoleum that process was fine and worked quite well.
|
|
|
Re: Paint job on a budget!? CONTINUED..page 44........
#25017
07/11/06 11:19 AM
07/11/06 11:19 AM
|
Joined: May 2006
Posts: 575
Canada
Marq
mopar addict
|
mopar addict
Joined: May 2006
Posts: 575
Canada
|
At this point my feeling is that to 'save work' you should go ahead and use the primer. But you can 'spike it' by cutting it 50 % primer with 50 % of the paint color of your choice. This will ensure that you have a uniform color below the paint that you are applying. I would lay down the primer/paint mix and then sand it with anything from a 180 to a 320 grit. I kinda like the 220 grit personally.. .
Last edited by Marq; 07/11/06 11:20 AM.
|
|
|
|
|


