|
 Re: Paint job on a budget!? CONTINUED..page 44........
#24918
Re: Paint job on a budget!? CONTINUED..page 44........
#24918
07/02/06 09:07 PM
07/02/06 09:07 PM
|
Joined: Jul 2006
Posts: 44
USA
_Scott_

member
|
member
Joined: Jul 2006
Posts: 44
USA
|
Hi all, Like many other people I linked into this topic via another forum at about page 7 of the original thread. I went to the beginning and have been following ever since. I have about 5 years of experience working in a body shop (but have since moved on), so I think I'm qualified to offer a few pointers. Something that has been mentioned a few times, but I believe has not been emphasized strongly enough is the prep-work. This thread is about paint on a budget which evolved into the roller and mineral spirits method of applying rust paint ( props to 69Charger for figuring out how to get rust paint to harden BTW.) I'm afraid there are people who are getting so excited about having shiny paint for $50 that they don't even think about the prep work, and it shows in some of the pics we've seen. Prep work can make or break the end result. If your favorite color is applied by whatever method (brush, roller, spray, fingers) to a turd, all you end up with is a shiny turd in your favorite color. So a word of advice to those who don't already have experience prepping a car for paint, learn that first. There are several forums worth looking at, here is one to get you started: http://www.autobody101.com/forums/index.phpWhen wetsanding, you must sand all the peaks of the surface texture off until they are even with the valleys so you have uniform finish before moving on to the next step, whether that be more paint or polishing. Here is a link to a pic that illustrates the difference between not enough and just right: http://tinyurl.com/lbgfa The area highlighted in red is properly wetsanded, the area highlighted in yellow is not. ( NOTE: I "borrowed" that pic from here: http://www.autobody101.com/forums/about5183.html , to illustrate the point. That's a good thread, I recommend people read through it.) Also, when wetsanding don't skimp on the water. Don't allow dust or any gritty particle get under your wetsand paper. If it does, stop sanding and rinse immediately then go back over the area where you noticed the gritty particle. Now to answer a few questions. Order to do things. Ultimately it's up to you, but I recommend starting with the hardest part first. If it's body damage, fix it first. If you have rust, deal with that next, If you are going to be painting the jambs and/or engine bay, clean and prep them next. Prep the exterior. Clean and paint the jambs/engine bay. Mask off painted areas and paint the exterior. Quote:
regular mineral spirits...only found it at sherwin-williams
I've seen 100% mineral spirits at Sears for ~$8USD/gal. You may find it at Kmart too (since they own Sears.)
Quote:
Also, is everyone agreed that we shoudl wait a few weeks to do the final polish?
At least. A few months would be better.
Quote:
And if so, do you apply the 6th coat and wait then wetsand and polish weeks later or apply the 6th coat, wetsand and then polish weeks later.
Wetsand right before either paint or polish. I would discourage people from sanding one day then driving the car to work for a few days and then painting over that sanded area. At least go back over with a light sanding before painting to make sure you haven't picked up any miscellaneous grime or residue that will interfere with the adhesion of the paint. Remember that not everything is soluble in mineral spirits.
I didn't plan to type all that when I started, but I hope it helps some people to achieve an end result they can be proud of.
|
|
|
Re: Paint job on a budget!? CONTINUED..page 44........
[Re: _Scott_]
#24919
07/03/06 03:48 AM
07/03/06 03:48 AM
|
Anonymous
Unregistered
|
Anonymous
Unregistered
|
for someone who used primer, guided coats etc...this picture should of came out cleaner...then again,very shapey, rounded areas are hard to sand if you arent using the right tool...  nvm, i thought he was some pro!  awesome work!  but [Edited by Moparts - Keep it clean] them old skool porsche is something i must have one day.
Last edited by Cal96; 07/03/06 07:11 AM.
|
|
|
Re: Paint job on a budget!? CONTINUED..page 44........
[Re: Marq]
#24920
07/03/06 04:37 AM
07/03/06 04:37 AM
|
Anonymous
Unregistered
|
Anonymous
Unregistered
|
Quote:
One of the grays by Brightside is a lovely color that looks something like Ford Mustang's 'Mineral Gray' ( without the metalflake of course ).
Next to the Fire Red... that darkest color of gray would have been my next choice in colors. It is dark enough to stealth the lines of a car and give it a myseriously deceptive look... while at the same time not being so dark that it shows any imperections in the bodywork etc.
Oh... ONE IMPORTANT thing that I only caught on to tonight regarding the painting of cars or boats with the 'roller and brush method'.
As you know... you apply the Brightside straight out of the can using the high density foam 4" roller... in thin coats.
As you complete a small section you are then suppose to float your 3" or 4" foam brush over the surface and that magically pops any surviving bubbles.
What I ONLY LEARNED TONIGHT was that if you are rolling from north to south.. then you brush wipe from east to west. If you are rolling from side to side.... then you brush wipe from up and down.
I had been following the path of the roller. If I rolled from the left side of a door to the right side of a door... I was mistakenly brush wiping by going from the left side to the right side.
So to anyone who is planning to use the Brightside paint method... just note that you roll your paint in one direction... and then brush it by going across the rollings - not with the rollings.
Hope this info helps. I am planning to use this new found knowledge on my third coat of Brightside.
.
Another thing are you just using 1200 and 1500 grit sandpaper? or are you starting off the 1st wetsanding with 600g?
|
|
|
Re: Paint job on a budget!? CONTINUED..page 44........
[Re: texczech]
#24921
07/03/06 05:25 AM
07/03/06 05:25 AM
|
Anonymous
Unregistered
|
Anonymous
Unregistered
|
You were talking about the preval I bought one and was testing it out from my experiences its pretty good for working on small cars. I was using it on a fender and have to say when the paint is thinned at the right amount the preval sprays like a proffesional gun. Everything thinned out and from the right distance its good. Good for going to one panal at a time. 
Last edited by stuff215; 07/03/06 05:27 AM.
|
|
|
Re: Paint job on a budget!? CONTINUED..page 44........
[Re: Marq]
#24922
07/03/06 10:39 AM
07/03/06 10:39 AM
|
Anonymous
Unregistered
|
Anonymous
Unregistered
|
Marq, the mustang looks incredible. Congrats, man.
|
|
|
Re: Paint job on a budget!? CONTINUED..page 44........
[Re: Marq]
#24924
07/03/06 12:52 PM
07/03/06 12:52 PM
|
Anonymous
Unregistered
|
Anonymous
Unregistered
|
Marq - Thanks for your suggestion. I went and ordered some largo blue this weekend. I hope it's not too light. I couldn't find any pictures of boats with it online. Everyone had saphire and that was hit or miss because of the light around it...
Anyhow a few questions
How many coats total? 3?
So your process is: sand car with 400ish, paint a coat, sand with 800, paint a coat, sand with 1000-1500, lay on final coat?
The drying time in between is about 8 hours correct?
Did you do body work before? If so did you primer over any bondo or just paint over? I've heard of people doing it both ways with the rustoleum.
|
|
|
Re: Paint job on a budget!? CONTINUED..page 44........
#24925
07/03/06 05:27 PM
07/03/06 05:27 PM
|
Joined: May 2006
Posts: 575
Canada
Marq
mopar addict
|
mopar addict
Joined: May 2006
Posts: 575
Canada
|
Quote:
How many coats total? 3?
The number of coats will depend on what color or colors you are painting over. But three is the most likely amount of coats that it will take.
Quote:
So your process is: sand car with 400ish, paint a coat, sand with 800, paint a coat, sand with 1000-1500, lay on final coat?
That is the route I have followed so far. IF you do a really excellent first coating ( lovely and smooth etc ) you might be able to bump up to the 800 or 1000 grit from the start. Things will depend on how smooth you work that first and subsequent layers.
Quote:
The drying time in between is about 8 hours correct?
The manufacturer recommends eight hours... and so far I would tend to agree. I usually paint at night and come back to the car the next day... So I am probably giving it a little in excess of the manufacturers suggested curing time.
Quote:
Did you do body work before? If so did you primer over any bondo or just paint over? I've heard of people doing it both ways with the rustoleum.
That McLaren was an 'accident' write-off. It had a front end collision that totalled the car. But the owner held on to the wreck and dragged it around with him for ten years - until I popped up and bought it away from him.
The reconstruction of the car has just about a little of everything on the subsurfaces... fiberglass bondo... regular bondo... straight fiberglass... gray primer, black primer, bare metal... and also several layers of Tremclad ( as per the Charger method of application.
The Brightside has been applied on just about each of those substratas and there have been no problems for coverage and adhesion.
Once you are confident that the bodywork is up to par or acceptable to you... the decision on whether to use a primer is probably going to be a decision related to the color you have chosen and the color of the substrata of your car's body.
For example... if you have very light colored car with some bondo work... and you want to go to a midrange blue... then I would probably recommend slapping a gray primer onto the body to give yourself a uniform starting point to layer your paint on.
If you have a very dark color car with some bodywork and you want to go to a midrange blue... then I would probably primer it up with a light gray primer ( if you want to end up with a lighter version of your selected blue color - OR - you could use a black primer in order to have a darker appearance to your selected color.
If your vehicle's body is at a stage where it doesn't have body work... you would probably be able to simply sand the car with the 220 grit and go straight to painting over the scuffed original coat.
From what I have read at the manufacturers site, in their pamphlets and from reading the boater's message boards... this paint can pretty well go straight over anything including fully cured bondo.
At this point I think the primer is more valuable as providing a solid based upon which to lay your paint in a uniform color and layering. The fact that it may provide increased adhesion is more like a bonus...
In my car... I already had six coats of the Tremclad laid down on my car ( while adhering to the Charger painting process. When I made the decision in mid-flight to switch to the Brighside paint... all I had to do was smooth out the Tremclad layers using a 220 grit.... and then start painting with the Brightside. In my case, the old Tremclad could be described as something similar to a primered surface, with the bonus being that my Tremclad was Fire Red and the Brightside paint was also a Fire Red. So you could say that my Tremclad 'primer' was the same color that I was switching over to. But at this point the Brightside has been in contact and adhered to just about every substrata material on my car without any problem..
.
Last edited by Marq; 07/03/06 05:34 PM.
|
|
|
Re: Paint job on a budget!? CONTINUED..page 44........
[Re: Marq]
#24926
07/03/06 06:12 PM
07/03/06 06:12 PM
|
Anonymous
Unregistered
|
Anonymous
Unregistered
|
Wonder if a coat or two of Rustoleum and then finishing with Brightside would give best of both worlds, rust protection and easier to work with finish?
|
|
|
Re: Paint job on a budget!? CONTINUED..page 44........
#24927
07/03/06 07:19 PM
07/03/06 07:19 PM
|
Anonymous
Unregistered
|
Anonymous
Unregistered
|
Marq, when you get done with your final coat. make sure to upload the pics ASAP! 
|
|
|
Re: Paint job on a budget!? CONTINUED..page 44........
[Re: Exit1965]
#24928
07/03/06 07:38 PM
07/03/06 07:38 PM
|
Anonymous
Unregistered
|
Anonymous
Unregistered
|
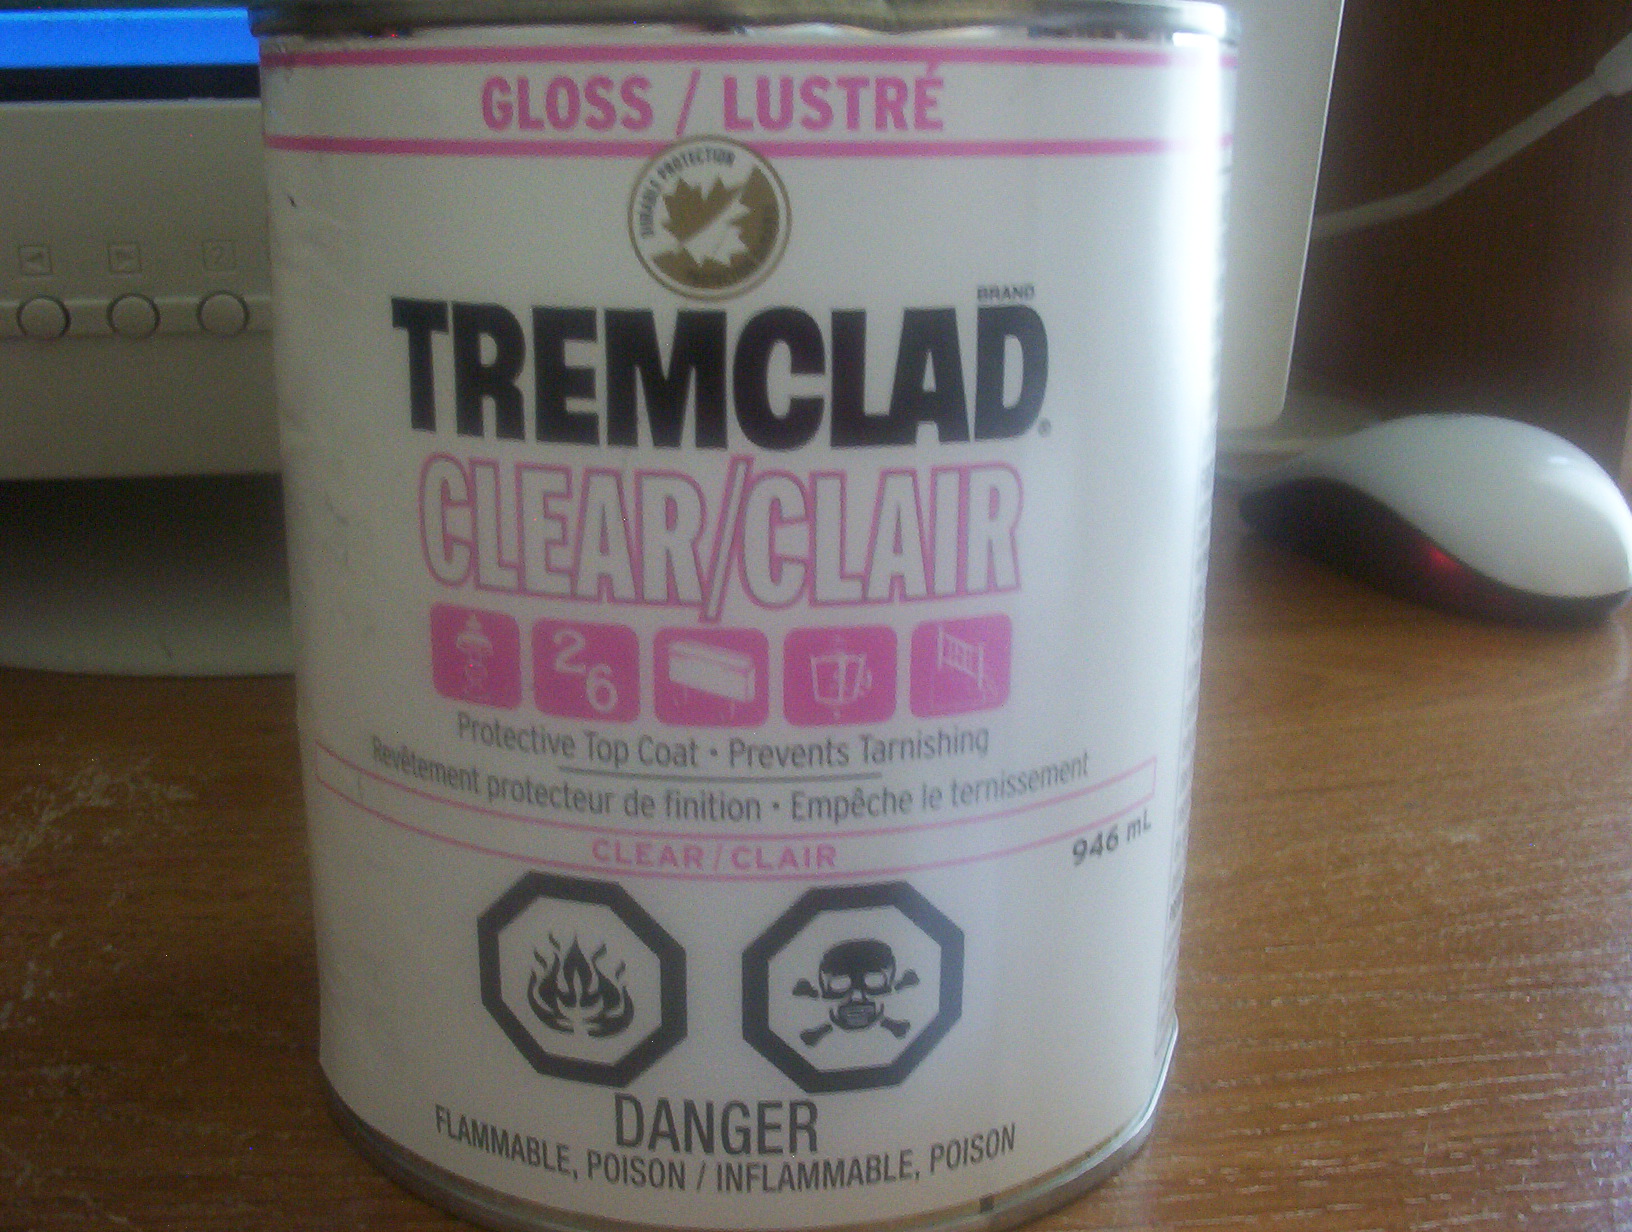
Been away from the posts for a few days now and see some new ideas and thats great. I got to the roll on clearcoat on my car finally...... Interesting results. Couple of things worth mentioningon the clear. First is that it states on the can that if your painting over a freshly painted surface to wait at least 72 hours to fully cure.
I hope this answers the age old question for when its a good time to Polish and wax. I think the 72hr wait period is a "tested" cure time that tremclad has come up with.
On to the application, The Clear goes on differently than the Paint. I went with undiluted Clear as it states you can do Dilited (laquer thinner) or un-diluted. It layed on kinda like a thin Honey, and lots of bubbles. Going over the rolled areas lightly again gets rid of the bubbles.
The weird part is if you wait too long (2mins or more) Before rolling out any bubbles you get a Spider Web like material that wafts off the roller and falls onto everything. It seems to absorb back into the Clear but if the Web stuff is too large it hangs on the surface and looks nasty. I'm going to wetsand the clear tonight and do a second coat as it seems to have "soaked" into the paint and looks dull in spots, I think this is going to take at least 3 coats of clear to look "polished" like the final coat of paint looked. I also think that the SprayCan Clear is different than the Roll on Clear as the test spot I did with the spray on was way nicer than that of the Roll on. The Clear does dry fast. I did the hood first and by the time I did the rest of the car it was completly dry.
Included is a pic of clear.
Cheers
Last edited by 82Scirocco; 07/03/06 07:44 PM.
|
|
|
Re: Paint job on a budget!? CONTINUED..page 44........
#24929
07/03/06 10:05 PM
07/03/06 10:05 PM
|
Joined: May 2006
Posts: 575
Canada
Marq
mopar addict
|
mopar addict
Joined: May 2006
Posts: 575
Canada
|
Well... each day brings a new learning discovery... and hopefully we can share what we learn about working with Brightside to help others out....
a ) When working with Brightside.... you are suppose to roll on the paint... and then go over that area with a foam brush gently to make the bubbles disappear. Today I must have looked like a mad man because what I was doing was :
a ) rolling on the paint
b ) using a 3 inch foam brush to float over it and magically pop the bubbles
c ) then using a second 3 inch brush to go over the area and lightly assist the paint to level.
The way things work out... the first brushing of the rolled paint tends to pick up paint on the roller. Yet by the time I use the clean second foam brush it is able to glide over the paint and enhance the levels. So if you don't mind looking foolish with one roller and two foam brushes in your hand... this technique may help you get even smoother results.
b ) Today was very hot and humid. I was noticing that after about 20 minutes of painting, the paint in the tray was applying differently on to the car. I did not have as much 'grace time' to work the bubbles and then do the leveling pass with the second roller. It would appear that the solvent in the paint was evaporating fairly quickly due to the hot working conditions in my garage today.
Now... this Brightside paint uses M. E. K. (METHYL ETHYL KETONE as a thinner.
They say that Ketone is very similar to Acetone but with a much slower evaporation rate and that it can be used for the same applications as Acetone. But from what I am seeing in very hot working conditions... this Ketone stuff is evaporating fairly quickly...
NOW... by accident I decided to try cutting the Brightside paint with some of the 'regular' mineral spirits that I had left from my Tremclad experiment. It works and the paint acts just like it is suppose to with the bubbles, the magic wipe of the first foam brush to pop bubbles and the level assisting wipe with the second foam brush.
So the point of this bit of exploration and discovery may be of assistance to anyone applying Brightside in very hot working conditions. You can cut the paint with about 5% to 10% Ketone OR mineral spirits and you will have a little more 'working time' for applying and perfecting each layer that you are applying.
c ) The third discovery today is a way to detect when the surface that you have just rolled is drying too fast and that you should touch up the paint in the tray with a little mineral spirit or Ketone...
When the paint is drying too fast because of the heat... you will notice that when you drag your foam brush over the paint ( to pop the bubbles or to assist in leveling ) that the foam brush will 'stutter' as you drag it over the paint. It is almost like the paint grabs the brush, lets it go... grabs it.. lets it go ... and the faster the stuttering of the foam brush the sooner you had better quit dragging the brush over the paint or it will leave a record of the 'stuttering' in the paint you are working on.
If this 'stuttering' happens to you... do not try to rework or rewet the area to remedy it. Simply stop working on that spot. There is a good chance that it may 'self level' itself. However, if when it dries you can see where the 'stuttering' took place, just hit it with the wet sanding to remove the 'stuttering.
If you rewet the area by reloading your roller or your foam brush on that area... you will just exagerate the problem and it 'may' lead to too much paint on that spot ( which you are going to have to wet sand out anyhow ).
I was really please with the results that I got today... but I may have to lay one more coat because I can still places in the substrata where the white is still slightly visible. If I had used a primer and had a uniform colored substrata then I probably would have been finished at three coats.
Oh well... at least I am having fun and this hardly seems like work...
We are now looking at painting my nephew's F150 pick up truck ( with the extended cab ) in black Brightside. He was blown away by how the Fire Red turned out and could see this technique working wonders on his old beater. Argh...
.
Last edited by Marq; 07/03/06 10:33 PM.
|
|
|
Re: Paint job on a budget!? CONTINUED..page 44........
#24930
07/03/06 10:22 PM
07/03/06 10:22 PM
|
Joined: May 2006
Posts: 575
Canada
Marq
mopar addict
|
mopar addict
Joined: May 2006
Posts: 575
Canada
|
Quote:
Wonder if a coat or two of Rustoleum and then finishing with Brightside would give best of both worlds, rust protection and easier to work with finish?
If I was starting from scratch... I think I would go straight to the Brightside.
Instead of layering down a layer or two of Rustoleum, I would probably rather lay down a coat of primer, samd it to perfection and than start putting on the coats of Brightside.
I don't think you would be gaining any additional 'rust preventive protection' by priming up the body with Tremclad or Rustoleum.
If you have properly worked your bodywork... and primered any exposed metal surfaces, then that should provide the necessary anti-rust protection to the metal surfaces. And with the Brightside paint subequently sealing the outer surface from oxygen and moisture, I can't really imagine how rust is going to take hold.
.
|
|
|
Re: Paint job on a budget!? CONTINUED..page 44........
[Re: Marq]
#24931
07/03/06 10:32 PM
07/03/06 10:32 PM
|
Joined: Jul 2003
Posts: 3,378
Rancho Cordova, CA
Exit1965
master
|
master
Joined: Jul 2003
Posts: 3,378
Rancho Cordova, CA
|
Keep the pics coming Marq. Try a straight on pic too if you get a chance. One question, is applying the brightside stressful? I have noticed that using rustoleum is slightly stressful since you're on the lookout for dog hair, runs, missed spots and so forth, but with 2 brushes and a roller, and fast evaporating paint plus all of the above.. sounds like a stressful time. I would probably have my own hair falling into the paint instead of my dogs  Seriously though, if the brightside works well and holds up I wouldn't be against putting some on my dart down the road when I'm ready for a color change, maybe to a dark gray. I'm making good progress with the rustoleum/mineral spirits. I think another 3 coats over the whole car will do it, then maybe another 1 or 2 on the hood and roof. I like the color a lot. Almost sleeper like.. I set my camera to flourescent light mode, now the actual color of the canvas white can be seen a bit better as opposed to stark white. 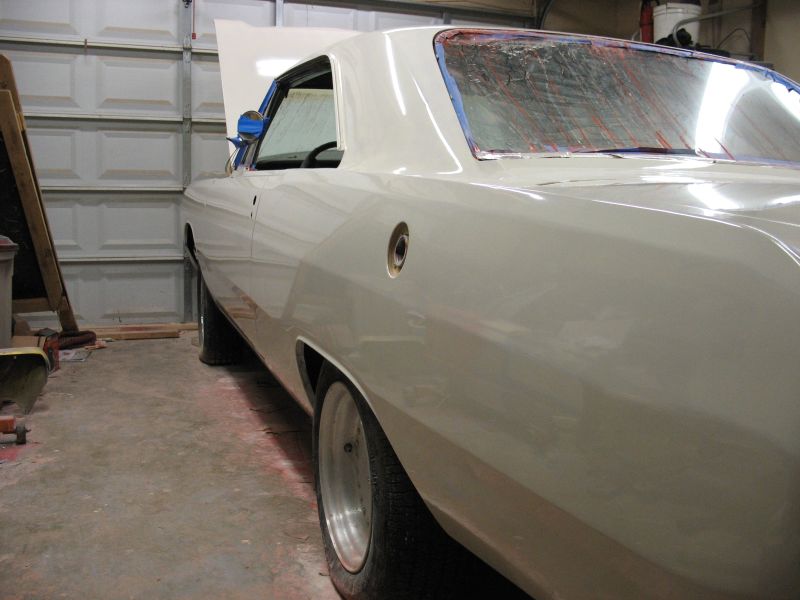
|
|
|
Re: Paint job on a budget!? CONTINUED..page 44........
[Re: Marq]
#24934
07/03/06 11:00 PM
07/03/06 11:00 PM
|
Anonymous
Unregistered
|
Anonymous
Unregistered
|
Ok here is wat i did so far with my test peace. I am using gloss white. I find that lighter colors are easier to work with then dark colors here is my result. I did a thick coat and let it dried and then after that I started to do thin coats. I came up with these because i was think one thick coat will cover the area and will be easy to sand and smooth. Also once the thick coat finished drying the thin coats would bring out the shine I think. This pic was taken in the basement with a dimm light I am amazed with gloss white. 
|
|
|
Re: Paint job on a budget!? CONTINUED..page 44........
[Re: Marq]
#24936
07/03/06 11:24 PM
07/03/06 11:24 PM
|
Anonymous
Unregistered
|
Anonymous
Unregistered
|
Guys, I have had a major breakthrough tonight!
I�ve just come in from painting, it�s almost 11:30pm, and I can�t� tell you how excited I am. The last few days I�ve had to sand off all these warts, pimples and boils that formed after the last coat of paint. I have mentioned them before in an earlier post. They were caused be the paint drying before the bubbles could pop and self level. It�s been very hot and humid here in Toronto the last few days and that didn�t help.
Well I tried the roll and tip method that Marq had mentioned the boaters were using. It�s magic! Bloody magic! Thin the paint as normal and apply with the foam roller. Once you have done a small area go over that, ever so lightly, with the tip of a foam brush. The bubbles disappear and the brush streaks fade to nothing in a minute of two. The finish is hard to believe, glass smooth. Will post pics tomorrow
|
|
|
Re: Paint job on a budget!? CONTINUED..page 44........
#24937
07/04/06 12:22 AM
07/04/06 12:22 AM
|
Anonymous
Unregistered
|
Anonymous
Unregistered
|
Quote:
Guys, I have had a major breakthrough tonight!
I�ve just come in from painting, it�s almost 11:30pm, and I can�t� tell you how excited I am. The last few days I�ve had to sand off all these warts, pimples and boils that formed after the last coat of paint. I have mentioned them before in an earlier post. They were caused be the paint drying before the bubbles could pop and self level. It�s been very hot and humid here in Toronto the last few days and that didn�t help.
Well I tried the roll and tip method that Marq had mentioned the boaters were using. It�s magic! Bloody magic! Thin the paint as normal and apply with the foam roller. Once you have done a small area go over that, ever so lightly, with the tip of a foam brush. The bubbles disappear and the brush streaks fade to nothing in a minute of two. The finish is hard to believe, glass smooth. Will post pics tomorrow
Interesting.
I took care of the bubbles by using gigantic fans.

But I'm not really getting the kind of shine I was hoping for. Hopefully with another coat plus 1500 grit wetsand I'll get there... and then polishing on Friday. We'll see.
|
|
|
|
|


 . Lately the biggest danger is sweat POURING off my forehead while working in these hot temperatures ( something I solved by putting a bikers bandanda across my forehead. Gawd I must look like a sight to my neighbors when I come out of the garage to take a breather...
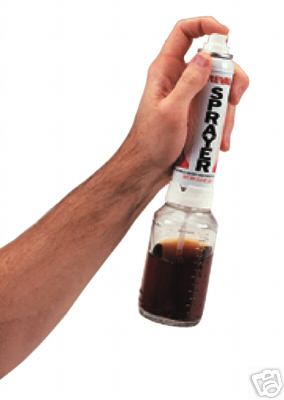