|
 Different folks have tried different ratios
#24638
Different folks have tried different ratios
#24638
06/13/06 06:42 AM
06/13/06 06:42 AM
|
Anonymous
Unregistered
|
Anonymous
Unregistered
|
...and I suspect the results have been close to the same.
I tests small amounts with different mixtures Eventually settling on what I'd call 75 percent paint, 25 percent mineral spirits (and just a splash of Penetrol. It worked like a dream in the white Rustoleum pro, but still seems a tad thick for my orange (which was Coronado, so the chemistry is likely off a touch.)
The off-the-cuff description of mixing until the paint runs like water really is the best. Any thicker and you slow down the process. Of course, if you're painting in Sacto in the summer, you should have a nice sunny environment to bake the paint quick.
Matt, if you haven't practiced with the paint on some spare metal somewhere, please stop and do that first. When these guys say the paint lays down differently, they aren't kidding. An afternoon of practice saved me a lot of time making up for some sloppy mistakes.
Above all, take your time and enjoy the transformation. I'm only about halfway done and folks are already walking up and complimenting the truck. Can't wait for the weather to clear to get back to it!
|
|
|
Re: Paint job on a budget!? CONTINUED..page 44............
#24639
06/13/06 08:07 AM
06/13/06 08:07 AM
|
Anonymous
Unregistered
|
Anonymous
Unregistered
|
Cal: is that the royal blue I had sent you links to or did you go with navy? It looks light, like royal.
|
|
|
Re: Paint job on a budget!? CONTINUED..page 44........
#24641
06/13/06 02:56 PM
06/13/06 02:56 PM
|
Anonymous
Unregistered
|
Anonymous
Unregistered
|
Quote:
alright... i tried polishing my car with the turtle wax compound and got no shine what so ever, also tried waxing after that, no shine. Then tried just waxing it, and also no shine... HOW CAN I GET SHINE!!! someone please give me some advice on how to get some shine into the paint
try reading some more on this thread. you may have miss a step or two.
here's a quick reference from another forum:
http://cars.500megs.info/forum/viewtopic.php?t=13
|
|
|
Re: Paint job on a budget!? CONTINUED..page 44........
[Re: Exit1965]
#24643
06/13/06 05:52 PM
06/13/06 05:52 PM
|
Anonymous
Unregistered
|
Anonymous
Unregistered
|
anyone experienced dust being on the paint after a whjile the car being finished with new paint?
|
|
|
Re: Paint job on a budget!? CONTINUED..page 44........
#24644
06/13/06 06:44 PM
06/13/06 06:44 PM
|
Anonymous
Unregistered
|
Anonymous
Unregistered
|
Ok, I'll be picking up some more sand paper, prob 220 since thats what I know HD has and start prepping, still my only question is, I know sanding makes a ton of dust and crap, would it be better if i just swept it off with a hand brush, or to just rinse it off with some water?
As to doing a test section, I haven't done that yet, but the car is a friends of mine and we are bothing going to test it out tomorrow on one panel first and see how it lays down and stuff, then proceed from there.
|
|
|
Re: Paint job on a budget!? CONTINUED..page 44........
#24645
06/13/06 06:45 PM
06/13/06 06:45 PM
|
Anonymous
Unregistered
|
Anonymous
Unregistered
|
I keep finding dust particles or something like it in the fresh paint of panels I rolled. i think it is most likely microscopic parts of the roller coming off. I dont see any in the cowl and grill i painted with the foam brush only.
Bob
|
|
|
Re: Paint job on a budget!? CONTINUED..page 44........
[Re: Marq]
#24648
06/13/06 09:04 PM
06/13/06 09:04 PM
|
Anonymous
Unregistered
|
Anonymous
Unregistered
|
Hi, Been following this from the beginning.  Haven't started yet, was going to go with black but am now sticking with original color of car(white) to avoid doing the engine bay, trunk, etc... Three questions, 1)I do have light rust, some medium rust, do I need to bondo these areas or use rust-killer? I am afraid to just paint over these areas and have the rust come back. 2) Should I do a light sand(230 or so) to scuff the existing paint? 3) What is the best product to do a whole-car preclean with? DuPont Prep-Sol or anything else someone can recommend? I've heard something about VarSol maybe? Waited for the warm weather again, it's here, can't wait to get started!!!!!!!!!!!!
|
|
|
Re: Paint job on a budget!? CONTINUED..page 44........
#24649
06/14/06 12:34 AM
06/14/06 12:34 AM
|
Anonymous
Unregistered
|
Anonymous
Unregistered
|
what i mean is...my paint is already dried and such, but i didn't drive it for couple days, and it got dirty/dust, and when i put my hand on it, it feels like a very rough surface instead of very smooth like it was when it was first done, i wipe it with a wet tower, the dust was gone but the surface remain rough(like sand paper)
|
|
|
Re: Paint job on a budget!? CONTINUED..page 44........
#24650
06/14/06 01:53 AM
06/14/06 01:53 AM
|
Anonymous
Unregistered
|
Anonymous
Unregistered
|
For the rust use a good rust converter, Scrape sand the rust then soak it in the converter the stuff I have from permatex has a sandable film that forms almost like an epoxy sealer, that can be sanded as well.
Yes do a Pre sand with the 200+ grit. After the sanding I used The mineral spirits to wipe down let dry and went to paint. There is a product called Wash and Wipe that I've used as well and it gets all wax and oils off without wreaking havok on paint finish.
|
|
|
Re: Paint job on a budget!? CONTINUED..page 44........
#24651
06/14/06 01:58 AM
06/14/06 01:58 AM
|
Anonymous
Unregistered
|
Anonymous
Unregistered
|
Have you done the final wetsand? You wont have a smooth finish until you do your final wetsand and polish. The little bubbles left behind from the roller I find leave the "rough" surface. this in turn collects the dust you are talking about.
|
|
|
Re: Paint job on a budget!? CONTINUED..page 44........
#24652
06/14/06 04:26 AM
06/14/06 04:26 AM
|
Anonymous
Unregistered
|
Anonymous
Unregistered
|
Last edited by widebody mr2; 06/14/06 04:29 AM.
|
|
|
Re: Paint job on a budget!? CONTINUED..page 44........
#24653
06/14/06 10:02 AM
06/14/06 10:02 AM
|
Joined: May 2006
Posts: 575
Canada
Marq

mopar addict
|
mopar addict
Joined: May 2006
Posts: 575
Canada
|
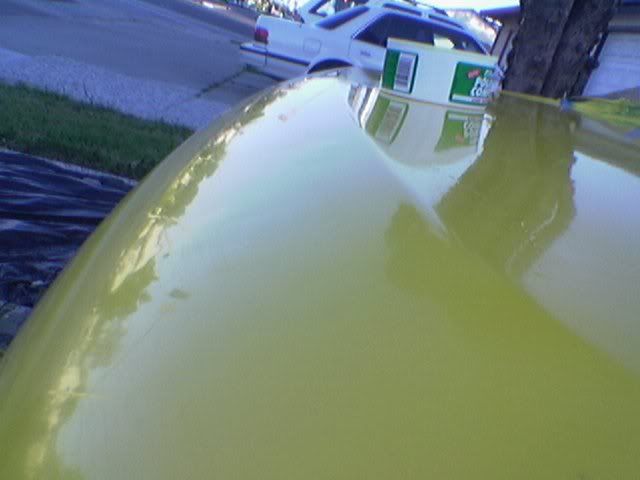
Fast thought on the problem some folks have reported with their WHITE PAINT turning yellowish when used on the car...
You might want to try adding some drops of ROYAL BLUE ( or very dark blue ) to your white paint. This is an old painter's trick for stabilizing white and eliminating yellow. You just need to add a few drops of dark blue per liter/quart of white paint.
Hope this helps someone
.
Last edited by Marq; 06/14/06 10:03 AM.
|
|
|
Re: Paint job on a budget!? CONTINUED..page 44........
[Re: Marq]
#24654
06/14/06 10:18 AM
06/14/06 10:18 AM
|
Joined: May 2006
Posts: 575
Canada
Marq
mopar addict
|
mopar addict
Joined: May 2006
Posts: 575
Canada
|
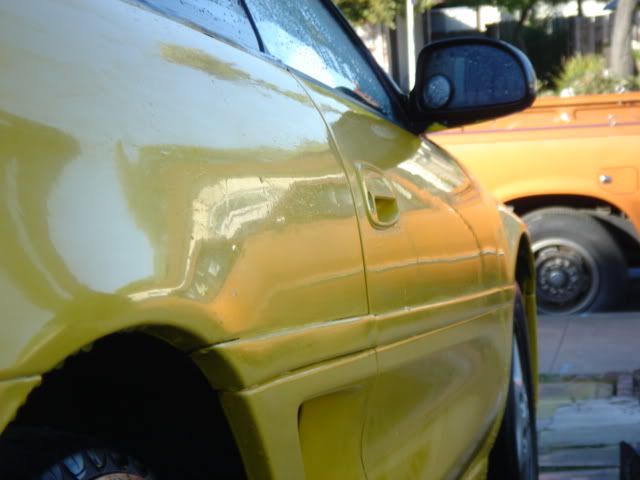
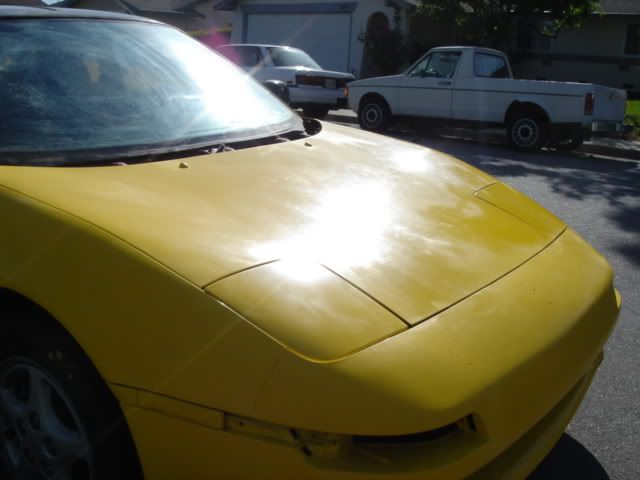
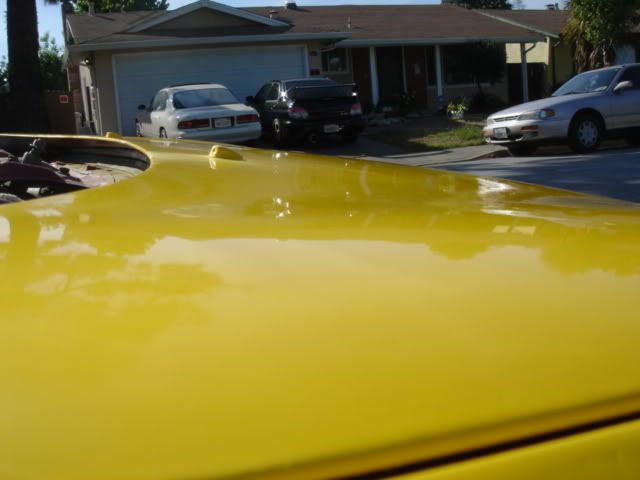
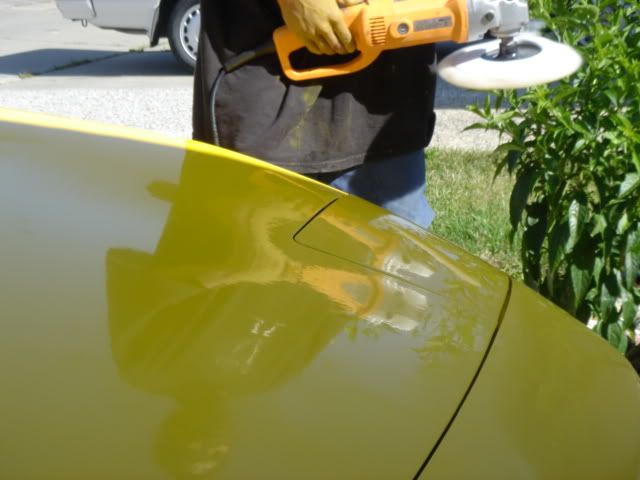
I finally got my camera out to take a couple of pics on how the car is looking after two sessions of this process ( total of 4 layers of paint ) At the point of 4 layers of Fire Red paint I can still see ghost of the black primer. This was expected and is no big surprise at this point in the layering of the red paint over the black. But otherwise the red is shiny, smooth and doing quite well. There is a minimal amount of orange peel located on the passenger rear quarter. It will be gone following the wet sanding this evening. The following pictures are not as good as seeing it the car live and in person. But hopefully it will share with you the results I am obtaining so far. And yes... the paint is HARD as nails at 4 coats..  Front drivers quarter : http://www.snpx.com/mclaren/mclaren/mclaren1.jpgFront drivers side profile : http://www.snpx.com/mclaren/mclaren/mclarendriver.jpgFront passengers profile : http://www.snpx.com/mclaren/mclaren/mclarenpassenger.jpgRear drivers quarter : http://www.snpx.com/mclaren/mclaren/mclarenrear.jpgThe car will be baking in the sun today. Hopefully no birds will poop on it. Then it will be going back into the garage to cool the body temperature down. Then I am going to start hitting it with 1200 grit wet sanding prior to adding the 5th and 6th layer. I can't wait to get it up to 8 or 10 layers .
Last edited by Marq; 06/14/06 11:45 AM.
|
|
|
Re: Paint job on a budget!? CONTINUED..page 44........
[Re: vynn3]
#24656
06/14/06 01:47 PM
06/14/06 01:47 PM
|
Anonymous
Unregistered
|
Anonymous
Unregistered
|
to get the best job yes. I did that on mine. Otherwise you miss stuff. Older cars it's probably not as bad. I drive an eclipse spyder it has lots of curves and cracks so I had to take off the stuff.
|
|
|
Re: Paint job on a budget!? CONTINUED..page 44........
#24657
06/14/06 02:44 PM
06/14/06 02:44 PM
|
Joined: Jan 2006
Posts: 1,220
toronto canada
69chargeryeehaa
OP
pro stock
|
OP
pro stock
Joined: Jan 2006
Posts: 1,220
toronto canada
|
Marq-excellent advise, i'm glad your here to really take the time to answer all questions, you obviously are very knowledgeable in this department, and relaly help out with great advice, i agree with 100% of all you advice. use a new roller every time you paint, they're cheep, plus hose your garage, be very clean, the more time you take to prep and work in a clean enviroment the better job you'll end up with. also i completely dissassemble my cars, windows, bumpers, handles, chrome, emblems, mirrors, everything, it adds 2 days of work, but the result is 100% better.    
|
|
|
|
|