|
 Re: GOAT Duster's project aka xtremejohn
[Re: GOAT Duster]
#256699
Re: GOAT Duster's project aka xtremejohn
[Re: GOAT Duster]
#256699
03/30/09 12:44 AM
03/30/09 12:44 AM
|
Joined: Oct 2008
Posts: 106
Albuquerque, NM
GOAT Duster

member
|
member
Joined: Oct 2008
Posts: 106
Albuquerque, NM
|
Then when I got home I worked on some valve covers for another friend.
Last edited by GOAT Duster; 03/30/09 12:44 AM.
|
|
|
Re: GOAT Duster's project aka xtremejohn
[Re: GOAT Duster]
#256700
03/30/09 12:46 AM
03/30/09 12:46 AM
|
Joined: Oct 2008
Posts: 106
Albuquerque, NM
GOAT Duster
member
|
member
Joined: Oct 2008
Posts: 106
Albuquerque, NM
|
After photo of one cover. I have the other cover about 75% blasted in the cabinet.
Last edited by GOAT Duster; 03/30/09 12:49 AM.
|
|
|
Re: GOAT Duster's project aka xtremejohn
[Re: GOAT Duster]
#256701
04/10/09 08:55 AM
04/10/09 08:55 AM
|
Joined: Oct 2008
Posts: 106
Albuquerque, NM
GOAT Duster
member
|
member
Joined: Oct 2008
Posts: 106
Albuquerque, NM
|
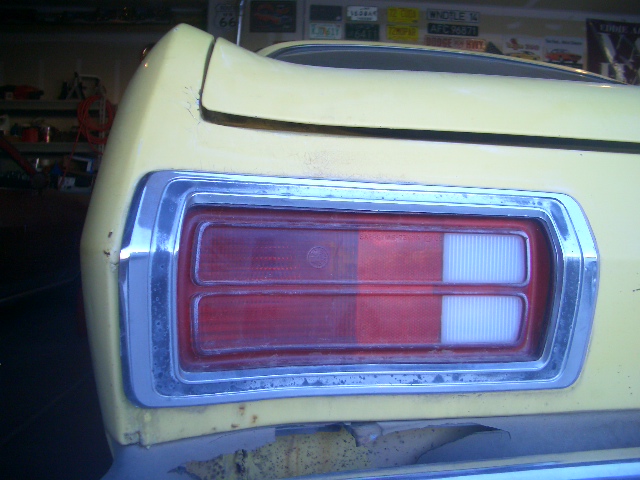
Not alot of progress but did get to work alittle on the car this week.
Here is a before shot of the taillight. Silver is faded from around the lens. Black is all but gone from the chrome ring.
Last edited by GOAT Duster; 04/10/09 09:05 AM.
|
|
|
Re: GOAT Duster's project aka xtremejohn
[Re: GOAT Duster]
#256704
04/23/09 04:39 PM
04/23/09 04:39 PM
|
Joined: Oct 2008
Posts: 106
Albuquerque, NM
GOAT Duster
member
|
member
Joined: Oct 2008
Posts: 106
Albuquerque, NM
|
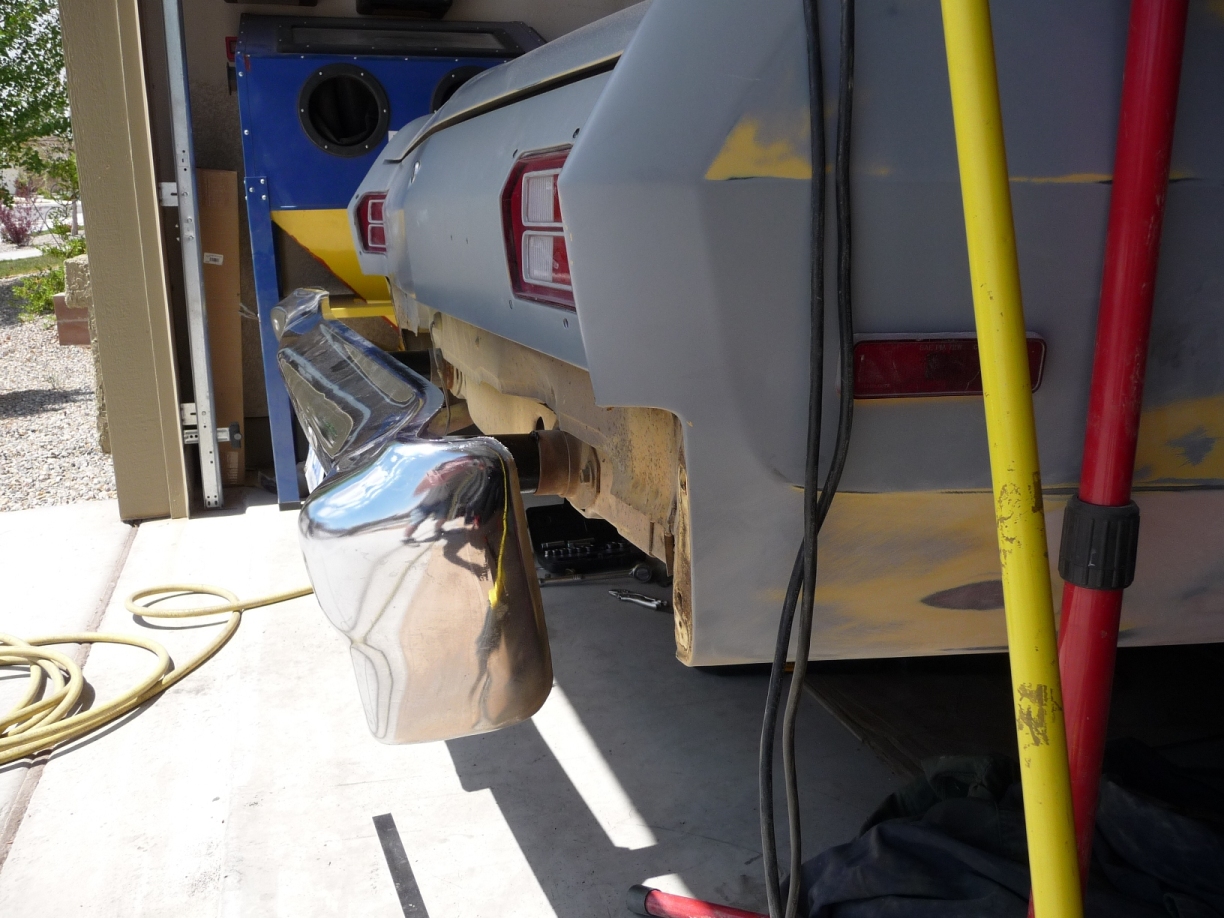
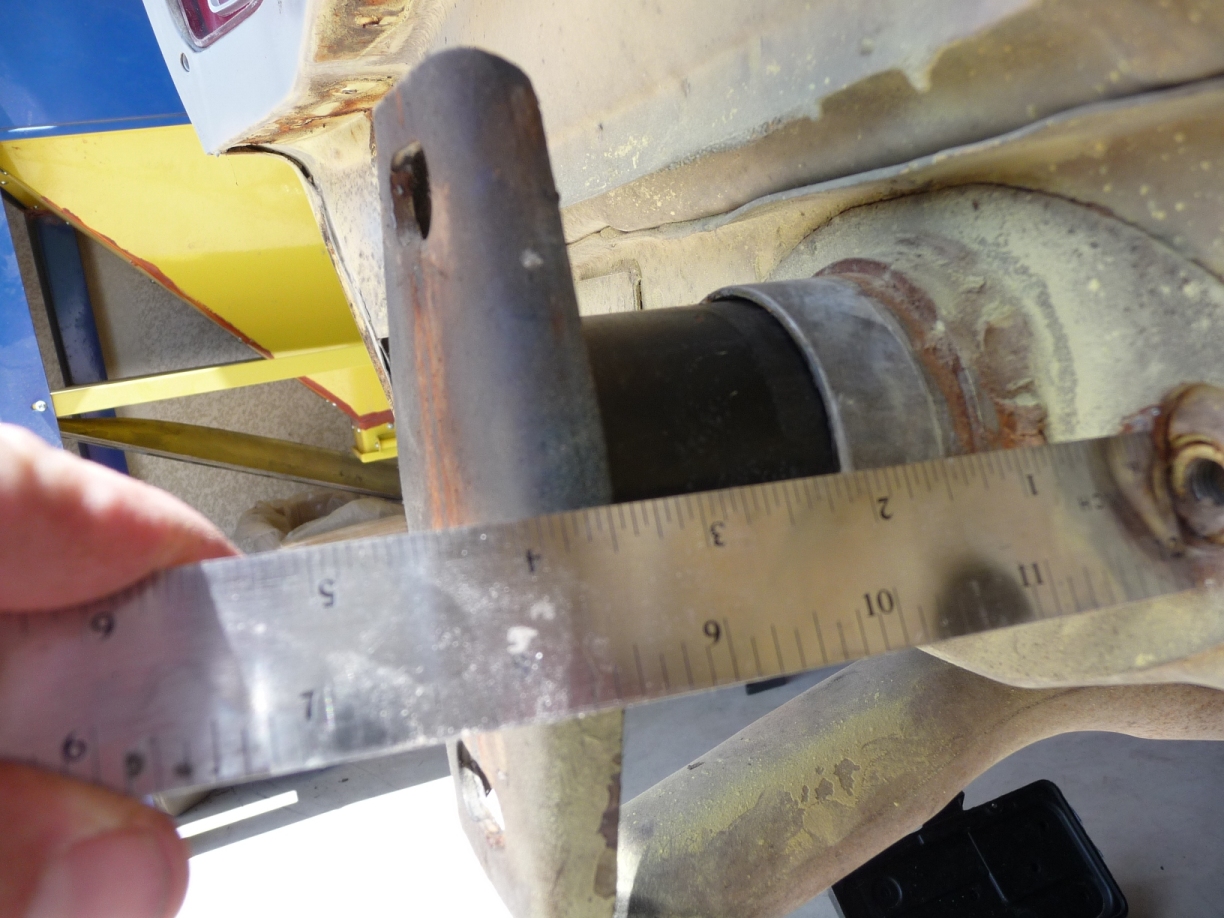
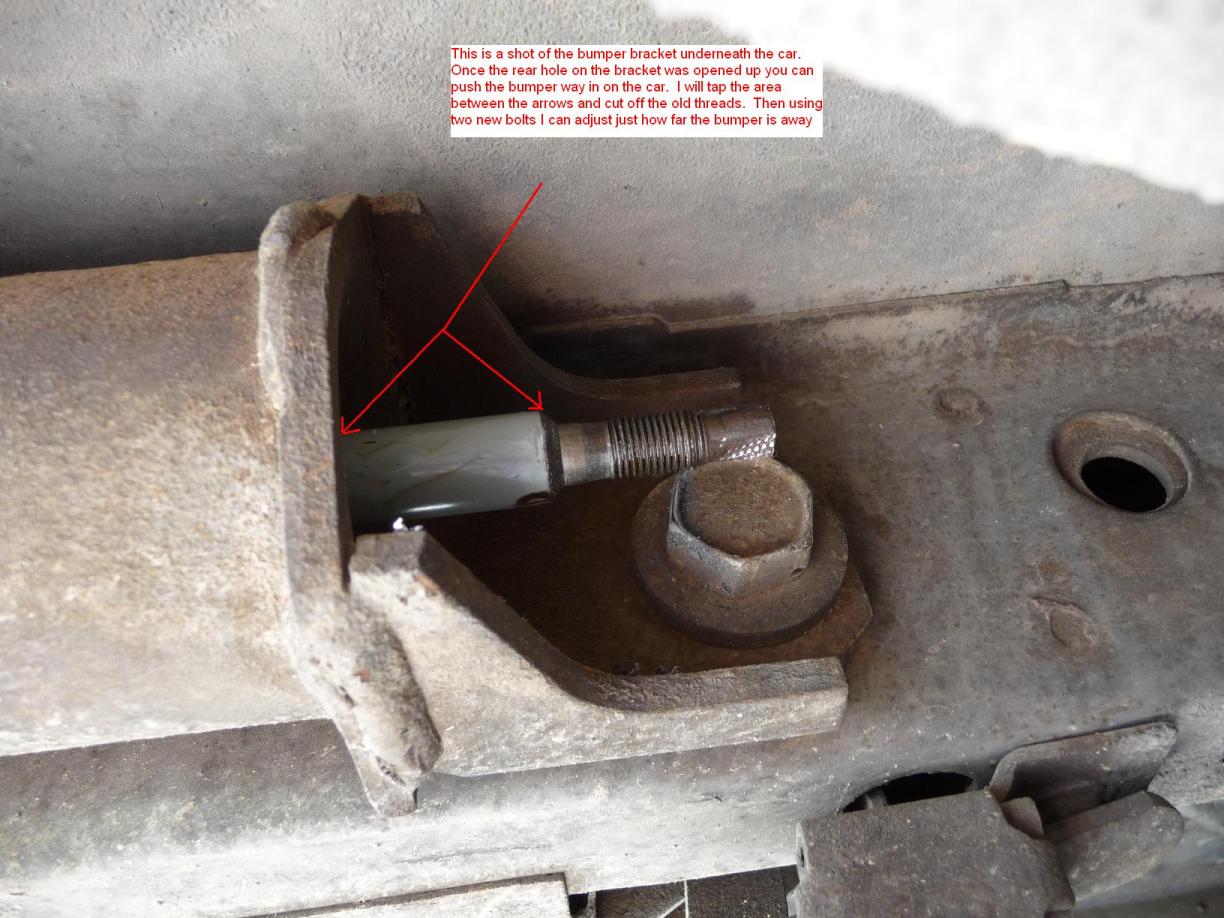
I have given up trying to find the filler piece for the bumpers, plus even with new ones on there it would feel like the bumper is still way too far out. Kind like the pic below.  I wanted to move it in closer anyways. I asked if anyone knew how a few post up in this forum and received no replies. Not to be discouraged and being a tad bit stubborn, I figured I was going to figure a way to do it on my own and with the original mounts to boot.
Last edited by GOAT Duster; 04/23/09 04:52 PM.
|
|
|
Re: GOAT Duster's project aka xtremejohn
[Re: GOAT Duster]
#256712
10/04/09 11:26 PM
10/04/09 11:26 PM
|
Joined: Oct 2008
Posts: 106
Albuquerque, NM
GOAT Duster
member
|
member
Joined: Oct 2008
Posts: 106
Albuquerque, NM
|
Also wanted to show you guys the idea of a hoodscoop for the car. Kustom built,(out of cardboard) by myself and Mouse...aka Mr Marquez. just a template, the real one will be fiberglass mess surrounding an inner core made out of steel screen for strength.
Any thoughts on the look of it? Really guy we want input. It was modeled after the challenger scoop.
I can add more pics if anyone would like to add input, just let me know. We acquired a second hood to cut up last week end at a swamp meet. $20 off a bud named Mad Mac.
Last edited by GOAT Duster; 10/04/09 11:38 PM.
|
|
|
Re: GOAT Duster's project aka xtremejohn
[Re: GOAT Duster]
#256713
10/04/09 11:29 PM
10/04/09 11:29 PM
|
Joined: Oct 2008
Posts: 106
Albuquerque, NM
GOAT Duster
member
|
member
Joined: Oct 2008
Posts: 106
Albuquerque, NM
|
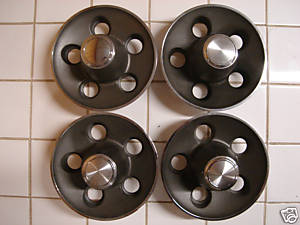
Pixed up a set of caps for the car tonight also ... they should be here next week. $85 on EBAY, second bid and I got them.
Last edited by GOAT Duster; 10/04/09 11:29 PM.
|
|
|
Re: GOAT Duster's project aka xtremejohn
[Re: GOAT Duster]
#256714
10/04/09 11:31 PM
10/04/09 11:31 PM
|
Joined: Oct 2008
Posts: 106
Albuquerque, NM
GOAT Duster
member
|
member
Joined: Oct 2008
Posts: 106
Albuquerque, NM
|
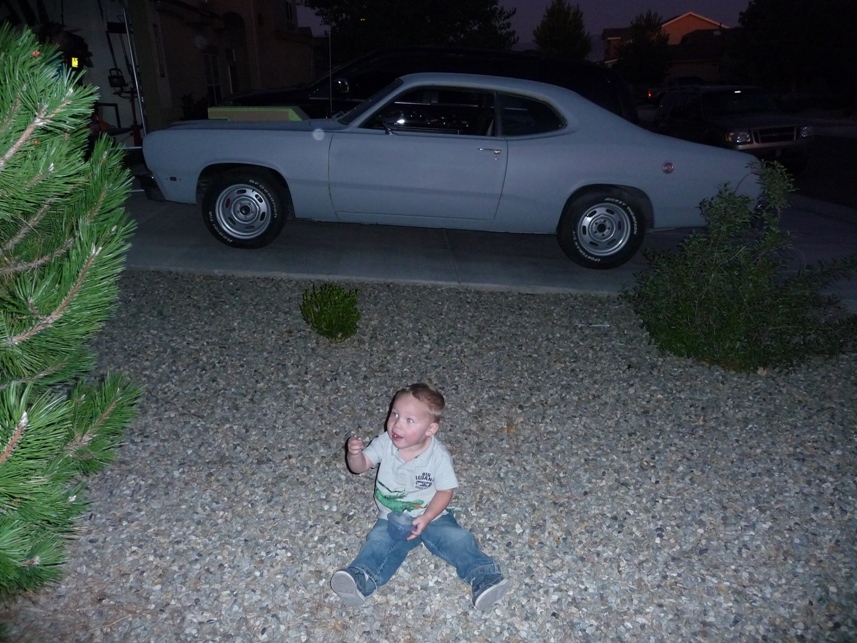
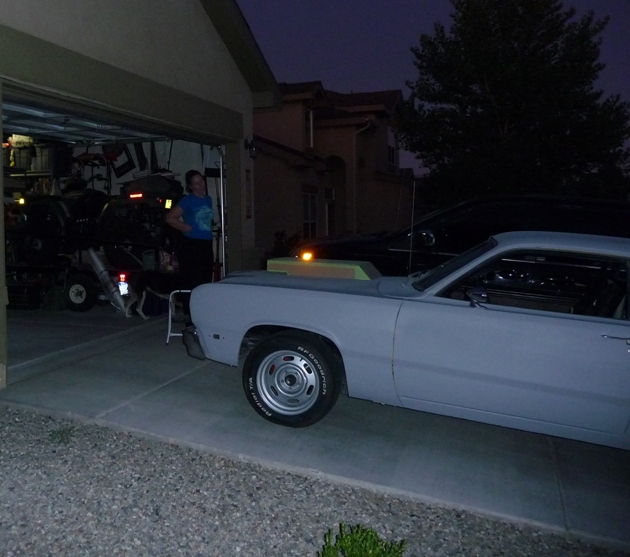
Uh oh, mommys in the doorway...it is dark out side...past your bedtime...and you are still dirty from playing in the garage allday.
Last edited by GOAT Duster; 10/04/09 11:32 PM.
|
|
|
|
|


 This showed up when it dried... I must have used to much meowmix hardener.


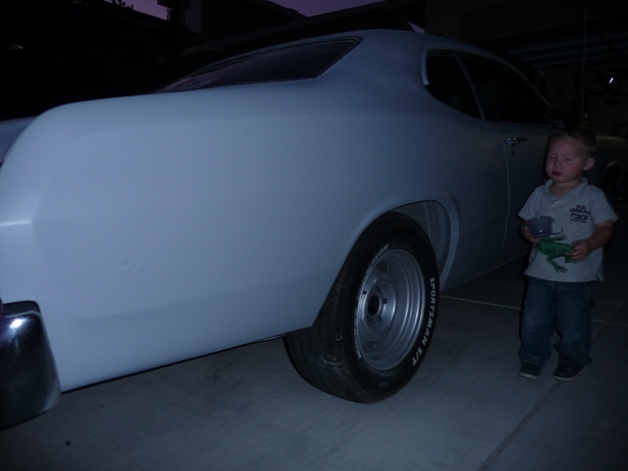
 No huge gap anymore...Yeah

 When you have the time, would you mind registering it?
![5128758-realkittyRtQtinGlass[1].jpg](/ubbthreads/ubbthreads.php/ubb/download/Number/29364/filename/5128758-realkittyRtQtinGlass[1].jpg)