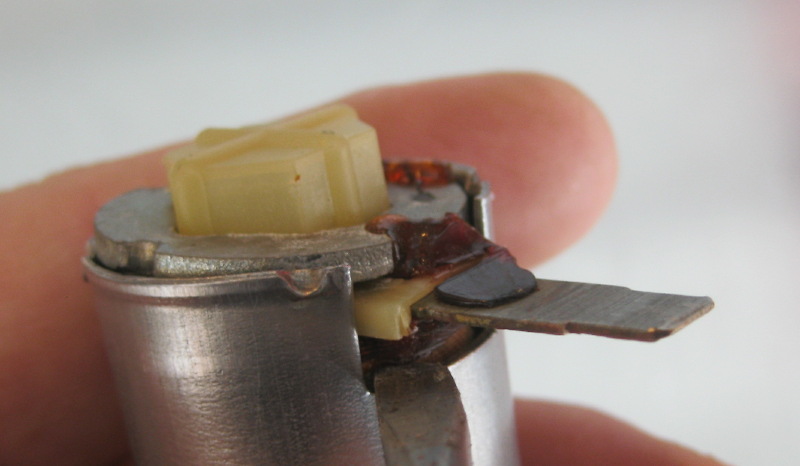
This is the tricky part. The copper wire is welded to the silver washer at the lower end, and to the opposite end at the wire connection tab base. It’s important to NOT break these connections. The housing is crimped at the lower end to retain the washer which is what retains the inner workings from exiting the can when the plunger is activated. There are basically two ways to remove the housing crimps, either pry them away with a stout set of pliers/side cutters, or grind them away completely (I use a dremel with a dime sized abrasive disc and VERY carefully grind away the nubs working around the wire). You may discover other ways to deal with the crimps but these two methods work for me. Also, the severity of the crimping varied; some are very shallow making removal easy while others are severe making grinding an absolute necessity. Once the housing crimps are out of the way the inner workings may still be stuck inside, usually it’s the dielectric potting glue around the housing can opening where the copper wire exits or the wire tab comes out. Carefully pry around these areas with a small screw driver to release the housing from the internals. Now, the washer is just resting around the base of the inner workings, other than the tiny copper wire nothing is holding it in place. Be sure to retain its position while removing the inner workings as a complete unit so you don’t break the wire connection on the washer. Use the still slightly screwed in plunger to push the internals out from the opposite end like a push up popsicle. You may have to pry the crimped areas away from the edges of the washer to free it as you push, it takes a bit of delicate dexterity. Once the unit is free of the housing you can unscrew the plunger and set it aside. Take the internals and put the assembly in a safe place to protect the delicate connections.


