I have been meaning to see if there was interest in having me put up a post on how to repair these but haven't as yet. So this will be a condensed version of what I have intended to do.
Here is how they come apart…… This is a '71 style but I believe they are the same guts in '67, just different touch pads or paddles.
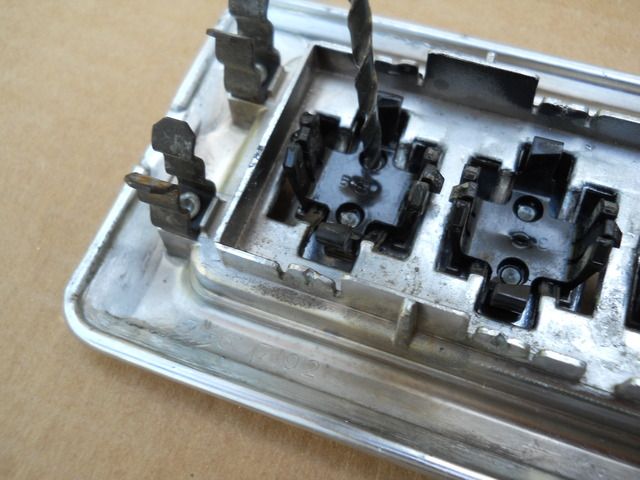
Gently bend the crimped tabs out. (like you said) Not too far as they need to be bent back in when done. They only have so much bend to them before they break.
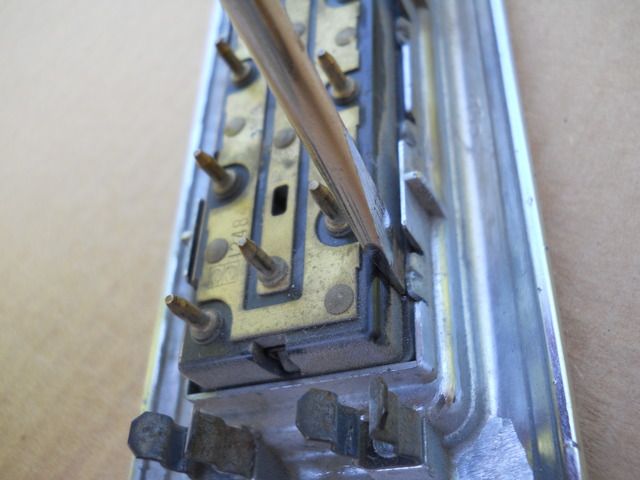
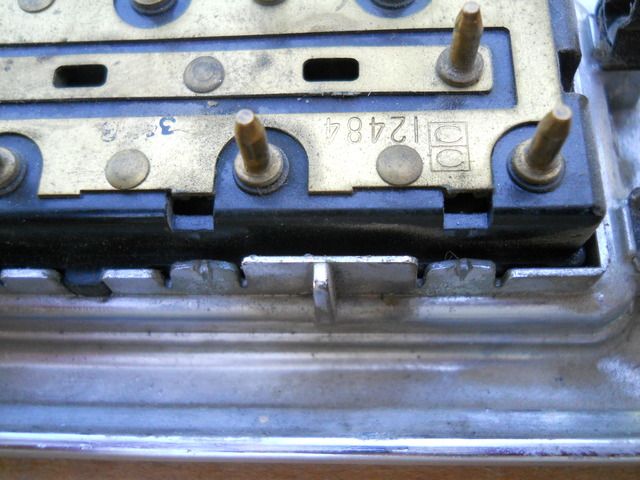
Once all the tabs are bent out straight enough to allow the plastic (I think it may be more of a bakelite type material. much like the material distributor caps are made of.) you will need to turn over the switch and release the rockers from the back as they are captive in the front bezel.
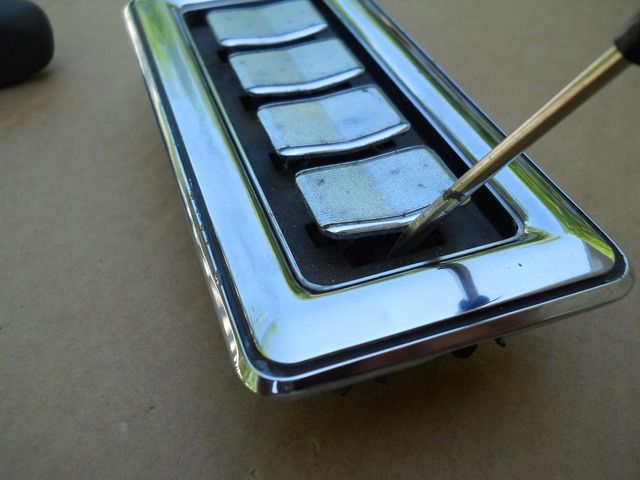
What you are looking to do here is push the sides of the rocker switch in to release them from the body (or back) This can get a little tricky to get them all at the same time on a 4 gang switch! A little upward pressure will keep the unfastened ones from refastening.
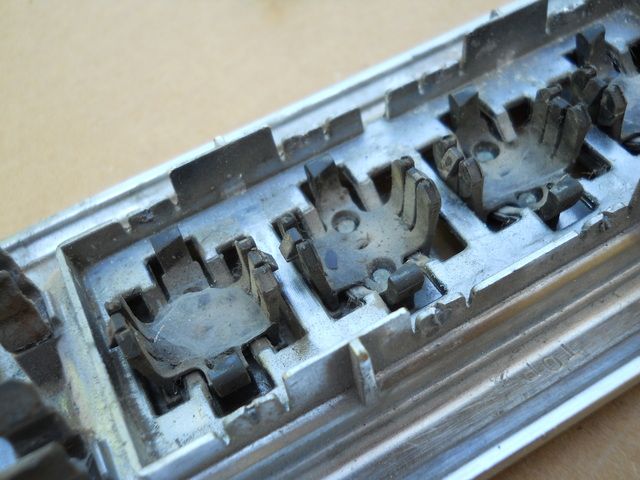

If your switch has suddenly failed and feels a little loose one way or the other, it is most likely that the back of the rocker that pushes the contacts has cracked. If the piece is still in there, you should be able to epoxy it back together. If not, find some single gang switches to scavenge parts from.
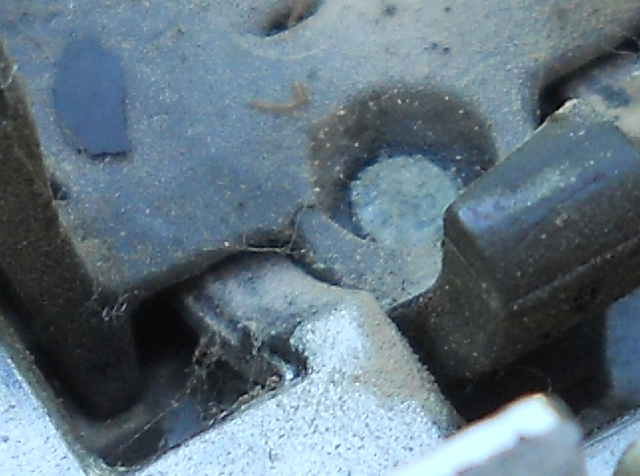
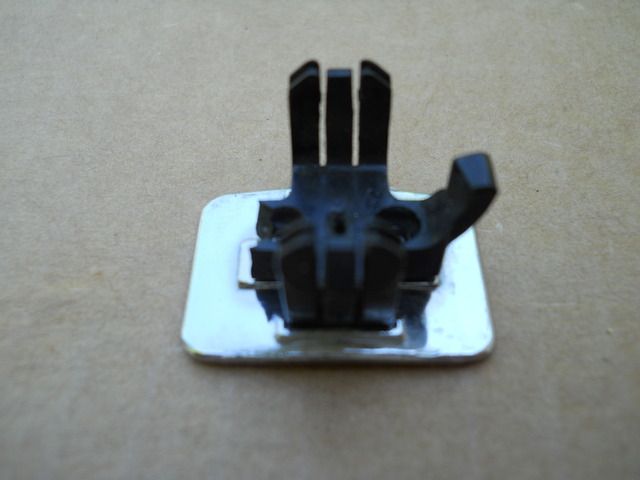
The pot metal portion of the rocker is attached to the plastic portion by two studs of the pot metal face passing through holes in the plastic and then being peened or flared to keep them on. What I do is, with a small drill (3/32"), remove the flared end of the pot metal so they can be separated from one another.
SKIP AHEAD….. THE REST OF IMAGES IN THIS POST DIDN'T WORK. THEY ARE CONTINUED AHEAD. SORRY!
[img]http://i228.photobucket.com/albums/...2xuxj.jpg[/img]
[img]http://i228.photobucket.com/albums/...swou2.jpg[/img]
[img]http://i228.photobucket.com/albums/...kdovk.jpg[/img]
Once apart, you can repair the piece with epoxy. I used Devcon 2 ton epoxy and have found it to be very strong for the repair.
[img]http://i228.photobucket.com/albums/...dsxhp.jpg[/img]
[img]http://i228.photobucket.com/albums/...z0o9l.jpg[/img]
Epoxy the pieces back together and let cure fully before next step.
[img]http://i228.photobucket.com/albums/...nclqq.jpg[/img]
[img]http://i228.photobucket.com/albums/...hfm5e.jpg[/img]
After fully cured, redrill the hole with the same 3/32" bit.
[img]http://i228.photobucket.com/albums/...1zohq.jpg[/img]
[img]http://i228.photobucket.com/albums/...dvkfa.jpg[/img]
Now for reassembly, take the rocker front, lay it face down.
[img]http://i228.photobucket.com/albums/...l13lp.jpg[/img]
Put the bezel over it the way it will be positioned when done.
[img]http://i228.photobucket.com/albums/...zpsm9.jpg[/img]
Put the repaired plastic contact pusher back on the pot metal pins.
[img]http://i228.photobucket.com/albums/...rvixo.jpg[/img]
[img]http://i228.photobucket.com/albums/...rucif.jpg[/img]
Put a couple more dabs of epoxy on the pins to hold the pieces together again.
[img]http://i228.photobucket.com/albums/...xvv7b.jpg[/img]
Then reassemble.
Done!
I like to clean things up inside while its apart…..
[img]http://i228.photobucket.com/albums/...jra3c.jpg[/img]
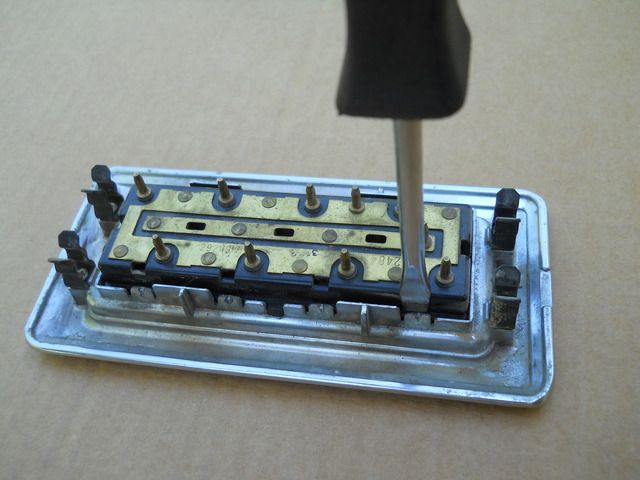
You'll see some fine little wires in the body. These are the only "springs" you'll find in these switches. I'm not sure what others are referring to as "springs" These don't really break. They may be a little bent but that isn't terrible.
[img]http://i228.photobucket.com/albums/...7ri6x.jpg[/img]
This picture shows the wire springs I am referring to. It is sticking to the end of the screwdriver that I have slightly magnetized.
[img]http://i228.photobucket.com/albums/...wg1jv.jpg[/img]
[img]http://i228.photobucket.com/albums/...ye0gw.jpg[/img]
Remove them all before cleaning as they could easily get lost and the switches won't return to center as well.
[img]http://i228.photobucket.com/albums/...pslne.jpg[/img]
I roll them on some emery to clean them up, but its not really necessary.
[img]http://i228.photobucket.com/albums/...robfv.jpg[/img]
[img]http://i228.photobucket.com/albums/...ge6n4.jpg[/img]
Since the springs are out, now is the time to clean up the contacts and body. I have found ketchup is effective to clean the copper and points pretty well.
[img]http://i228.photobucket.com/albums/...ytt8f.jpg[/img]
[img]http://i228.photobucket.com/albums/...k6luh.jpg[/img]
A little on the back certainly won't hurt either…..
[img]http://i228.photobucket.com/albums/...n0lob.jpg[/img]
Blow everything out to dry and even set in the sun to bake a little to be certain its good and dry.
I think you'll see it's much cleaner. Reinstall the little wire springs…Again, a slightly magnetized screwdriver works well for this. If it's too strongly magnetized, you'll have a tough time getting them to stay in the switch while you pull away the screwdriver.
[img]http://i228.photobucket.com/albums/...56vde.jpg[/img]
[img]http://i228.photobucket.com/albums/...v063k.jpg[/img]
I guess I should've included the cleaning part before the "reassemble" and "done" part above.
Sorry about that!
I hope this may help you fix your switch