|
 72 Challenger Project
#938066
72 Challenger Project
#938066
02/26/11 03:20 PM
02/26/11 03:20 PM
|
Joined: Feb 2011
Posts: 293
Spanaway, Washington State
patosmith
 OP
OP
enthusiast
|
OP
enthusiast
Joined: Feb 2011
Posts: 293
Spanaway, Washington State
|
72 Challenger we bought at the end of 2008.
It is a 318 2bbl car with AC. Nothing special.
I have the original hood as well as the RT hood that is on the car.
Last edited by patosmith; 02/26/11 03:27 PM.
|
|
|
Re: 72 Challenger Project
[Re: patosmith]
#938070
02/26/11 04:00 PM
02/26/11 04:00 PM
|
Joined: Feb 2011
Posts: 293
Spanaway, Washington State
patosmith
OP
enthusiast
|
OP
enthusiast
Joined: Feb 2011
Posts: 293
Spanaway, Washington State
|
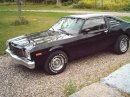
Sorry for the shock! As you can tell, this is not a mopar.
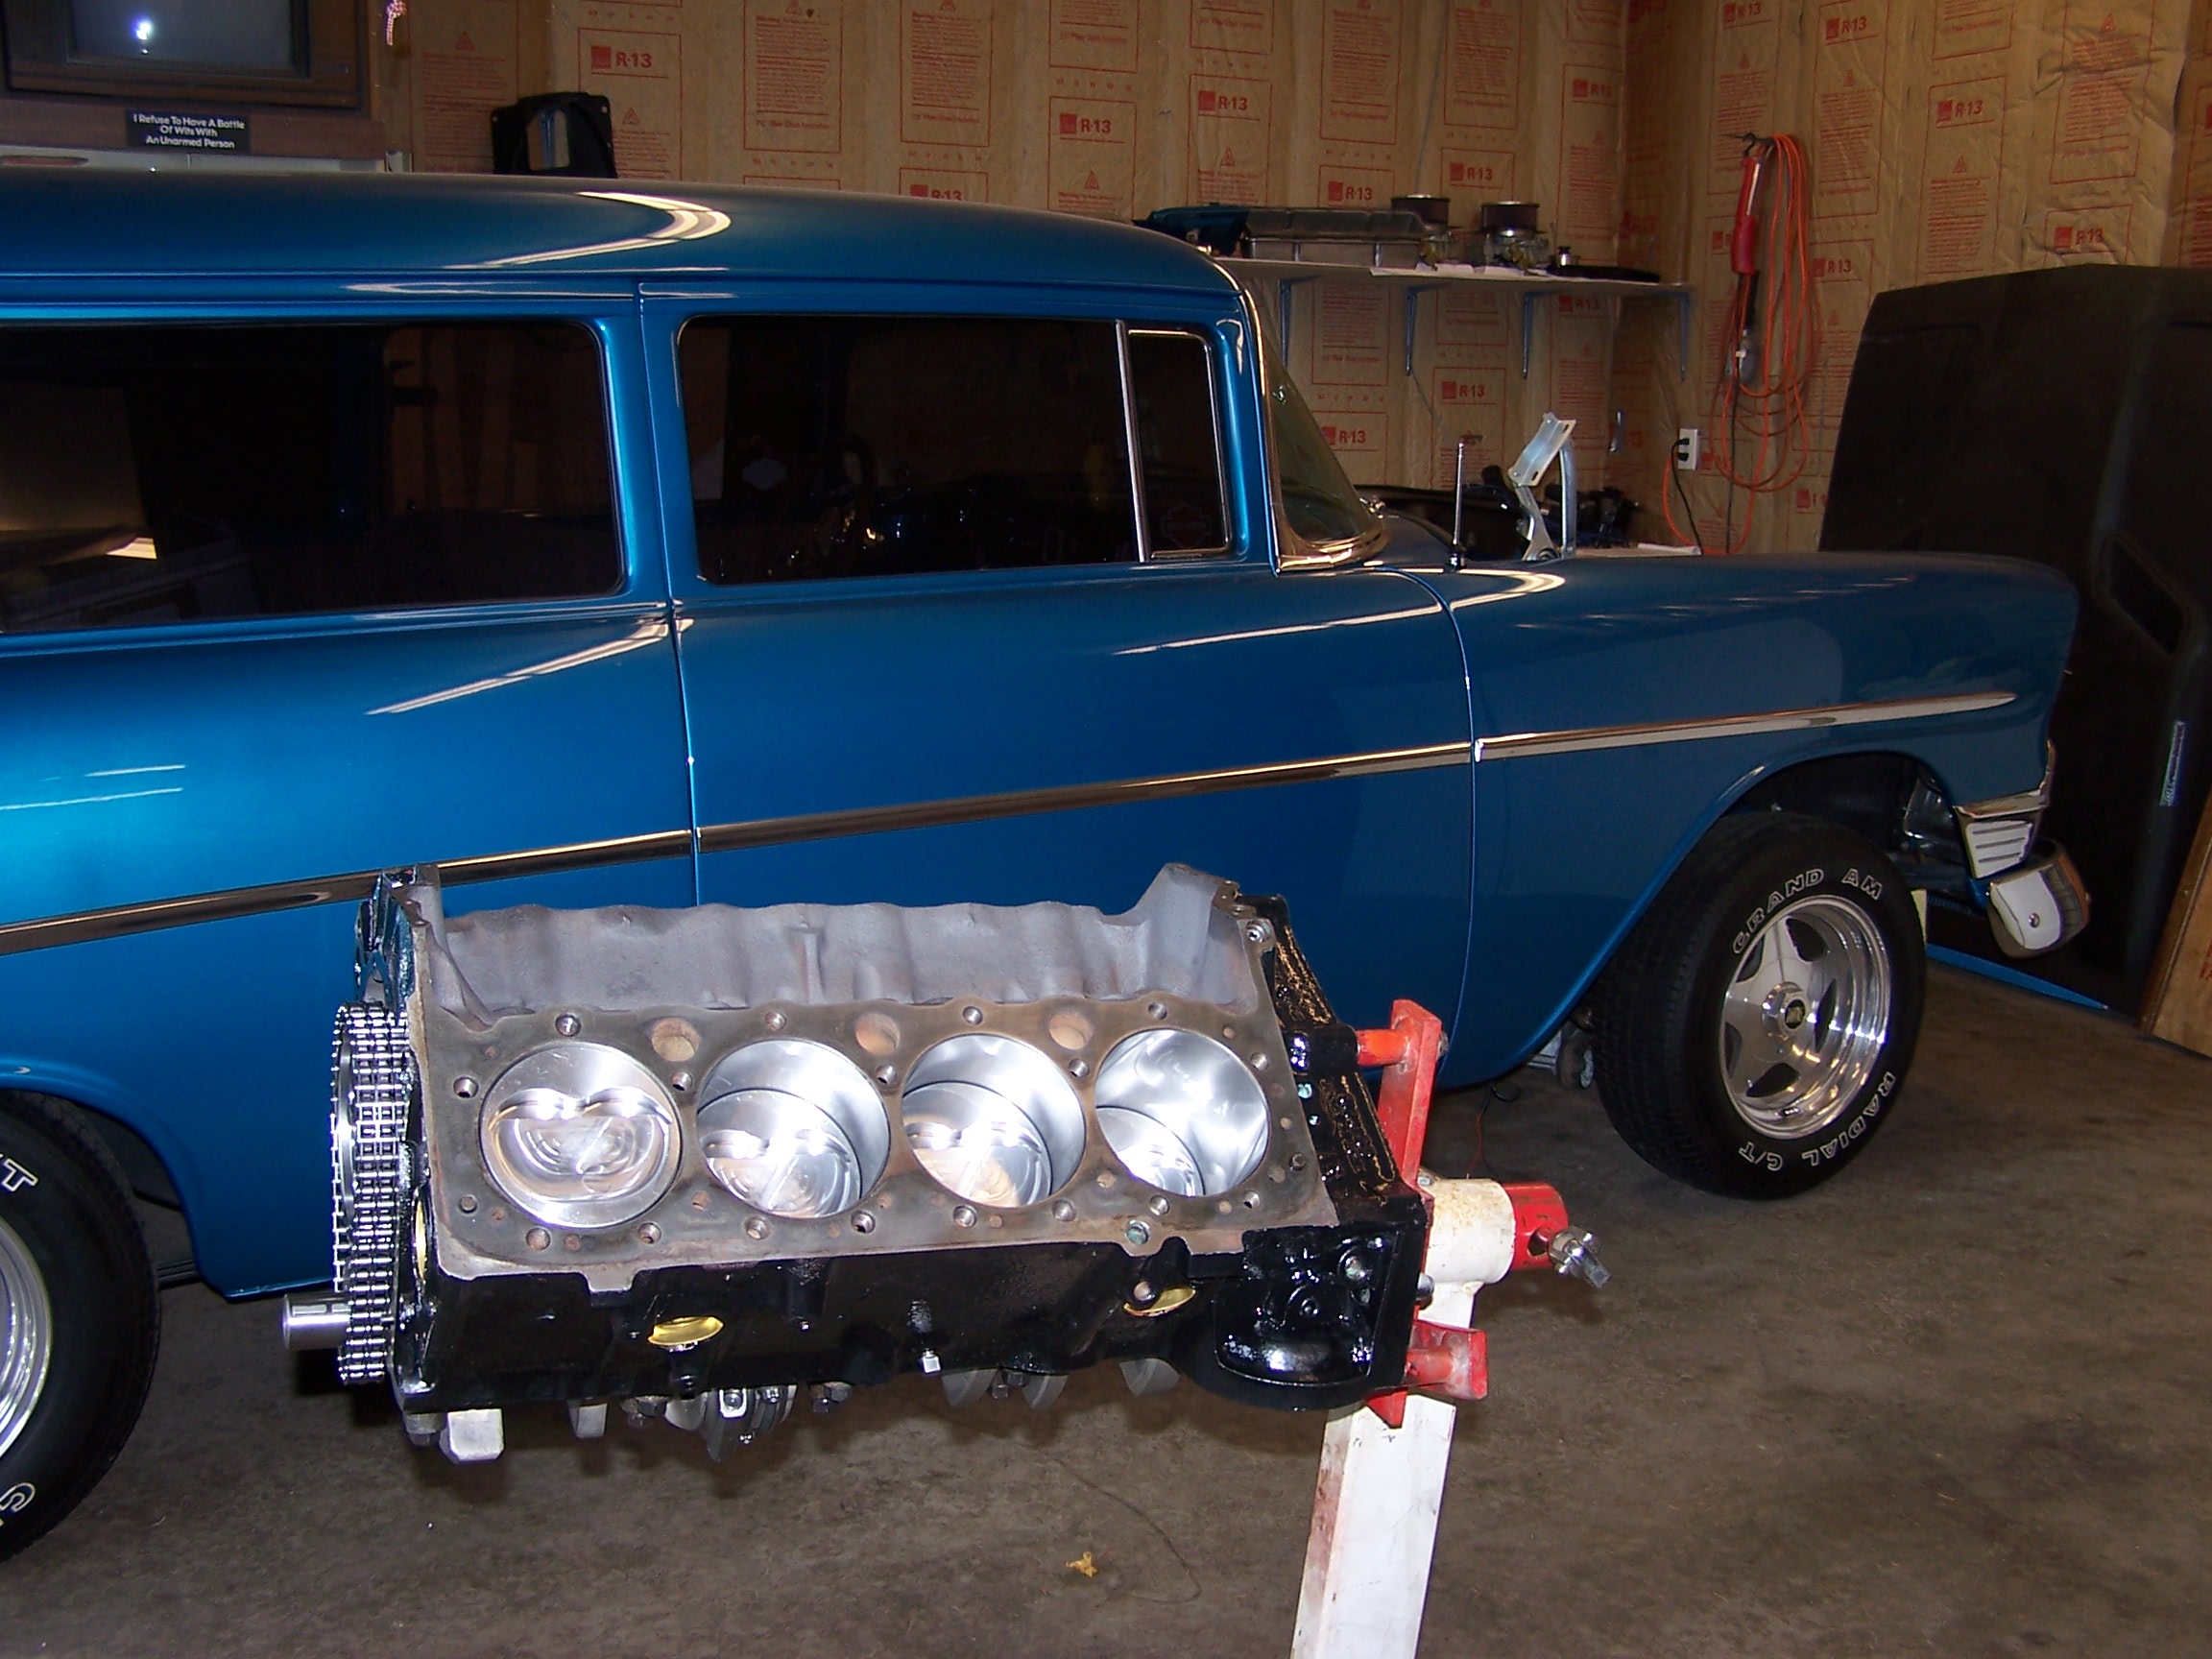
Late summer 2009 I broke the motor in our 56 Chevy so I had to stop work on the Challenger to get it fixed. The radiator cap went between the blower drive belt and pulley with the end result being a bent crank snub.
I decided since it would be a total tear down that I would stroke the 350 to 383 and went with all new internals.... And radiator cap!
Last edited by patosmith; 02/26/11 04:01 PM.
|
|
|
Re: 72 Challenger Project
[Re: patosmith]
#938072
02/26/11 04:26 PM
02/26/11 04:26 PM
|
Joined: Jan 2008
Posts: 1,300
Washington
19cuda73
pro stock
|
pro stock
Joined: Jan 2008
Posts: 1,300
Washington
|
Great pictures Pat.. Welcome to the site.. Keep them coming..
Dennis
Last edited by 19cuda73; 02/26/11 04:43 PM.
|
|
|
Re: 72 Challenger Project
[Re: patosmith]
#938082
02/27/11 08:35 PM
02/27/11 08:35 PM
|
Joined: Feb 2011
Posts: 293
Spanaway, Washington State
patosmith
OP
enthusiast
|
OP
enthusiast
Joined: Feb 2011
Posts: 293
Spanaway, Washington State
|
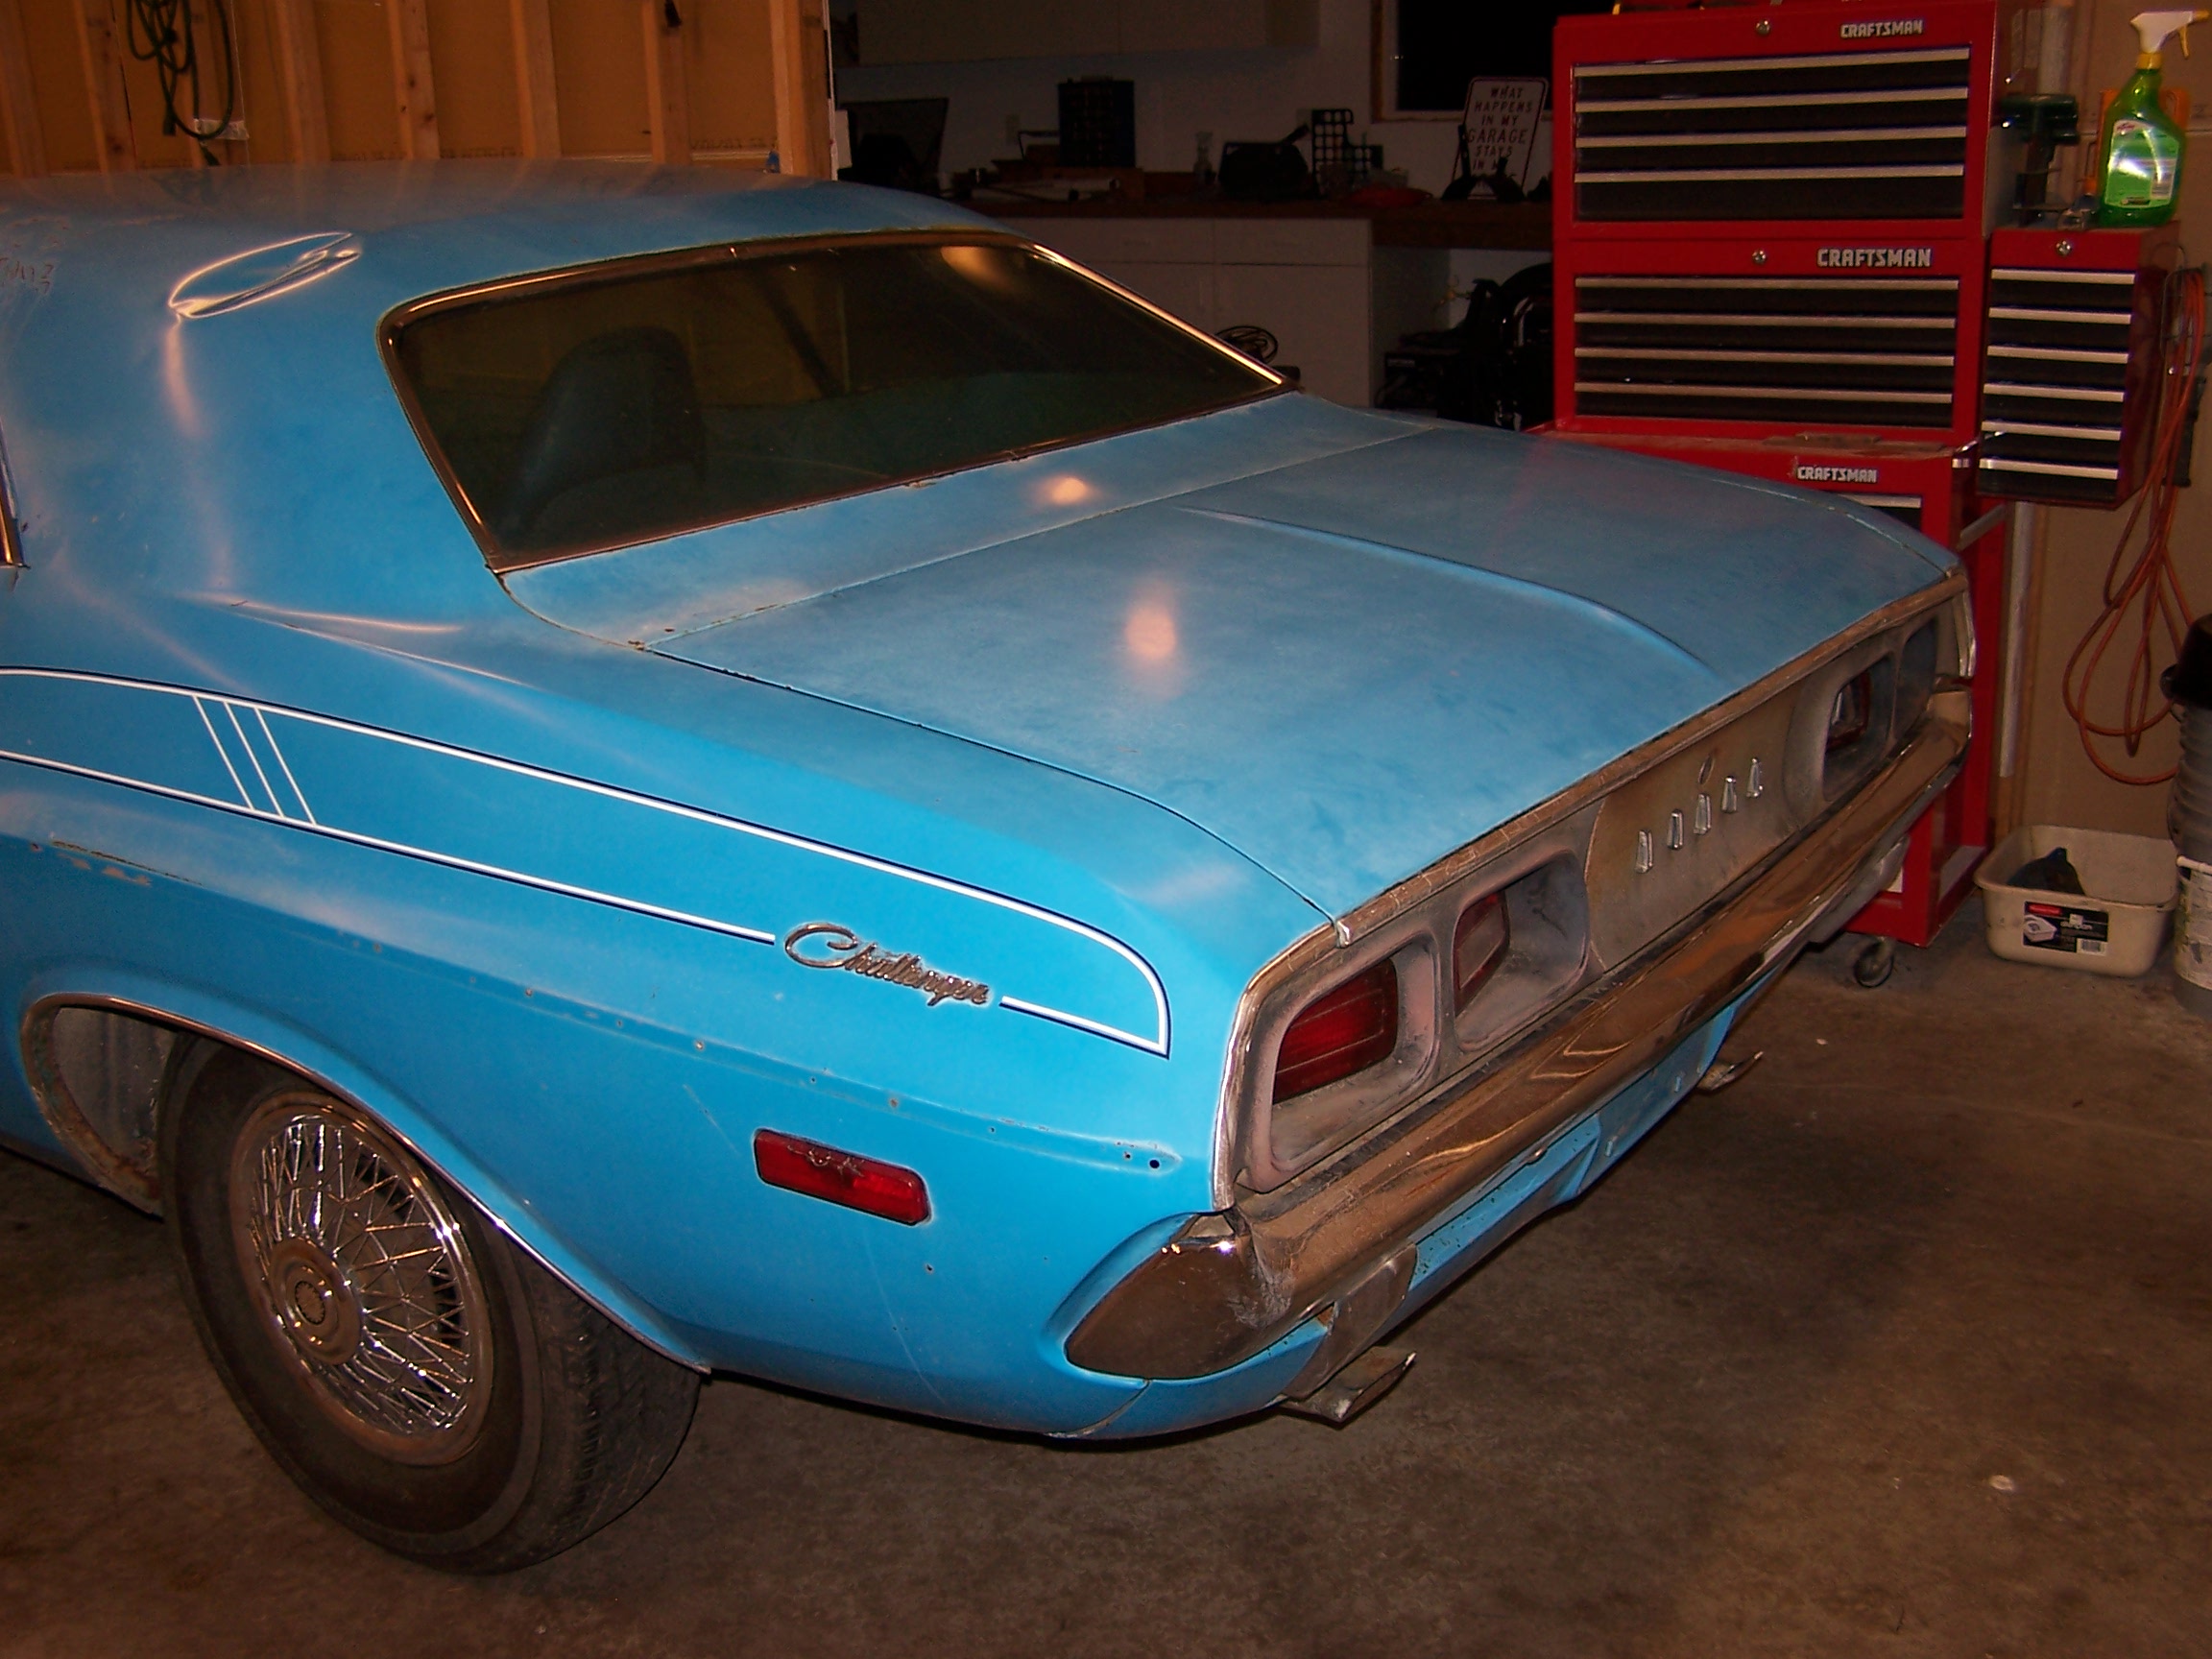
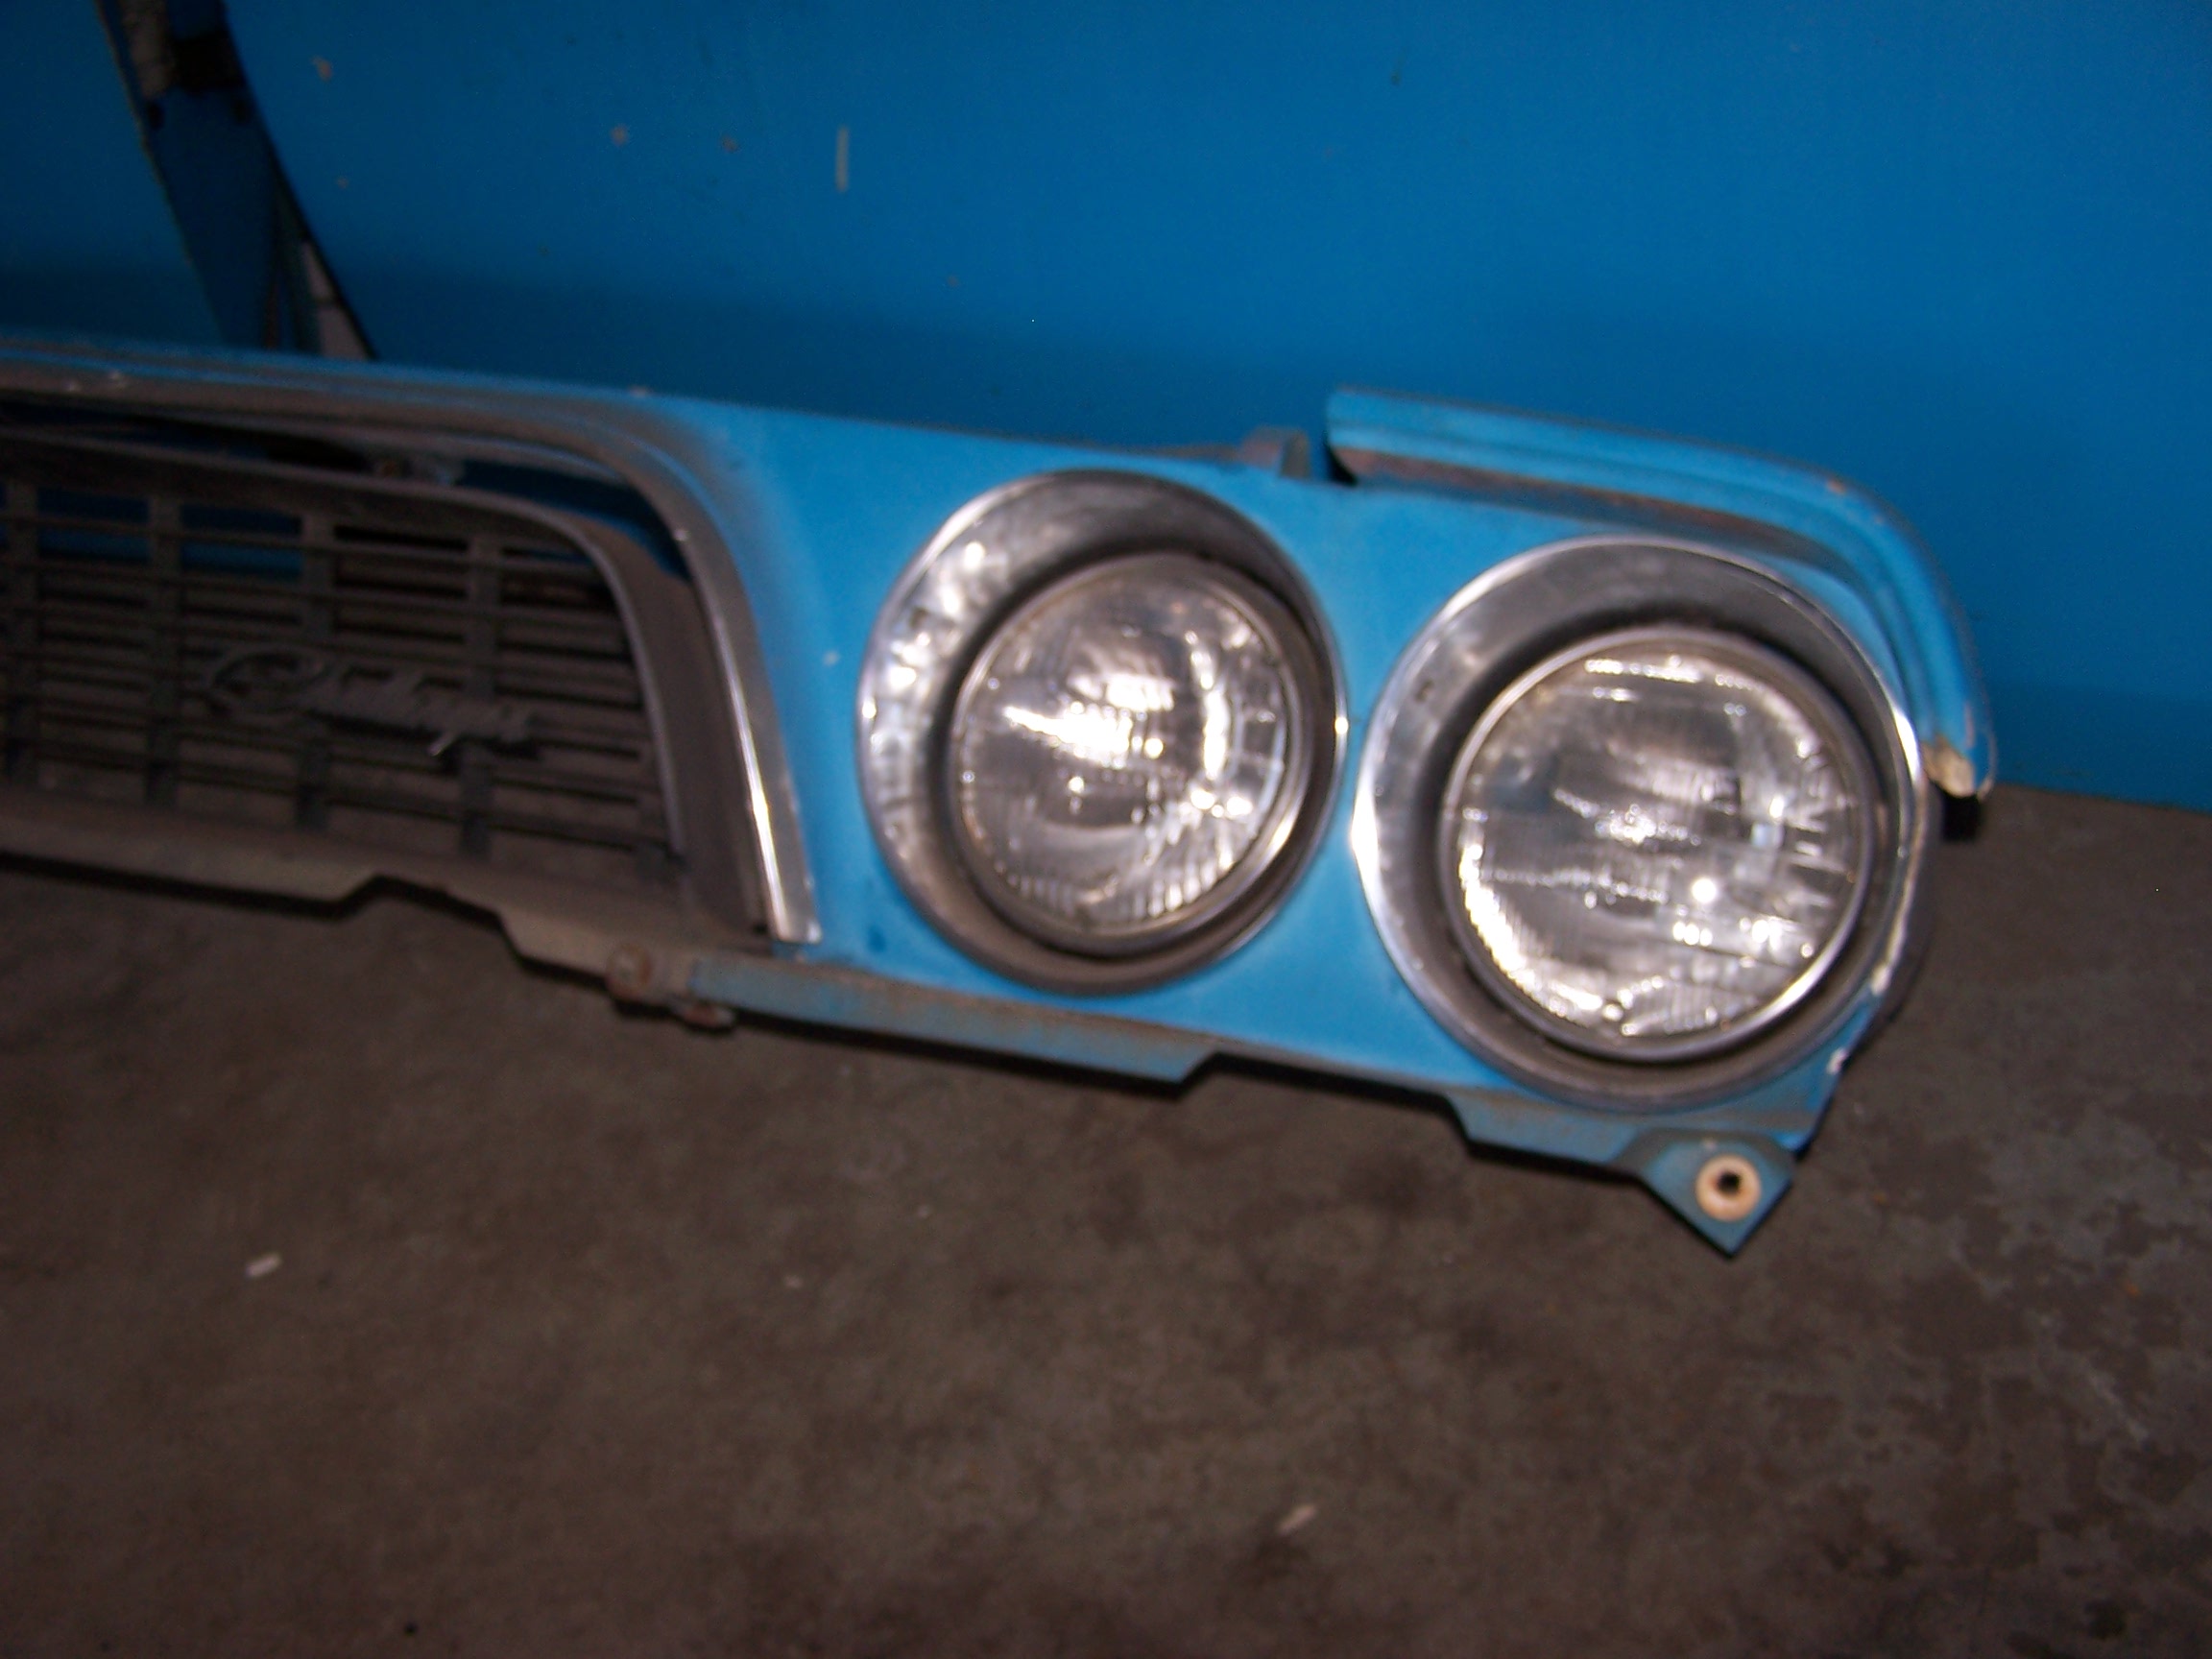
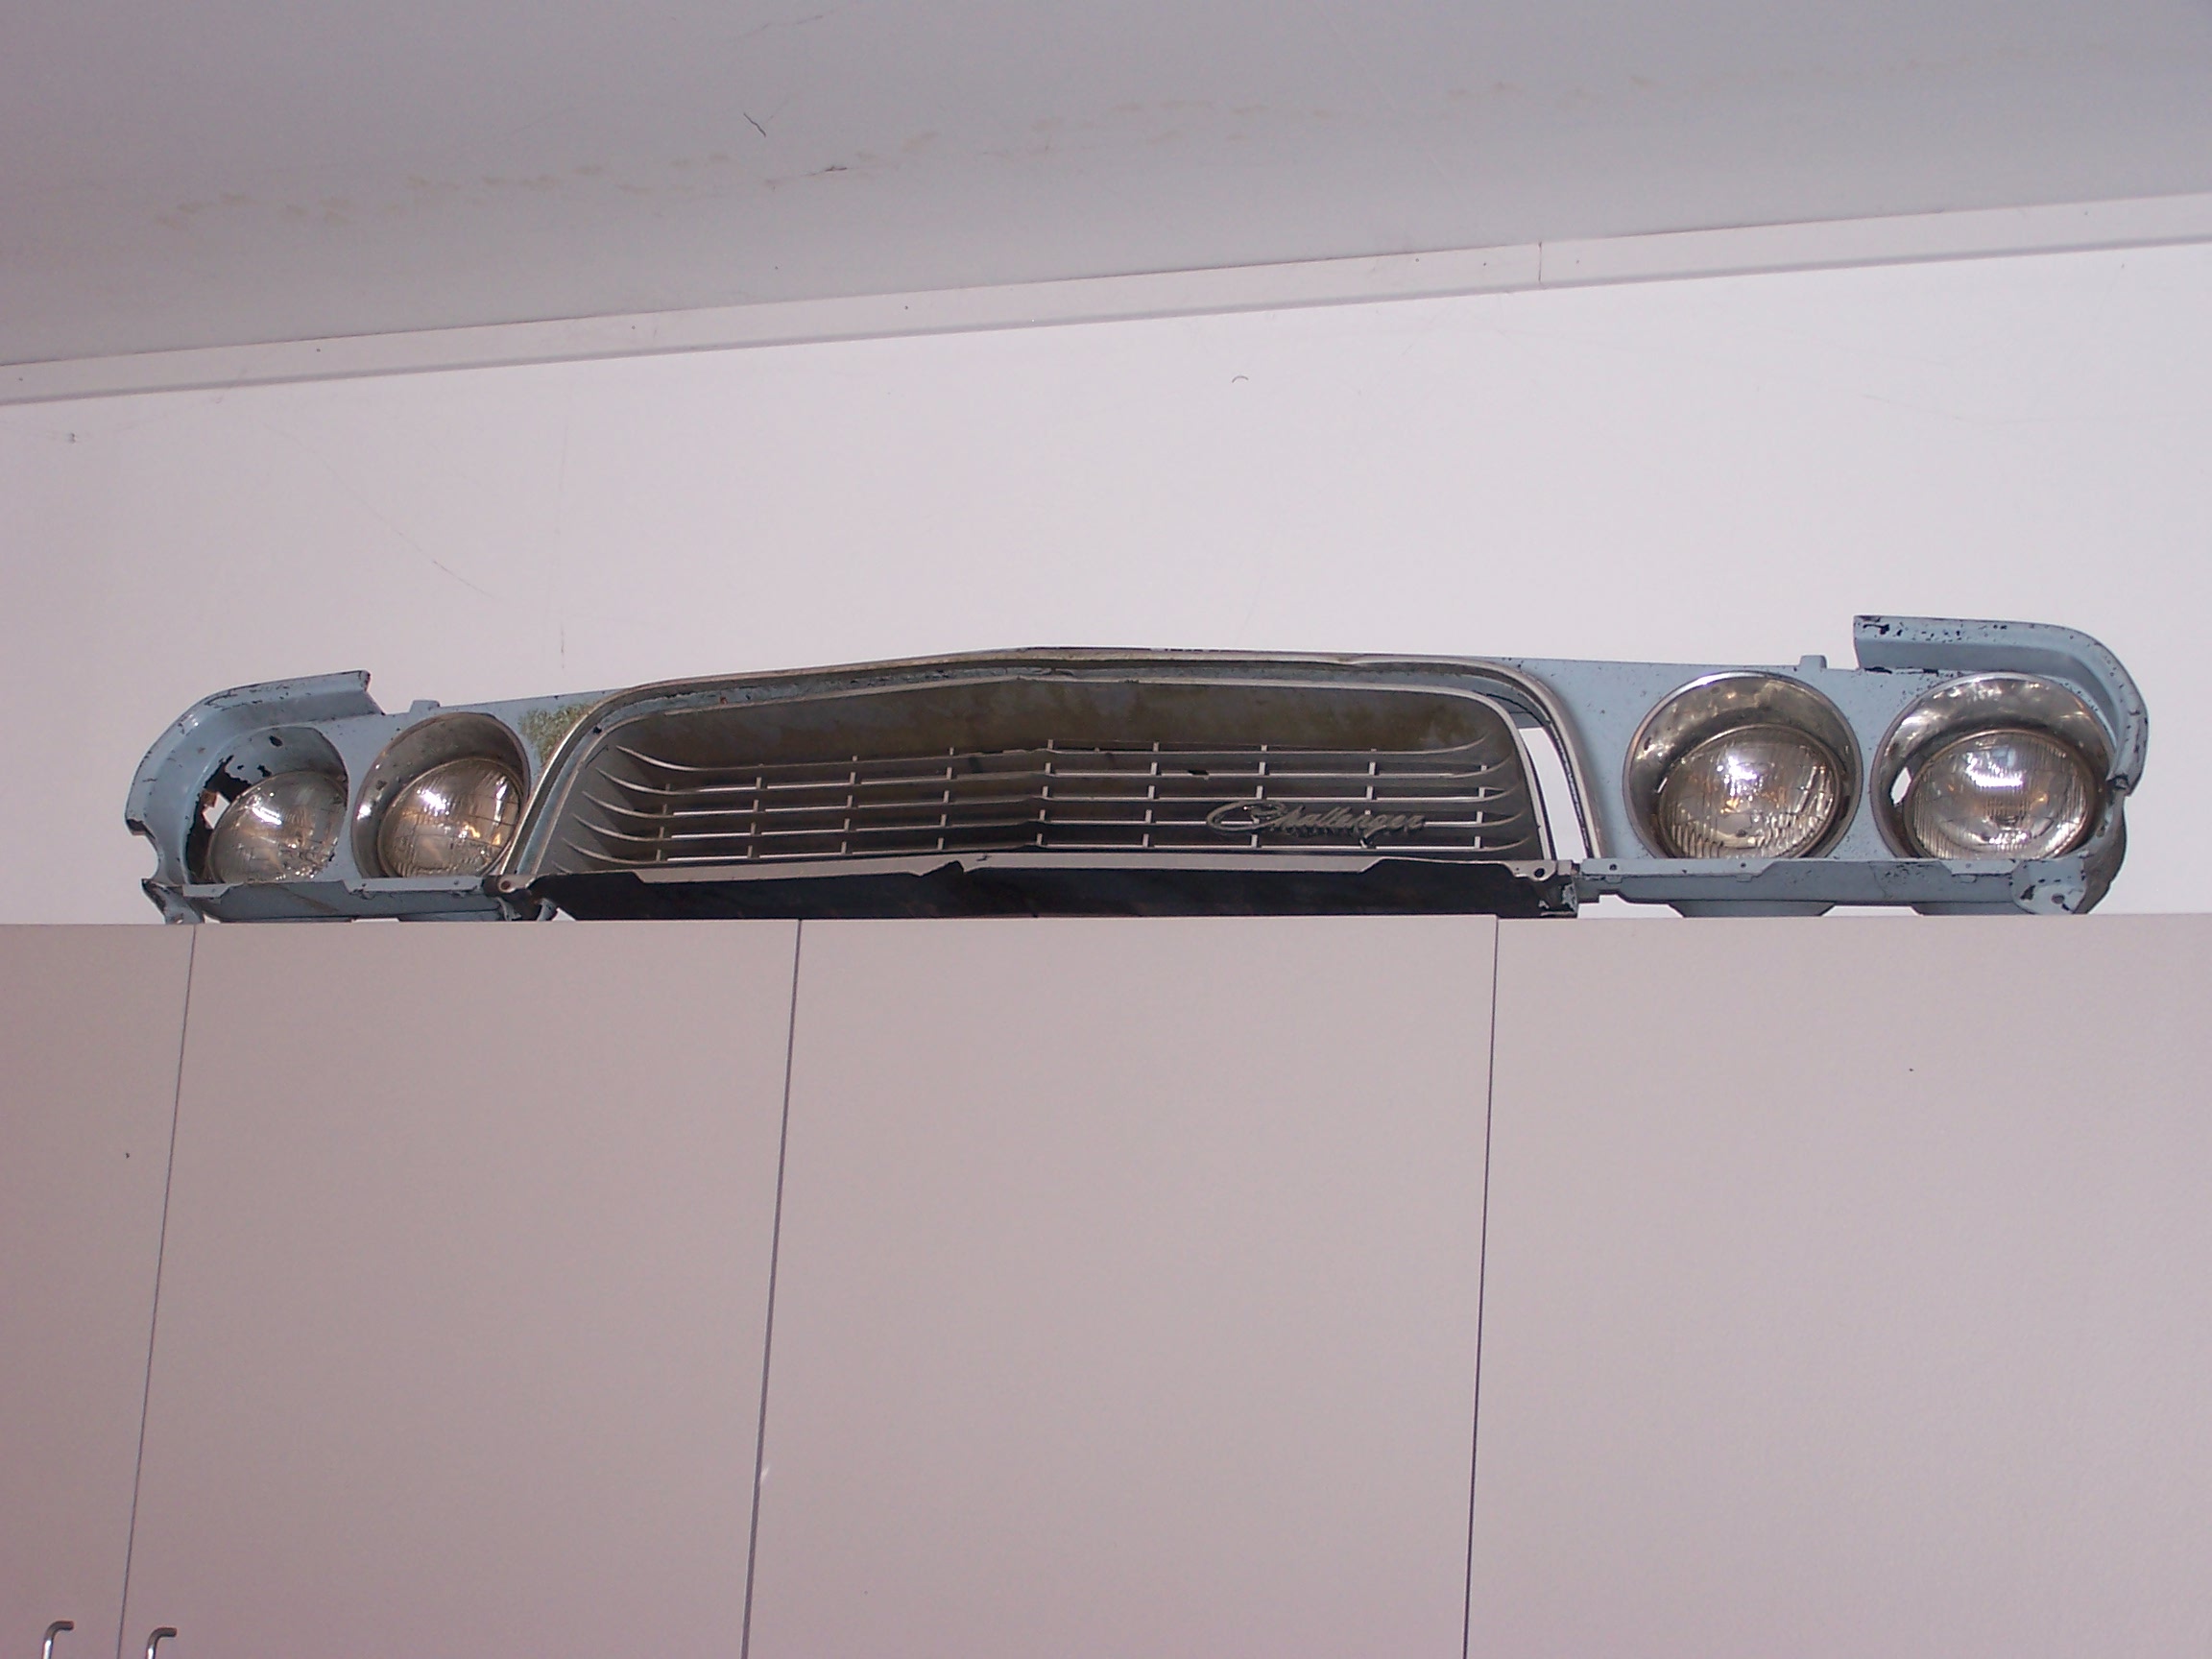
Does anybody repop or repair these for a 72? (Disregard the doors)
I can find the grill but not the rest of it.
This one is cracked and is missing a section where it meets up with the fender.
Last edited by patosmith; 02/27/11 08:36 PM.
|
|
|
Re: 72 Challenger Project
[Re: patosmith]
#938088
01/01/12 02:52 PM
01/01/12 02:52 PM
|
Joined: Feb 2011
Posts: 293
Spanaway, Washington State
patosmith
OP
enthusiast
|
OP
enthusiast
Joined: Feb 2011
Posts: 293
Spanaway, Washington State
|
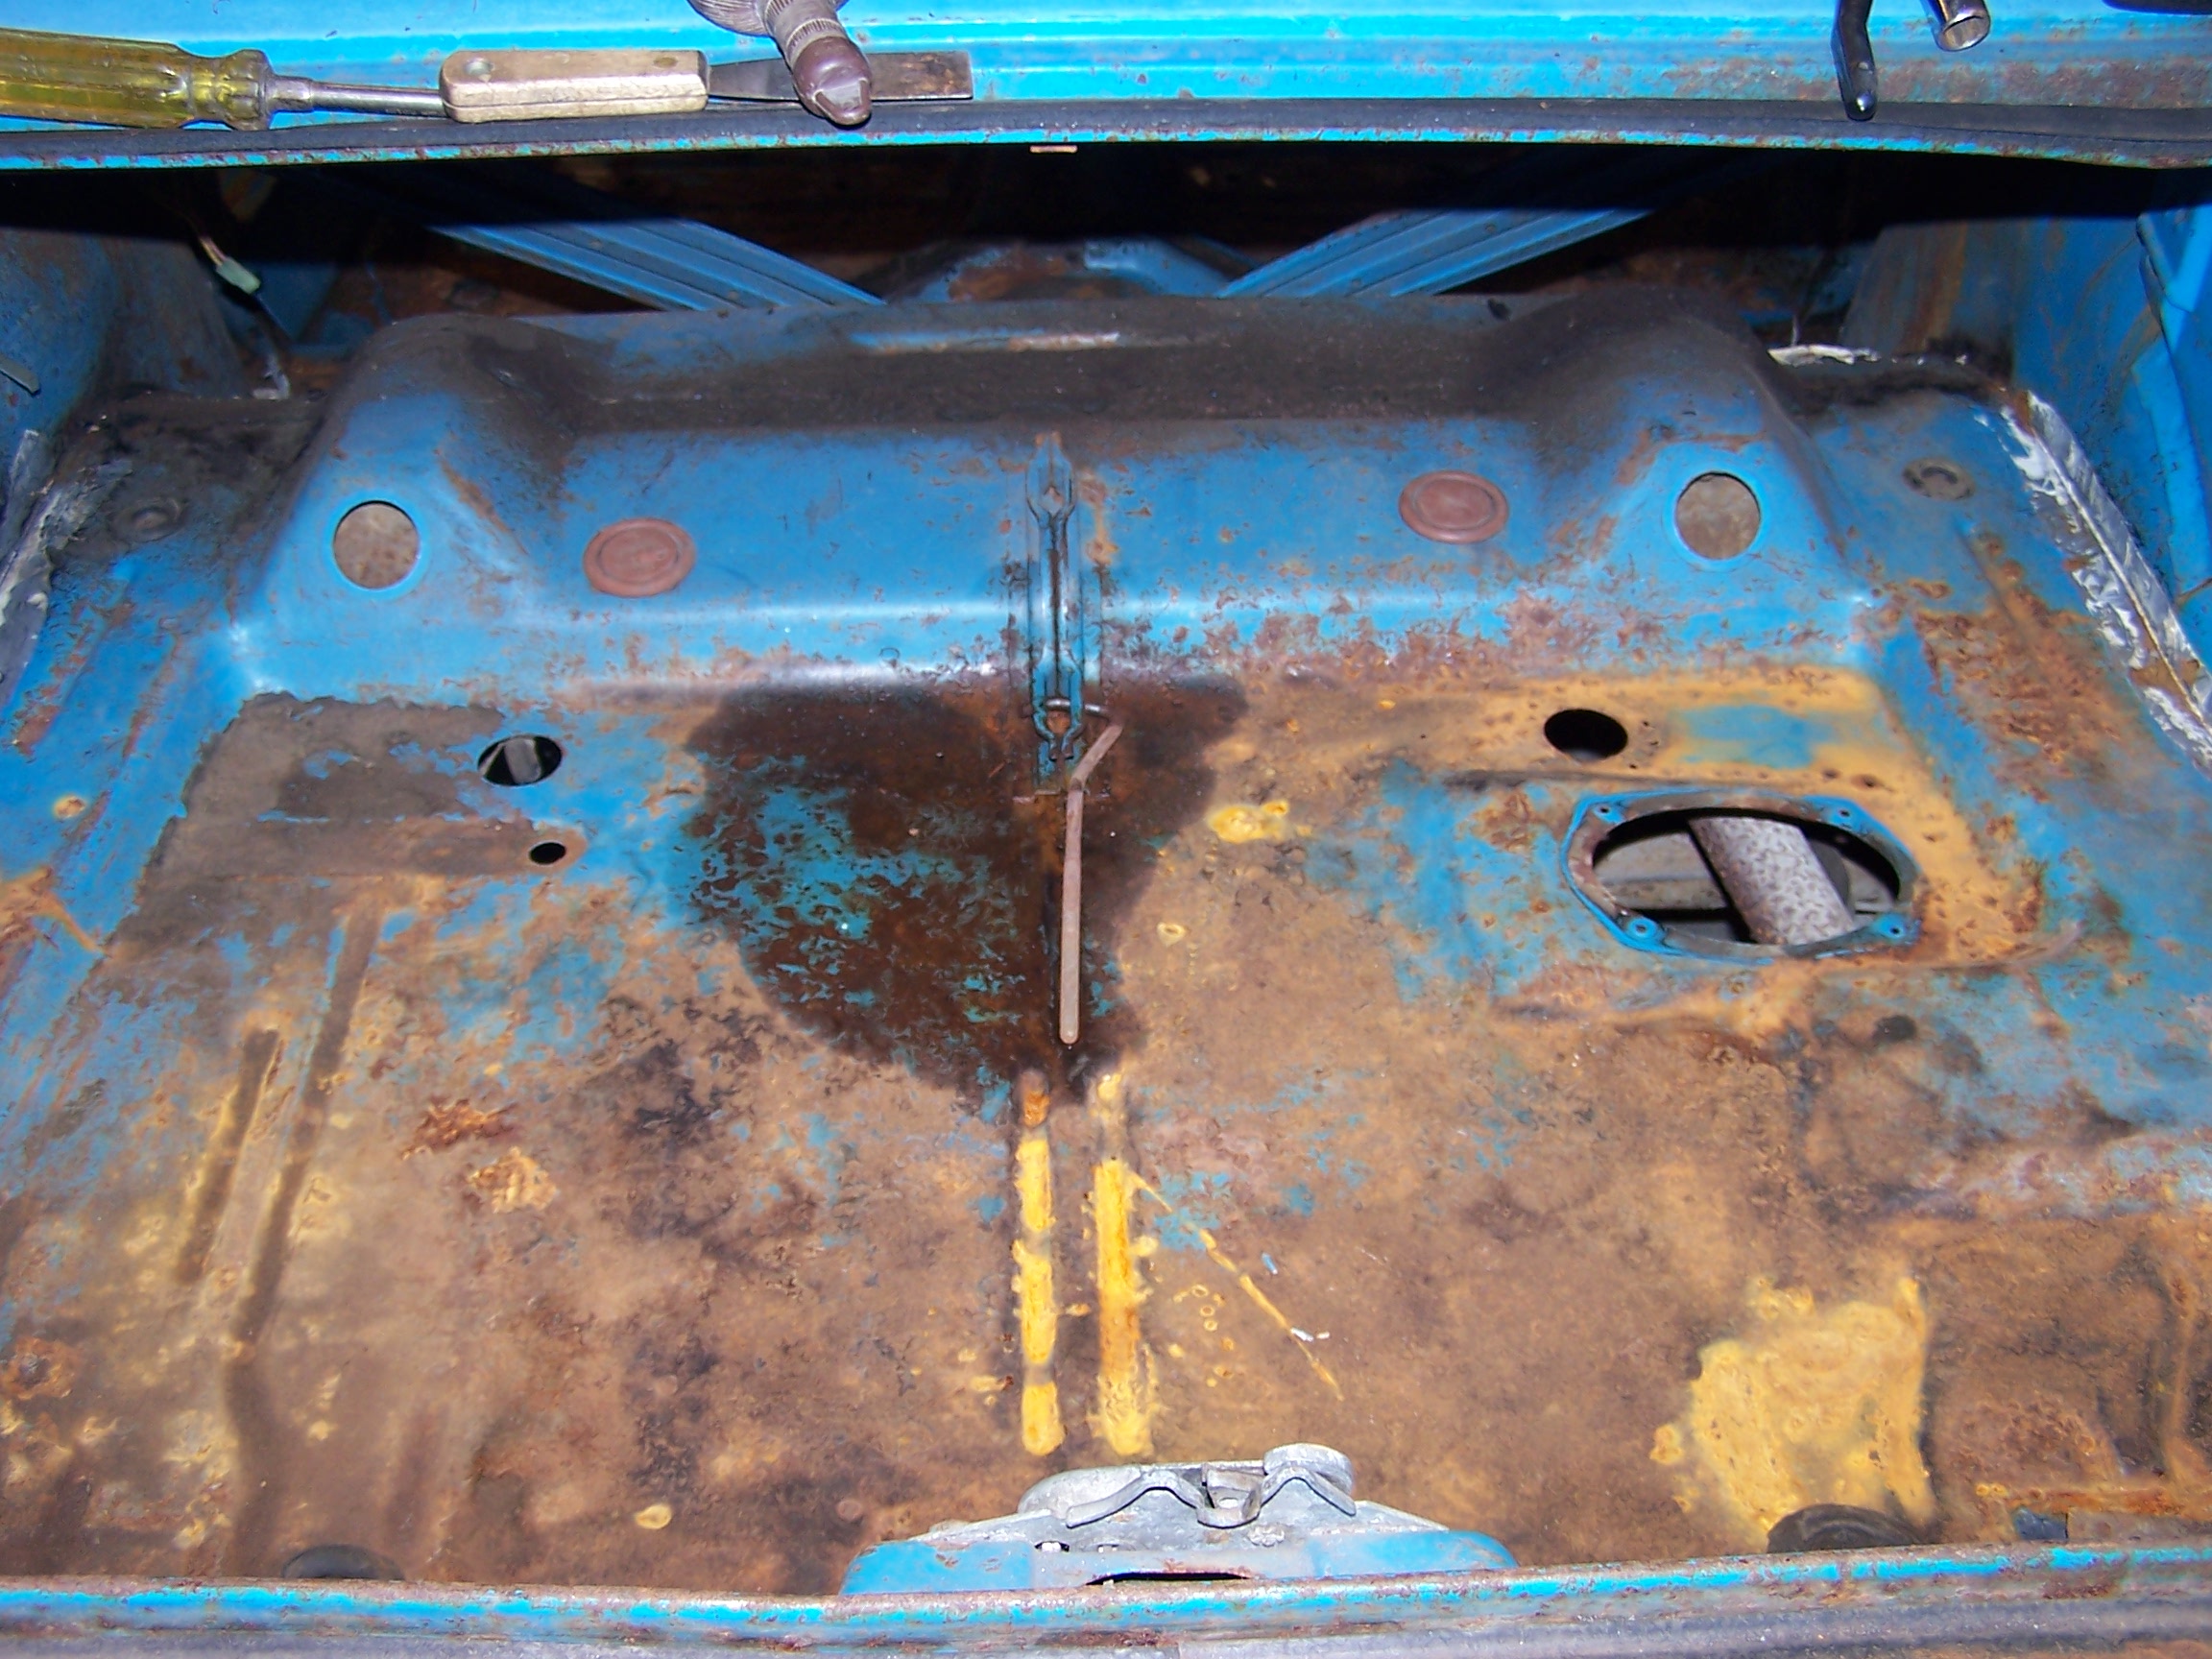
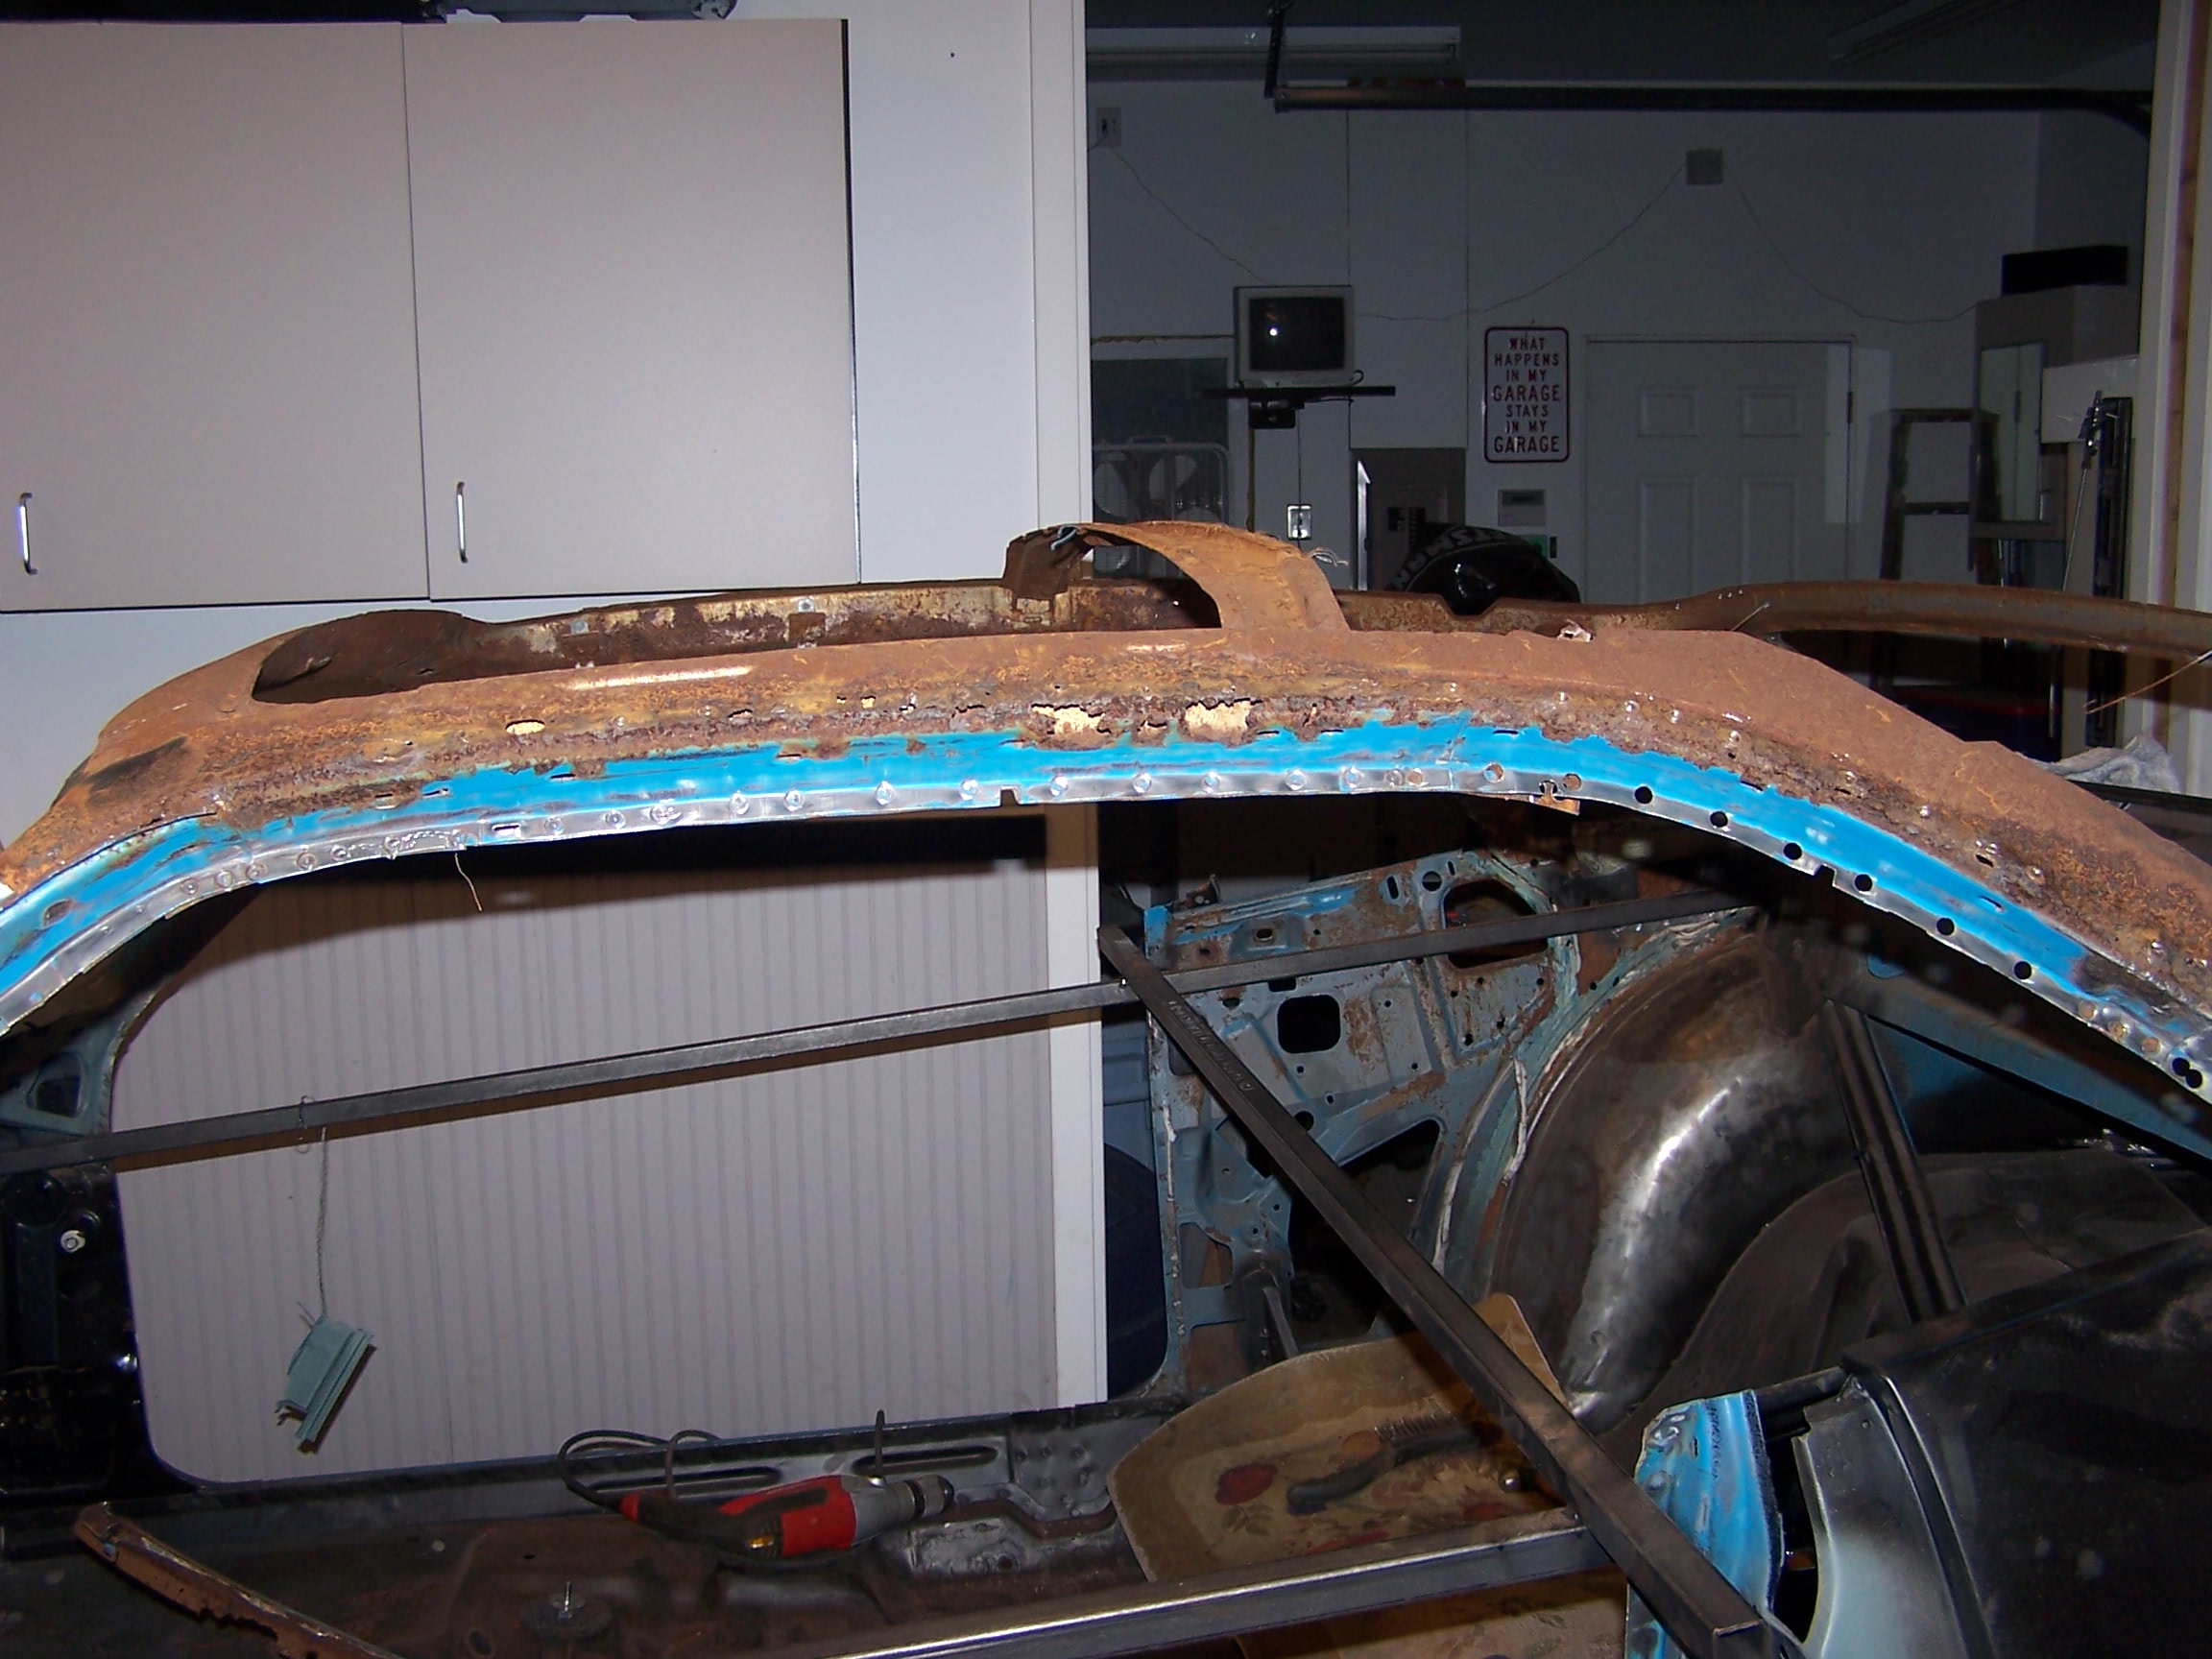
A rusted out spot I fixed before the quarter was installed.
The "fixed" picture file size is too large to post.
I cut out all of the bad stuff, welded in new, Treated, primered and painted.
Last edited by patosmith; 01/01/12 02:59 PM.
|
|
|
Re: 72 Challenger Project
[Re: patosmith]
#938100
01/01/12 04:18 PM
01/01/12 04:18 PM
|
Joined: Feb 2011
Posts: 293
Spanaway, Washington State
patosmith
OP
enthusiast
|
OP
enthusiast
Joined: Feb 2011
Posts: 293
Spanaway, Washington State
|
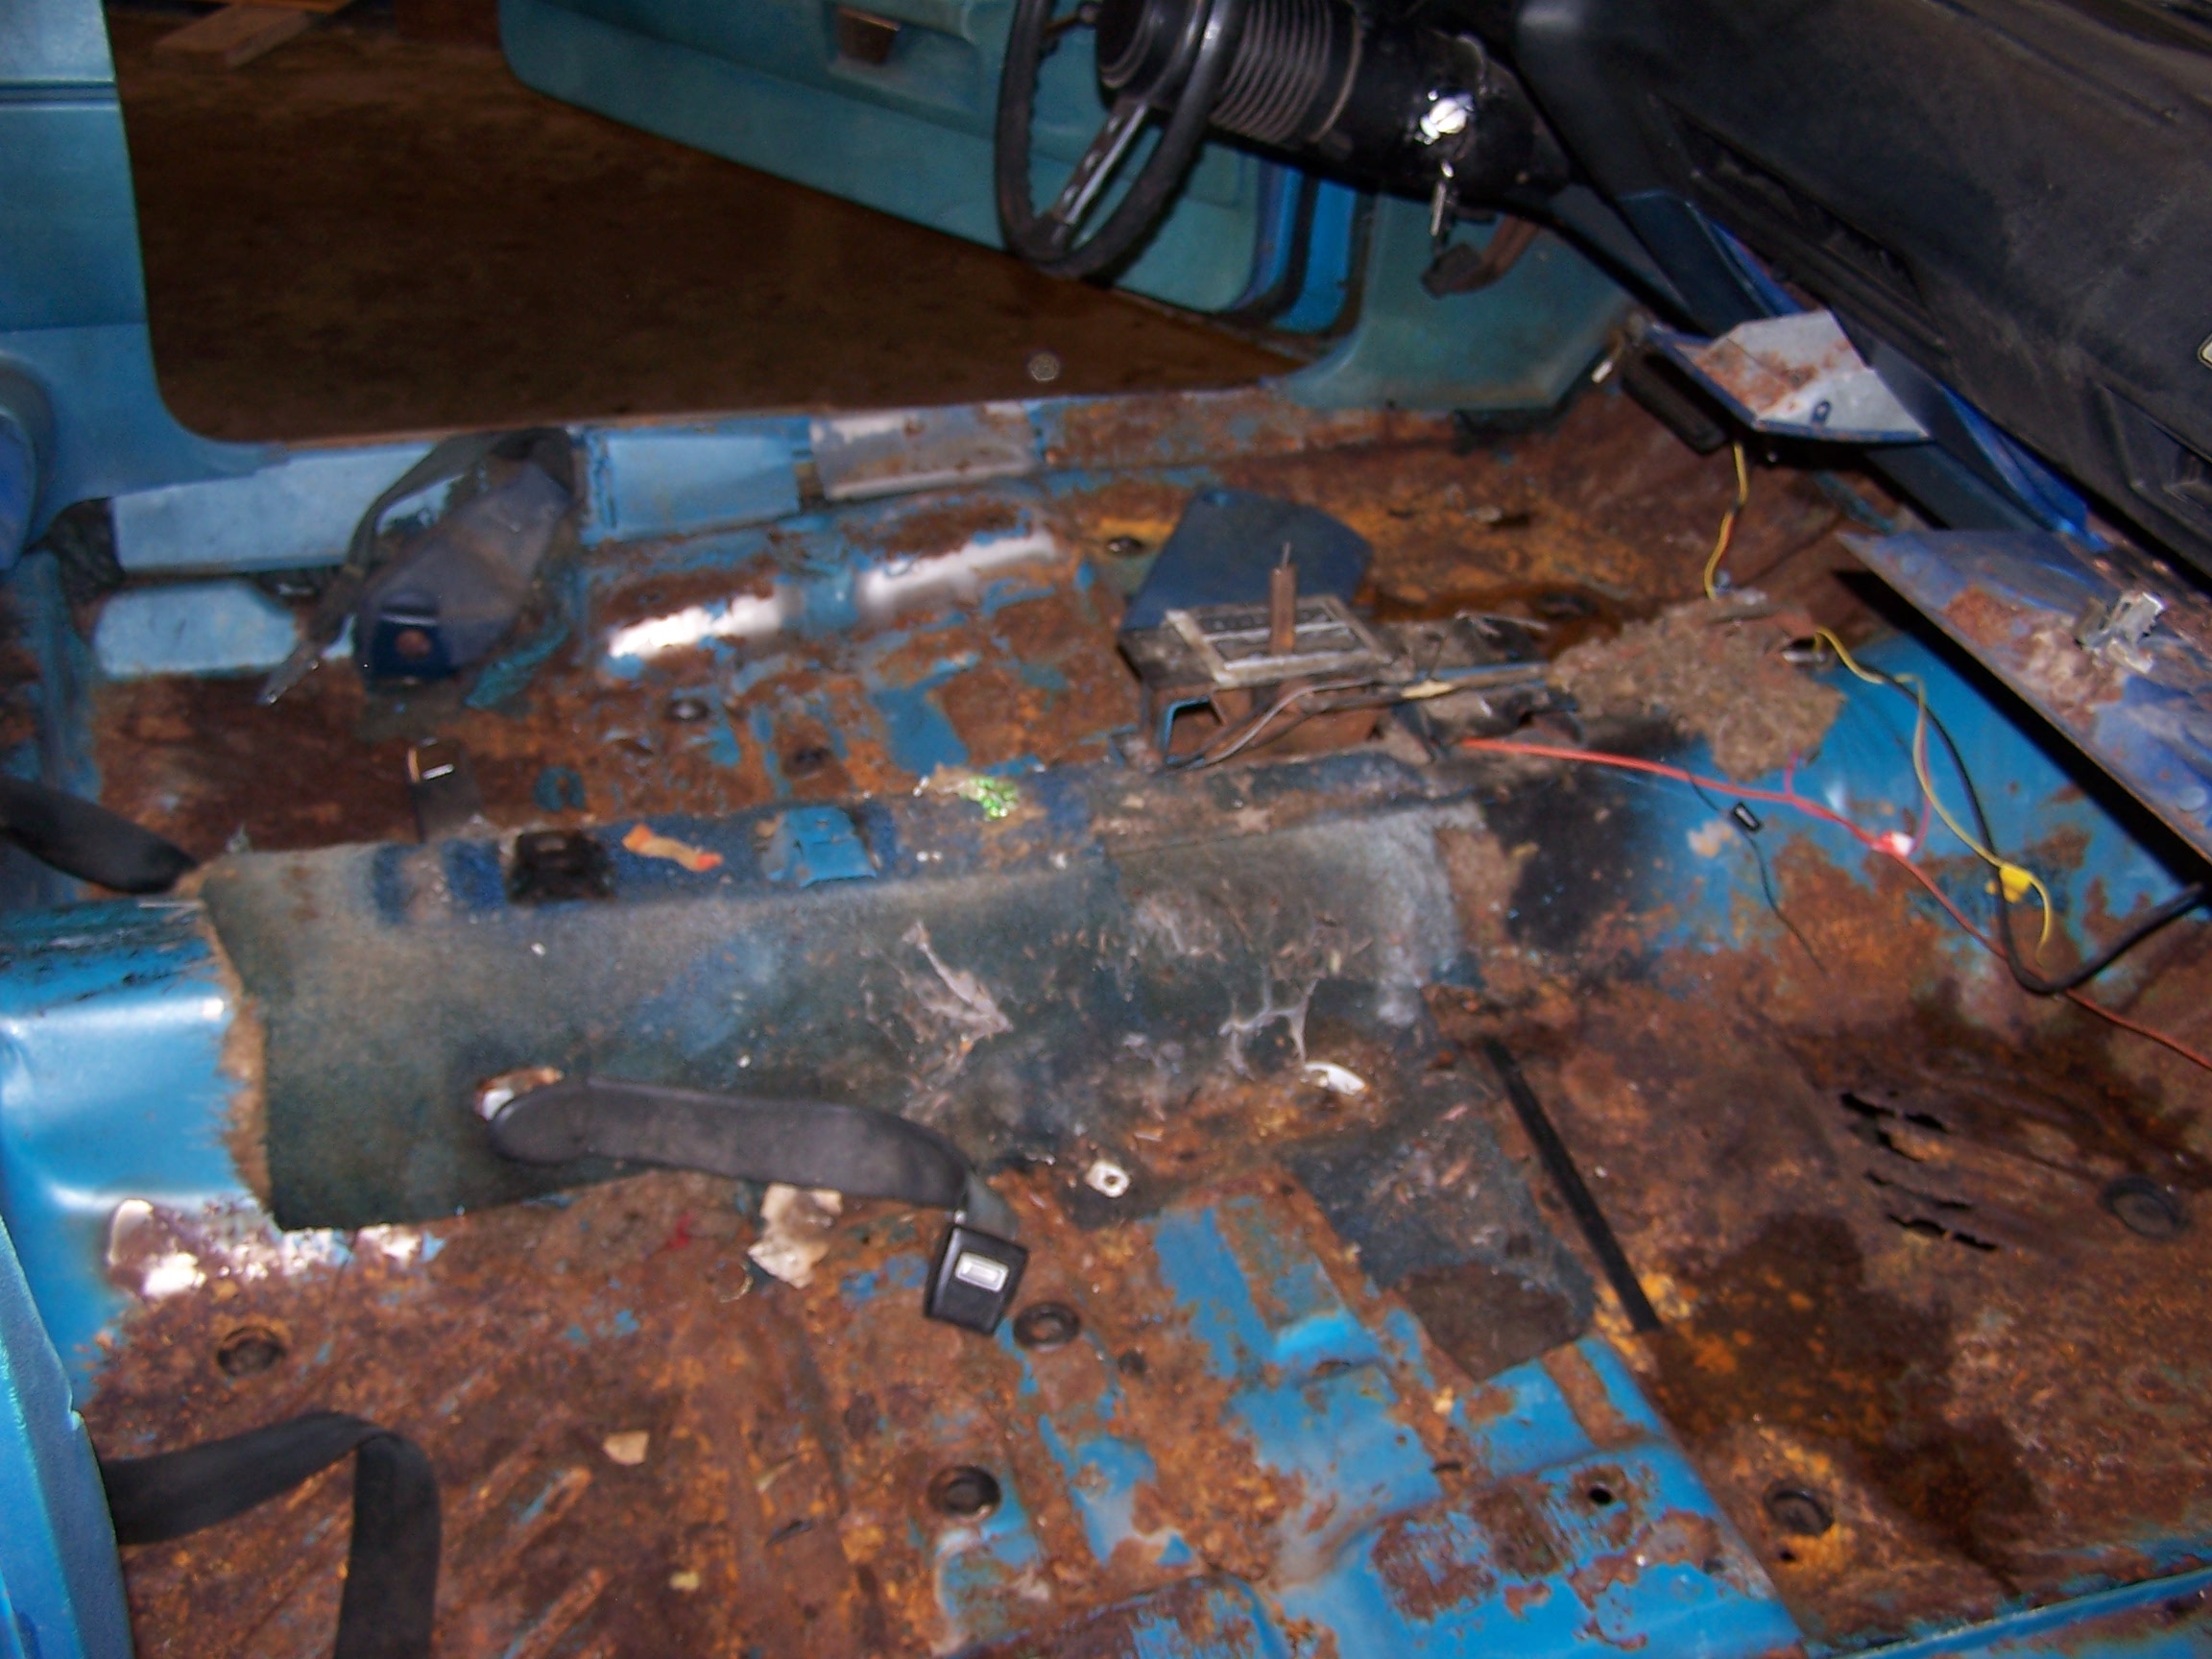
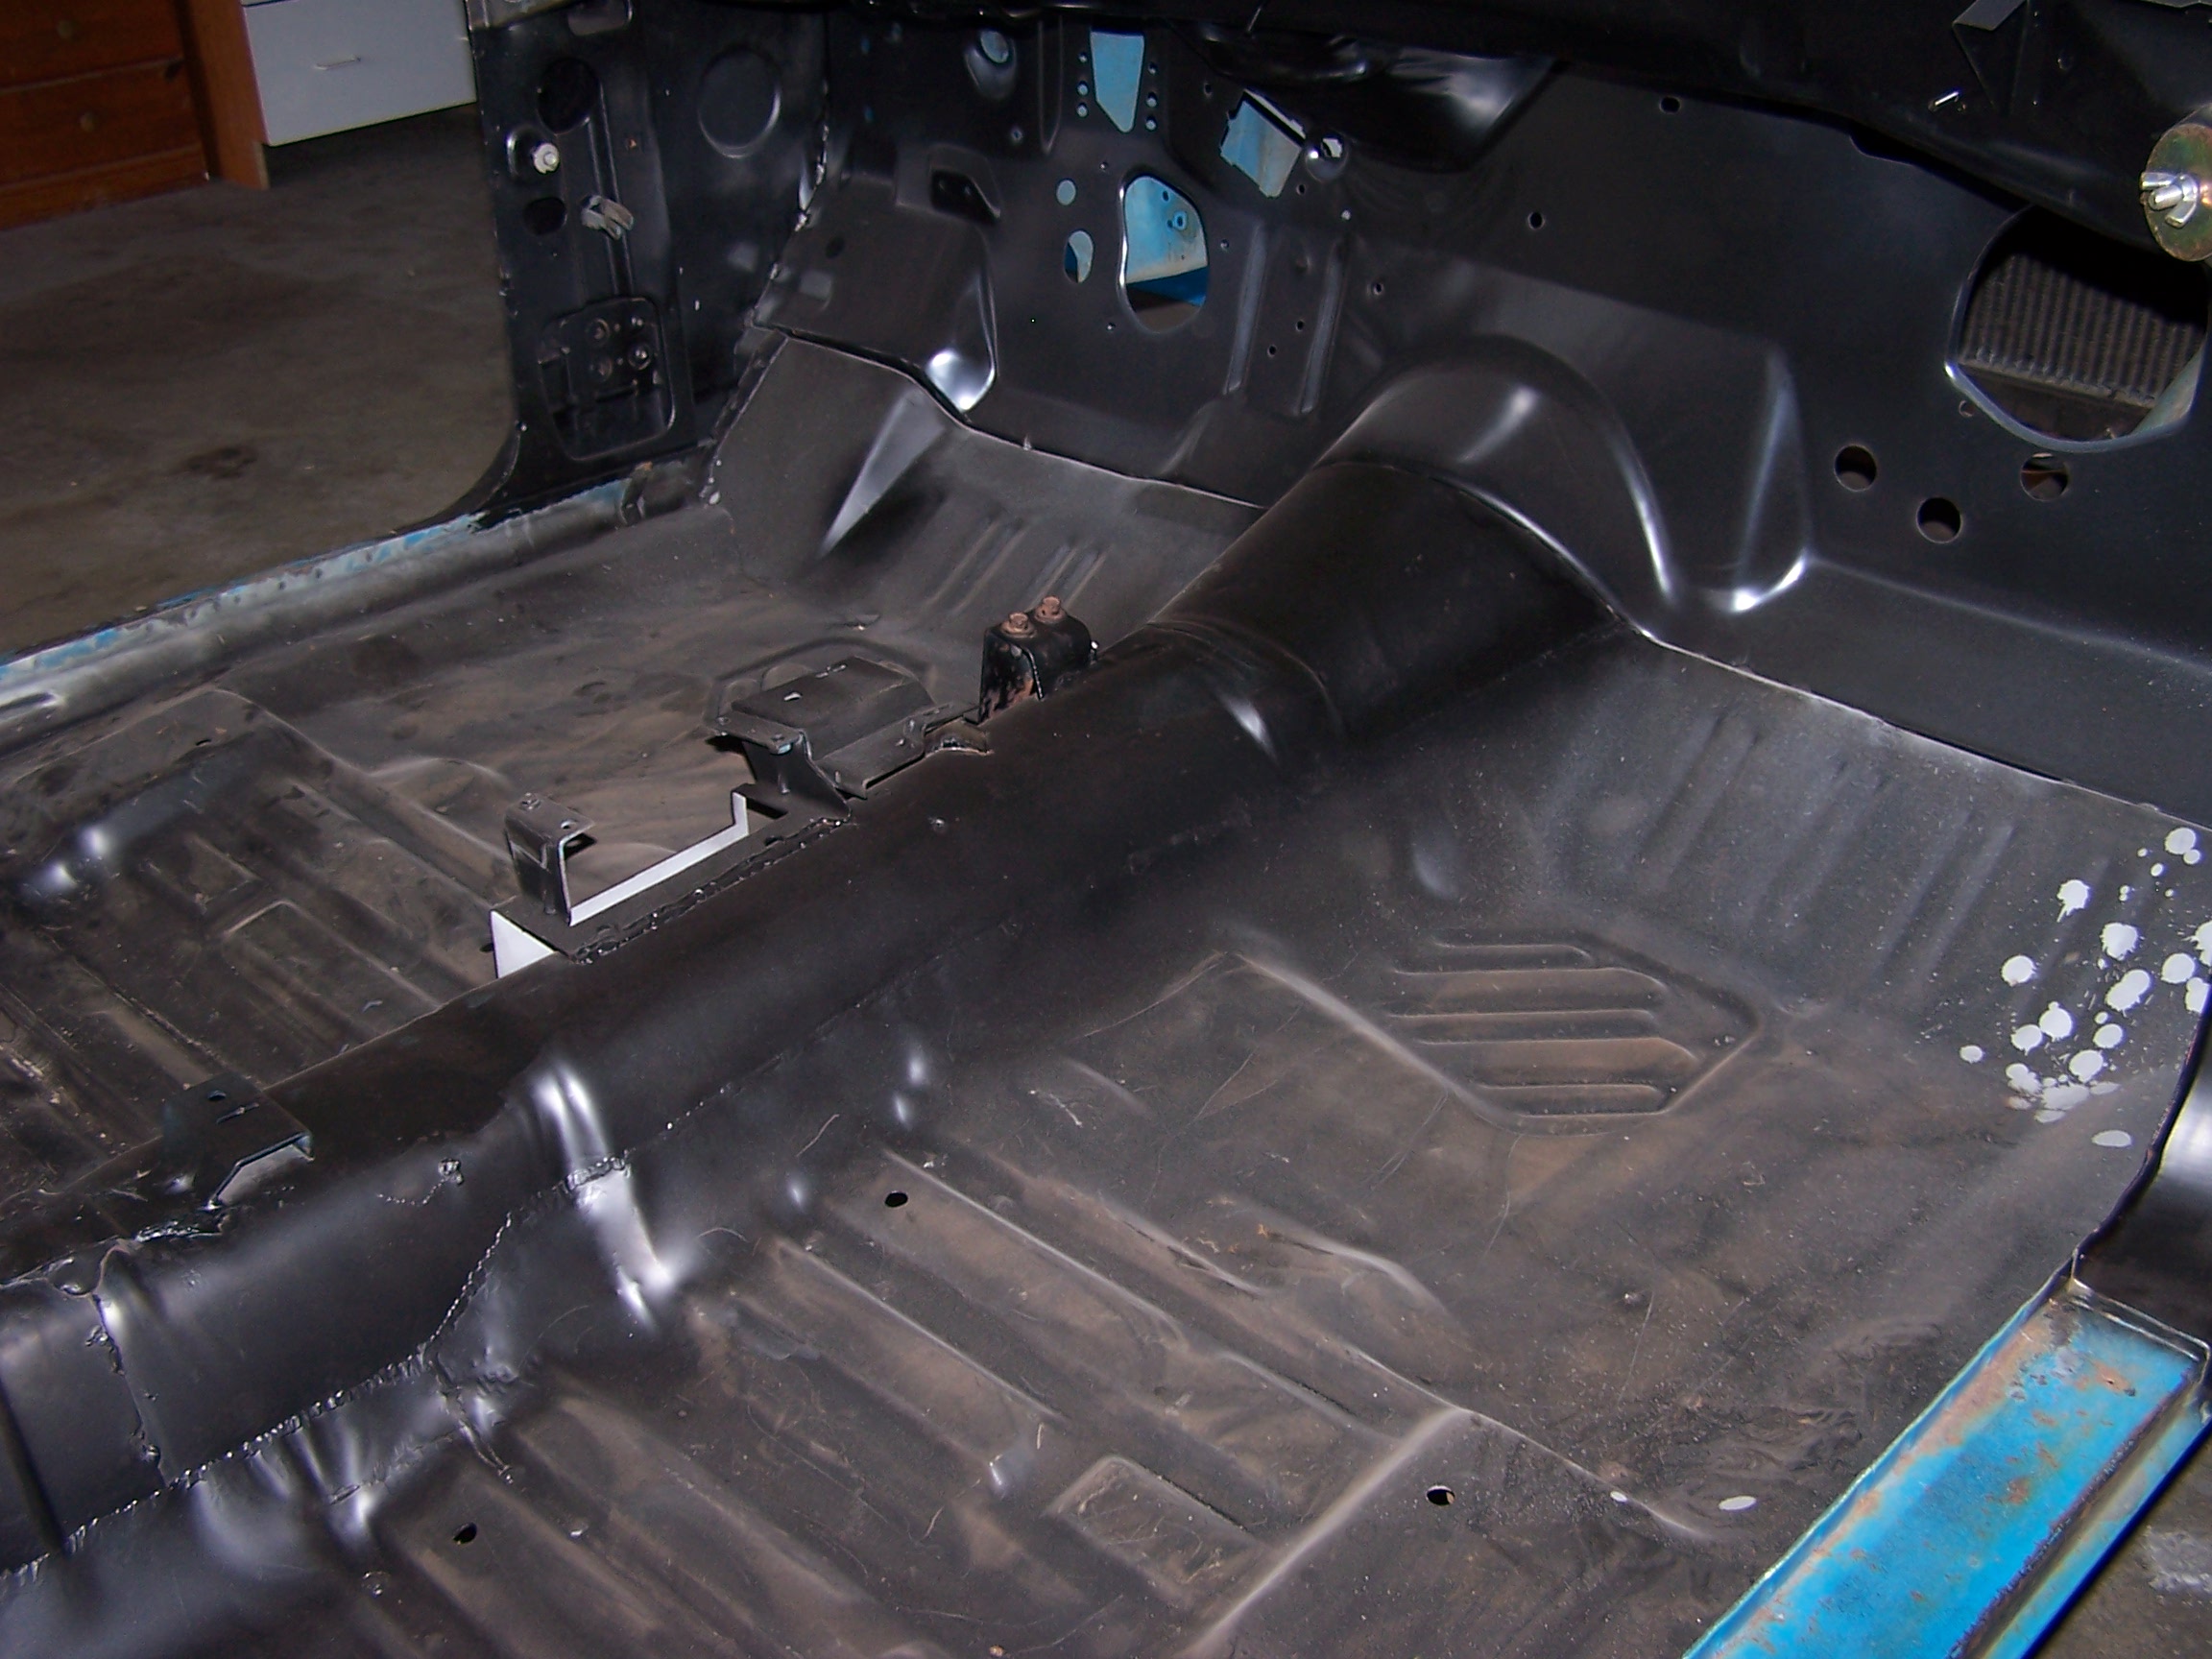
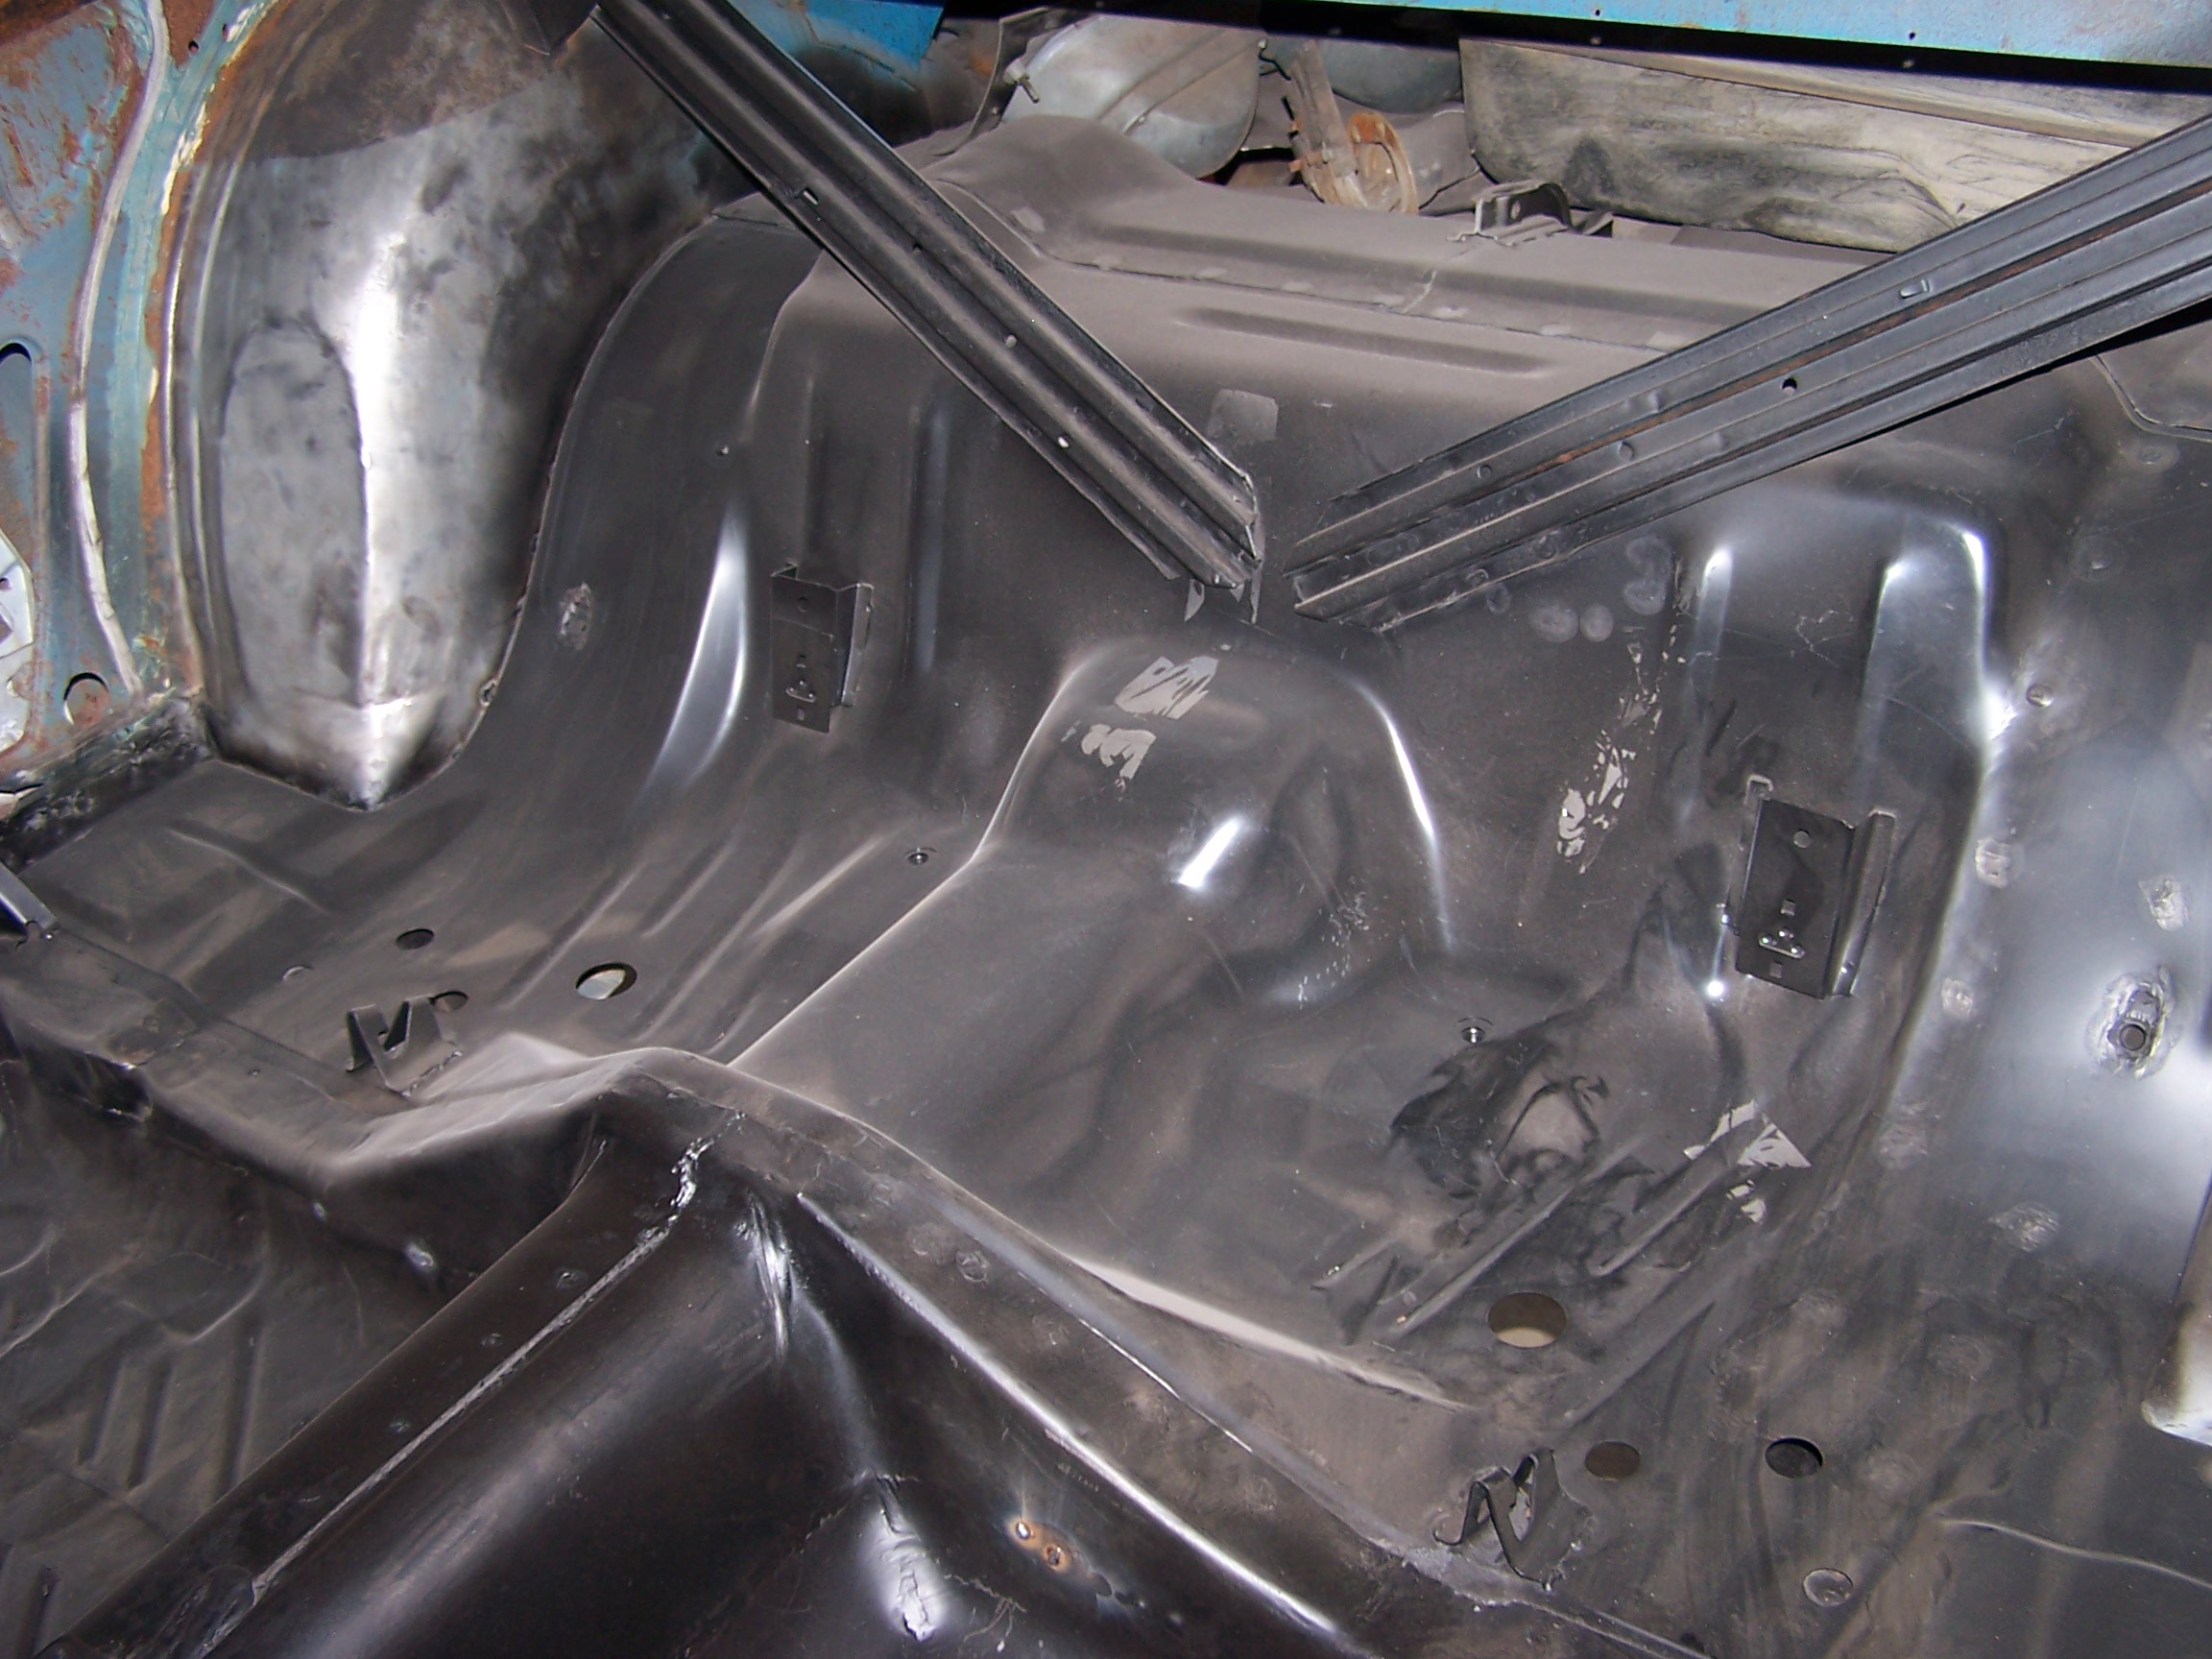
Patch completed and the new pieces welded in place. Better than new since I treated and primered everything inside and out.
The passenger side was not this bad so it will not be this involved.
Kind of strange since the roof was rusting out on the passenger side.
More to come.
I will be ordering the roof and drip rails from AMD in the next month or so. I will post that adventure as it happens!
Last edited by patosmith; 01/01/12 04:22 PM.
|
|
|
Re: 72 Challenger Project
[Re: JDMopar]
#938102
01/13/12 11:04 AM
01/13/12 11:04 AM
|
Joined: Jan 2007
Posts: 928
Chicago
rocksmopar
super stock
|
super stock
Joined: Jan 2007
Posts: 928
Chicago
|
You are making metal replacement look easy! Nice Job 
Looking for affordable 72-74 Cuda parts
|
|
|
Re: 72 Challenger Project
[Re: patosmith]
#938114
02/05/13 11:37 PM
02/05/13 11:37 PM
|
Anonymous
Unregistered
|
Anonymous
Unregistered
|
Nice work.
Dealing with rust and damage sure gets tiresome after awhile. Keep up the good work.
|
|
|
Re: 72 Challenger Project
[Re: moparmojo]
#938118
02/08/13 11:43 AM
02/08/13 11:43 AM
|
Joined: Feb 2011
Posts: 293
Spanaway, Washington State
patosmith
OP
enthusiast
|
OP
enthusiast
Joined: Feb 2011
Posts: 293
Spanaway, Washington State
|
Quote:
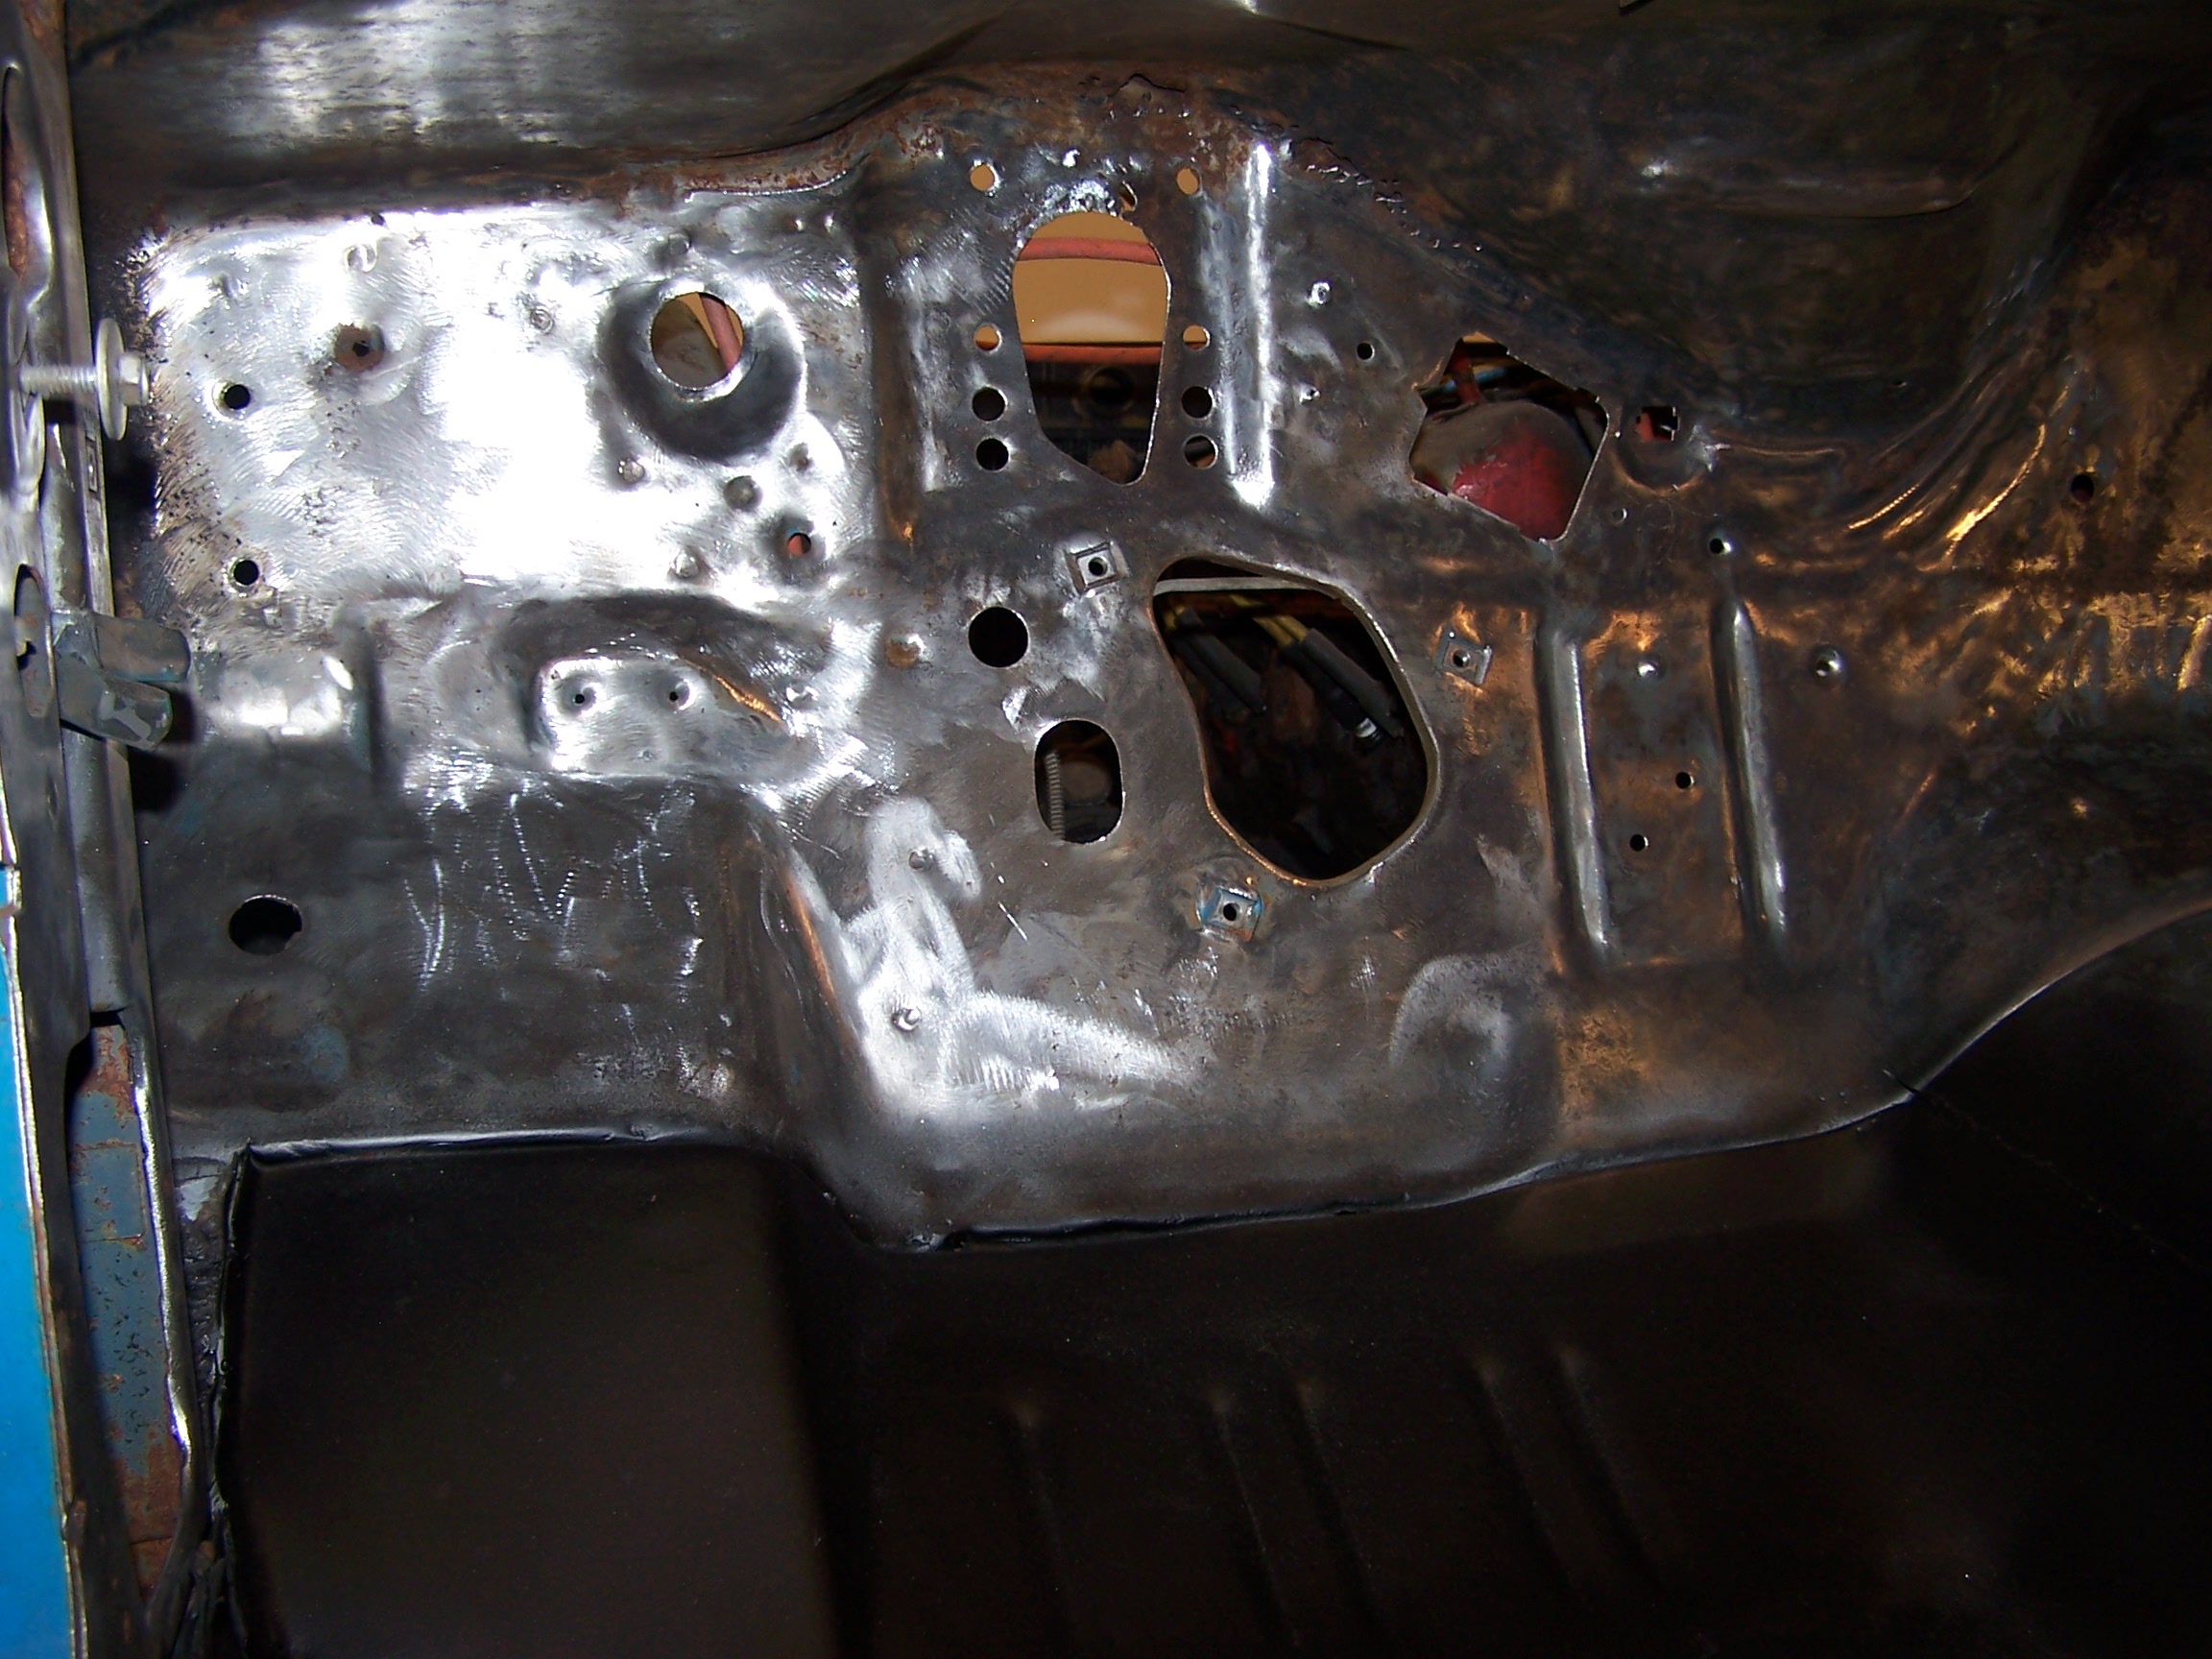
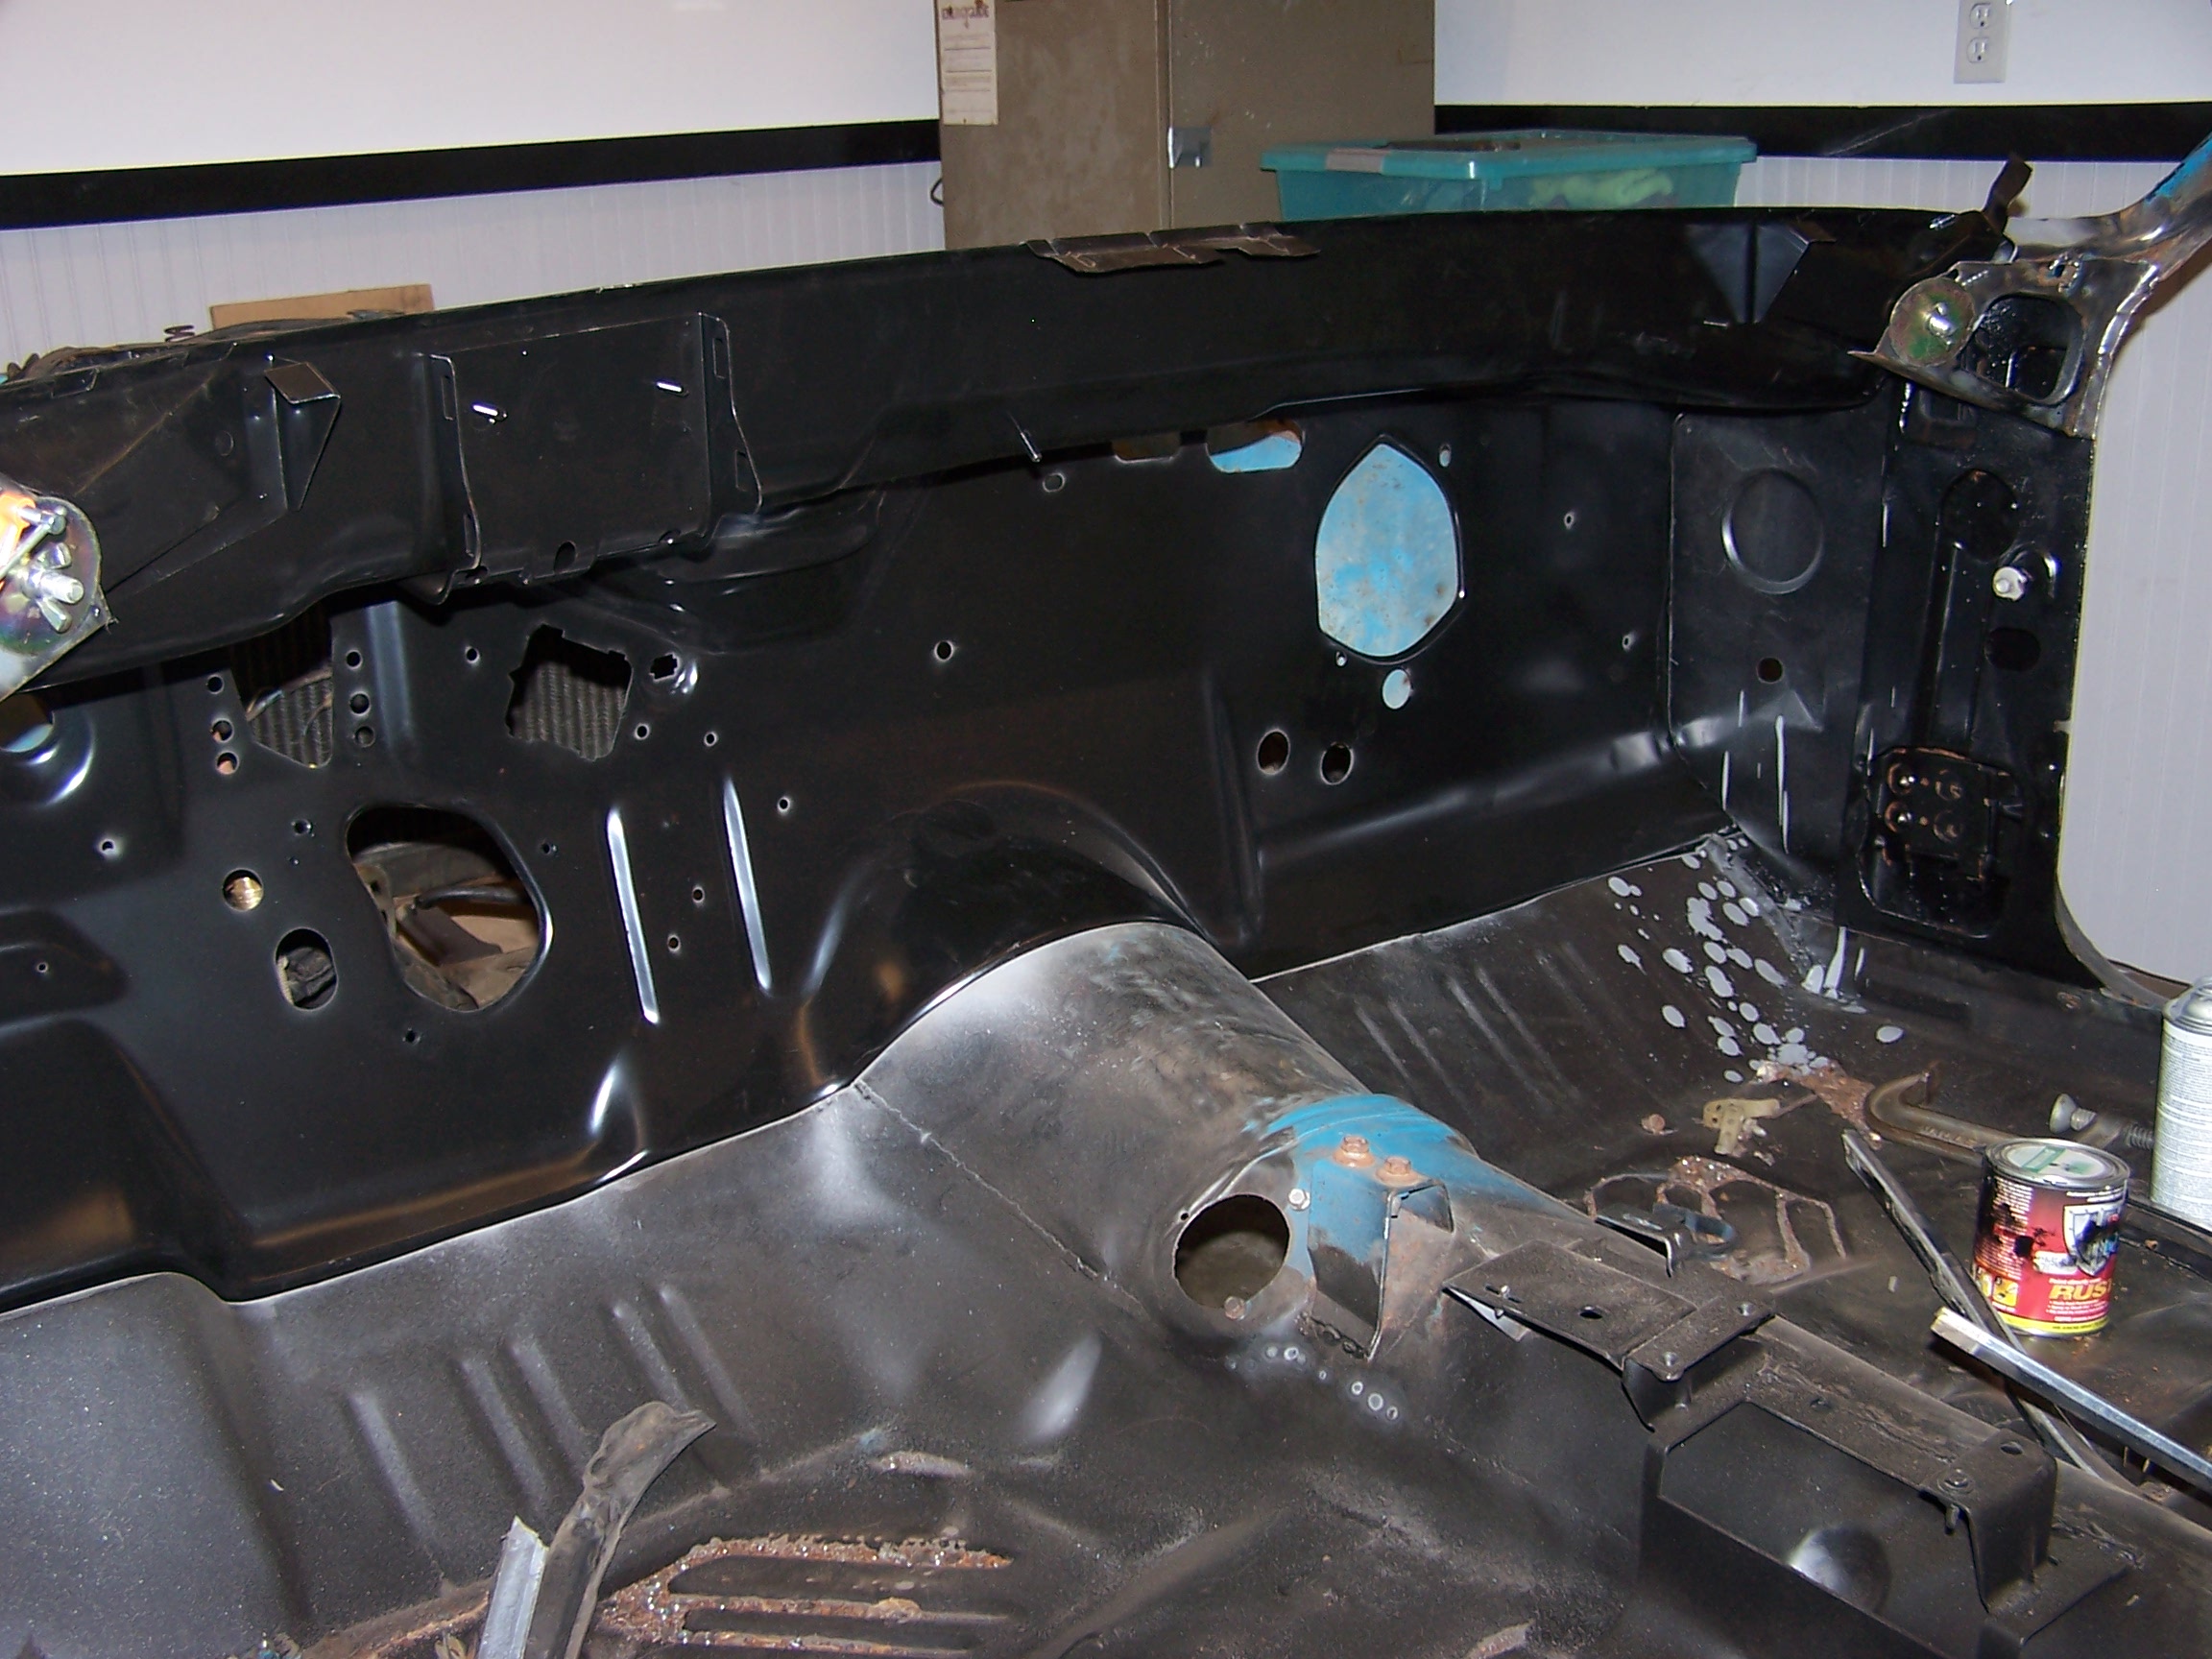
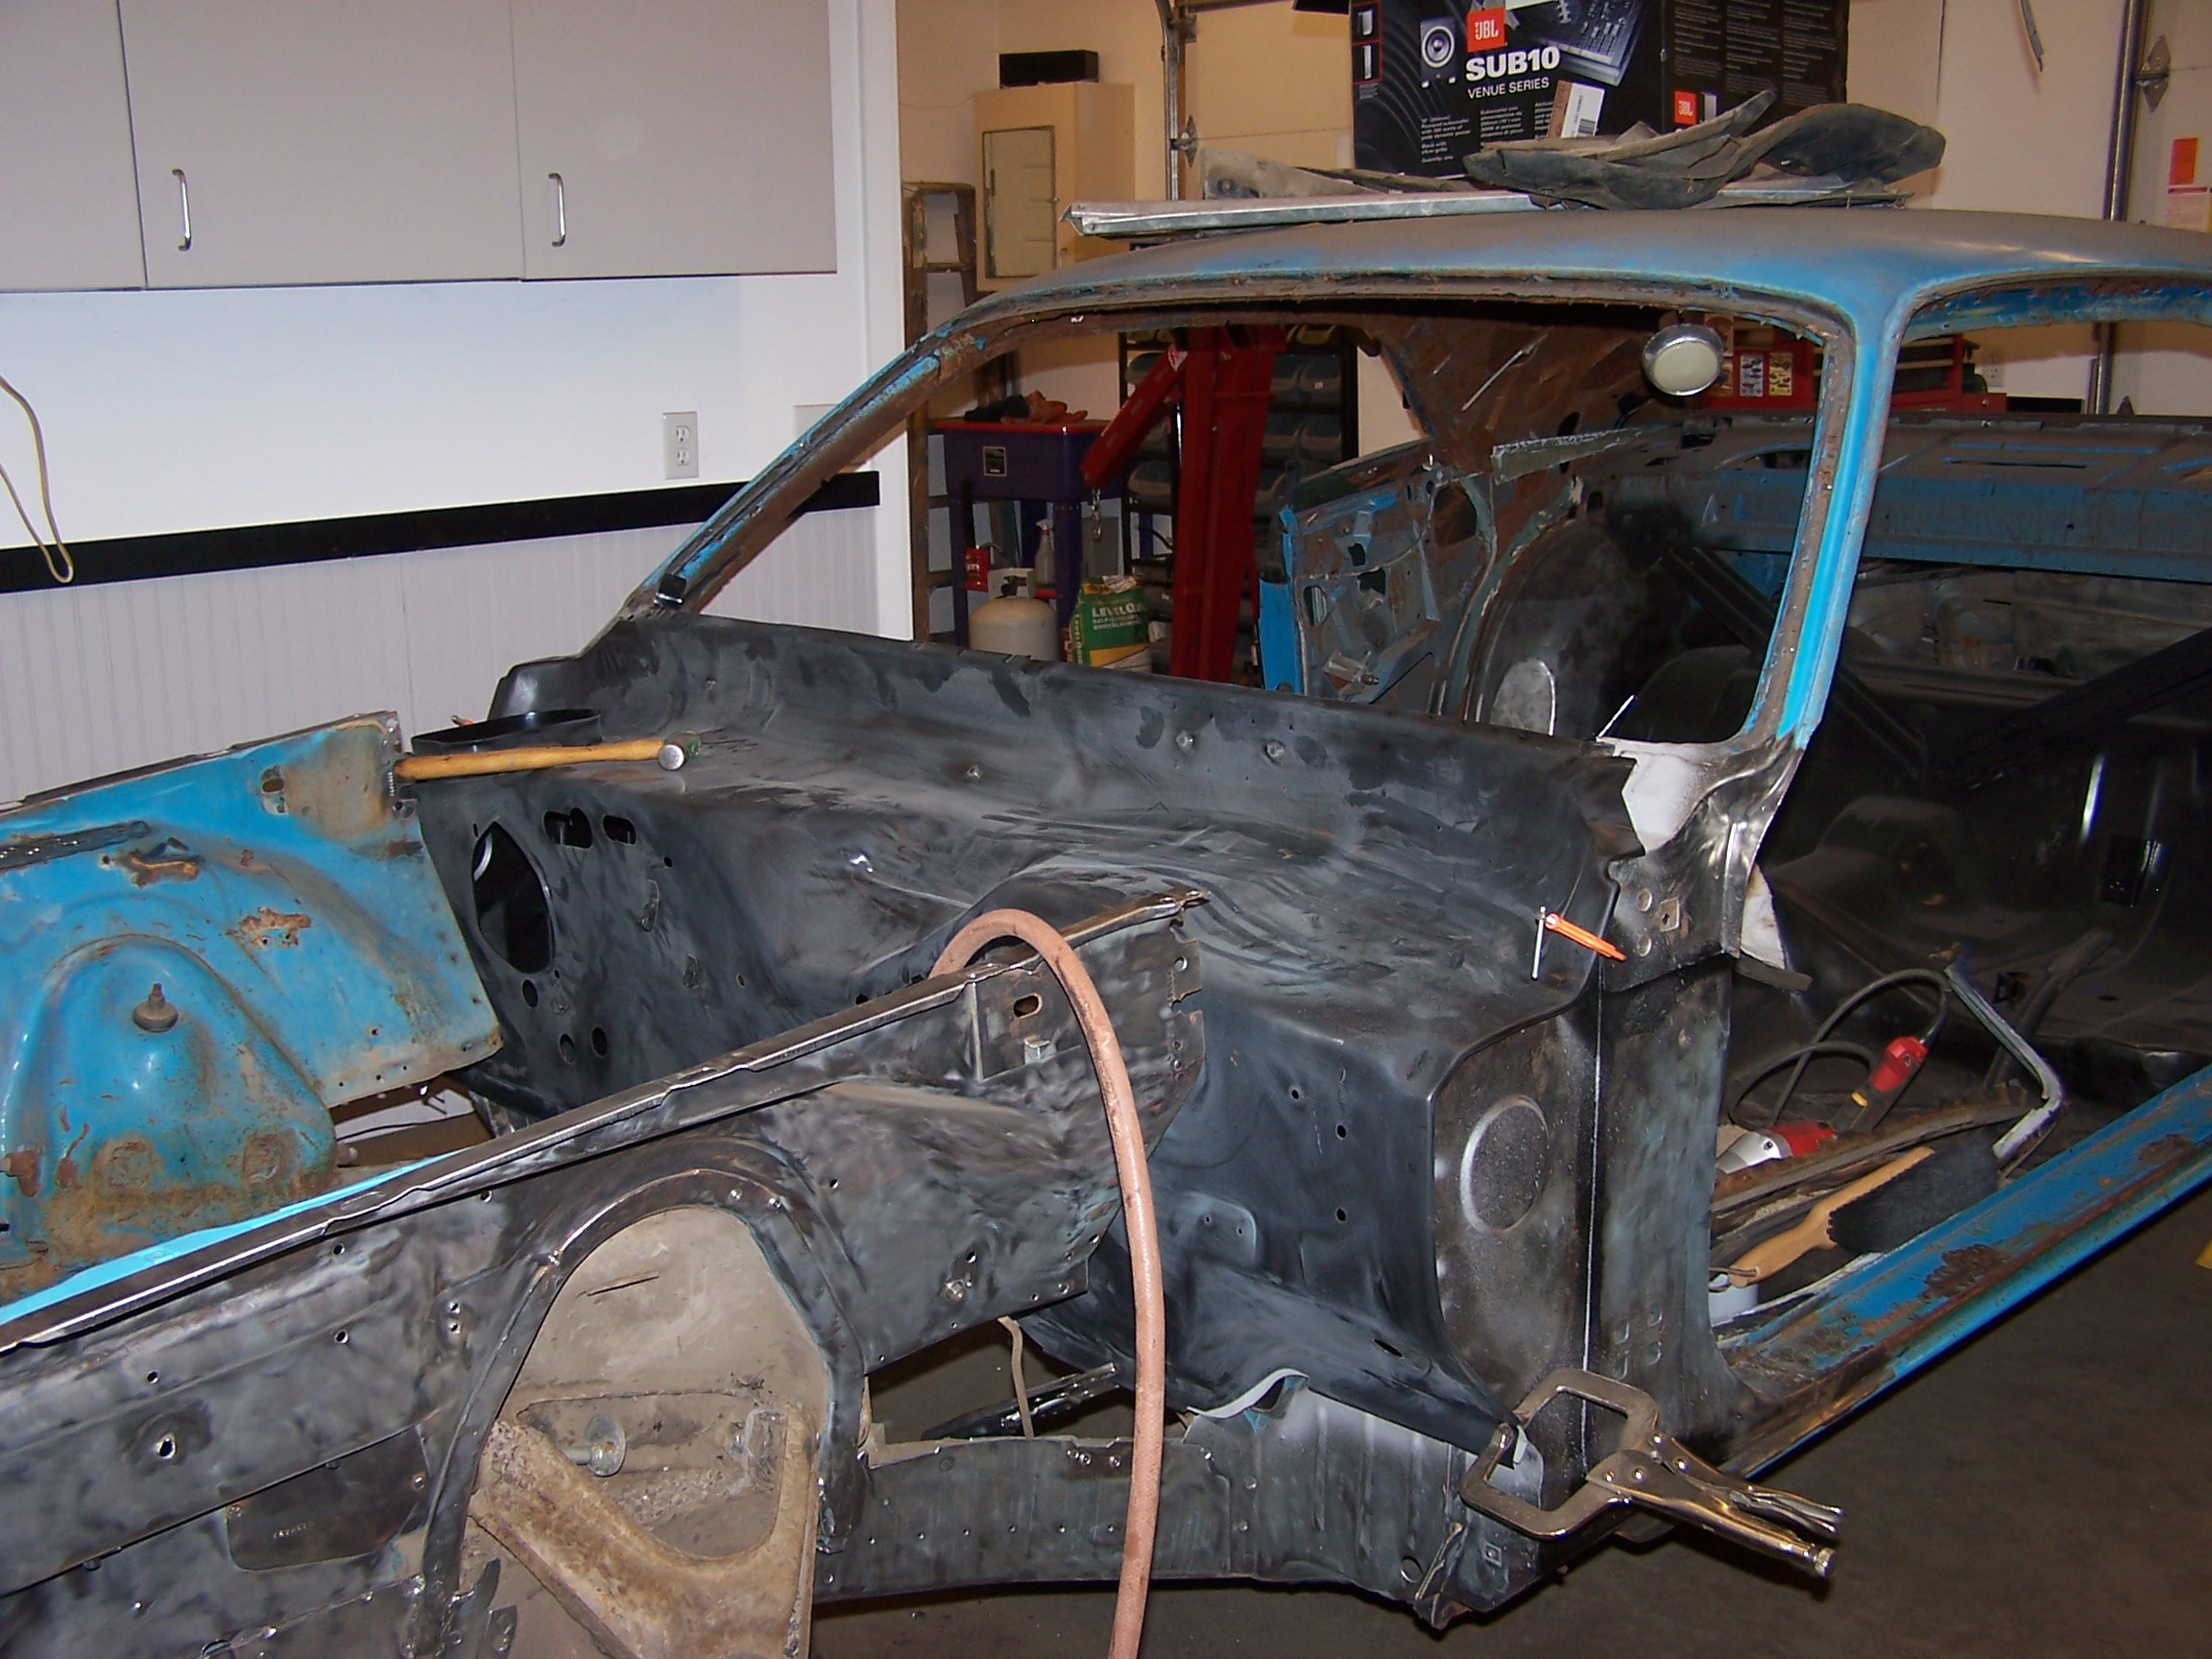
Awesome work. I would love to see more pic of how you did the firewall replacement. Did you leave the majority of the front clip on while putting the firewall on?
I thought I had taken pictures with the firewall out but evidently I didn't. Here is one of the firewall clamped together ready for welding. I braced the car from underneath so there wouldn't be any movement then removed the old one by drilling out the spot welds.
The AMD stuff fit real well and it went together easier than I thought it would. I left the inner fenders on but removed the brace that attaches them to the firewall. Before I was done welding I put the windshield in place to make sure things weren't twisted and out of place.
|
|
|
Re: 72 Challenger Project
[Re: patosmith]
#938120
02/08/13 04:20 PM
02/08/13 04:20 PM
|
Joined: Jan 2003
Posts: 1,232
Chicago, IL
PLUM_72
pro stock
|
pro stock
Joined: Jan 2003
Posts: 1,232
Chicago, IL
|
Looks great Pat! Id love to know more details about the quarter panel replacement. Did everything align and fit well together? Did you encounter any issues?
I have a 72 Challenger where the quarters were replaced with patch panels back around 1990. Sheet metal wasn't great back then. I've always been disappointed with the fit and finish of the quarter work and was thinking about having it done again with the AMD panels. The blend on my car between the factory door and the patch panel quarter isn't great. Especially at the body line, the lines just were not as crisp as they should have been.
1972 Dodge Challenger
|
|
|
Re: 72 Challenger Project
[Re: PLUM_72]
#938121
02/08/13 10:30 PM
02/08/13 10:30 PM
|
Joined: Feb 2011
Posts: 293
Spanaway, Washington State
patosmith
OP
enthusiast
|
OP
enthusiast
Joined: Feb 2011
Posts: 293
Spanaway, Washington State
|
Quote:
Looks great Pat! Id love to know more details about the quarter panel replacement. Did everything align and fit well together? Did you encounter any issues?
I have a 72 Challenger where the quarters were replaced with patch panels back around 1990. Sheet metal wasn't great back then. I've always been disappointed with the fit and finish of the quarter work and was thinking about having it done again with the AMD panels. The blend on my car between the factory door and the patch panel quarter isn't great. Especially at the body line, the lines just were not as crisp as they should have been.
The AMD stuff fit really well. I used the full quarter, not the partial one. It is more money but I rather break welds at the existing seams and re-weld than trying to patch the partial one in. Just take your time and make sure everything lines up before you weld it in. The full quarter meets at the roof, trunk gutter, tail, rear wheel well, door jam, rocker, the deck below the rear window and part of the rear window opening itself. Lots of areas to make sure the fit is right but once you clamp it everywhere (use lots of clamps) and double check, it fits real well. Where the roof meets the quarter panel, you will need to remove the lead to get to the spot welds. I replaced the lead rather than use a thick layer of filler. Just seems better to me. Eastwood has a good lead kit with a DVD. I learned on an old piece of sheetmetal I had laying around. Kind of scary appying heat to sheetmetal but I didn't have any problems. I think the trick is not to get the metal so hot it changes color. Feel free to contact me for more details if you like. I have replaced just about every piece of sheetmetal on this car.
Last edited by patosmith; 02/08/13 10:35 PM.
|
|
|
Re: 72 Challenger Project
[Re: PLUM_72]
#938122
02/08/13 10:34 PM
02/08/13 10:34 PM
|
Joined: Feb 2011
Posts: 293
Spanaway, Washington State
patosmith
OP
enthusiast
|
OP
enthusiast
Joined: Feb 2011
Posts: 293
Spanaway, Washington State
|
Quote:
Looks great Pat! Id love to know more details about the quarter panel replacement. Did everything align and fit well together? Did you encounter any issues?
I have a 72 Challenger where the quarters were replaced with patch panels back around 1990. Sheet metal wasn't great back then. I've always been disappointed with the fit and finish of the quarter work and was thinking about having it done again with the AMD panels. The blend on my car between the factory door and the patch panel quarter isn't great. Especially at the body line, the lines just were not as crisp as they should have been.
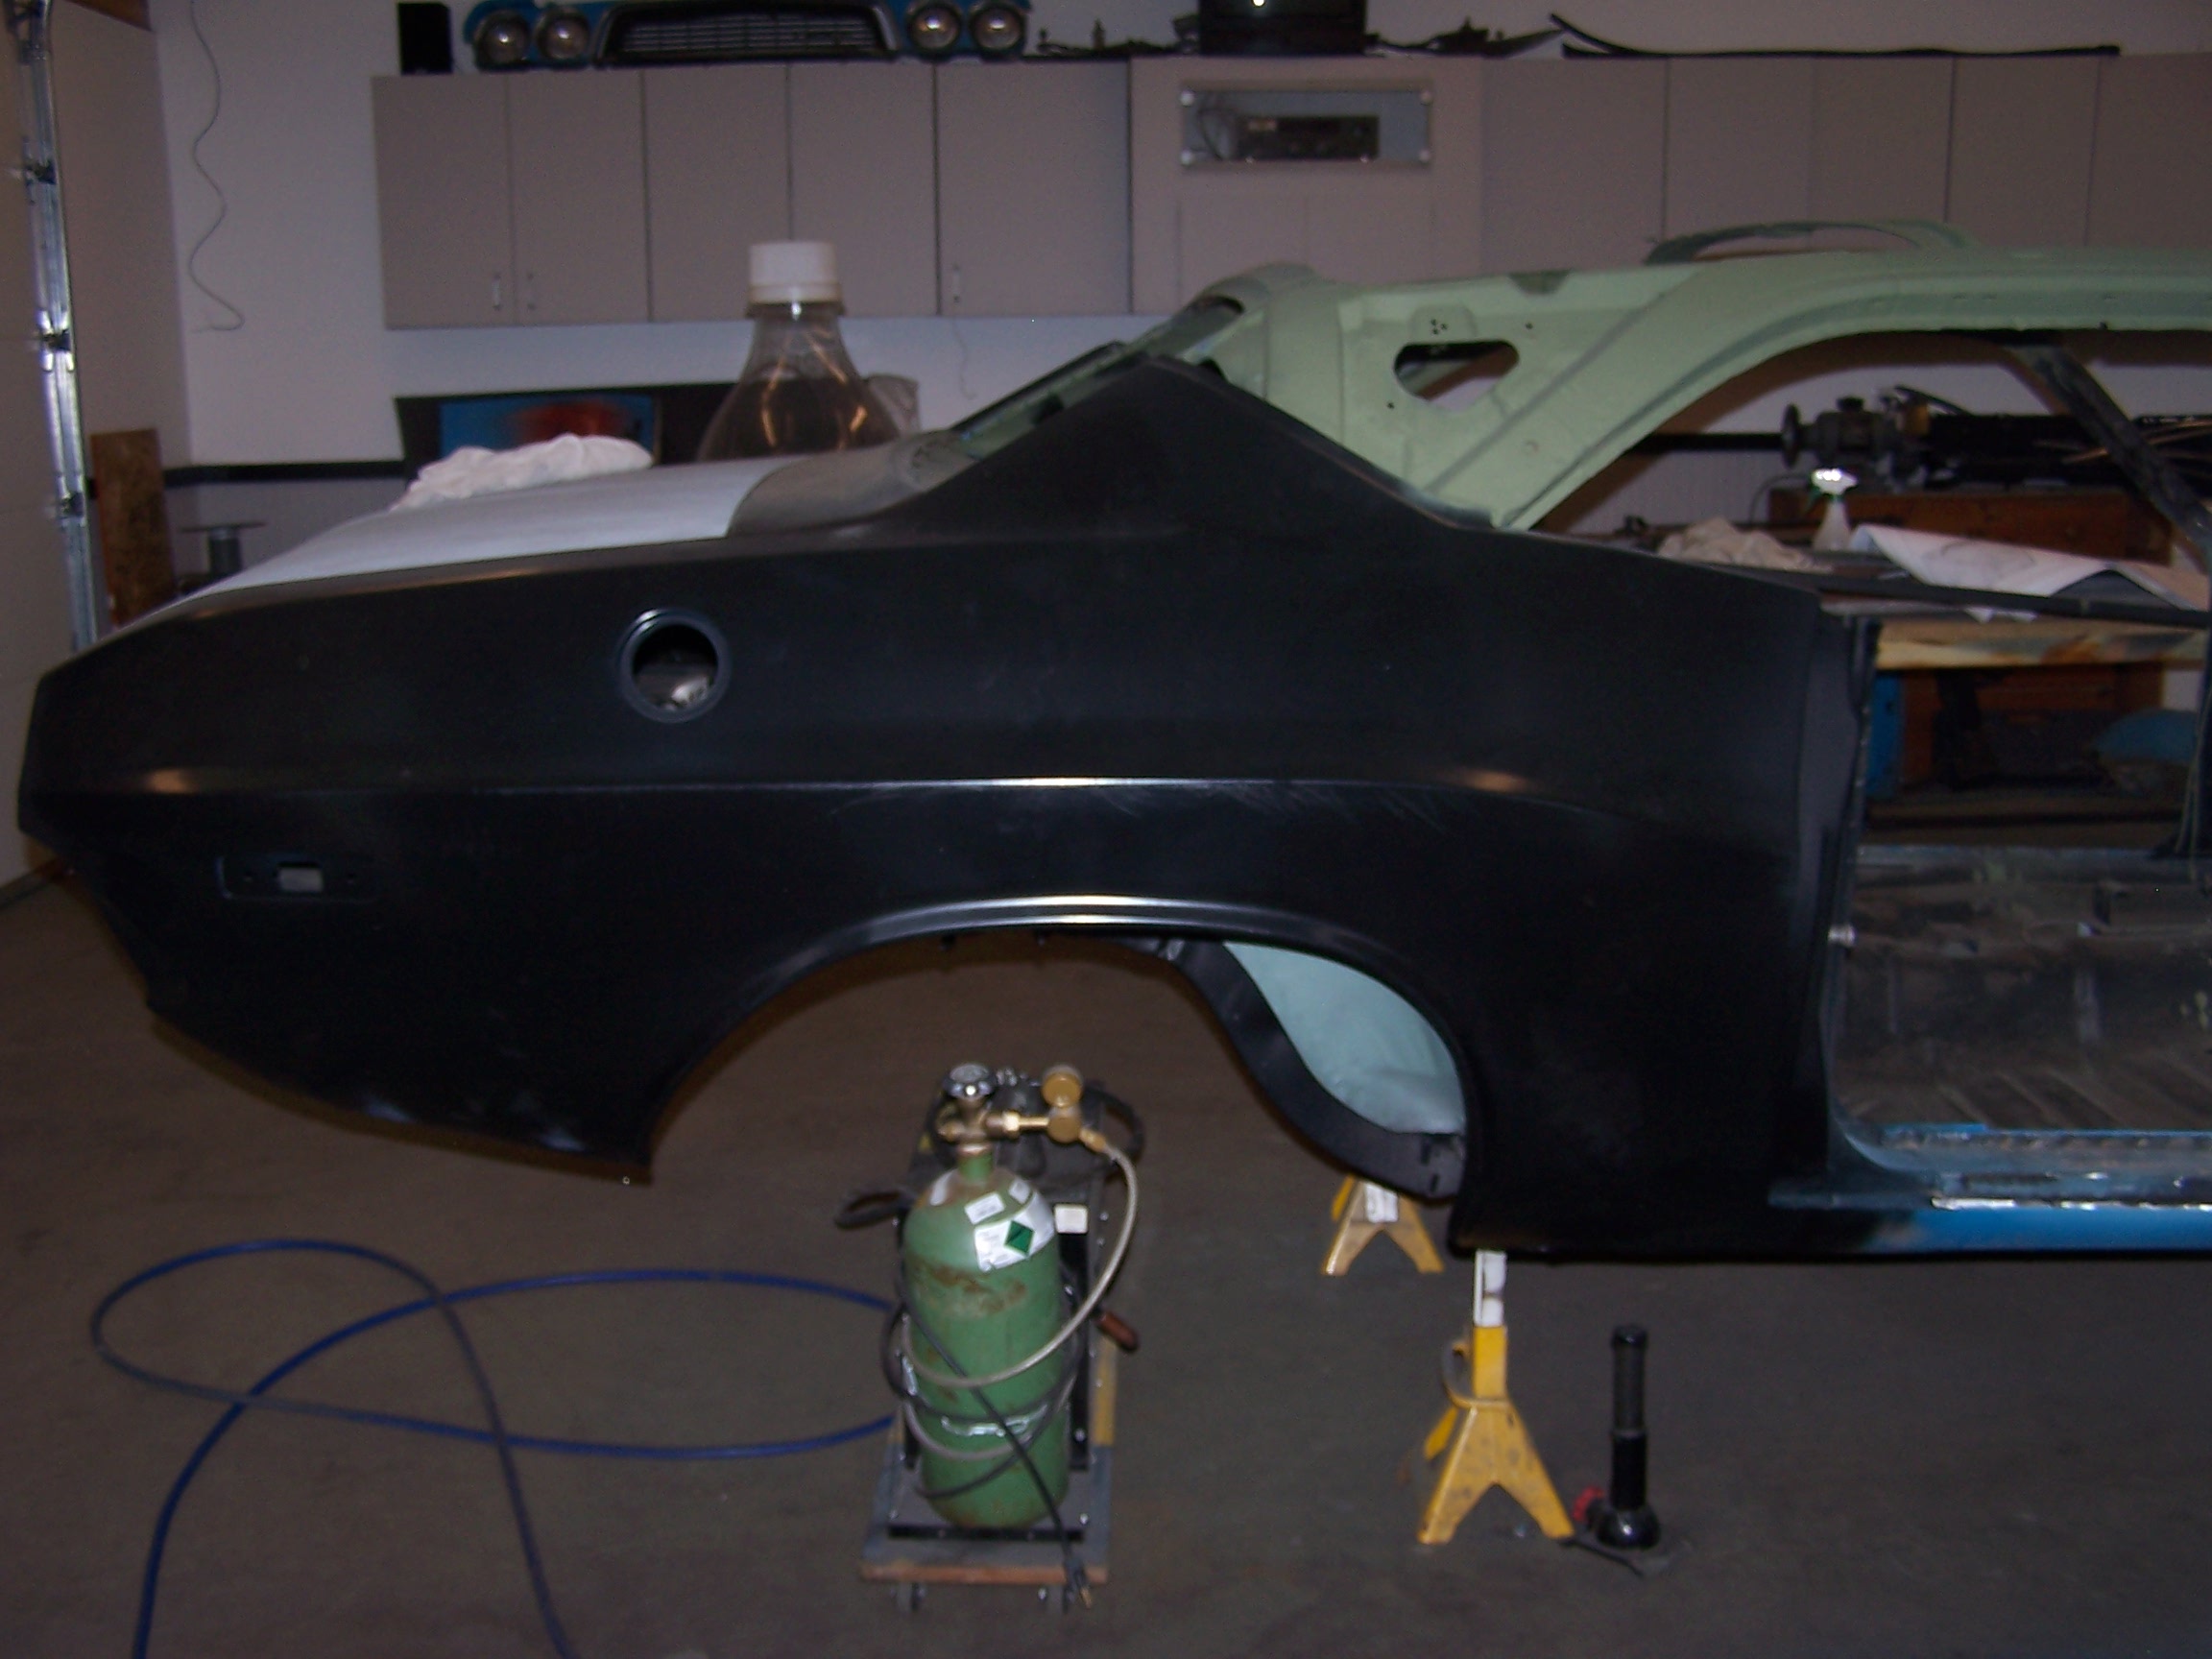
Here is the quarter before installation. I painted the inside then used weld thru primer at the weld locations.
|
|
|
Re: 72 Challenger Project
[Re: NV69B7RR]
#938123
02/09/13 11:22 AM
02/09/13 11:22 AM
|
Joined: Feb 2011
Posts: 293
Spanaway, Washington State
patosmith
OP
enthusiast
|
OP
enthusiast
Joined: Feb 2011
Posts: 293
Spanaway, Washington State
|
Quote:
Great work so far, looks like its come a long way. Keep up the great work, looking forward to seeing more progress. What are your plans for the drivetrain??
Thank you. I look forward to the body work to come to an end. I am more of a mechanic and I can't wait to get going on the drivetrain. I would like to get the car into the mid to upper 10's.
I have a 400 BB which I tore down to the bare block. If the block is ok the plan is to stroke it. A local tranny guy will build me a stout 727. The car came with a 8 3/4 rear with a 742 center which will need rebuilding with larger axles and possibly shortened. I may find a donor rear and put the original one away...
|
|
|
|
|


 Nice job! Looking forward to seeing the rest of this build as it progresses.
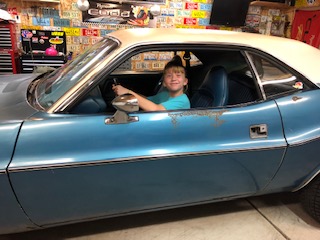


.jpg)
.jpg)
.jpg)
.jpg)
.jpg)