|
 Re: New Paint job on a budget thread Part III
[Re: THEYOUNGGUN53]
#38975
Re: New Paint job on a budget thread Part III
[Re: THEYOUNGGUN53]
#38975
09/03/09 05:27 PM
09/03/09 05:27 PM
|
Anonymous
Unregistered
|
Anonymous
Unregistered
|
Quote:
a close match to L87 would be Brightside Hatteras white.
I noticed Interlux has 2 Hatteras whites. One is is Hatteras White 1990. What is the difference?
|
|
|
Re: New Paint job on a budget thread Part III
[Re: THEYOUNGGUN53]
#38977
09/05/09 03:25 PM
09/05/09 03:25 PM
|
Anonymous
Unregistered
|
Anonymous
Unregistered
|
started this a few days ago. I'm starting on my hood first to see how it goes (the paint was faded and cracking in some areas anyways). sanding down took forever, I ended up switching to 150 grit then back to 220 then 400 before the first coat. This was dry sanding. It's a red car so I have a bunch of rags and clothes that are now a nice pink color. I ended up having to wet some rags just to pick up all the powder that was coming off. I really hope I haven't messed something up. Most of this process so far I have had the feeling of inexperience, ie wondering whether I should do one thing or another. then I shrug and try it one way, and rely on the fact that it's one hood and if I really need to I can replace the hood (it's a 97 honda civic, with a nasty water leak, so it's not worth a ton anyways). A few questions: - how many times can I use a rag before throwing it out or washing it? can/should I wash these pink rags or just buy a block of rags? - how many times can I use a sheet of sandpaper? discard after each wet sanding or keep reusing? - how should I handle edges and underside of the hood? so far I've been trying to go to about 5mm around the underside of the metal. - the place where I live, the owners have this mastercraft sander: http://reviews.canadiantire.ca/9045/0547193P/reviews.htmI wouldn't use it on the wet sanding, but for the initial preping it sure was tempting. Anyone use it? Would it be worth using on the next panel I do? thanks for keeping this thread going, it's really useful, and I'm sure I will learn more about body work than I would have if there were no $50 paint job.
|
|
|
Re: New Paint job on a budget thread Part III
#38978
09/05/09 07:29 PM
09/05/09 07:29 PM
|
Joined: Feb 2009
Posts: 246
middleOnowhere CA
THEYOUNGGUN53

enthusiast
|
enthusiast
Joined: Feb 2009
Posts: 246
middleOnowhere CA
|
heres my two cents "- how many times can I use a rag before throwing it out or washing it? can/should I wash these pink rags or just buy a block of rags?" it doesn't really matter as long as its clean "- how many times can I use a sheet of sandpaper? discard after each wet sanding or keep reusing?" you should be able to feel if theres a difference in the roughness of the paper, i.e how well it sands. I use sandpaper over and over again as long as it still has grit to it. "- how should I handle edges and underside of the hood? so far I've been trying to go to about 5mm around the underside of the metal." for the underside of the hood you should try to find a spray can of the paint your using, its much much easier. "- the place where I live, the owners have this mastercraft sander: http://reviews.canadiantire.ca/9045/0547193P/reviews.htmI wouldn't use it on the wet sanding, but for the initial preping it sure was tempting. Anyone use it? Would it be worth using on the next panel I do?" for the inital preping yes, but you should always end with a sanding block. Espessialy with areas that have body filler on them. and definatly do not use an electric sander for wet sanding!!  hope this helps some 
a car is never "done"
|
|
|
Re: New Paint job on a budget thread Part III
#38982
09/06/09 03:46 PM
09/06/09 03:46 PM
|
Joined: May 2006
Posts: 575
Canada
Marq
mopar addict
|
mopar addict
Joined: May 2006
Posts: 575
Canada
|
Quote:
Has anyone tried the poor man's paint job? basically $50 paint job but with high density foam brushes.
http://www.stylusscustoms.com/poormanspaintjob.html
There's a video about halfway down.
That is one of the variations on the 'roller' paint job that we have discussed in the course of this thread.
The original 'roller job' was done with just 5" high density foam rollers.
A variation was developed where you used a 5" high density roller to lay down the paint and then immediately go over it with a fresh 5" high density roller OR a foam paint brush to 'tipple' the rolled on coat ( tippling is lightly running the second roller or brush over the rolled paint to spread it evenly and pop any air bubbles that may have appeared
There also were some folks who had good luck using high quality paint brushes ( and even those black foam brushes ) to do the entire paint job - from painting to tippling.
The only achilles heel of using just those black cheap foam paint brushes... is that their foam is not really designed to be continuously saturated with mineral spirts. And so the black foam paint brushes may start disintergrating as you use them... leaving little black artifacts of the disintegrating paint brush behind. As well, the cheap black foam brushes are basically glued on to the plastic stick that they are on. That glue eventually craps out from being continuously saturated in mineral spirits.
The problem with the high quality paint brushes, with a good density of hairs on the brush... is that they are expensive. We aren't talking the 'el cheapo' cheaper by the dozen type paint brushes. The cheap ones continuously have hairs or bristles coming out of them and sticking to your paint job.
The one value of the white high density roller is that the foam has a proven track record or history of not disintegrating or deteriorating during the course of a paint job. So that eliminates the changes that part of the roller will find its way sticking to your fresh paint.
Other then that... the chap was basically following the $50 paint job that has been pretty heavily explored and discussed during the course of these three threads dedicated to the topic.
His car looks excellent at the end of his efforts and except for the glitch he encountered on the bumper from not sanding properly, he seems to be giving the whole project two solid thumbs up... even after his one year update after a snowy winter.
.
|
|
|
Re: New Paint job on a budget thread Part III
[Re: Marq]
#38983
09/06/09 09:20 PM
09/06/09 09:20 PM
|
Anonymous
Unregistered
|
Anonymous
Unregistered
|
^ Ah, very informative (as usual), thanks. Quote:
His car looks excellent at the end of his efforts and except for the glitch he encountered on the bumper from not sanding properly
.
I didn't really follow what he did wrong. He said something about "palming" it. Did he entirely miss sanding some parts of the bumper? If he did get them, just did it wrongly, what exactly did he do wrong that we can avoid?
|
|
|
Re: New Paint job on a budget thread Part III
[Re: THEYOUNGGUN53]
#38985
09/07/09 12:23 PM
09/07/09 12:23 PM
|
Anonymous
Unregistered
|
Anonymous
Unregistered
|
Another q. I don't have a garage, so I'm doing this outdoors. It's supposed to thunder storm later today. Should I put a tarp over the coat I put down earlier today? (coat #4)
|
|
|
Re: New Paint job on a budget thread Part III
[Re: Peckinpah]
#38986
09/07/09 03:23 PM
09/07/09 03:23 PM
|
Joined: Sep 2009
Posts: 66
NY
joeshmo
member
|
member
Joined: Sep 2009
Posts: 66
NY
|
Hey guys, long time follower, first time poster. I recently sanded down the rear half of car, I started with a whipe over of all the panels with goo-gone( a common household solvent) and soap and water. After I was satisfied with the clean, I sanded with 100, 150, 220, 320 and finally 400. It felt pretty smooth. I washed it down with smelly mineral spirits and then let it dry for 45 minutes. Since I had quite a bit of filler,I then rolled on a layer of rustoleum, clean metal primer (white colored stuff). I rolled it on with a 9" roller for some odd reason, it was just what I had around and it had a black foam cover thing on it. This was ultimately not the best idea as it gave it quite a bit of texture and was hard to maneuver. However, I saw no drips and the orange peel was very easy to deal with. I was satisfied with my result even though several places I had accidentally sanded down to bear metal when sanding down some more bondo I had put over the primer and then covered with rattlecan filler primer. So yesterday, I had cleaned the car and whipped down my panels with odor MS. Letting these dry for roughly half an hour, I mixed my rustoleum black *came in a quart* with mineral spirits till it seemed to be about the thickness of water *It ended up being about 60% mineral spirits*. I then rolled it onto my car with a 4 inch high-density roller. Instantly, I noticed a TON of bubbles which I needed to blow on very very hard to pop. So I tried chasing it with a 3" black foam brush. First thing I noticed were brush marks from the brush, it seemed to push the paint around too much and the primer underneath was exposed. It looked bad. So I decided not to chase it and see if I could just pop these bubbles with my roller, just rolling back over them with my roller. The roller seemed to even the paint out a bit but still left plenty of bubbles. This annoys me like crazy but I figured the bubbles would pop and self level. Well they did pop, but they seemed to leave thicker spots of paint around them so now it looks very blotchy. I also noticed I have tons of runs. In sanding out the runs and bubbles, I wetsanded with 400 grit like I did on the primer coat. This seems to cut quickly through the paint around the imperfections. it took a long time to get through the drips and bubbles and often cut straight through to the factory paint. I was using a block for most of this sanding. Also, the paint is not very even at all but seems to be alot better on verticle panels like my rear fenders rather than the hood lid. Any suggestions? I'm thinking thicker paint, any other ideas? Thanks for the help!
|
|
|
Re: New Paint job on a budget thread Part III
#38987
09/07/09 03:45 PM
09/07/09 03:45 PM
|
Joined: Jan 2003
Posts: 12,405
Southern, Ca.
69DartGT
OP
moparts member
|
OP
moparts member
Joined: Jan 2003
Posts: 12,405
Southern, Ca.
|
Quote:
Another q. I don't have a garage, so I'm doing this outdoors. It's supposed to thunder storm later today. Should I put a tarp over the coat I put down earlier today? (coat #4)
I did mine in the driveway, each morning I'd wet the driveway down to keep the dust down, had rain one night so I just wiped it down, tack rag and rolled another coat on.
|
|
|
Re: New Paint job on a budget thread Part III
[Re: 69DartGT]
#38988
09/07/09 05:36 PM
09/07/09 05:36 PM
|
Anonymous
Unregistered
|
Anonymous
Unregistered
|
Paint/spirits ratio is a moving target based on humidity and temperature. Just guessing I'd say you've got too much paint on the roller. You're not looking for coverage but rather super thin translucent coats. Can take 6 coats or more to get even color and good coverage. Lots of runs is my clue that you're not squeezing enough paint out of the roller before application.
|
|
|
Re: New Paint job on a budget thread Part III
[Re: Peckinpah]
#38992
09/07/09 08:06 PM
09/07/09 08:06 PM
|
Joined: Sep 2009
Posts: 66
NY
joeshmo
member
|
member
Joined: Sep 2009
Posts: 66
NY
|
Quote:
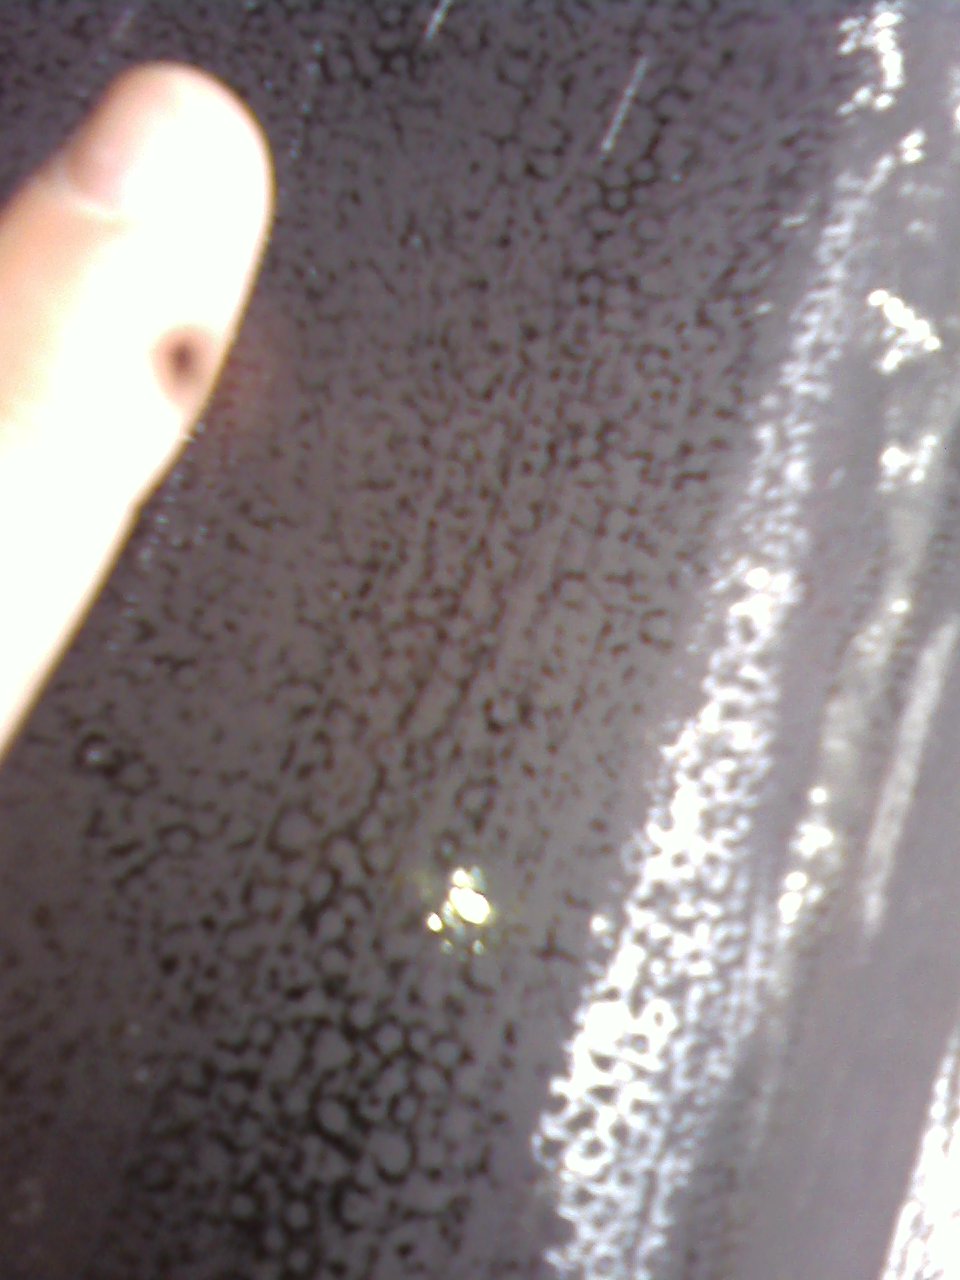
Are you sure you wanna use black? That color is the most unforgiving there is. If you have any imperfections, they're gonna really stand out.
You paint looks like it's going on similar to how mine did:
Yeah, I noticed that. I'm thinking about using some engine degreaser on the other half of my car before starting the sanding. I have a feeling it may be from turtle wax applied recently. Or the large amount of soap in my water I washed the car with. But I have to go for black, its the OEM color and I have to change my title and registration and insurance if I paint it and I don't wanna go through the trouble.
|
|
|
|
|


