|
 1st coat primer
[Re: v8mirage]
#38054
1st coat primer
[Re: v8mirage]
#38054
03/23/08 11:09 AM
03/23/08 11:09 AM
|
Anonymous
Unregistered
|
Anonymous
Unregistered
|
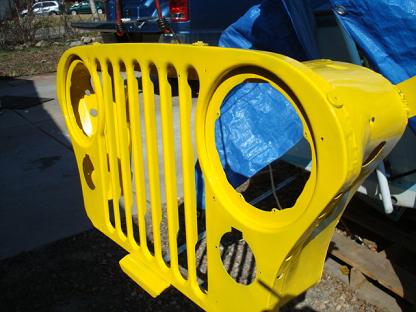
Well getting started... I sprayed the grill with one of the baby bottle things from home depot.. Not looking too bad so far...
Started the primer on hood, fenders, and door's..
The primer is tractor primer from NAPA.. Im getting some peel look... But I figured and know will need alot of wet sanding before apply color.
I wont the primer to be thick... Going over high spots and edgdes with more coats..
? Primer and mineral spirits.. To help lesson the peel would I be better off thinning it way down? If so would I need more coats of primer to achieve thickness!
Heres some pics... I also mixed a little yellow with the bottom hood and fender... Dont really think its going to make a diffrence in helping coverage down the road... Or should I add more yellow to primer... I did notice the mixed prime and yellow scratches easy than just plain primer... Is that a concern?
And again sorry dont know how to just add a fresh post to this thread with out high jacking and starting from someone elses post ?
|
|
|
Re: 1st coat primer
#38055
03/23/08 11:16 AM
03/23/08 11:16 AM
|
Anonymous
Unregistered
|
Anonymous
Unregistered
|
|
|
|
Re: pic of hood
#38056
03/23/08 11:20 AM
03/23/08 11:20 AM
|
Anonymous
Unregistered
|
Anonymous
Unregistered
|
|
|
|
Re: New how to paint your car on a budget with a roller
#38057
03/23/08 12:04 PM
03/23/08 12:04 PM
|
Joined: Jan 2008
Posts: 377
Michigan Troll
blk00rt

enthusiast
|
enthusiast
Joined: Jan 2008
Posts: 377
Michigan Troll
|
while I am about two weeks off from trying the rolling method. My question is has anyone tried to spray the door jams and such. If so how much did you thin the paint. I am thinking 4:1 for Rustoleum but am worried that might be the wrong mix.
Thanks
Rob Dunn
1976 Dart Sport 360
2000 dakota RT 408 with 150 nitrous
2013 Dodge Ram 1500 Hemi
2009 Jeep Patriot
|
|
|
Re: New how to paint your car on a budget with a roller
[Re: blk00rt]
#38058
03/23/08 01:10 PM
03/23/08 01:10 PM
|
Joined: May 2006
Posts: 575
Canada
Marq
mopar addict
|
mopar addict
Joined: May 2006
Posts: 575
Canada
|
Quote:
while I am about two weeks off from trying the rolling method. My question is has anyone tried to spray the door jams and such. If so how much did you thin the paint. I am thinking 4:1 for Rustoleum but am worried that might be the wrong mix.
Thanks
I sprayed the door jams, underside of the hood and underside of the trunk lid using the matching color in the Rustoleum spray bomb. No need to foul up a spraying machine to do those areas when the spray bomb in the matching color works excellent ( and no need for thinning ).
.
|
|
|
Re: New how to paint your car on a budget with a roller
[Re: Marq]
#38059
03/23/08 02:22 PM
03/23/08 02:22 PM
|
Joined: Jan 2008
Posts: 377
Michigan Troll
blk00rt
enthusiast
|
enthusiast
Joined: Jan 2008
Posts: 377
Michigan Troll
|
thanks Ill be buying some spray paint then...probably what 4 cans or so?
Rob Dunn
1976 Dart Sport 360
2000 dakota RT 408 with 150 nitrous
2013 Dodge Ram 1500 Hemi
2009 Jeep Patriot
|
|
|
Re: Am I doing something wrong?
[Re: Marq]
#38060
03/23/08 06:51 PM
03/23/08 06:51 PM
|
Anonymous
Unregistered
|
Anonymous
Unregistered
|
Quote:
Quote:
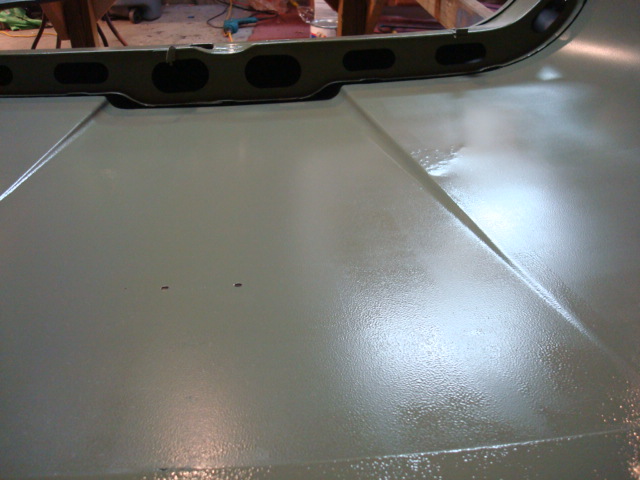
So yea, like I said before, ive burned through a couple of spots before. its only really noticible while the hood is wet. But when its dry, you can barely tell.
The whole secret to the wet sanding is that the sand paper should have hardly any pressure applied while doing the wet sanding.
What I did to wet sand was buy one of those foamie kneeling pads that gardeners use to get down on their knees and work in their garden. It is a dense foam, usually about 1" to 1 1/2" thick. ( Actually I simply stole the one my wife had bought to work in the garden ). I cut a 4" x 8" chunk out of this knee pad and I would wrap my wet sanding paper around it.
Next. I would take a bucket and shoot about 1 tablespoon of Sunlight liquid dish detergent into the bucket and then add water.
I would next take my foam wrapped with 800 grit wet sanding paper and let it soak in the bucket for a minute or two.
Ok.. so at this point I have a nicely soaked wet sanding paper. I would then take my hose and put the nozzle to a fine mist. I would give the painted surface an initial wetting to get the surface generally wet.
With one hand I would begin wet sanding, while with the other hand I kept the nozzle and the fine mist of water spraying the area that I was wet sanding. This kept the surface I was working on constantly wetted.
NOW... this is the most important thing... the wet sanding should be like a hovercraft on that wetted surface. You should not be really applying much if any pressure to your sanding block. The whole idea of the wet sanding process is to simply skim over the surface letting the sand paper nick off any high points in the overall surface.
The reason I was using a 4 x 8 surface to wrap my sandpaper is to distribute evenly and over a wider surface the sanding process. This lessens the chances of too much of a concentration of sanding on one spot.
Now the only deviation in this process is when you are working on the edges ( whether they are the outer edges of the panel you are working on, or maybe even the edges of any shapes that have been stamped into the metal or fiberglass surface ). At those spots you really do have to lighten up even more and use as little pressure as possible. The high point of the edge will always want to sand down faster then the lower surfaces around it. So just back down on the pressure being applied there.
Ok... so once I have gone over the entire surface I then turn the hose loose at maximum spray and blast the entire surface. The whole point at this point is to try to fully remove any artifacts or 'mud' ( the wet sanded paint that was loosened and mixed with the detergent ).
Hopefully after a good blasting of water during this 'rinse' cycle, there are no contaminants left of the freshly wet sanded surface. I then let it dry thoroughly.
Ok... I should mention at this point, hopefully the water you are spraying the car with does not contain high mineral content or heavy amounts of chlorine ( like some well waters or heavy type waters where you have to use water softeners in it ). If you are stuck in that unfortunate situation, hopefully the next stage will level the playing field for you. The following also applies to those of you who have normal water as well.
Ok... assuming the surface is now thoroughly dried, it is time to take a clean cottony cloth rag ( preferably white ) and pour some mineral spirits on to it and get it good and damp. Next ring out the cloth so that it is not soaked... but overall it is wetted lightly. Now... give the entire surface a good wipe down.
This should do two things...
a ) it will remove any leftover artifacts that the rinsing stage did not get. Your white wiping cloth may show some color being picked up.
b ) it will put a temporary shine on the wet sanded surface. This is kind of cool because you can visually see how that wiped area might look if you had polished and waxed it....
Ok... at this point I would give the surface 30 minutes to an hour to dry and let any of the mineral spirits that were spread on during this wiping stage to fully evaporate.
You could at this point have your paint prepared, rollers at the ready and whatever else you need for adding the next two coats of paint. You could, just prior to applying the next coats run a 'tack' cloth over the surface just to remove any dust, hair, dandruff, bugs or whatever else may have fallen on to the surface during the intervening 30 minutes to an hour.
That is about as sanitized and prepped things are possible. So you should be able to go ahead now and start laying on your next two coats of paint.
PS : That picture of your car hood freshly soaked with water glistened like a mirror. You should be happy. With any bit of luck that is where things will be ending up by the 8th or 10th coat. Water is an invaluable tool at helping us see how things will look at the end of the project.
Marq
Once again another insightful post by marq. I still remember when you posted the pic of your wife on the garden pad. I could of swore I read that you have taken it without her consent. (I do the same )  Did she ever find out? Did she ever find out?
Ive also seen how it important it is that you clean and sanitize the surface prior to painting. I pretty much have that process down and have yet to come across bonding issues with the surface and paint.
The water im using is pretty pure/clean. being in the country, we have a well system. but also have an *expensive* rain bird water filter system. So I can pretty much drink the water that comes out the hose. I actually use a hose to provide water when wet sanding. ill have to try the soap n water technique sometime. seems logical in a way.
I'm going to be busy the next couple days. Ill probably get to work on my project this Tuesday and post pics real soon.
One more thing before I go. I want to give marq a special thanks. Ive learned A LOT not only from the board and member but especially Marq. your always there leaving excellent reading materials (paint layer diagram ftw) and always help everyone out. good lookin out. thnx everyone. 
|
|
|
Re: New how to paint your car on a budget with a roller
[Re: Marq]
#38061
03/23/08 06:55 PM
03/23/08 06:55 PM
|
Anonymous
Unregistered
|
Anonymous
Unregistered
|
Quote:
Quote:
while I am about two weeks off from trying the rolling method. My question is has anyone tried to spray the door jams and such. If so how much did you thin the paint. I am thinking 4:1 for Rustoleum but am worried that might be the wrong mix.
Thanks
I sprayed the door jams, underside of the hood and underside of the trunk lid using the matching color in the Rustoleum spray bomb. No need to foul up a spraying machine to do those areas when the spray bomb in the matching color works excellent ( and no need for thinning ).
.
Same here. I use rustoleum spray bomb also for hard to roll areas. Actually im still practicing spraying the paint on a door handle. Those pics i provided are sprayed, not rolled.
|
|
|
Re: New how to paint your car on a budget with a roller
#38063
03/24/08 12:54 AM
03/24/08 12:54 AM
|
Anonymous
Unregistered
|
Anonymous
Unregistered
|
any tips on spray bombing parts?
I have the rustoleum gloss paint and planned on using it to spray the underside of the hood. The hood is not on the car, so I can position it any way I need to.
Thanks
|
|
|
Re: New how to paint your car on a budget with a roller
#38064
03/24/08 09:58 AM
03/24/08 09:58 AM
|
Joined: May 2006
Posts: 575
Canada
Marq
mopar addict
|
mopar addict
Joined: May 2006
Posts: 575
Canada
|
Quote:
any tips on spray bombing parts?
I have the rustoleum gloss paint and planned on using it to spray the underside of the hood. The hood is not on the car, so I can position it any way I need to.
Thanks
I referenced this topic before for door jams, undersides of hoods and even the underside of trunk lids, but in short, my suggestion is to buy a spray can of brake cleaner.
This sequence HAS to be done before you start painting or priming the body panels. If the part is off the vehicle you can figure out what to do from this sequence..
So what you should do is
a ) take a high pressure hose and spray the surface down to get rid of any loose dirt or debris that is stuck there. IF your door jam or the underside of your hood looks truly crapped up with dirt and stuff... you could take something like a toilet brush and scrub away at the surface while blasting away at the surface with the hose.
b ) next take your spray can of brake cleaner and spray the entire surface. You will have better success IF the previously wetted surface was dry before hitting it with the brake cleaning spray. If you are dealing with the underside of a trunk or hood... then spray that entire underside. If the part is on the vehicle it would pay to spread some plastic sheets on the respective surrounding body panels to minimize overspray on them. If the part is off the vehicle then you don't have to worry about the overspray.
c ) let the brake cleaner spray sit on the surface for about 20 minutes. It will eat away and loosen any oils, waxes, or other crap on the surface that can be loosened by the solvent in the brake cleaning spray. The reason we use brake cleaning spray is that it can eat away most of those things WHILE not leaving behind any residue like an engine cleaning foam would...
d ) ok... after 20 minutes give the entire surface or door jams another rinsing with the hose to rinse away any of the debris loosened by the brake cleaning solvent.
e ) let it the surface dry thoroughly...
f ) you can now bomb the surface or door jams with your paint spray aerosol and there is no reason it should not adhere properly and look like it belongs there.
.
|
|
|
Re: New how to paint your car on a budget with a roller
[Re: Marq]
#38065
03/24/08 06:12 PM
03/24/08 06:12 PM
|
Anonymous
Unregistered
|
Anonymous
Unregistered
|
Quote:
...
c ) let the brake cleaner spray sit on the surface for about 20 minutes. It will eat away and loosen any oils, waxes, or other crap on the surface that can be loosened by the solvent in the brake cleaning spray. The reason we use brake cleaning spray is that it can eat away most of those things WHILE not leaving behind any residue like an engine cleaning foam would...
d ) ok... after 20 minutes give the entire surface or door jams another rinsing with the hose to rinse away any of the debris loosened by the brake cleaning solvent.
...
.
Marq,
Just curious about what sort of brake cleaning spray you're talking about. The aerosol brake cleaner that I have used evaporates really fast. Forget 20 minutes, 60 seconds is more like it.
Just curious. I've never sprayed this stuff on a painted surface (for obvious reasons), so maybe it behaves differently there. Just trying to make sure I'm not missing anything...
-- Dan
|
|
|
Re: New how to paint your car on a budget with a roller
#38066
03/24/08 10:46 PM
03/24/08 10:46 PM
|
Joined: May 2006
Posts: 575
Canada
Marq
mopar addict
|
mopar addict
Joined: May 2006
Posts: 575
Canada
|
[quote Marq, Just curious about what sort of brake cleaning spray you're talking about. The aerosol brake cleaner that I have used evaporates really fast. Forget 20 minutes, 60 seconds is more like it. Just curious. I've never sprayed this stuff on a painted surface (for obvious reasons), so maybe it behaves differently there. Just trying to make sure I'm not missing anything... -- Dan
I am pretty sure we are both talking about the same type of spray bomb brake cleaner. And you are right, it does evaporate pretty quickly and a 20 minute wait may be a bit of an overkill 
The aerosol brake cleaning spray is pretty potent when it lands on fresh paint or fairly recently painted surfaces. It can literally lift the paint or send it into elephantitist ( where the freshly painted surface wrinkles up ). Hehehehe... don't use a dictionary to look up the word elephantitist or you will get a shiver up your backbone
On a fully cured painted surface, like the original manufacturers paint job that you would usually find under a hood, trunk or in a door jam, the brake cleaning spray would 'normally' just eat away any waxes, dirt, dust, oil and other such things that might get sprayed up in the engine compartment.
.
|
|
|
Re: New how to paint your car on a budget with a roller
[Re: Marq]
#38067
03/25/08 02:46 PM
03/25/08 02:46 PM
|
Anonymous
Unregistered
|
Anonymous
Unregistered
|
Guys I'm having a terrible time painting my truck black.... I was going to two tone it blue on top black on bottom but I can't get the black to act right.... I have already paint my truck blue once and it worked out great. And I got the top blue to go on good but the bottom is giving me problems... Orange Peel out this world.. I have thin it as much as you can basically running off the fenders hahaha...
I'm to the point now that I'm going to quit and try a new color if I can't get any better than that.. Maybe a white???? Is it just the color or am I doing something wrong... Mixing it basically 50/50 Rustoelum / Mineral Spirts.... Will white come out better?? Show less orange peel... I have wet sanded and wet sanded.... I just started sanding it all off so that I can just start over...
I see people painting black all the time on here!!! Why can't I get the same results.... I was on about my 4 or 5 coat an it wasn't getting any better so I need a Executive Decision White OR Black!!!!!
|
|
|
Re: New how to paint your car on a budget with a roller
#38069
03/25/08 04:24 PM
03/25/08 04:24 PM
|
Anonymous
Unregistered
|
Anonymous
Unregistered
|
you dont have to go 50/50 its better if you go 35-40% the paint is not really that thick but it cuts down on the saggs and runs. if you go 50/50 you are cutting the paint down a whole lot therefore giving you more runs and sag. i have been doing this alot and i use about 35% thinner and roll all the paint out of the roller and going back over it to work out some of the orange peel with the weight of the roller
|
|
|
Re: New how to paint your car on a budget with a roller
[Re: Blackstone]
#38070
03/25/08 08:23 PM
03/25/08 08:23 PM
|
Anonymous
Unregistered
|
Anonymous
Unregistered
|
Quote:
Several "rollerheads" have reported far greater self-leveling properties using a dash of penetrol.
I agree, when I started using Penetrol the self-leveling was far better.
In fact here is the paint mixture receipe that worked for me, I was using Brightside Black:
375-400ml paint
100ml penetrol
75ml mineral spirits (mineral turps)
This mixture worked perfect as I had a 575ml glass jar that I used for the paint. When the jar was about 33% full (66% used) I added a probably 25ml mineral spirits to overcome any evaporation that had occurred.
Hope this help anyone out there that's painting with the Brightside, but once again you'll have to find the ratio's that work best for you.
|
|
|
Re: New how to paint your car on a budget with a roller
#38072
03/26/08 09:35 AM
03/26/08 09:35 AM
|
Joined: Jun 2007
Posts: 49
Maine
Blackstone
member
|
member
Joined: Jun 2007
Posts: 49
Maine
|
Quote:
you dont have to go 50/50 its better if you go 35-40% the paint is not really that thick but it cuts down on the saggs and runs. if you go 50/50 you are cutting the paint down a whole lot therefore giving you more runs and sag. i have been doing this alot and i use about 35% thinner and roll all the paint out of the roller and going back over it to work out some of the orange peel with the weight of the roller
I think you may be on to something... I'm guessing that we're dealing with verticle panels, where what's percieved as orange peel could actually be sagging paint due to an over-thinned mixture.
I wonder if this mixture would behave differently when rolled onto a horizontal surface???
|
|
|
Re: New how to paint your car on a budget with a roller
[Re: Blackstone]
#38073
03/26/08 02:18 PM
03/26/08 02:18 PM
|
Anonymous
Unregistered
|
Anonymous
Unregistered
|
Hi guys, i too am another long time lurker of this thread and its taken me quite a while to purswade myself to be brave and try this paint job! i found the site from honda-tech.com and im really impressed with the paint jobs i have seen. im going to be painting a honda civic hatchback! just wanted to post some pics and get some reactions from you guys.  Before 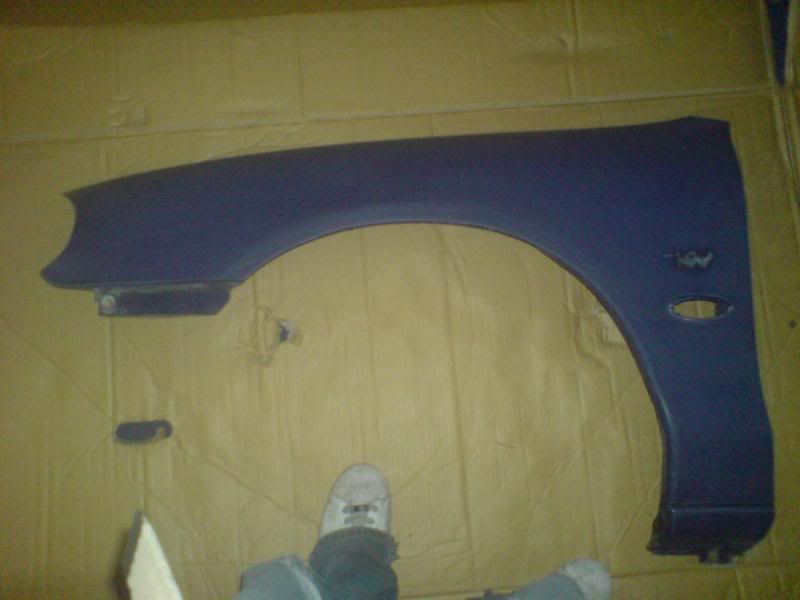 first couple of coats 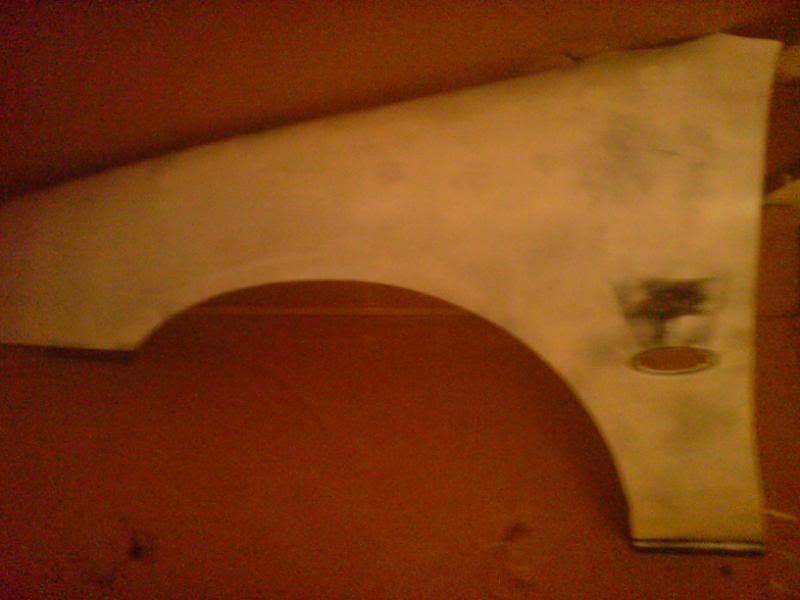 Few more Coats! 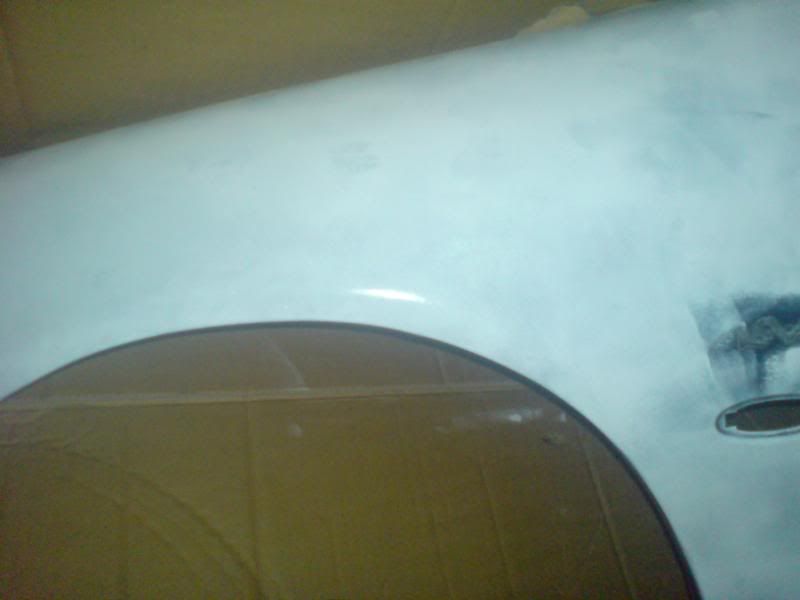 Few more coats! 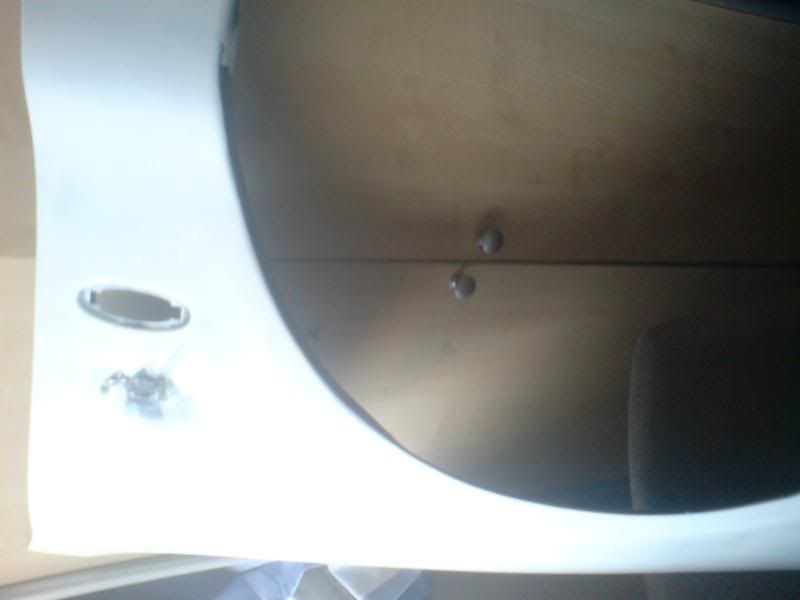 and where i am now. 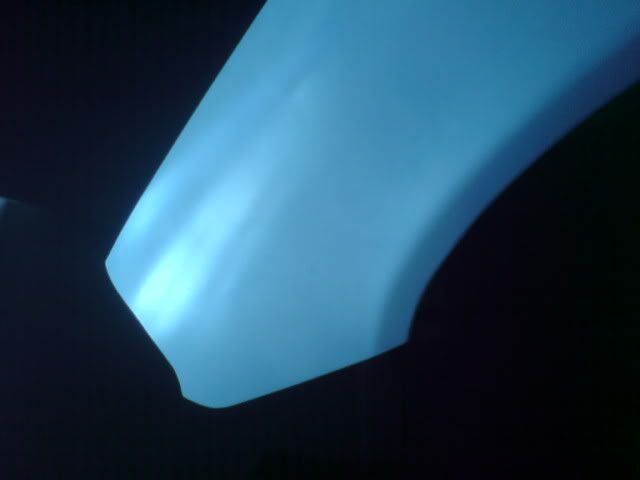 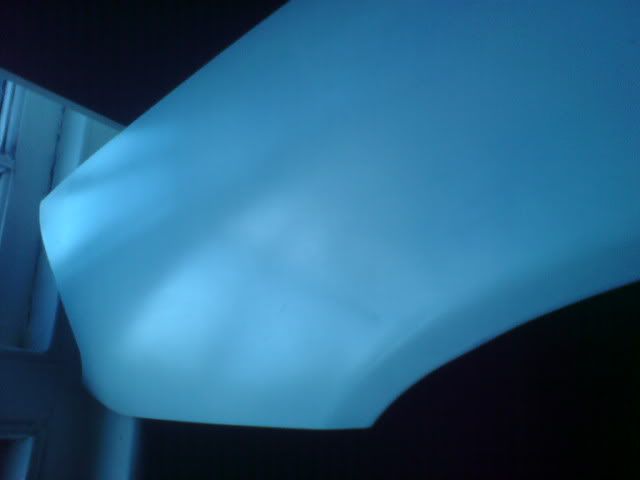 wondering if could get some comments on the test peice. im using brightside snow white. to me it dosent look as glossy as other photos i have seen. those last photos are drying photos taken inside in low light. ive been rolling thin layers sanding loads off and have very little orange peel. just worried about the lack of gloss ive got. ive seen previous users on here saying about the gloss they have got from coat one. but im on coat 12 or so and still dont have much gloss! the color covderage is very slow for me as i was going from navy blue to white. my actual car is red so im going to be using some prekote primer. any critique welcome! thanks guys, scott
|
|
|
|
|


