|
 Re: New Paint job on a budget thread.
#37474
Re: New Paint job on a budget thread.
#37474
09/09/07 07:51 PM
09/09/07 07:51 PM
|
Joined: Jul 2006
Posts: 1,475
Ontario, Canada
78D150CLUB

My avatar is a self portrait!!
|
My avatar is a self portrait!!
Joined: Jul 2006
Posts: 1,475
Ontario, Canada
|
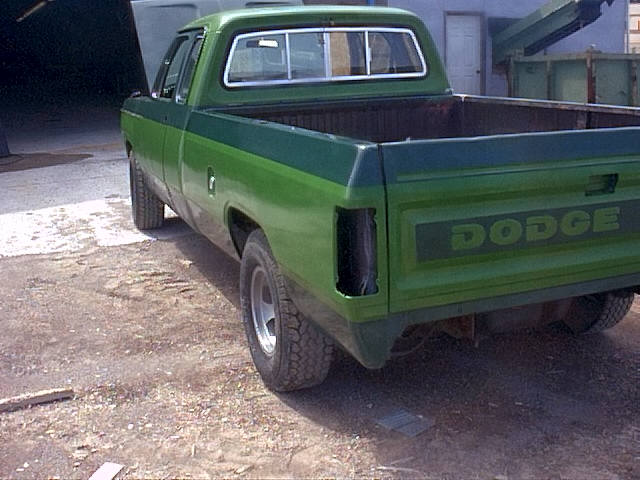
Been a while since I posted on this thread, but I keep checking back to see what's new. I did my 78 a year ago, in 2 tone green, with the dark green base first and then the lighter green. I taped off the panels and simply repeated the process a second time with the lighter color. Removed the tape using a cloth wetted with mineral spirits to soften the adhesive and prevent pulls on the new paint. Once the tape was off, I wiped the panels thoroughly with MS to remove all adhesive and did the final wet sand and polish on the entire panel. Other than removing the tape carefully, it wasn't a big deal. Just a repeat of the original process on a smaller area. The separation line on mine is covered by the trim, but it came out clean and straight. Make sure the tape is pressed down at the edge and there shouldn't be any bleedover at the edge. To do the stripe as your pic shows,I would wetsand the line smooth at the separation and then tape half the strip width on either side of the line. This will cut down on the appearance of a step at the stripe. My  , there are a few others that have done hood stripes and body stripes that have a few pointers as well. Stay safe and good luck with the painting.
I want to die like my Grampa, peacefully, in his sleep. Not screaming in terror like his passengers.
|
|
|
Re: New Paint job on a budget thread.
[Re: Marq]
#37475
09/09/07 08:01 PM
09/09/07 08:01 PM
|
Joined: Jul 2006
Posts: 1,475
Ontario, Canada
78D150CLUB
My avatar is a self portrait!!
|
My avatar is a self portrait!!
Joined: Jul 2006
Posts: 1,475
Ontario, Canada
|
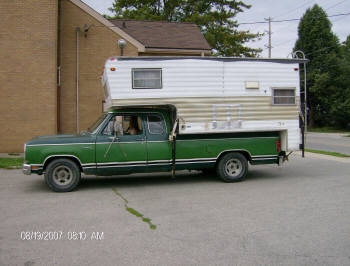
I think tha was me, Marq. It wasn't too hard to add metallic to the process, just an extra step. I used a silver metallic rattle can between the coats and sprayed very lightly from about 2 ft away. Not enough to apply color, but enough to stick the metallic in place. One color coat. light rattle can for metallic, second color coat, wetsand. Lather, rinse and repeat  Didn't turn out perfect, rattle cans tend to spit the occasional glob. It worked out well enough for me, though. This pic is after Moparfest this year with the retirement home on the back.
I want to die like my Grampa, peacefully, in his sleep. Not screaming in terror like his passengers.
|
|
|
Re: New Paint job on a budget thread.
[Re: Marq]
#37476
09/10/07 01:27 AM
09/10/07 01:27 AM
|
Anonymous
Unregistered
|
Anonymous
Unregistered
|
Quote:
The next question would revolve around the type of sealant you are going to lay on it. Some 'sealants' might provide too good a protective outer seal.
If by sealant you meant something like a lovely carnuba wax coating or most natural wax coatings, there would not be this 'trapping' problem - because the waxes don't form enough of a seal to keep the escaping gases from the paint trapped.
Some of the automotive polish/waxes use acrylic or other futuristic compounds to seal the painted surface and to give a shine. Its hard to predict how they may react to the escaping gases from the paint. It may discolor them.. it may cause them to lose adhesion. it may result in no problem.
Thanks Marq! 
The type of sealant I bought is EX Sealant. Is this the kind you'd be concerned about or no since it has carnuba in it?
I also got a bottle of the SSR 2.5 that Aussie recommended for doing the polishing part.
So, what about the dust and small hairs that are stuck in the final coat of paint? Did you just not worry about that stuff while you drove the car around?
If I wetsand them out without polishing, the gloss will be gone. I'm also running out of time as I need to move my bike and can't do that w/o the gas tank hooked back up. It is much easier to paint/polish/seal a gas tank that is not connected to the bike.
Are you recommending that I just suck it up and live with the dirt particles for a little while?
|
|
|
Re: New Paint job on a budget thread.
#37477
09/10/07 12:47 PM
09/10/07 12:47 PM
|
Joined: May 2006
Posts: 575
Canada
Marq
mopar addict
|
mopar addict
Joined: May 2006
Posts: 575
Canada
|
Quote:
So, what about the dust and small hairs that are stuck in the final coat of paint? Did you just not worry about that stuff while you drove the car around?
My theory at the time was to look at what could be the worst case scenario while driving around with just a final layer of paint on the car. Yeah it could get dirty, get some bugs splotched on the front end.. and maybe some road tar from freshly paved roads on the fenders. If that was to be the case I planned to just wash down the car, light sand it and then slap on a fresh final skin. BUT after letting three months of usage with just the final coat of paint protecting the car I didn't have any problems.
Any dirt that got on the car simply washed off. After all the paint was designed to do that job. And since the final outer layer of paint had the glossy protection of itself nothing stuck to the paint during those days of driving around.
When it did come time to go for the final wet sand/ compounding, polishing and then waxing, I had no problems performing it on the now aged paint job.
It worked out as planned.
Quote:
If I wetsand them out without polishing, the gloss will be gone. I'm also running out of time as I need to move my bike and can't do that w/o the gas tank hooked back up. It is much easier to paint/polish/seal a gas tank that is not connected to the bike.
Are you recommending that I just suck it up and live with the dirt particles for a little while?
In this particular case I can see how it would be to your advantage to get the majority of the final wet sanding, compounding, polishing and waxing out of the way while the tank if off the motor bike. It will just be that much easier for you because you will have the luxury of having easy access to all sides of the tank and to rotate it around freely to have a horizontal surface to work on.
And once you get it up to a level you are initially satisfied with... you can slap it back onto the bike and later take your time doing further polishing and waxing to tweak up the shine and gloss.
Dunno... that is the way I would look at that particular set of circumstances...
.
|
|
|
Re: New Paint job on a budget thread.
[Re: Marq]
#37478
09/11/07 11:02 PM
09/11/07 11:02 PM
|
Anonymous
Unregistered
|
Anonymous
Unregistered
|
Thanks Marq! Well, it was decided for me by the time available...as in not much! So, I let it bake in the sun all day today and will put it back on early tomorrow for the move. Thanks again for all the help!
|
|
|
Re: New Paint job on a budget thread.
#37480
09/12/07 08:31 AM
09/12/07 08:31 AM
|
Joined: Mar 2007
Posts: 5,660
Flint, MI
Gusteve
I Love the Unicorn Song!!
|
I Love the Unicorn Song!!
Joined: Mar 2007
Posts: 5,660
Flint, MI
|
Quote:
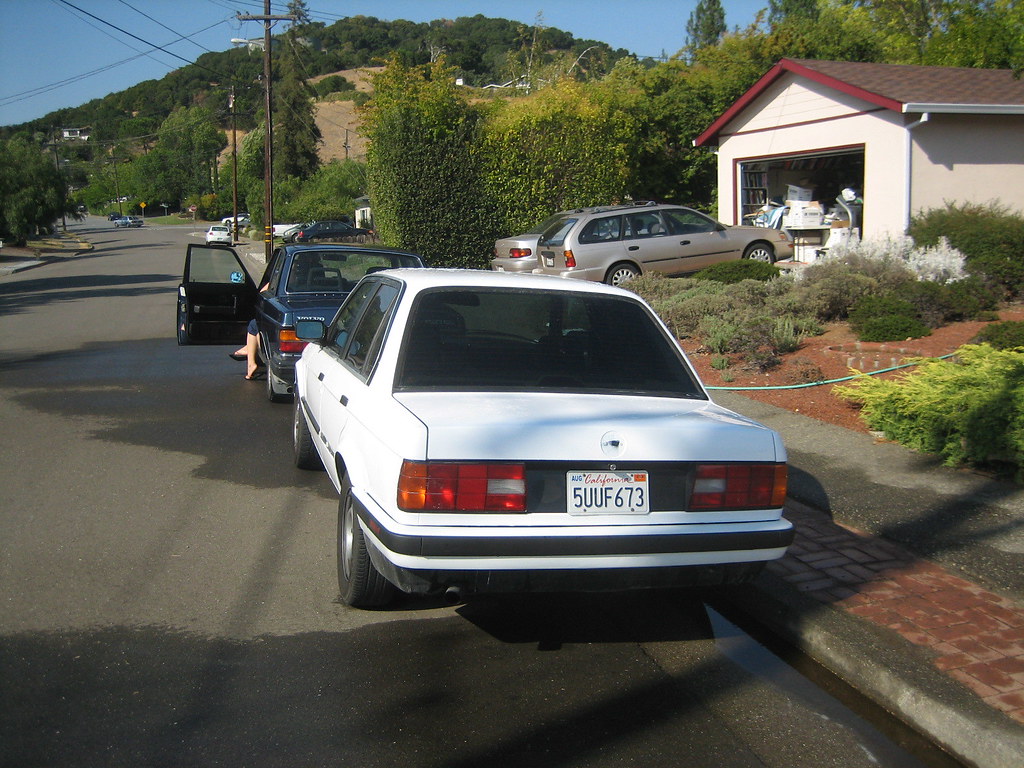
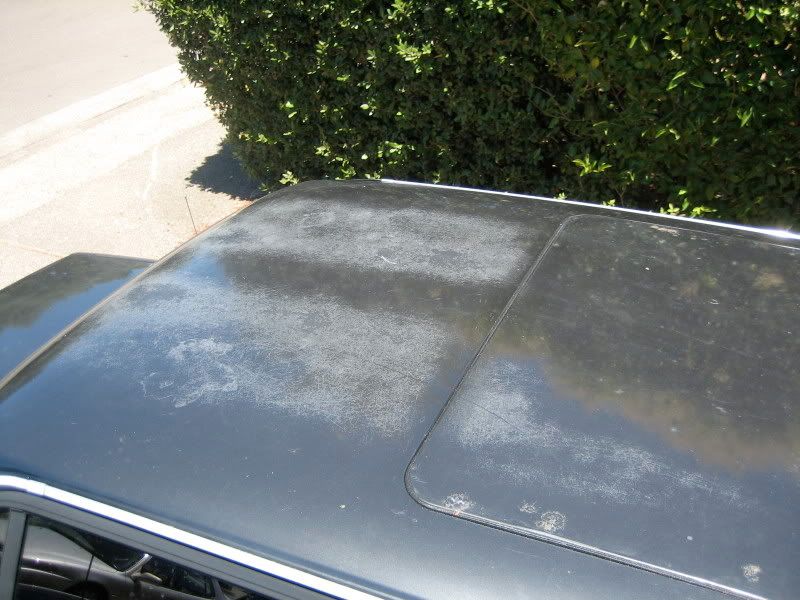
The sunroof was hand sanded and polished with mixed results. At this point I'm not even sure I going to bother with sanding and polishing the rest of the car.
Car looks Great!
I have a question about your comment regarding the sunroof. I'm ready to do my final two coats, and I'm trying to decide whether to switch to brightside, or just stick with rustoleum.
Your comment said "hand sanded and polished" - did you mean "hand sanded, and hand polished"?
Or did you use a machine like a porter cable with the poorboys recipe that Aussie recommended and still have a polishing issue?
I'm really tired of wet-sanding - so I'm hoping that my last two coats go on very smooth and glossy, so I can start polishing. That's kinda why I'm thinking Brightside for my last coat.
|
|
|
Re: New Paint job on a budget thread.
#37482
09/12/07 04:31 PM
09/12/07 04:31 PM
|
Anonymous
Unregistered
|
Anonymous
Unregistered
|
Real quick question...
I'm sanding my car...plan to start painting this weekend. Do you think 220 sandpaper will show sand marks through the paint? I was thinking that all the coats should cover it up pretty well. I have sanded about 1/3 of my car already.
If it creates a problem, I'll make a quick pass with some 320 or 400.
|
|
|
Re: New Paint job on a budget thread.
[Re: Marq]
#37484
09/12/07 07:47 PM
09/12/07 07:47 PM
|
Anonymous
Unregistered
|
Anonymous
Unregistered
|
I second Marq's comments about mmmmmmmmmm smooth surface prep. You can't spend too much time there.
Let me just add that paint "shrinks" in thickness as it hardens.
Soooo initially it can look like you "covered up" those scratches. Once cured, however, the scratches can magically re-appear as the paint dries down in those valleys Marq was talking about.
That is why you always sell an Maaco car right after it is painted. There is no telling what surprises await you when it cures...
|
|
|
Re: New Paint job on a budget thread.
#37485
09/12/07 10:30 PM
09/12/07 10:30 PM
|
Anonymous
Unregistered
|
Anonymous
Unregistered
|
Thx for posting that visual, Marq...I remember seeing it before, but I forgot. I guess trying to catch up from Post #1 is a little overwhelming, but it is worth it!
My car actually had good paint on it less some dings and some minor clear coat chips. I've roughed it up with 220, I'll get 400 next. I'll probably paint after 400...seems to me like it would be smooth enough and provide a good amount for the new paint to bite into.
My Top secret TS-100 (white) and TS-101 thinner arrived today. I plan on having at least 2 coats on my car by sunday. I'll post progress pics afterward!
ALSO, I have been wetsanding with a nice foam pad that is made specifically for wetsanding. After getting halfway done sanding with 220, I noticed something ironic...This particular pad is called "Roller Block"! and the slogan "wrap it and roll".
I thought that was hilarious. For anyone interested, it is made by Motor Gaurd corporation. It works really well.
|
|
|
Re: New Paint job on a budget thread.
#37486
09/14/07 08:52 PM
09/14/07 08:52 PM
|
Anonymous
Unregistered
|
Anonymous
Unregistered
|
OK...I have began painting with the TS-100.
Keep in mind I have practiced with rustoleum and was able to roll it with no problems whatsoever.
When I first held the paint can, I shook it slightly to get an idea on how thin the paint is. I could tell right away that is was very thick (solid content is ~65%). Much thicker than rustoleum. I worried about thinning it so much. If you get this paint, you'll definitely need lots of thinner. I'm going to experiment with mineral spirits to see if it is a viable option. The TS-101 thinner evaporates a little faster than I would like.
I applied the paint 4 different ways:
1. Straight from the can. I would not recommend this. It isnt hard to pop the bubbles, but it results in bad orange peel.
2. Thinned ~30%. It went on smoother, but it still left some pronounced orange peel.
3. Thinned ~50%-60% (thin coat). Went on a little smoother, but I noticed it started leveling much better. Even though it was a thin coat, it covered the paint very well!
4. Thinned ~50-60%(thick coat). This would not be possible on a vertical surface because of runs, but on a horizontal surface it worked great. 1st coat was virtually complete coverage and it levels quite well. There is some slight orange peel, but nothing a little wetsanding wont take care of.
The shine is excellent thus far. I would say it is definitely glossier than rustoleum. I have not tried brightside, so I cant compare the two.
I am out of batteries right now so pics will have to wait til tomorrow.
|
|
|
Re: New Paint job on a budget thread.
#37487
09/14/07 10:59 PM
09/14/07 10:59 PM
|
Anonymous
Unregistered
|
Anonymous
Unregistered
|
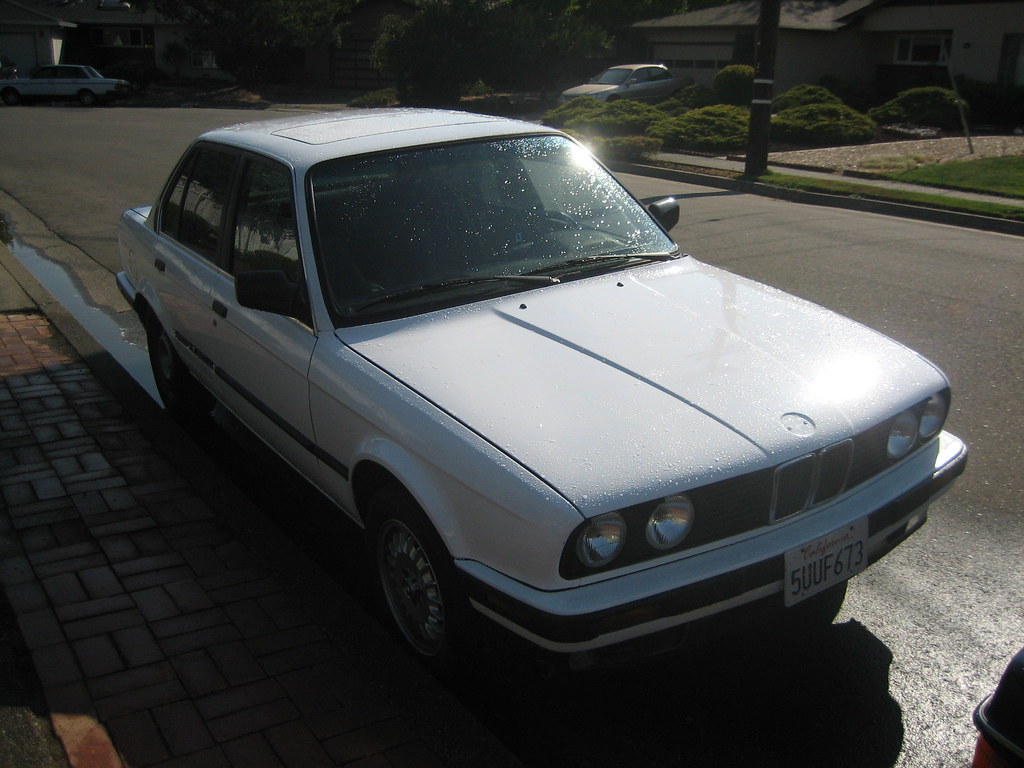
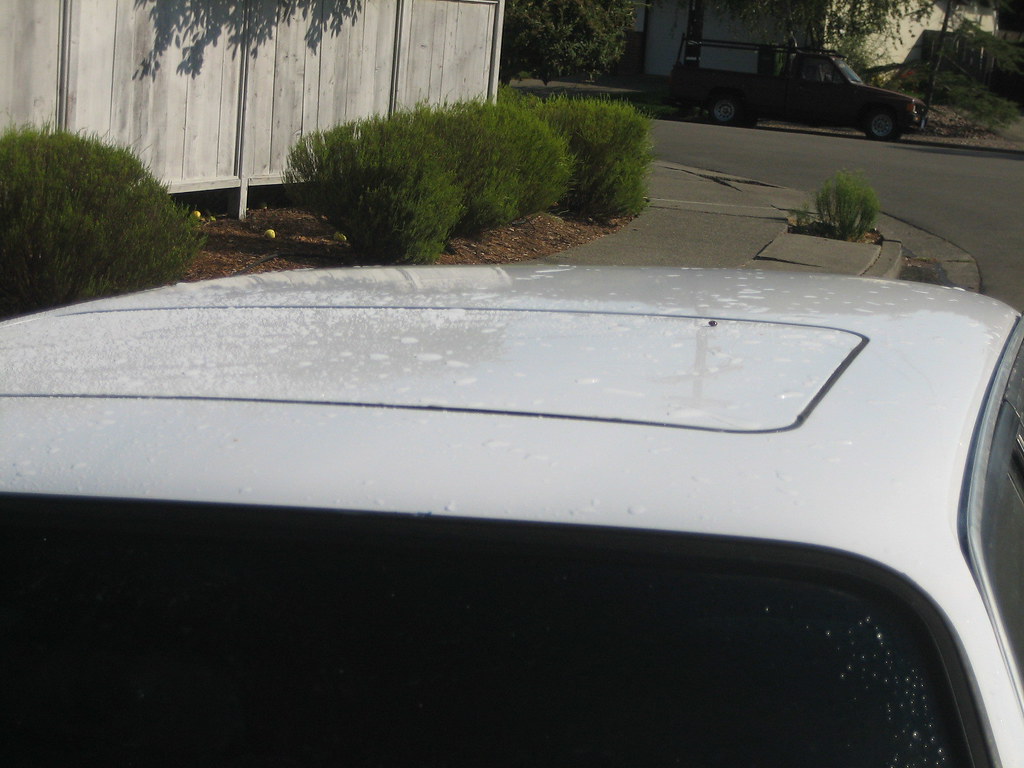
here's a second coat of Brightside: I think I'll do one more tomorrow, this is looking very good Now ! 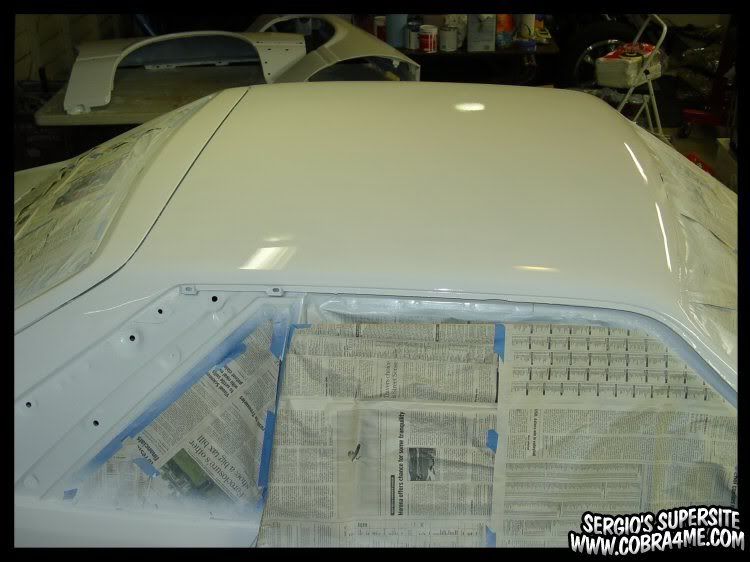 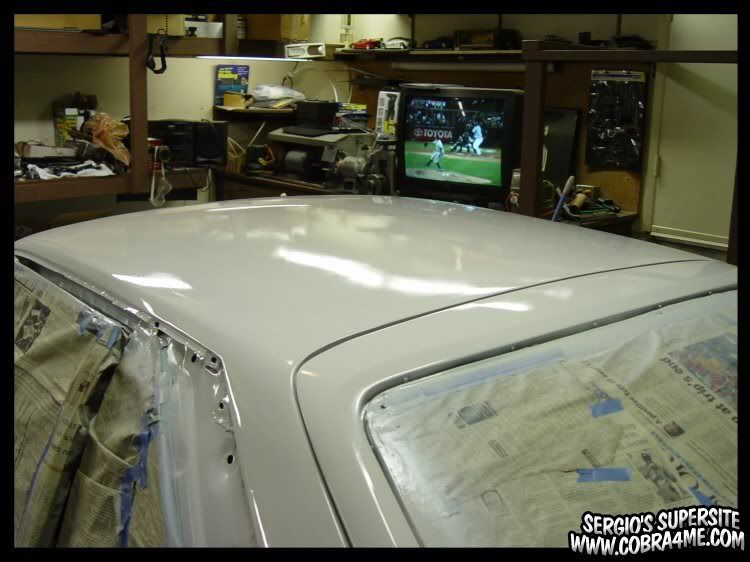
|
|
|
Re: New Paint job on a budget thread.
#37488
09/16/07 10:42 AM
09/16/07 10:42 AM
|
Anonymous
Unregistered
|
Anonymous
Unregistered
|
Ok....so far I have 2 coats of the topsecret paint on the car. I have some wetsanding to do now....gotta knock down some runs and get out some orange peel.
Honestly, I'm not super impressed by the paint. Yes it looks good, but I was able to get similar results with the rustoleum. I'll probably end up giving Brightside a try. From what I've read, everyone seems to agree that it looks a lot better than rustoleum.
The topsecret paint does give good coverage though. I could probably get my whole car done with 1 quart.
|
|
|
Re: New Paint job on a budget thread.
#37489
09/17/07 04:15 AM
09/17/07 04:15 AM
|
Anonymous
Unregistered
|
Anonymous
Unregistered
|
I tried the roller paint method. It's too much work, and I am not very good at it, so I'm selling my stuff cheap for anyone else who wants to try this adventure. I've got 3 quarts each of 'Gloss White' and 'Sail Blue' Professional Rustoleum. 2 4" Rollers + 8 high density foam refills 14 1" foam brushes. 2 paint trays for 4" or 6" rollers (one tray is used, one is not) Sand papers in 800, and 1000 grit. Email paint001@indolence.net if you desire any of these things. $45 for the whole set shipped, worth it for the paint alone. 
|
|
|
Re: New Paint job on a budget thread.
#37490
09/17/07 03:09 PM
09/17/07 03:09 PM
|
Anonymous
Unregistered
|
Anonymous
Unregistered
|
Quote:
I tried the roller paint method. It's too much work, and I am not very good at it, so I'm selling my stuff cheap for anyone else who wants to try this adventure.
I've got 3 quarts each of 'Gloss White' and 'Sail Blue' Professional Rustoleum.
2 4" Rollers + 8 high density foam refills
14 1" foam brushes.
2 paint trays for 4" or 6" rollers (one tray is used, one is not)
Sand papers in 800, and 1000 grit.
Email paint001@indolence.net if you desire any of these things. $45 for the whole set shipped, worth it for the paint alone.
how much for just the paint?
I'm in SD
|
|
|
Re: New Paint job on a budget thread.
#37491
09/17/07 09:34 PM
09/17/07 09:34 PM
|
Anonymous
Unregistered
|
Anonymous
Unregistered
|
well i rolled on 8 coats of gloss white on my 67 cougar and it looked great but too generic or postal.. i just rolled on 2 coats of satin black and it looks bad to the bone ..sinister  ... ill post some pics tomorrow.. 
|
|
|
Re: New Paint job on a budget thread.
[Re: Jerry]
#37493
09/18/07 01:49 AM
09/18/07 01:49 AM
|
Anonymous
Unregistered
|
Anonymous
Unregistered
|
Hey guys, been following this for a while now. Have started a test piece on the hood of my Toyota Hilux. Im from Australia and we don't have tremclad or rustoleum here so im using, what i think is the equivalent, "Kill Rust". Have finished number 7 coat on the hood and havent even done a final wetsand or polish yet. I am very impressed by the outcome. Need to go and by myself a buffer now and make this baby shine. 
|
|
|
|
|


