Posted By: CDN72SE
1972 Charger SE Project by CDN72SE - 10/20/10 08:38 PM
Hi All, I figured I would record my restoration (it will move slowly) here as I spend a lot of time on the site reading and following others restorations. I am also on the 71-74 site. This is my Y8 1972 Dodge Charger SE Brougham (production date 7-71) that I purchased from Nigel at National Moparts it was a rust-free North Carolina car that was parked due to a bad transmission and brought to Canada. To keep it running and because it was also a 318 car I swapped in my old 318 & TorqueFlite 727 from my first SE and drove it for about 5 years. It was last registered and on the road in 1992. It's traveled with me from place to place waiting for a restoration. I guess it's time to track what I will be doing, I am not a mechanic (or a body guy) but I have enjoyed working on my cars since I was young. I learned a lot early on from not having a lot of money to pay someone else to do the work for me. Funny enough now in my 40s I still don’t have the money.
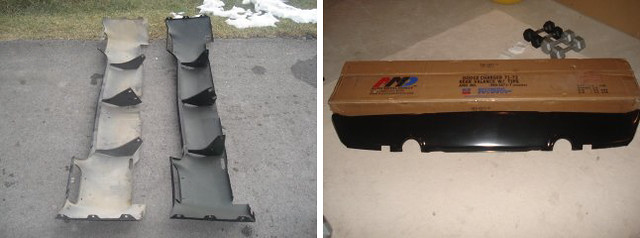
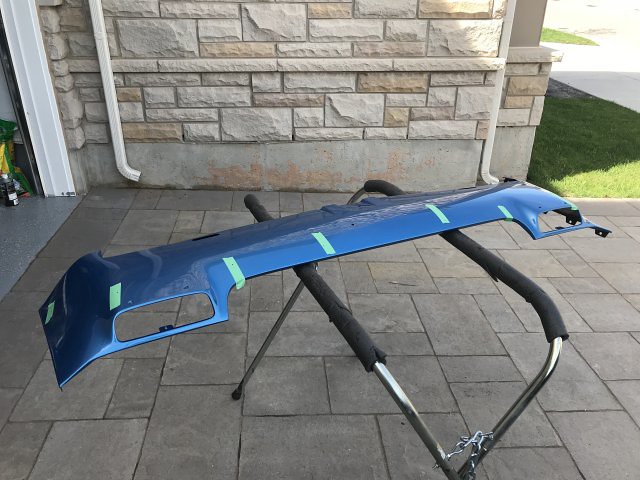
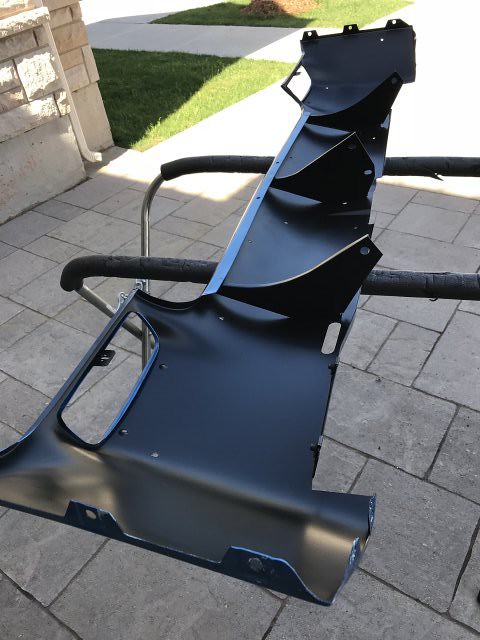
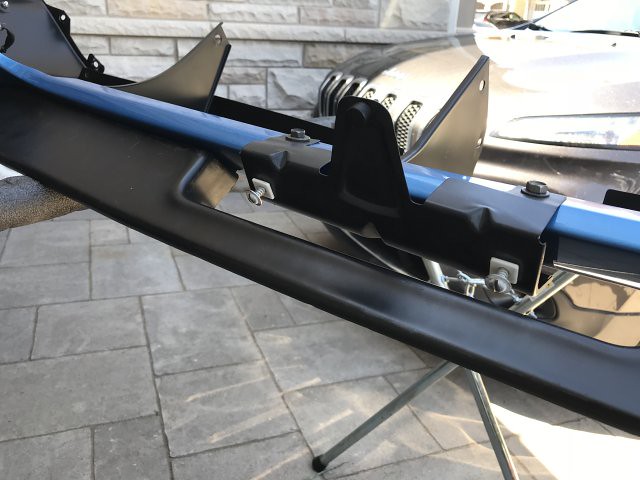
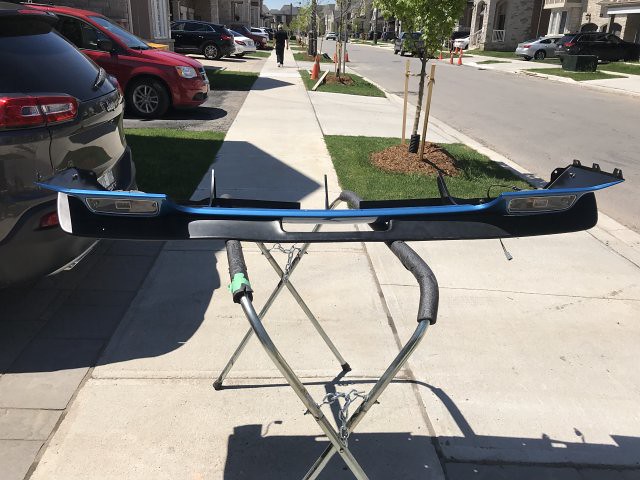
This is basically how I bought it in August of 1992, I put on my Western Turbine rims that I had on my previous SE. It did come with 14" Rallye's which I sold to a guy with a Challenger. Then I bought a set of 15x7 Rallyes from Motor City Originals. Shortly after getting it home I added the Year One front spoiler, I also added the dual cut-out exhaust rear valence from a '74, it was pretty rusted, I cleaned it up and painted it, thought it looked cool even though my exhaust was nowhere near the openings. I never would have thought that 17 years later there would be new ones being produced, thanks AMD.
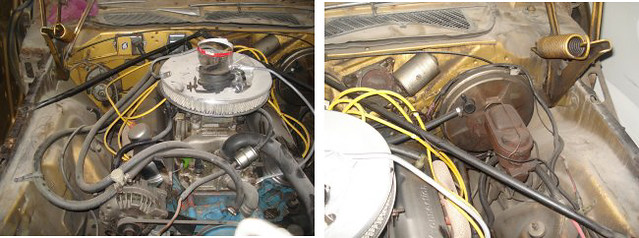
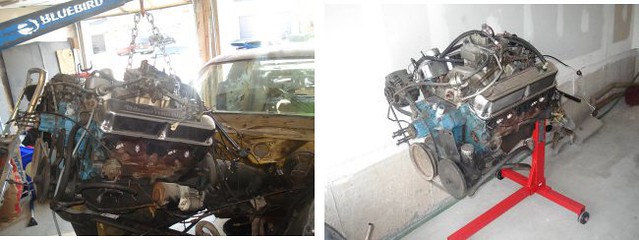
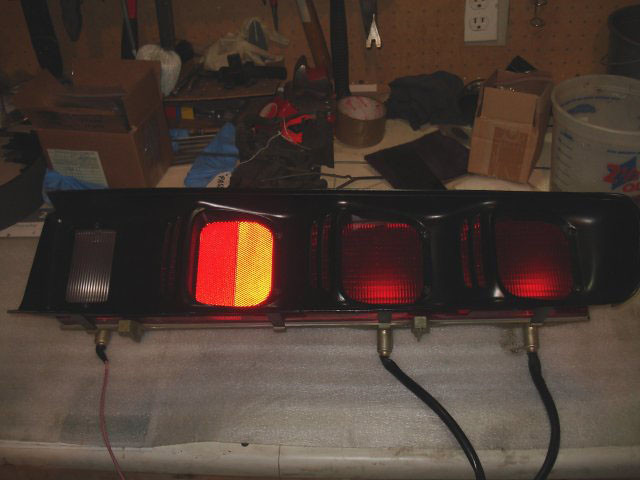
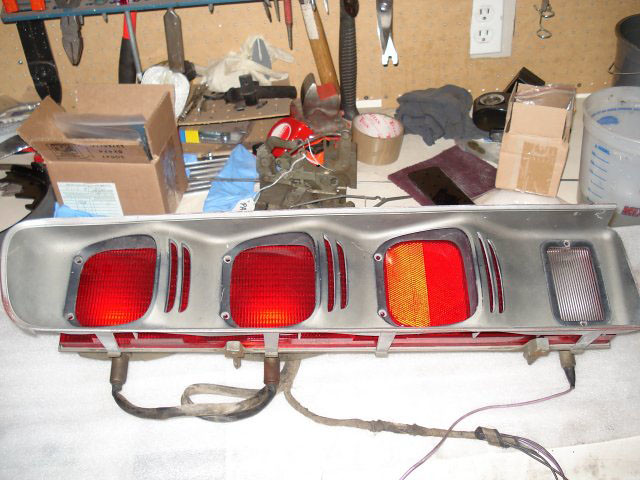
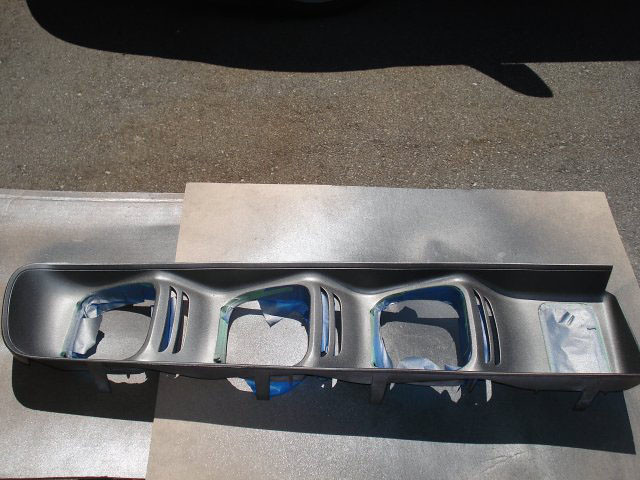
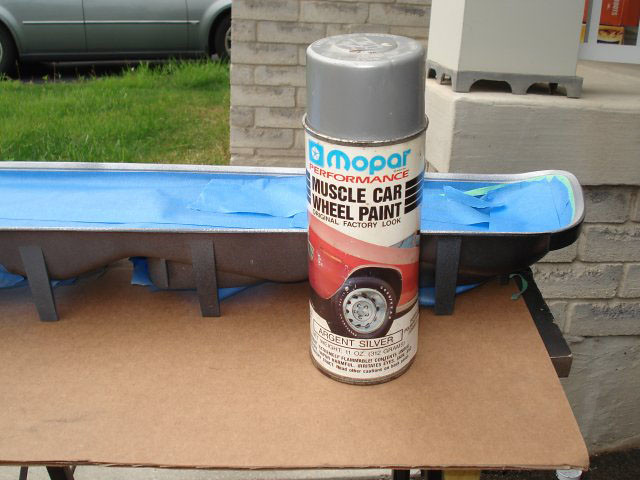
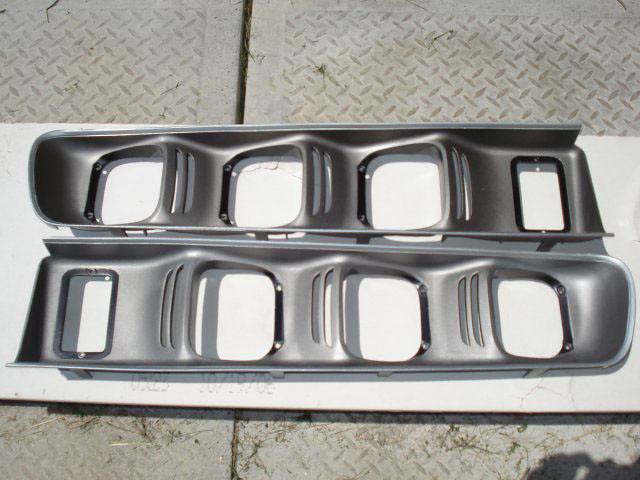
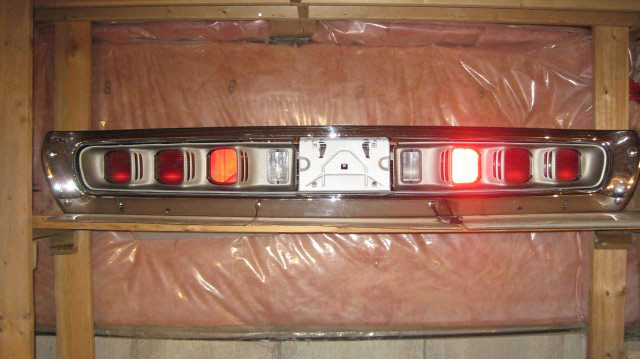
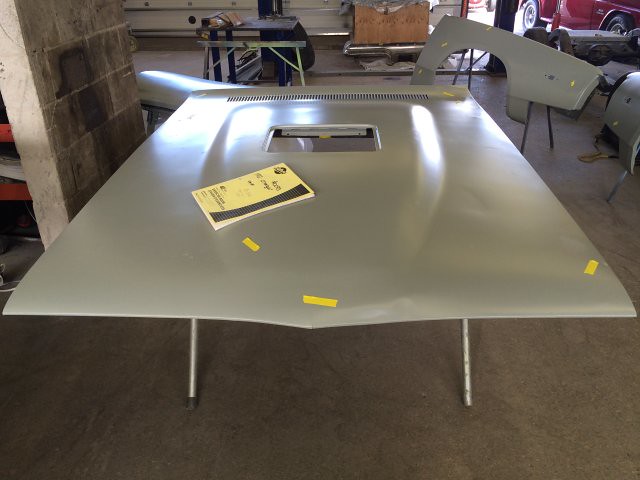
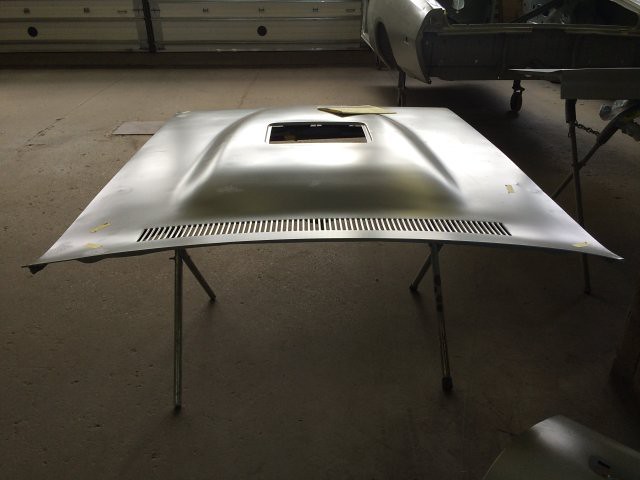
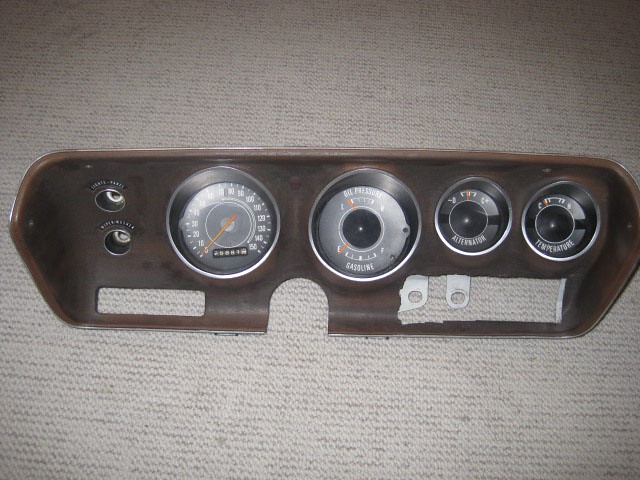
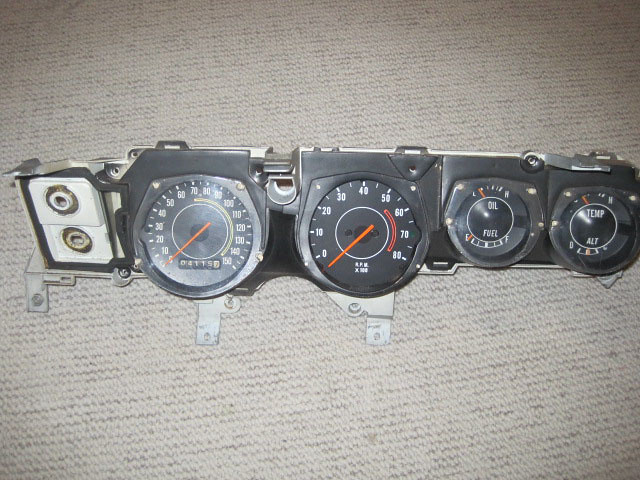
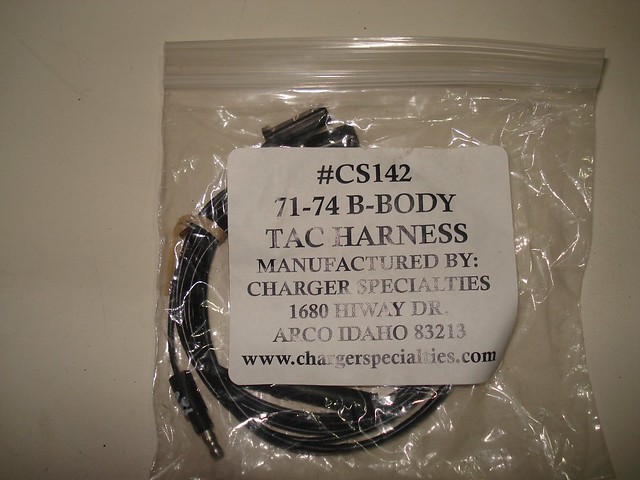
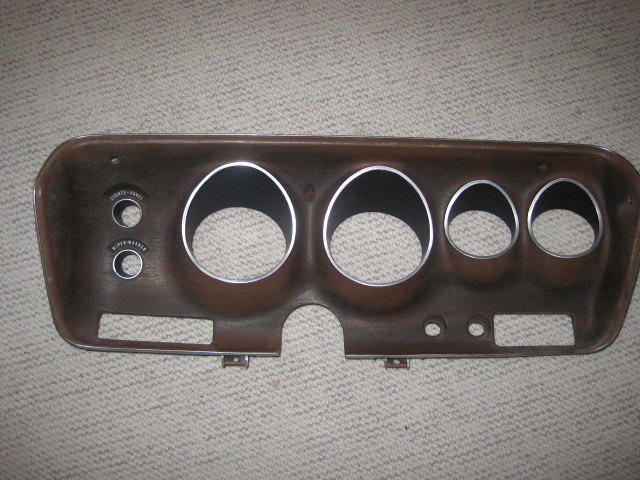
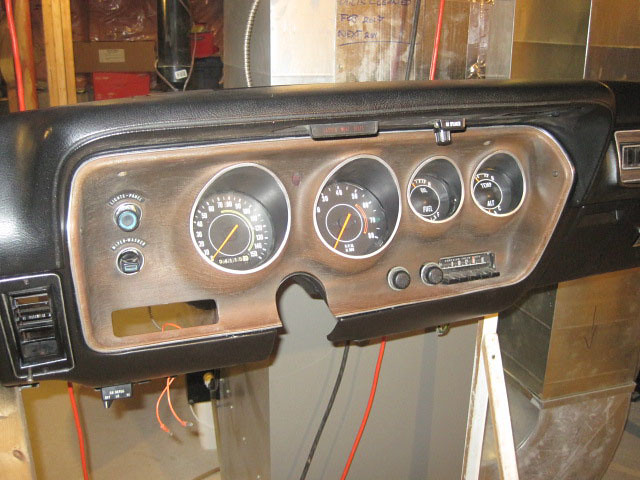
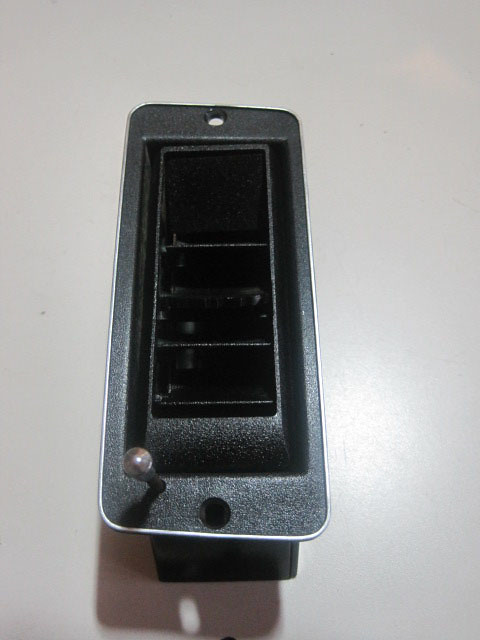
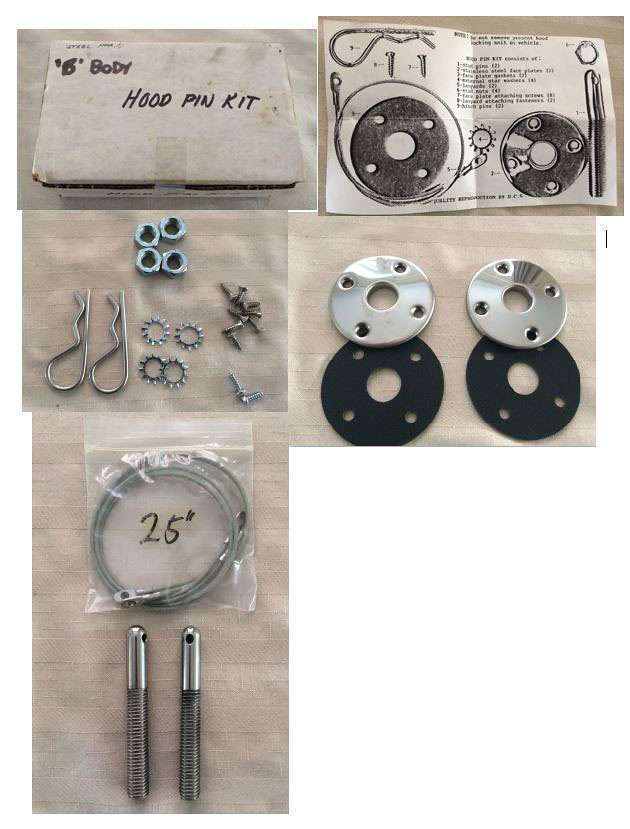
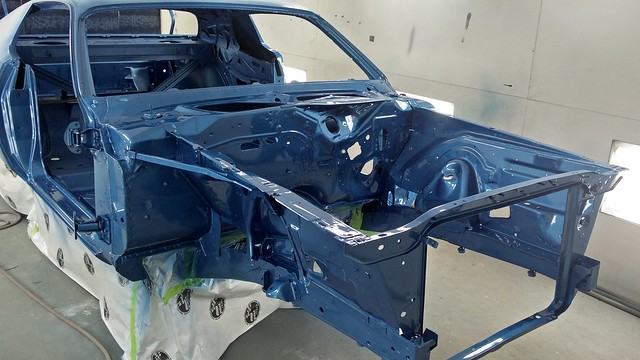
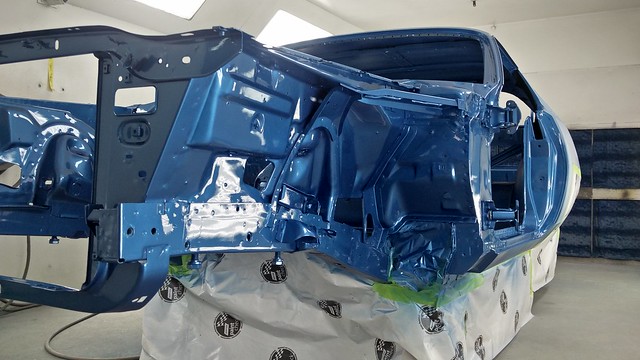
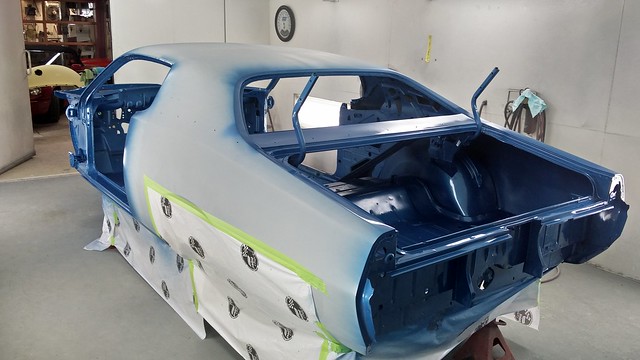
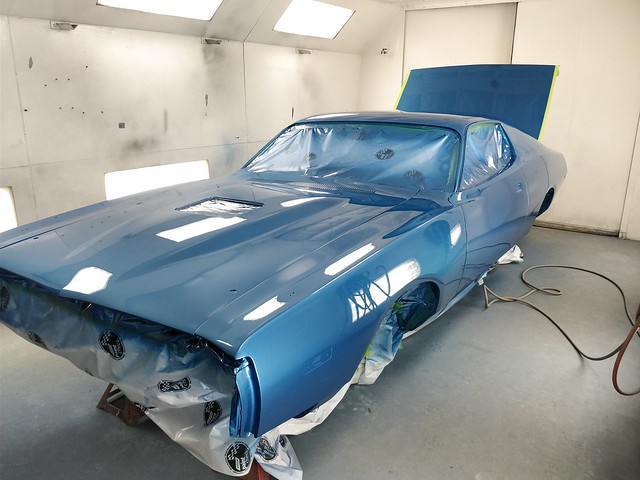
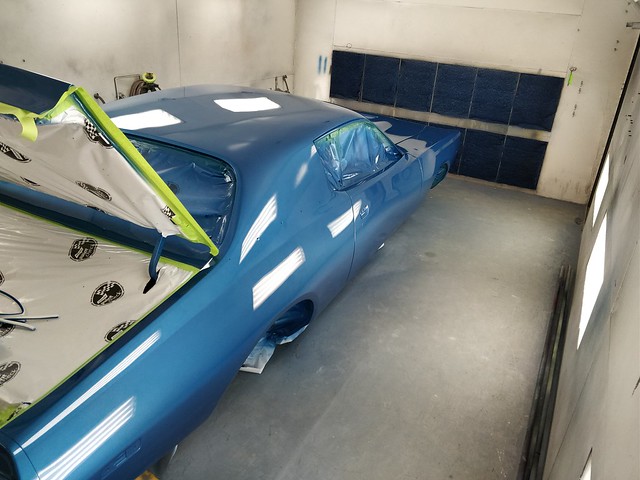
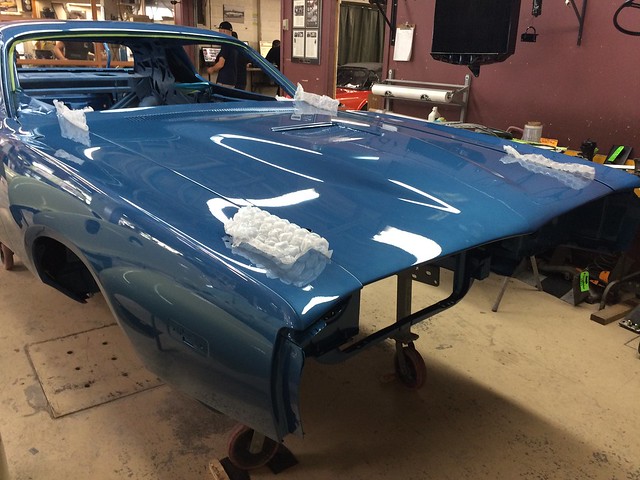
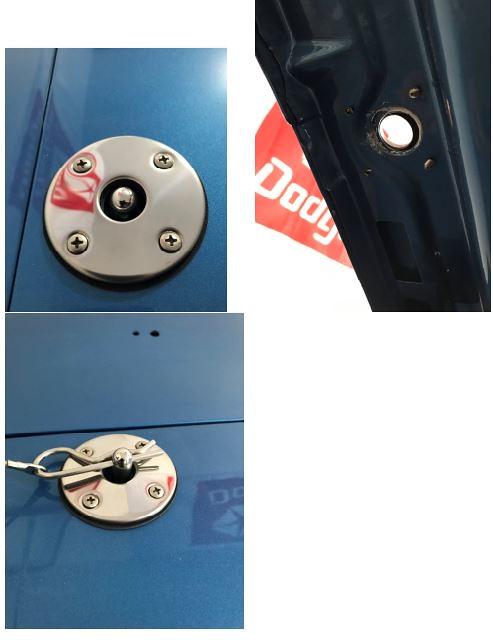
I’m not sure on the colour, I could go original but I probably won’t. I’m just adding the parts to it that I like such as the Ramcharger hood, front & rear spoilers, buckets, console with shifter, R/T taillights, hood pins and a tachometer to replace the clock. As far as the engine I will probably go with a 360.
I'd love to hear any comments or suggestions guys/gals.
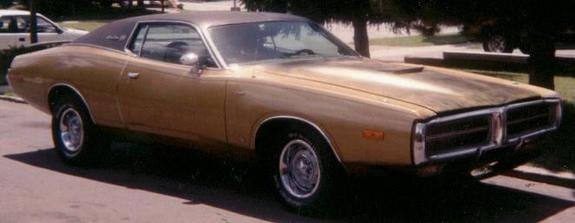
Those are P275/60R15's on the rear and up front P255/60R15's.
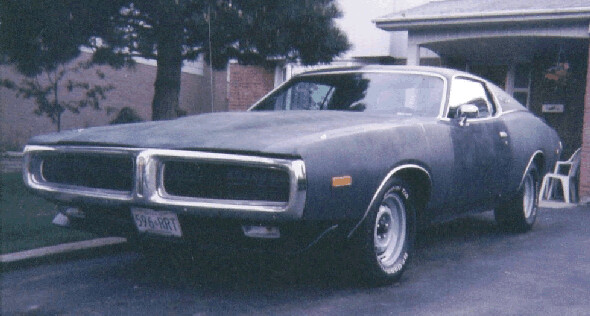
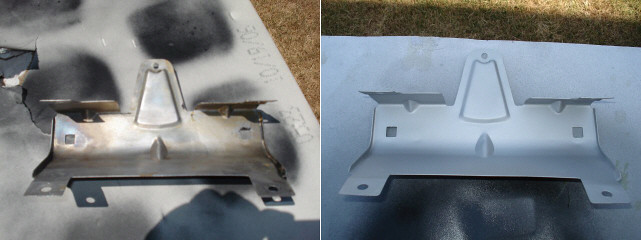
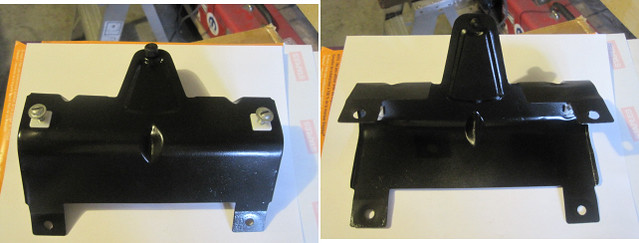
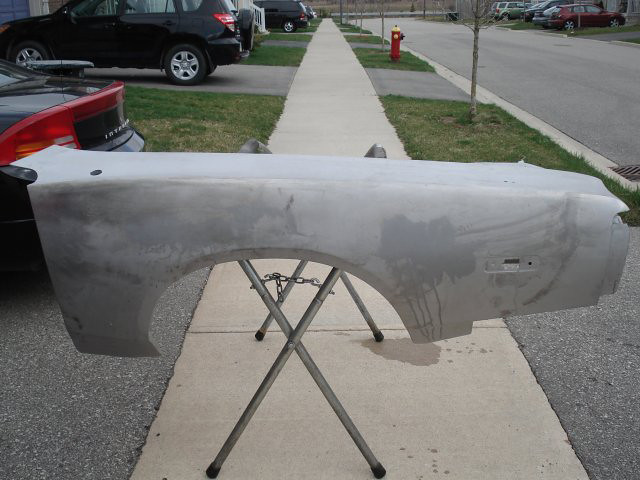
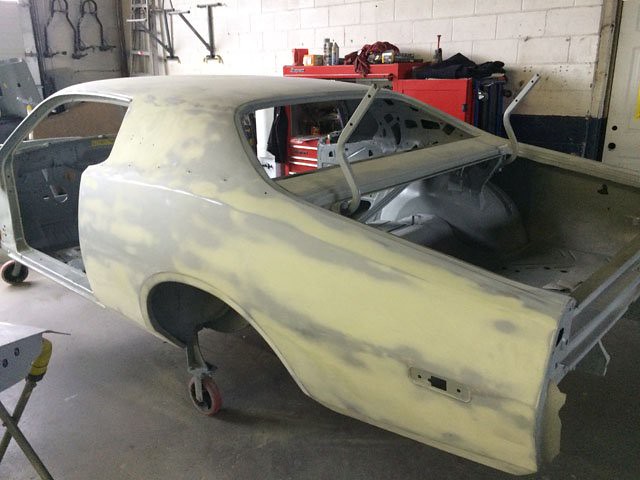
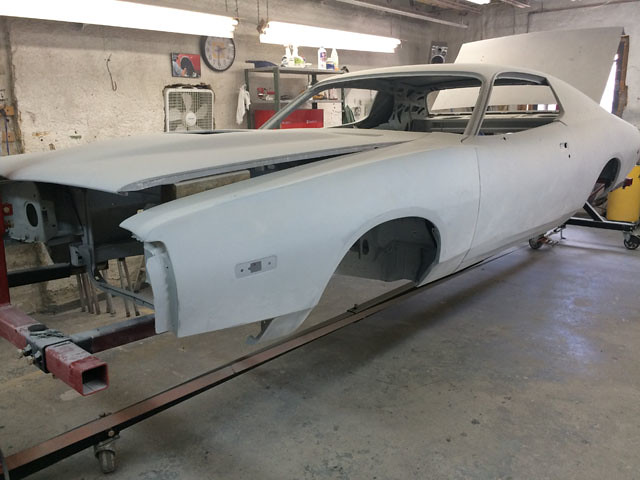
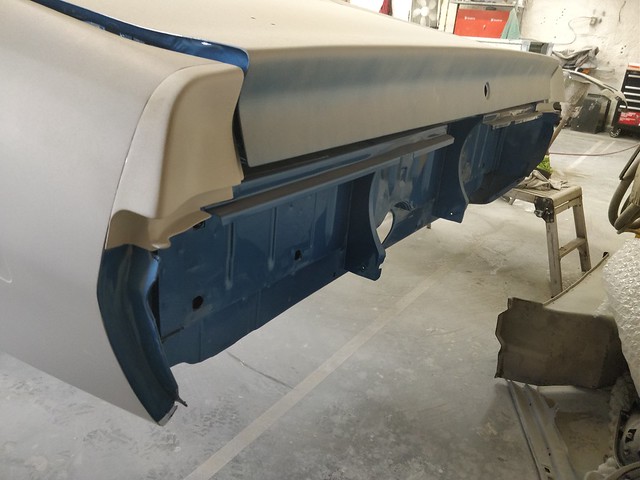
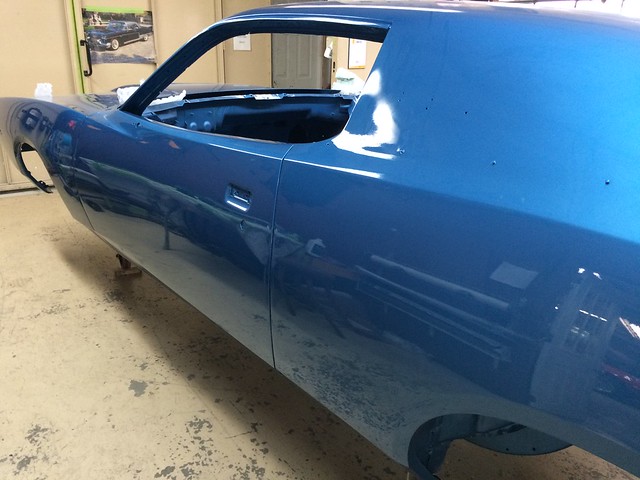
Rattle-can WAL-Mart black primer:
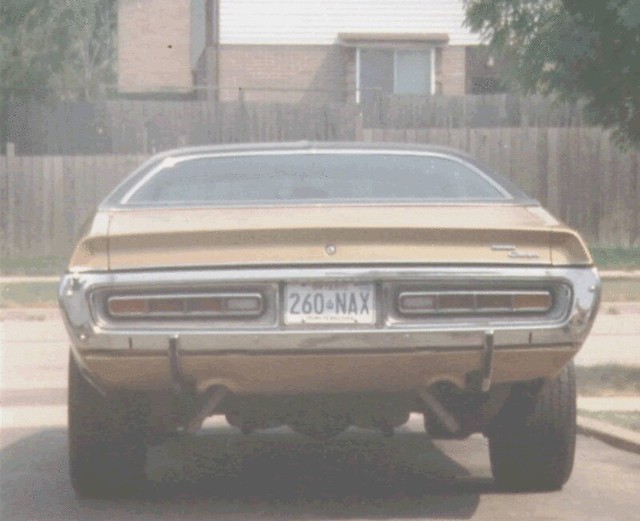
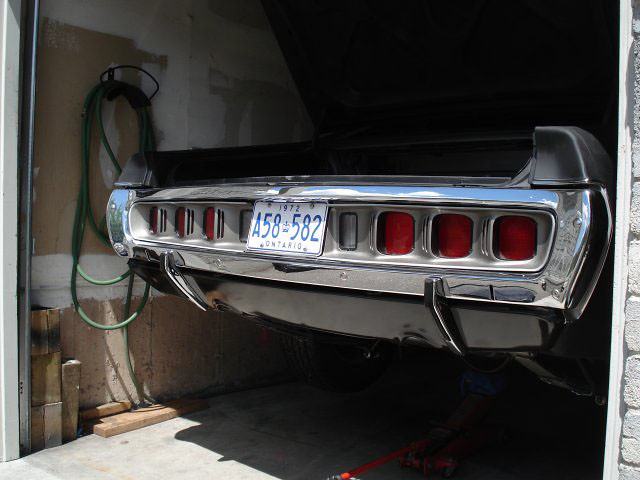
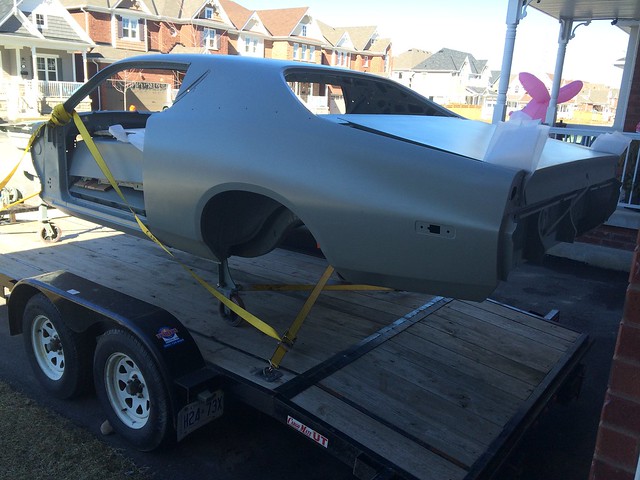
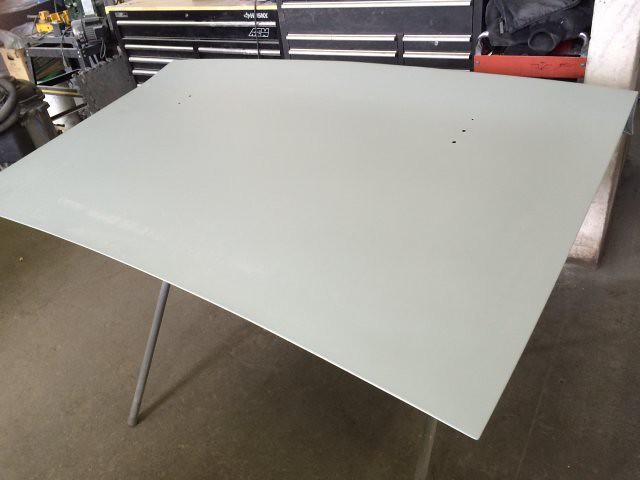
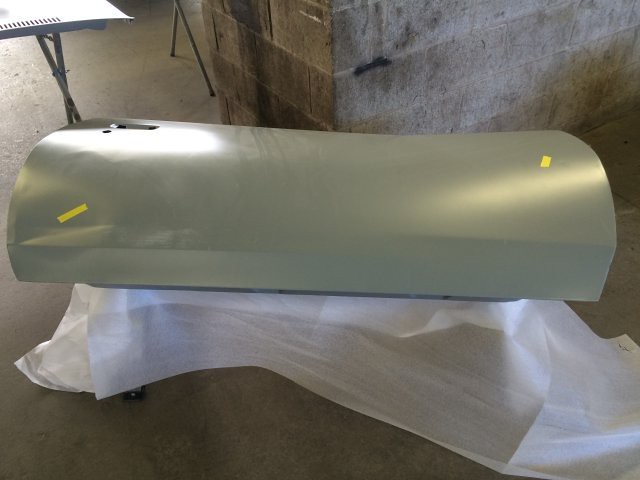
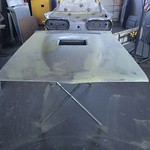
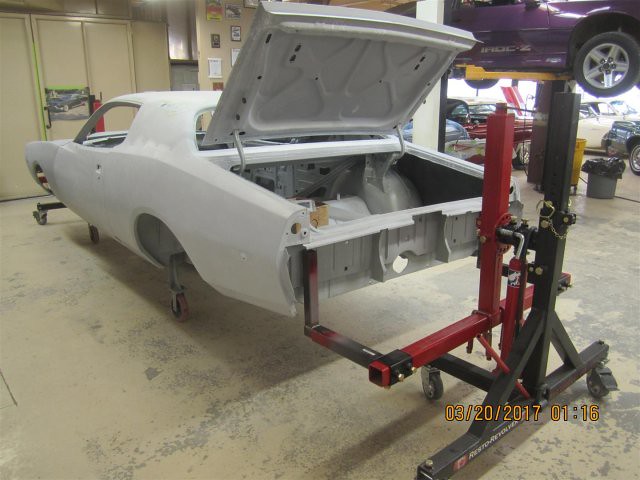
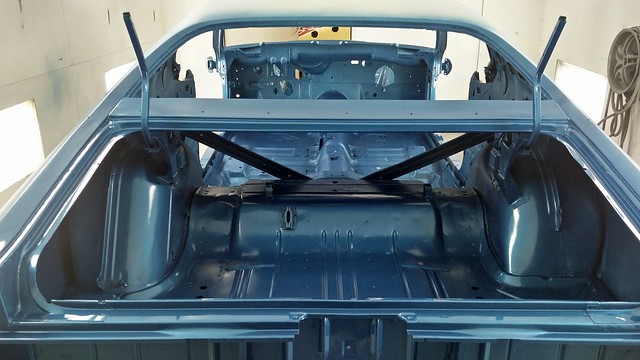
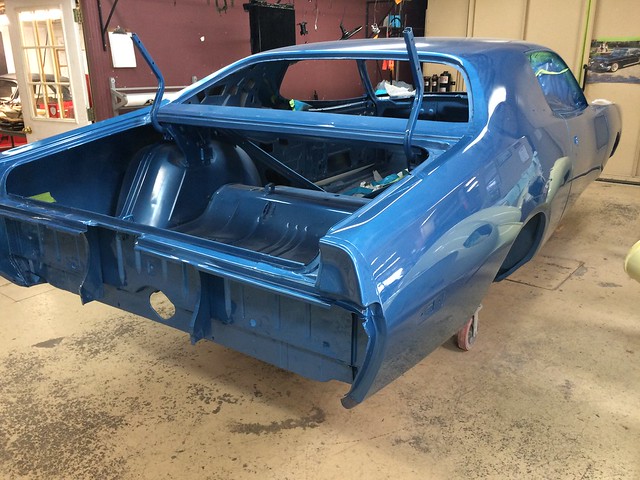
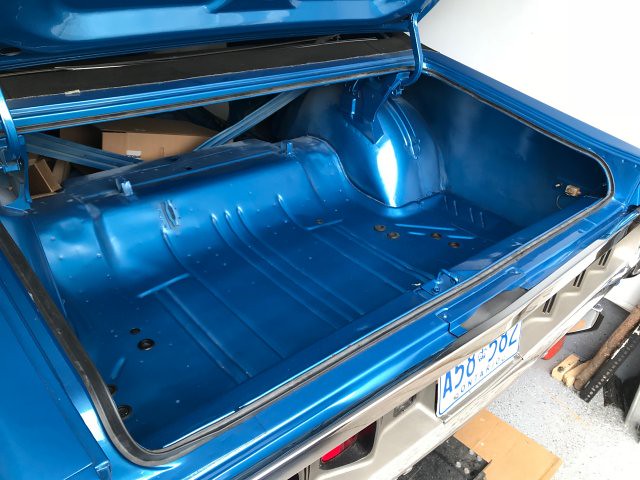
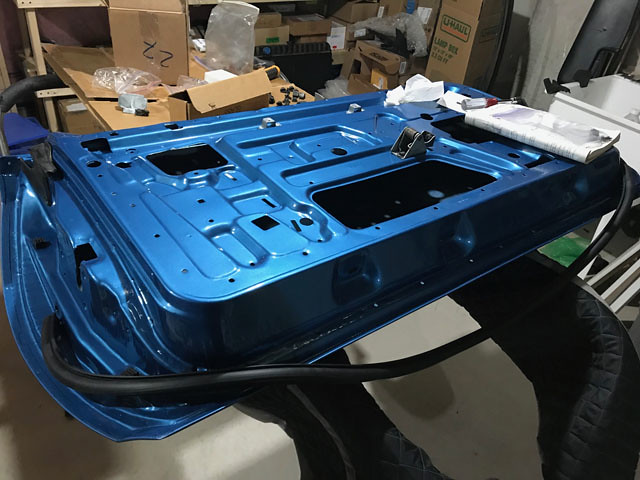
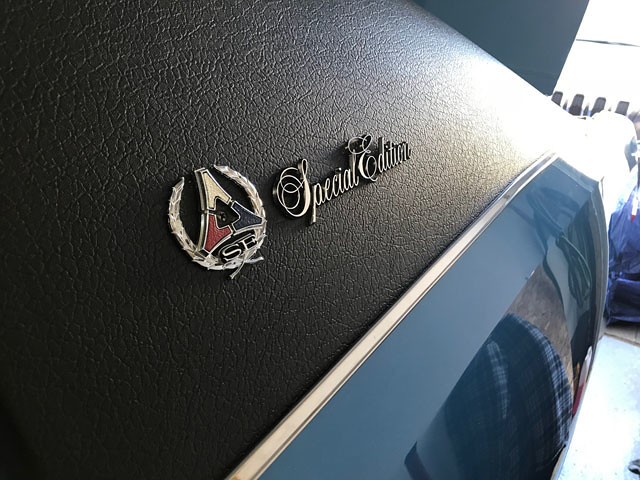
Yes it has the rear spoiler decklid cut-outs and yes it is the original '72 decklid. :2thumbs:

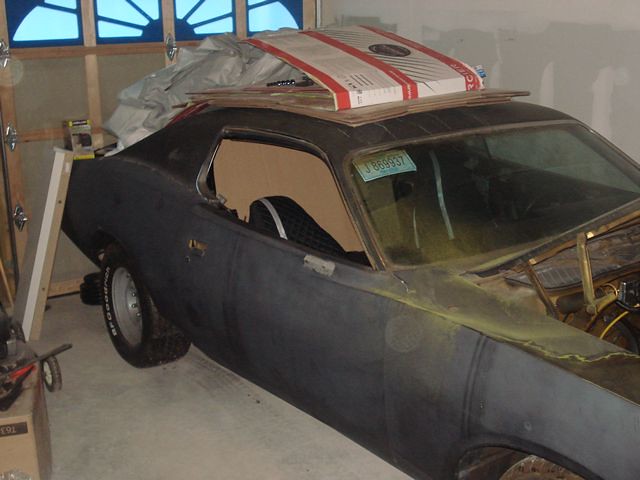
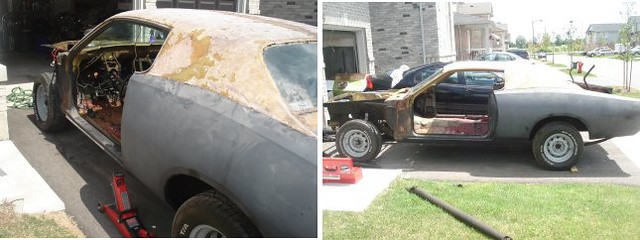
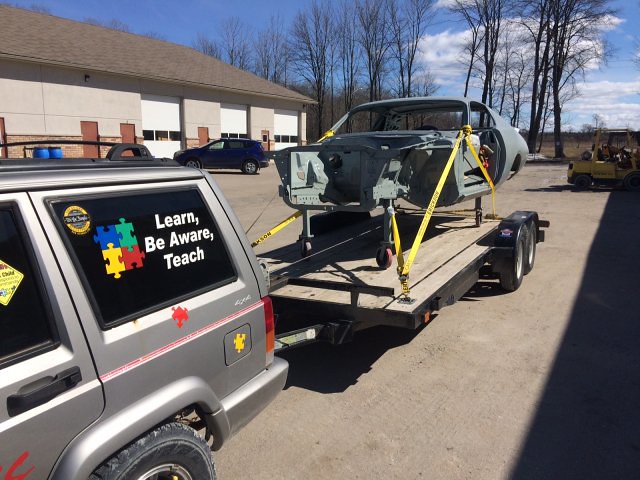
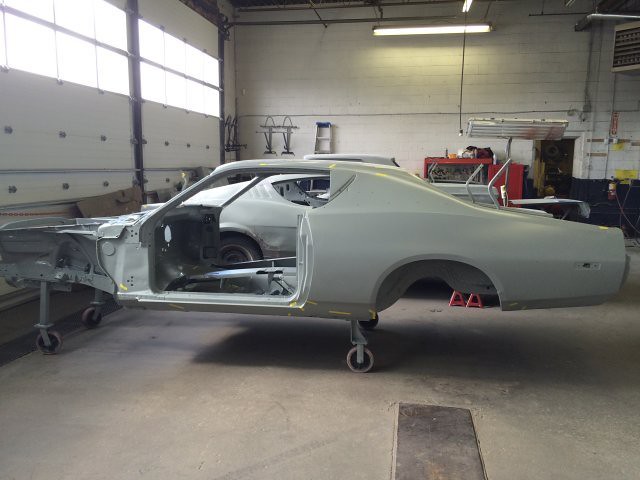
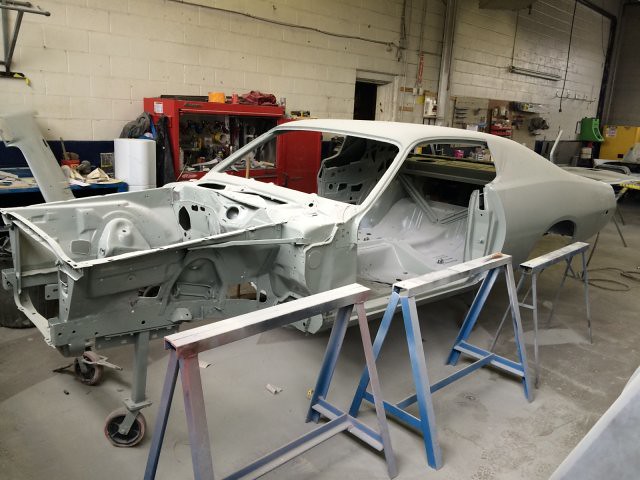
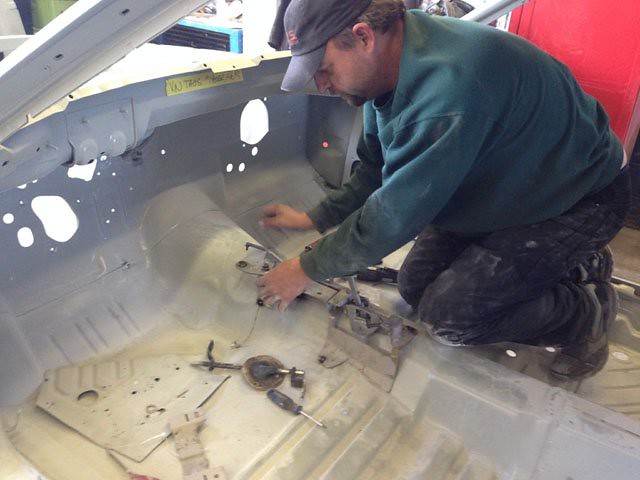
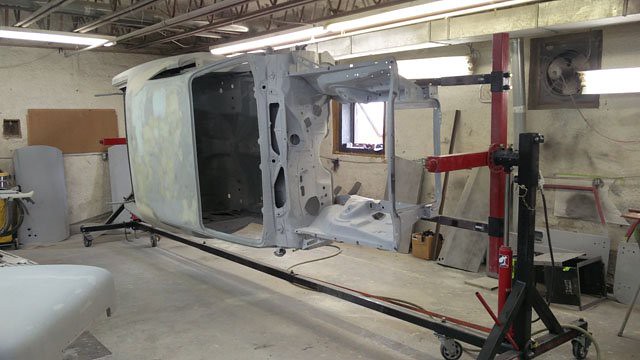
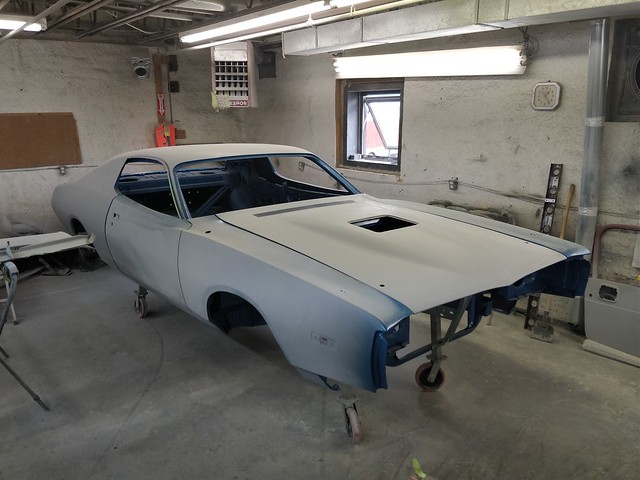
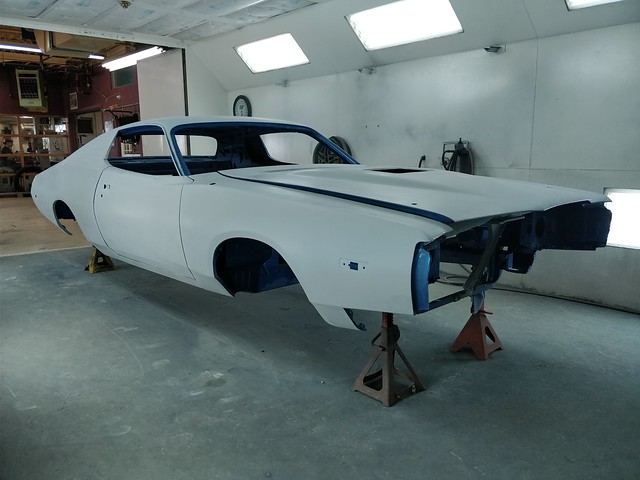
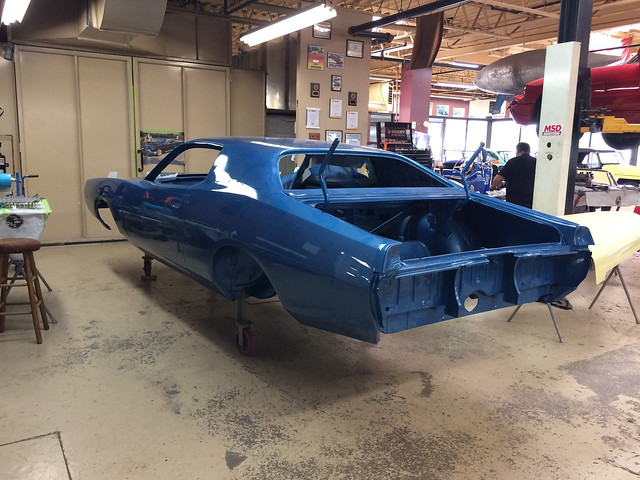
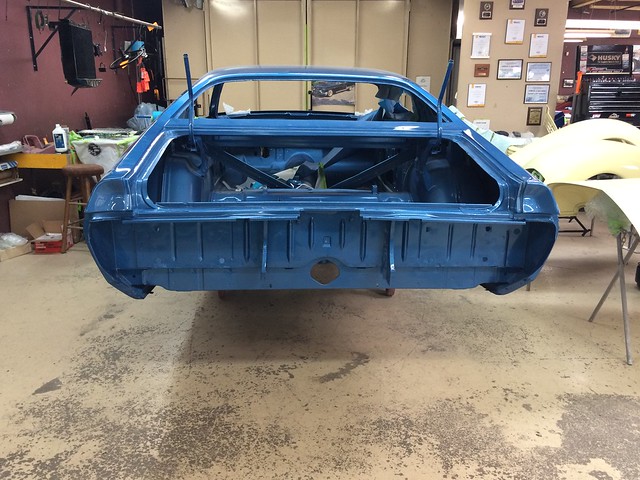
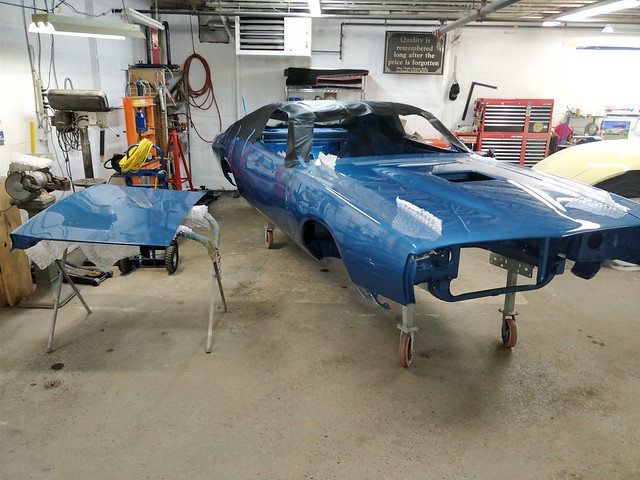
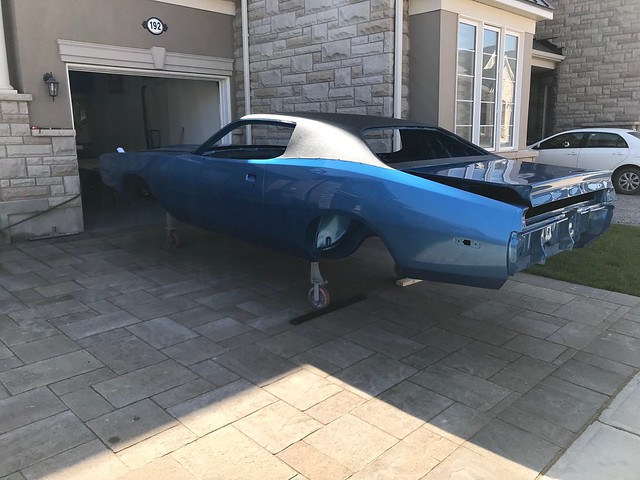
Here she sits, March 2007 just after me moved to the new house, double-car garage... finally, now I'll have some room to work on it. Don't really have a budget, I'll probably fund some of it by selling some of my extra "back-up" pieces (yes still have a few). This will be a slow restoration that's for sure, I'll be doing as much as I can.
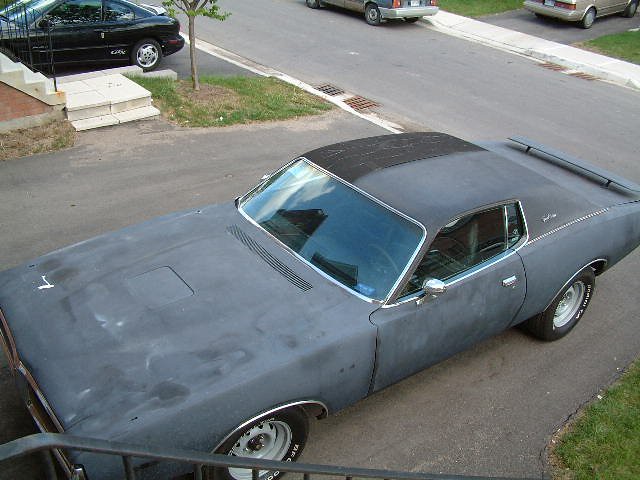
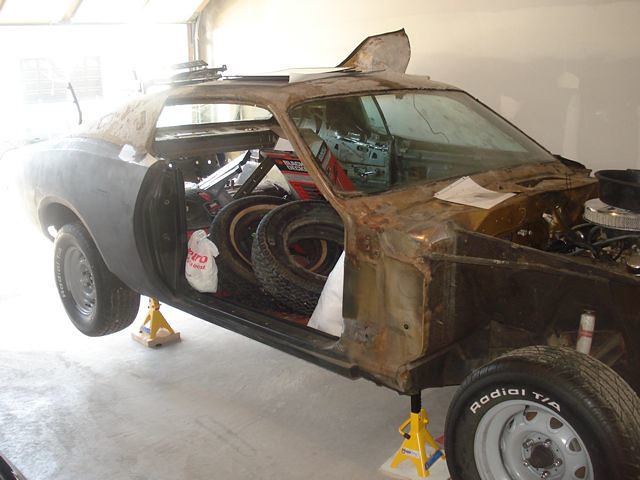
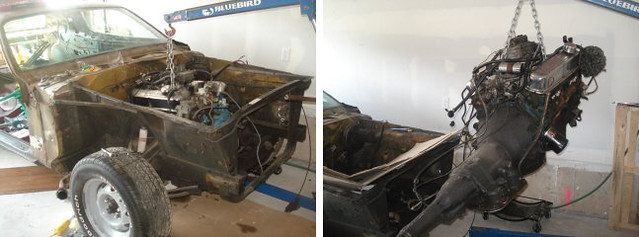
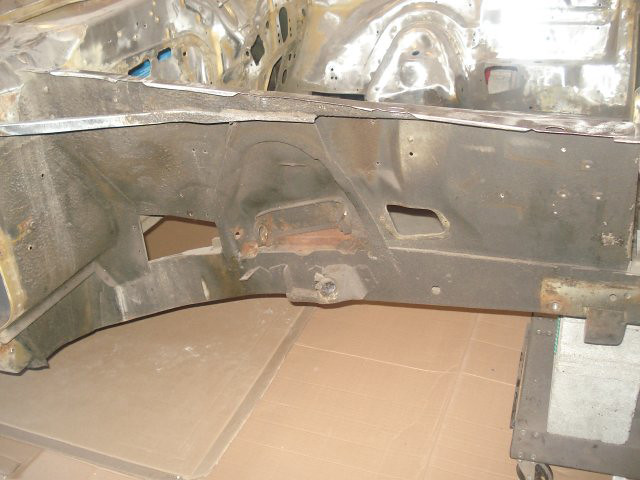
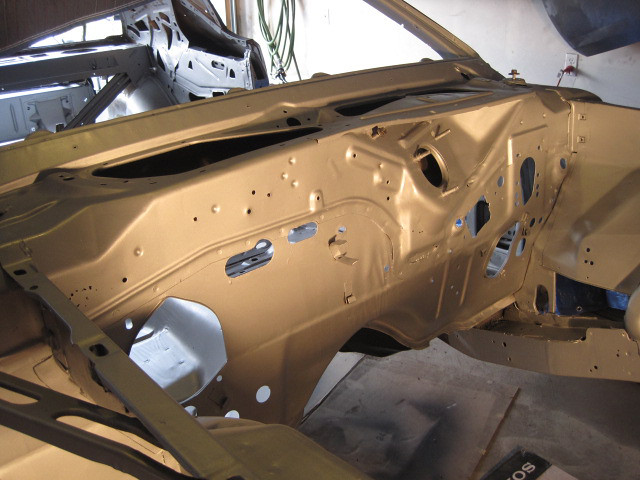
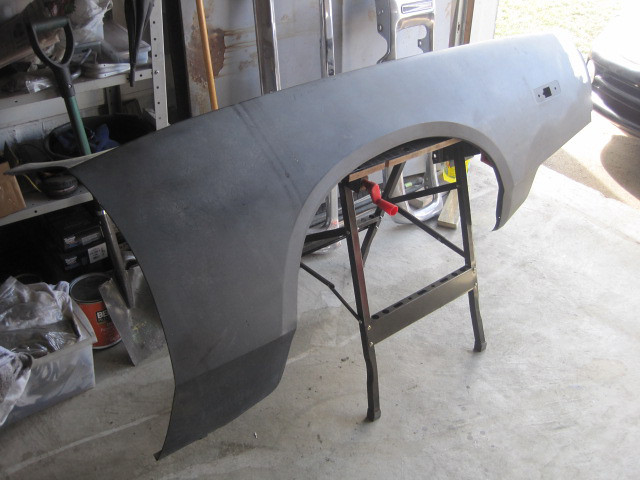
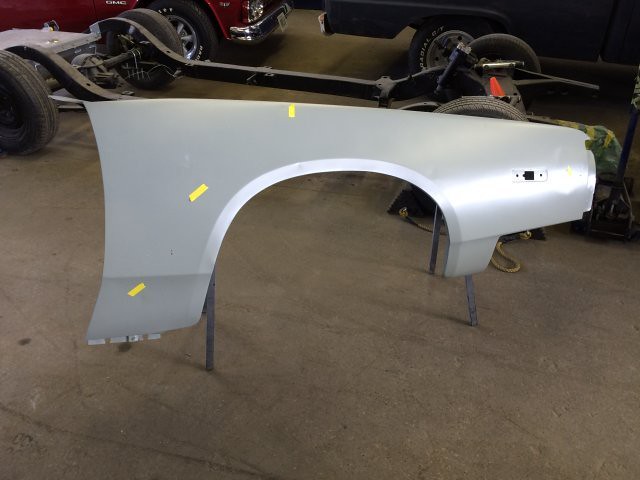
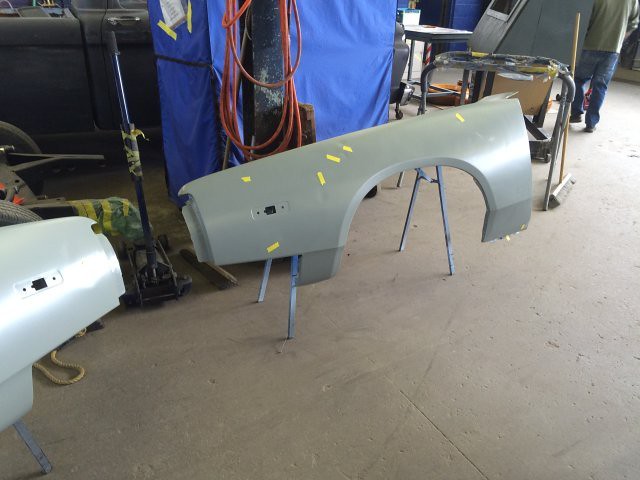
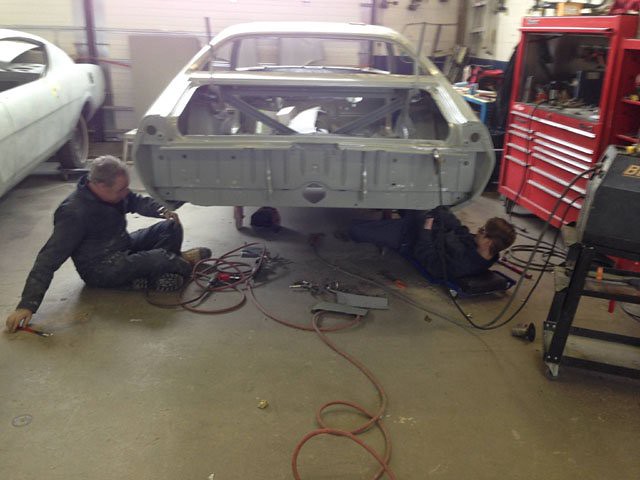
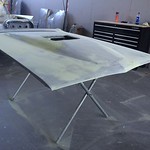
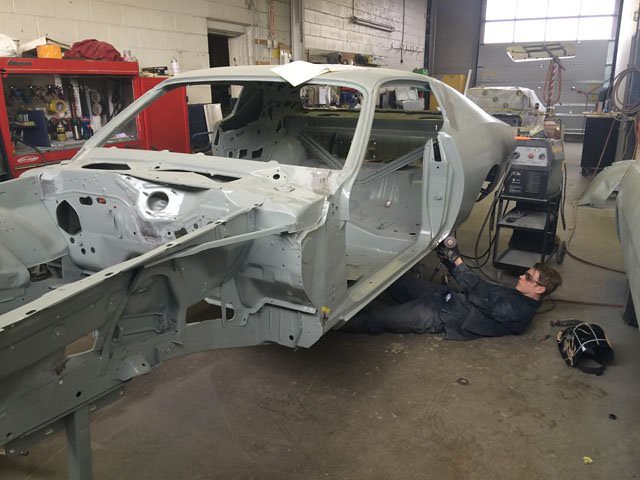
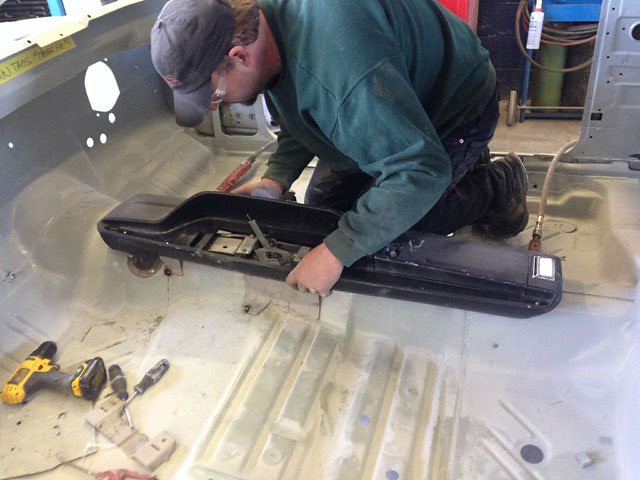
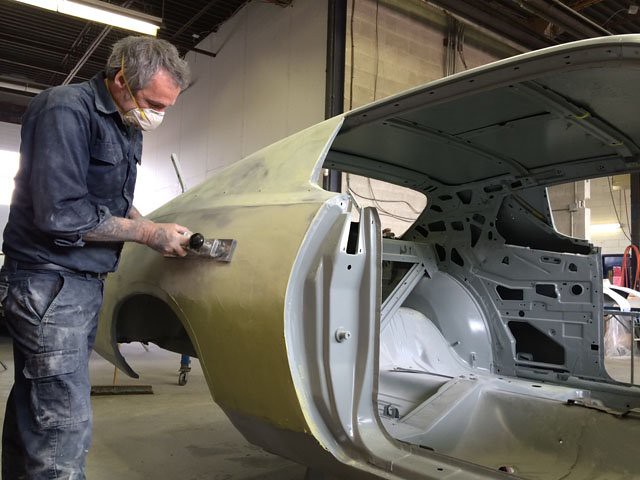
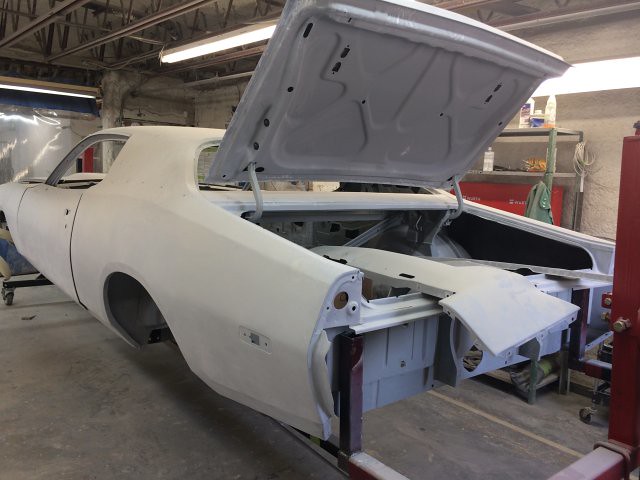
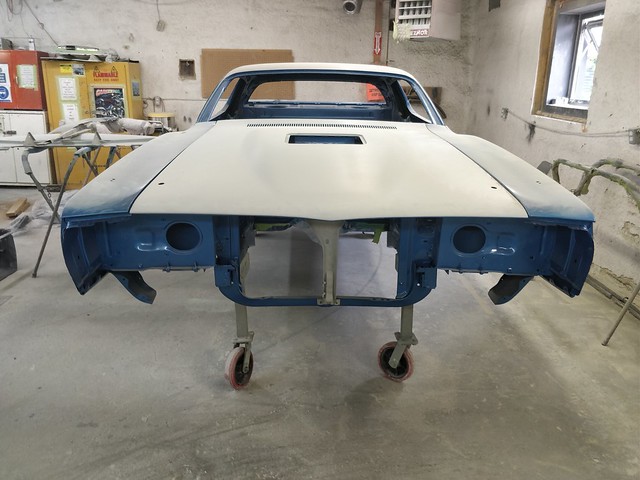
Removed the hood, decklid, fenders, doors, etc.
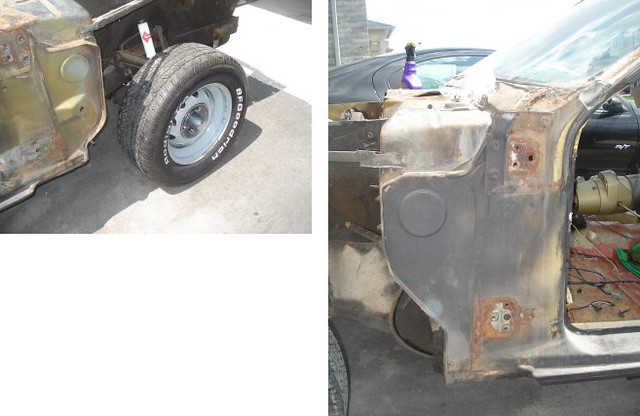
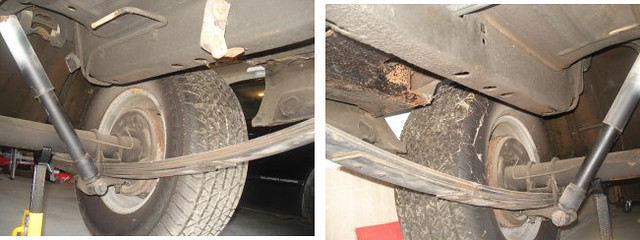
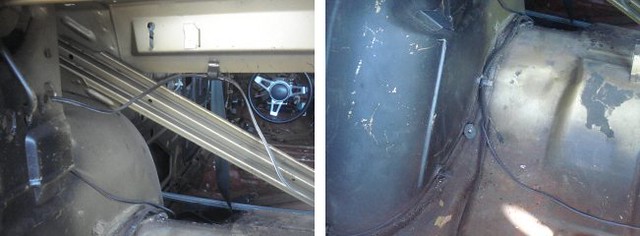
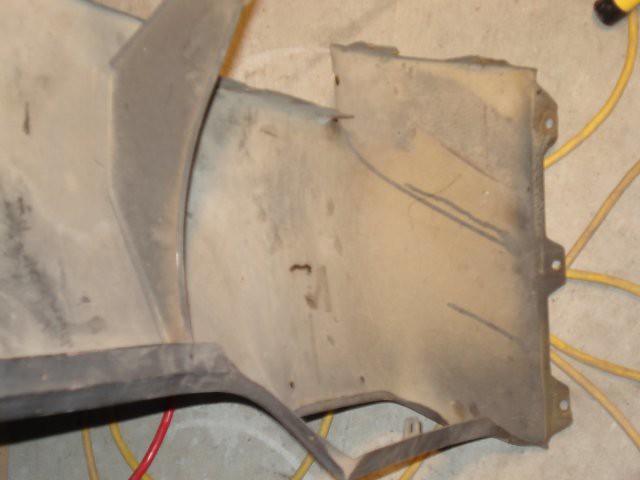
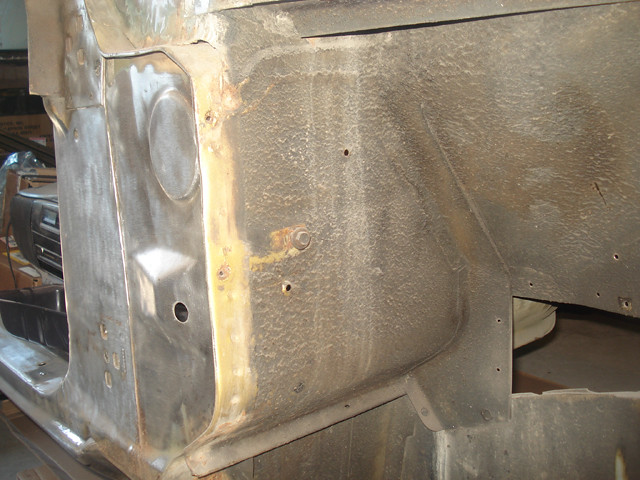
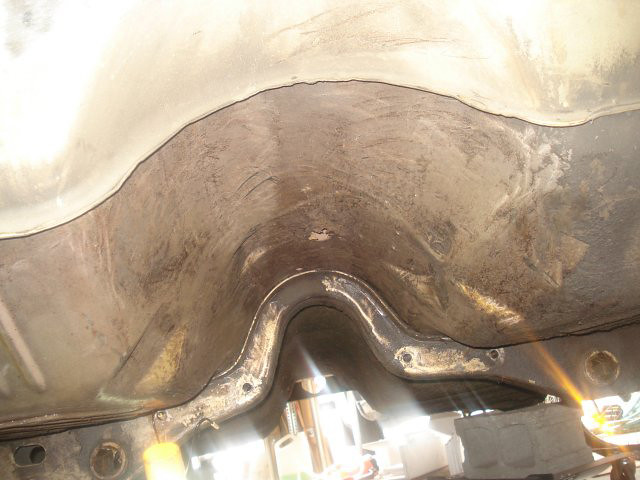
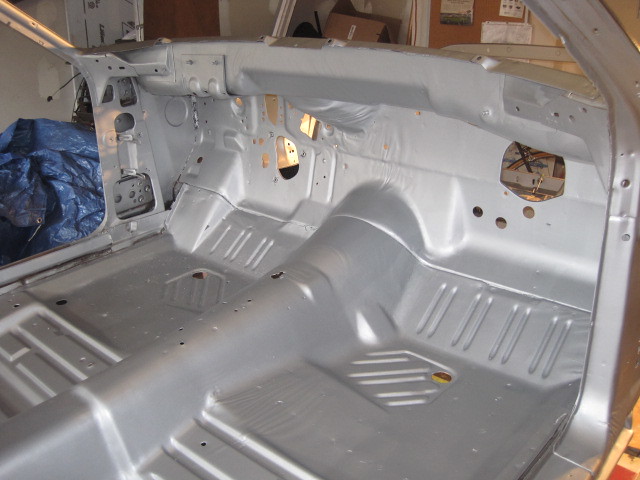
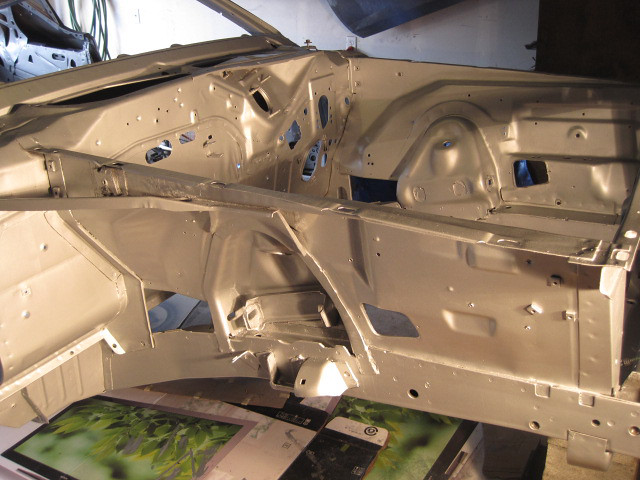
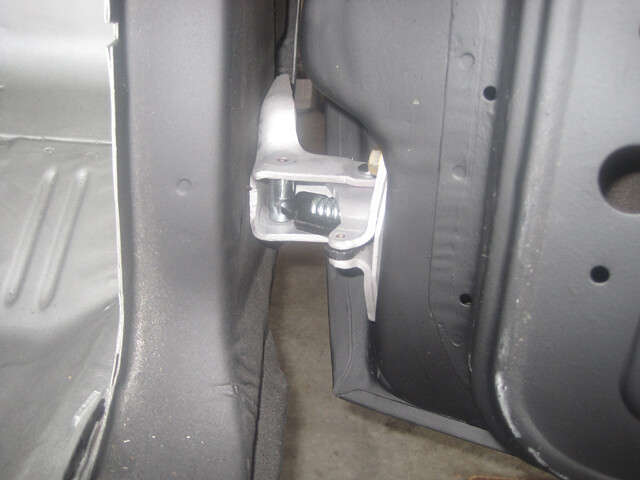
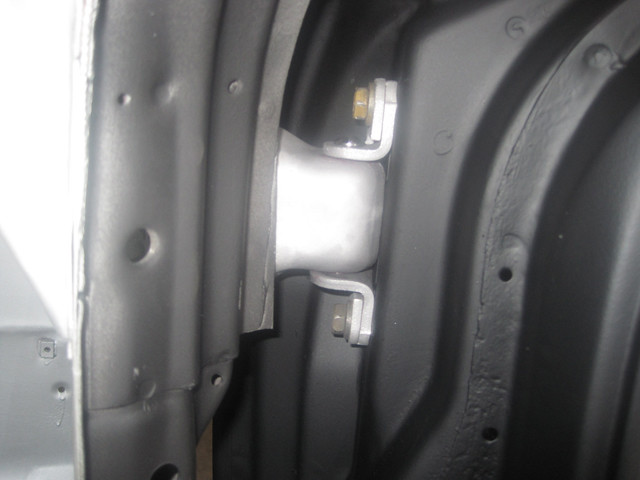
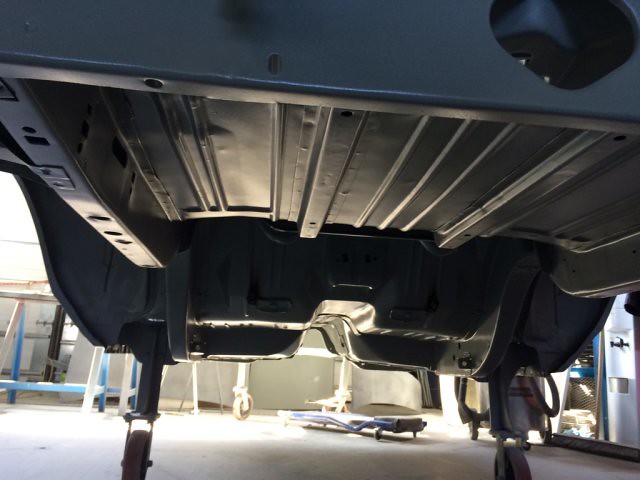
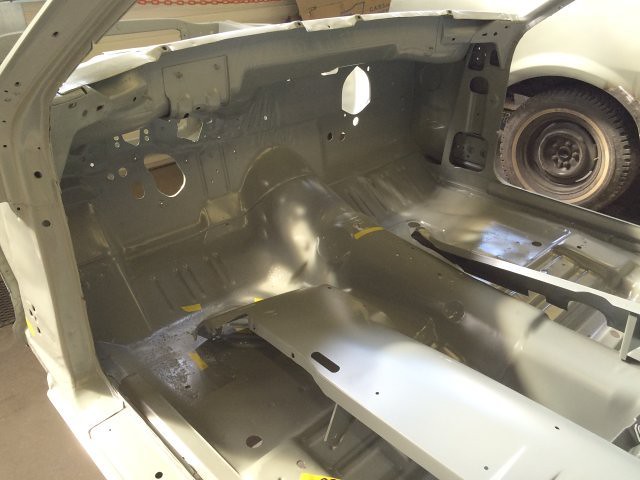
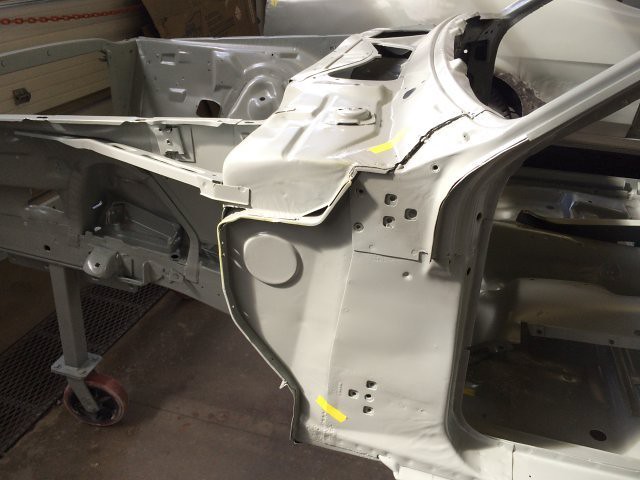
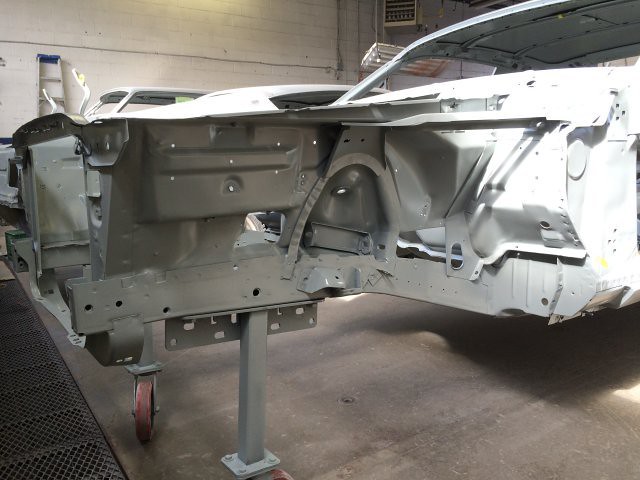
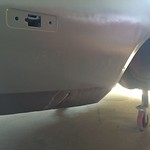
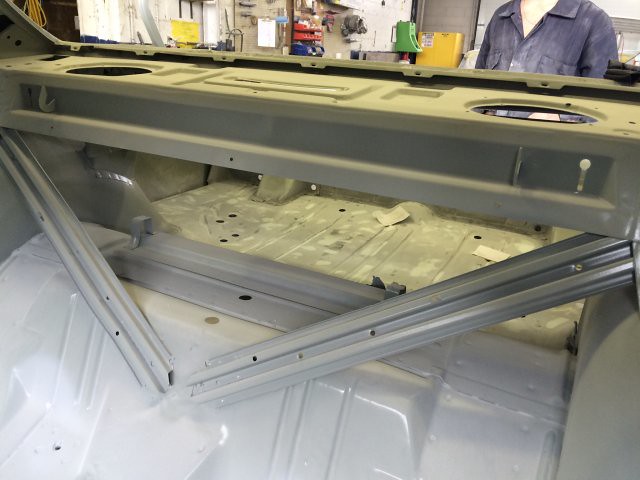
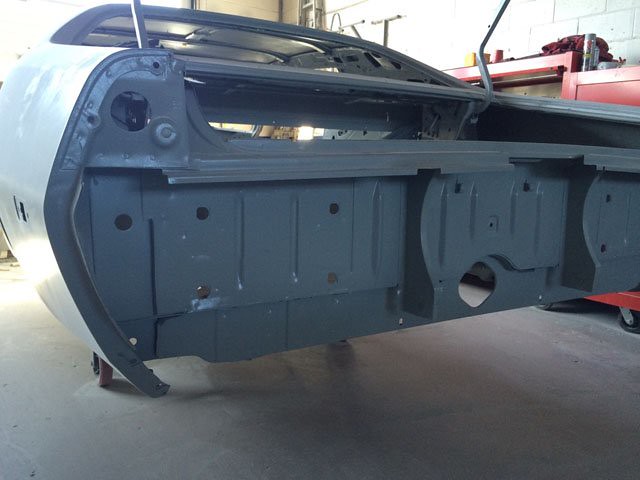
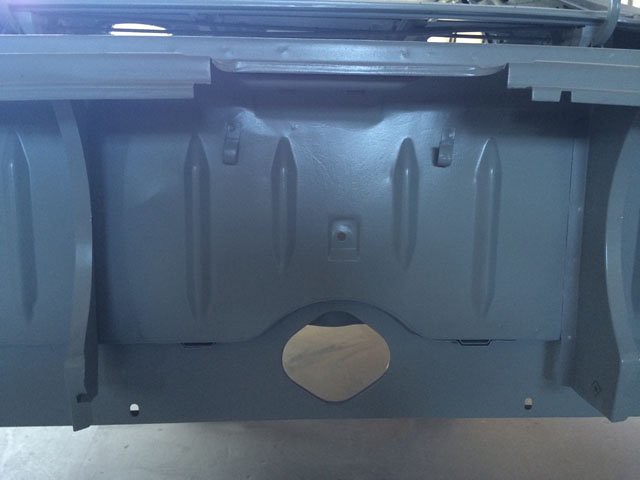
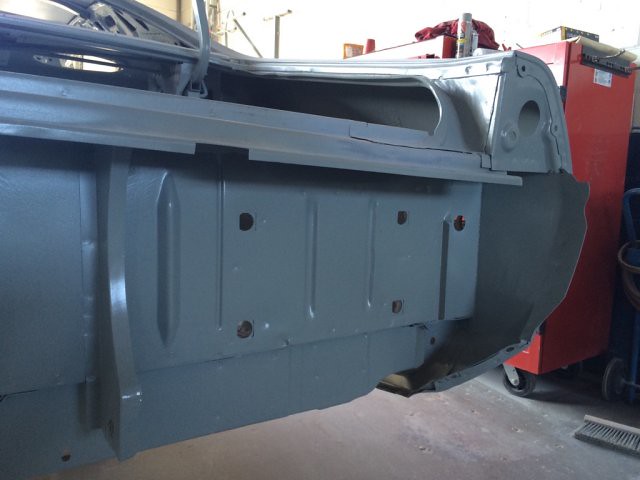
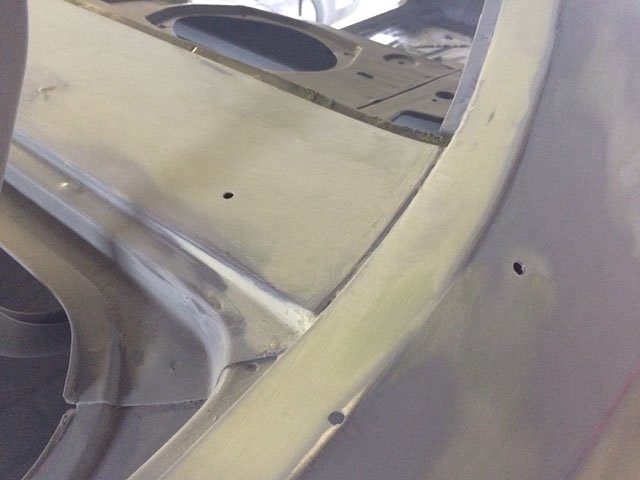
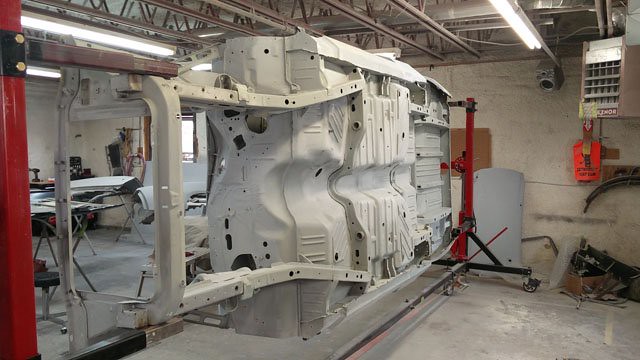
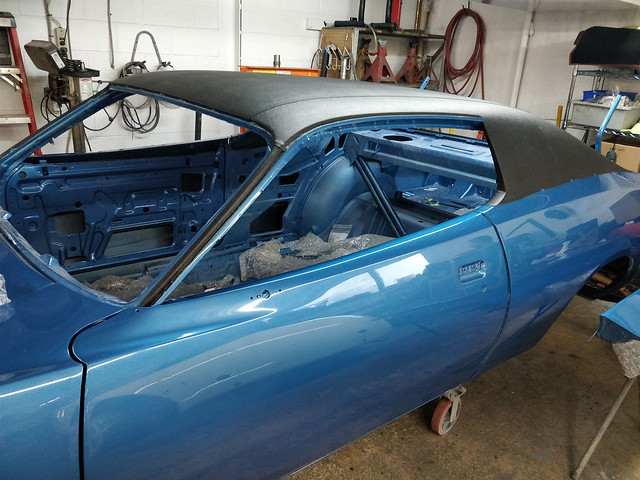
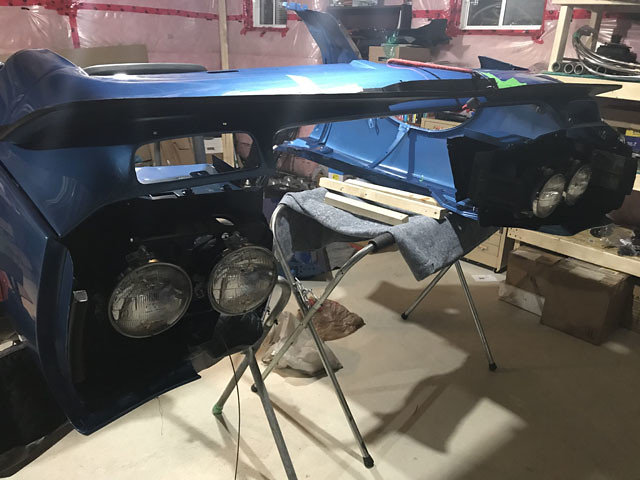
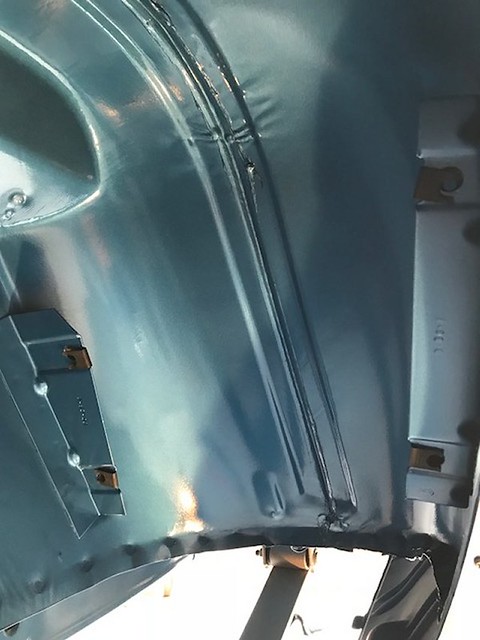
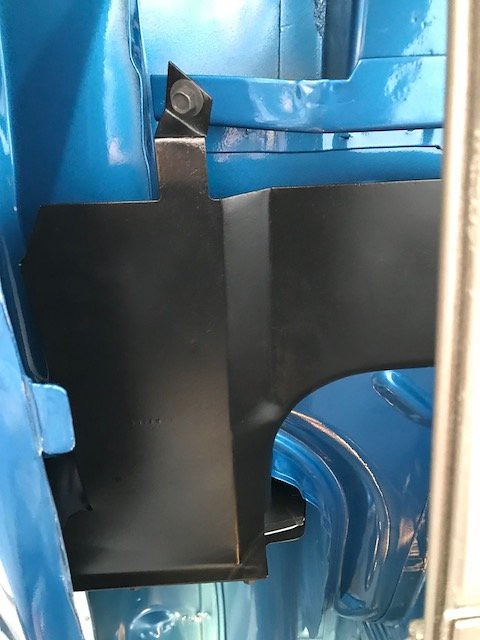
Not too bad behind the fenders:
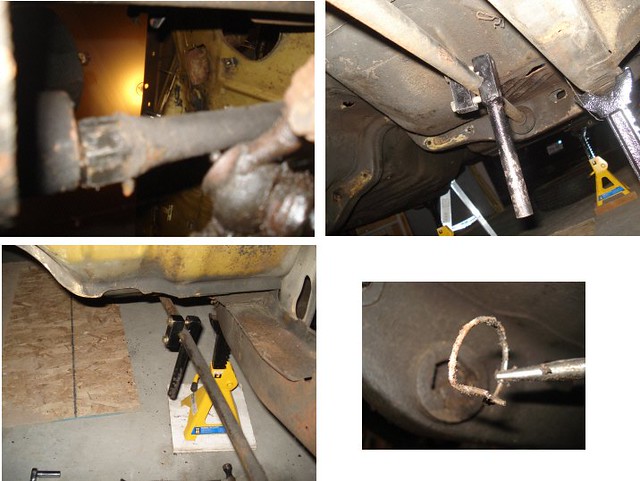
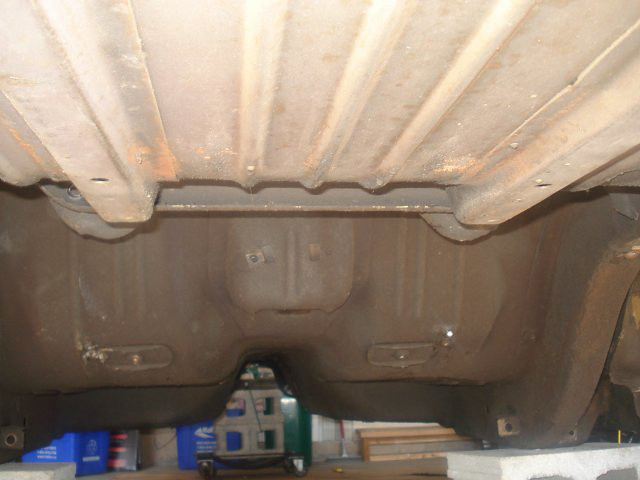
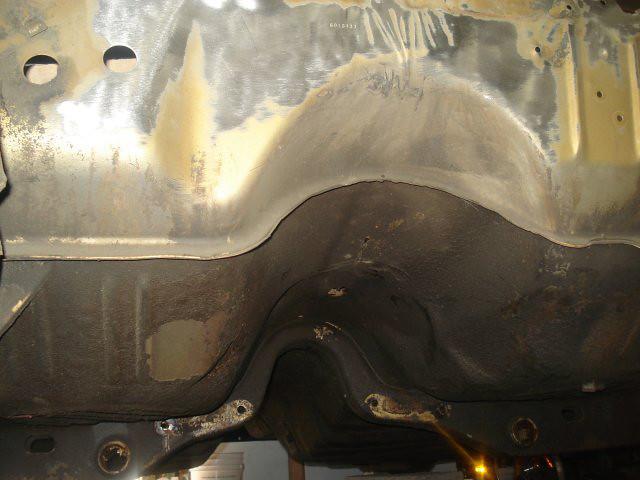
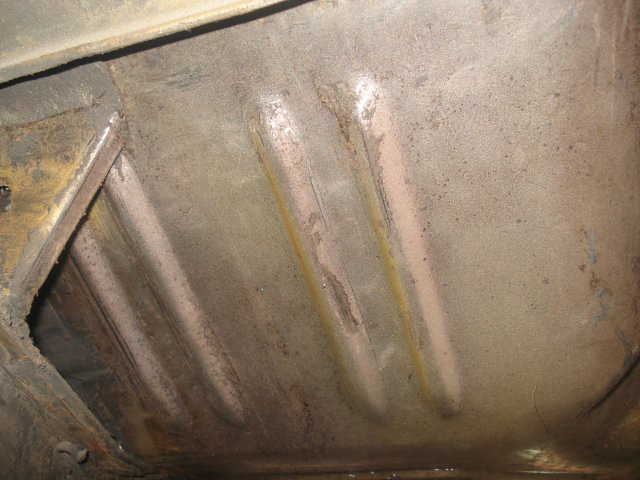
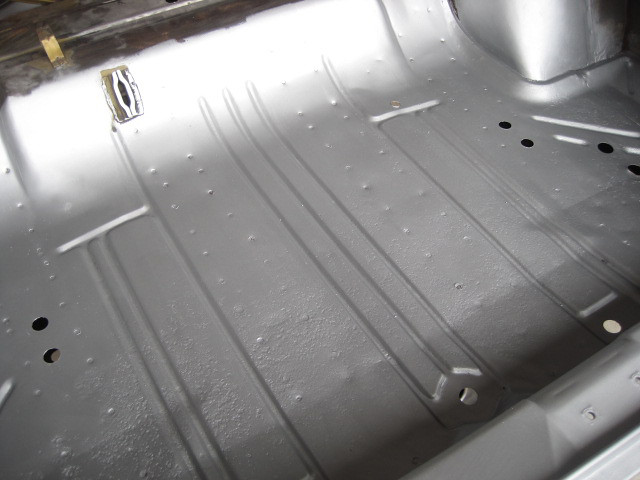
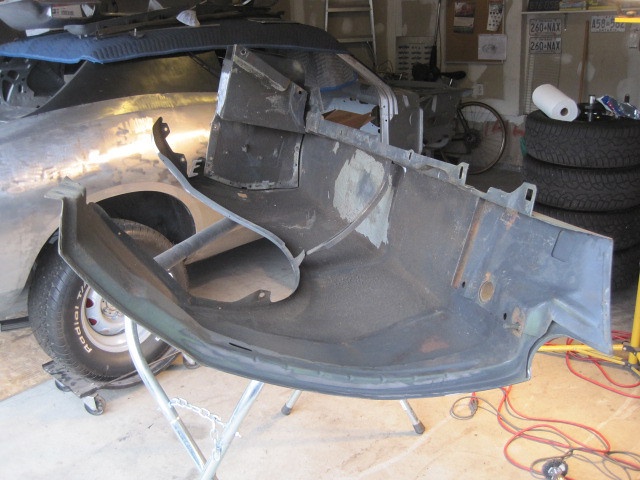
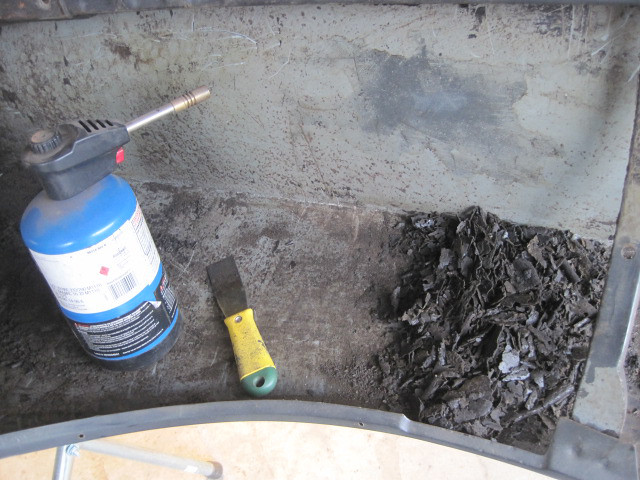
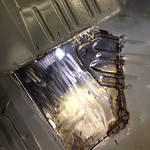
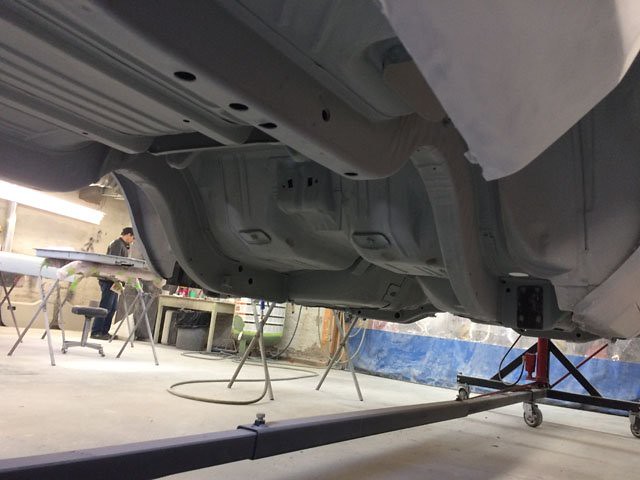
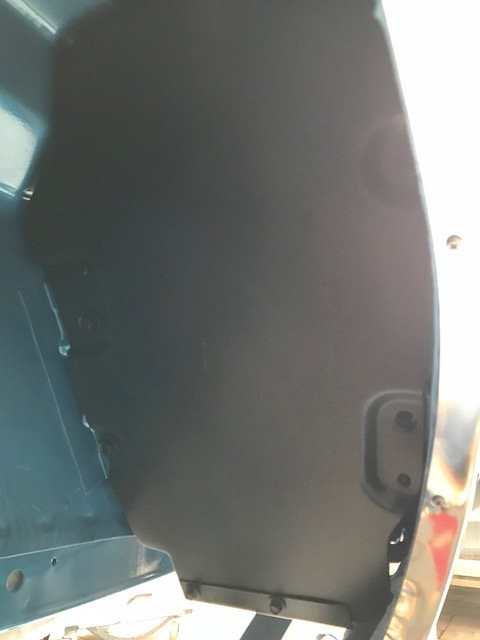
Quite a bit of undercoating.

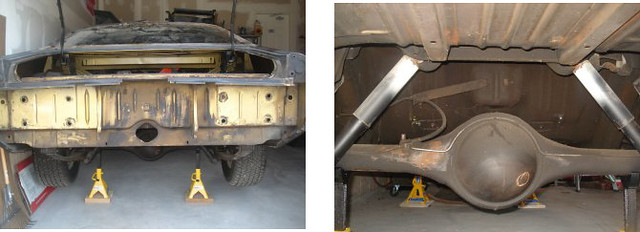
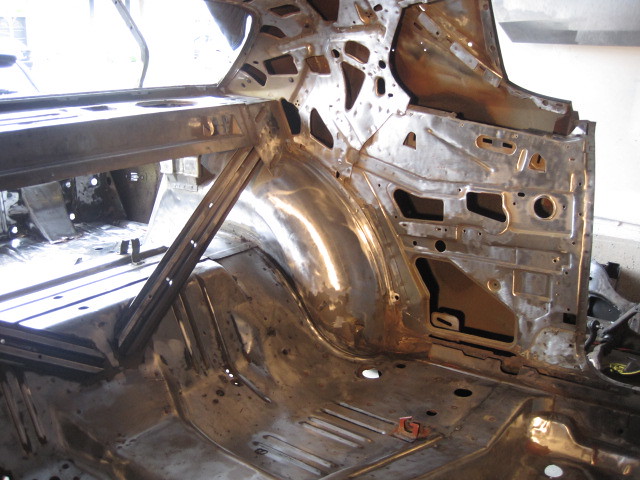
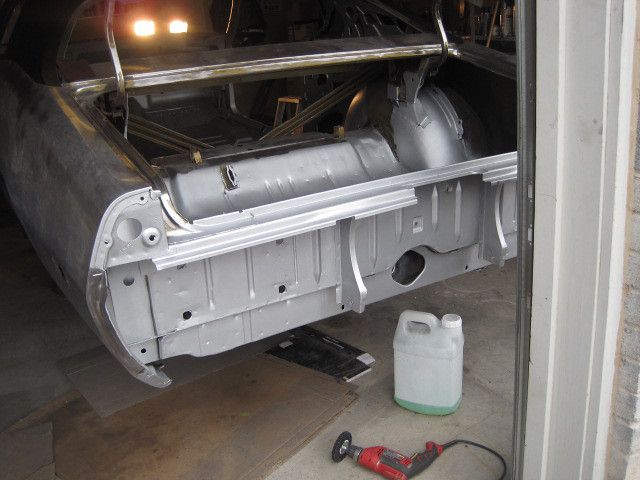
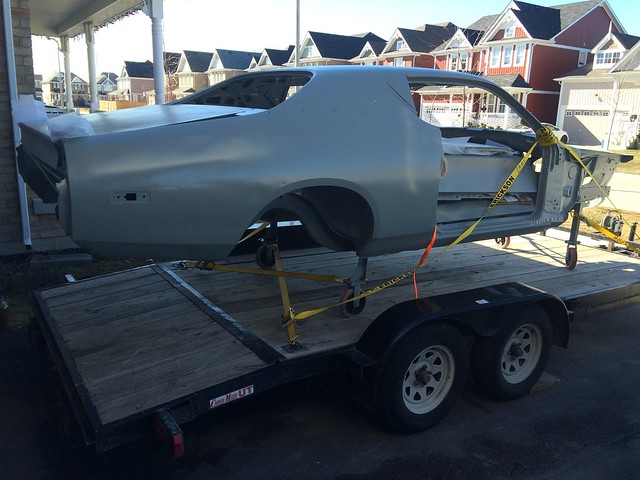
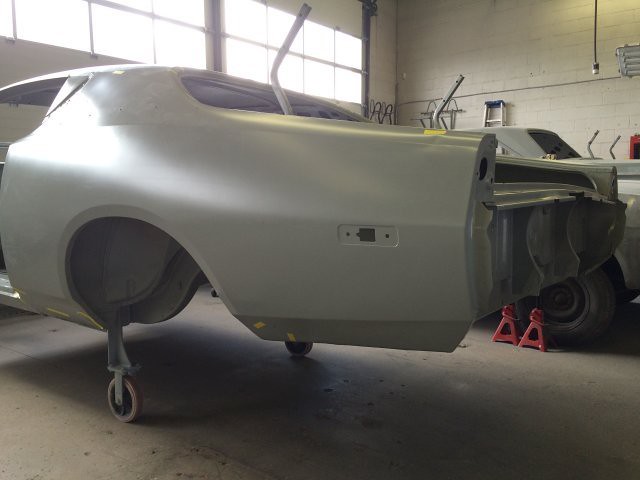
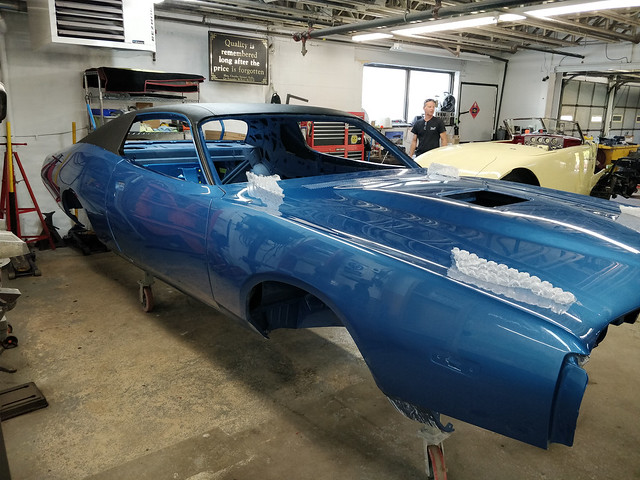
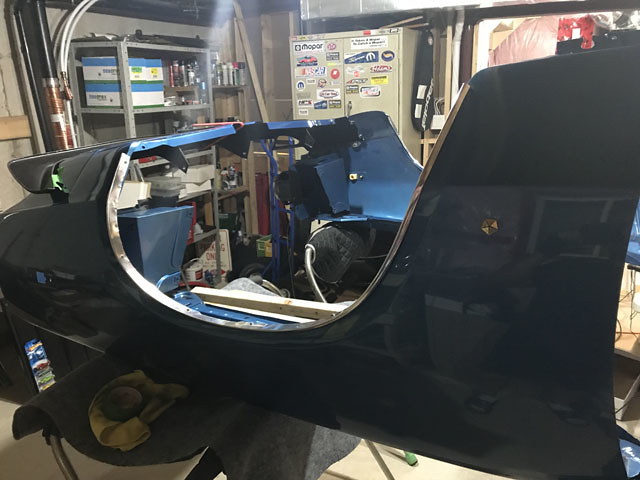
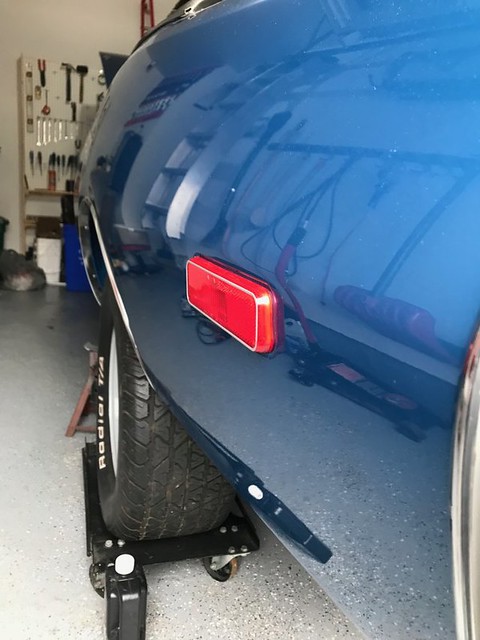
Some rear shots:
This is basically how I bought it in August of 1992, I put on my Western Turbine rims that I had on my previous SE. It did come with 14" Rallye's which I sold to a guy with a Challenger. Then I bought a set of 15x7 Rallyes from Motor City Originals. Shortly after getting it home I added the Year One front spoiler, I also added the dual cut-out exhaust rear valence from a '74, it was pretty rusted, I cleaned it up and painted it, thought it looked cool even though my exhaust was nowhere near the openings. I never would have thought that 17 years later there would be new ones being produced, thanks AMD.
I’m not sure on the colour, I could go original but I probably won’t. I’m just adding the parts to it that I like such as the Ramcharger hood, front & rear spoilers, buckets, console with shifter, R/T taillights, hood pins and a tachometer to replace the clock. As far as the engine I will probably go with a 360.
I'd love to hear any comments or suggestions guys/gals.
Those are P275/60R15's on the rear and up front P255/60R15's.
Rattle-can WAL-Mart black primer:
Yes it has the rear spoiler decklid cut-outs and yes it is the original '72 decklid. :2thumbs:
Here she sits, March 2007 just after me moved to the new house, double-car garage... finally, now I'll have some room to work on it. Don't really have a budget, I'll probably fund some of it by selling some of my extra "back-up" pieces (yes still have a few). This will be a slow restoration that's for sure, I'll be doing as much as I can.
Removed the hood, decklid, fenders, doors, etc.
Not too bad behind the fenders:
Quite a bit of undercoating.
Some rear shots:


 .
. 


 [/url]
 [/url]
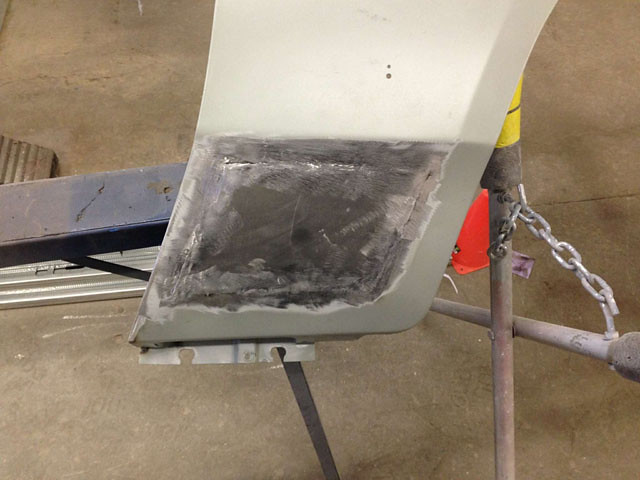


![[Linked Image]](https://farm2.staticflickr.com/1768/42019090665_0be44cfaa9_z.jpg)
![[Linked Image]](https://farm2.staticflickr.com/1784/42019091575_bed6108d0f_z.jpg)
![[Linked Image]](https://farm2.staticflickr.com/1836/42123971525_965865b997_z.jpg)
![[Linked Image]](https://farm2.staticflickr.com/1810/42123971635_0eedb46883_z.jpg)
![[Linked Image]](https://farm2.staticflickr.com/1766/29154056128_108e4070af_z.jpg)
![[Linked Image]](https://farm2.staticflickr.com/1790/43297005972_204c64333a_z.jpg)
![[Linked Image]](https://farm2.staticflickr.com/1768/29476325948_443f2a2ea4_z.jpg)
![[Linked Image]](https://farm1.staticflickr.com/837/42442233365_3da279c381_z.jpg)
![[Linked Image]](https://farm8.staticflickr.com/7898/33619768438_792d8d96b7_z.jpg)
![[Linked Image]](https://farm8.staticflickr.com/7824/33619768338_05ef9b24a9_z.jpg)
![[Linked Image]](https://farm8.staticflickr.com/7828/33619768288_360b084db6_z.jpg)
![[Linked Image]](https://farm8.staticflickr.com/7926/33619768228_18f9a46212_z.jpg)
![[Linked Image]](https://farm8.staticflickr.com/7880/33619768178_e8ec4a6df1_z.jpg)