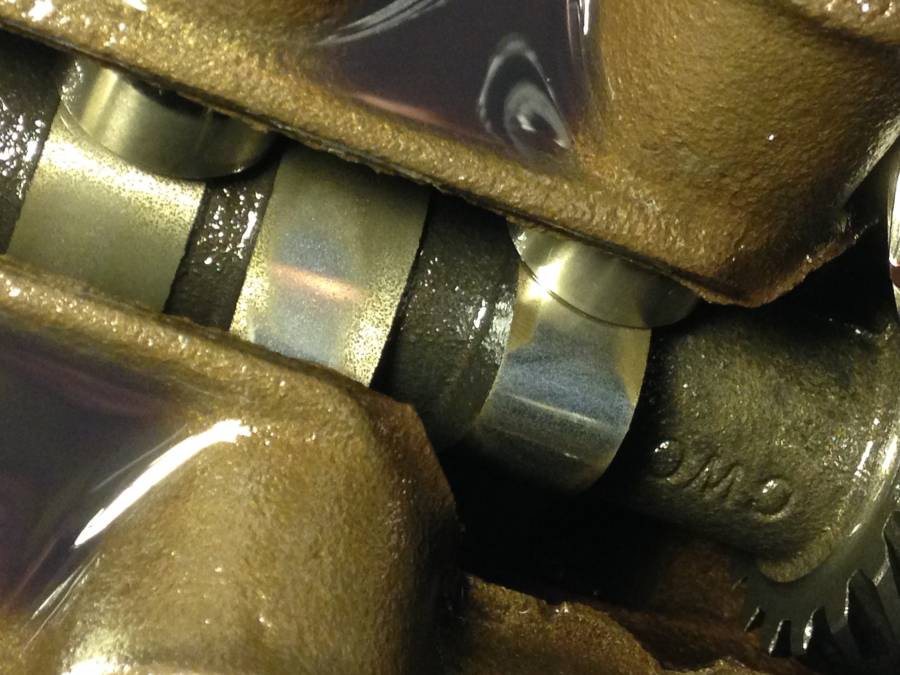
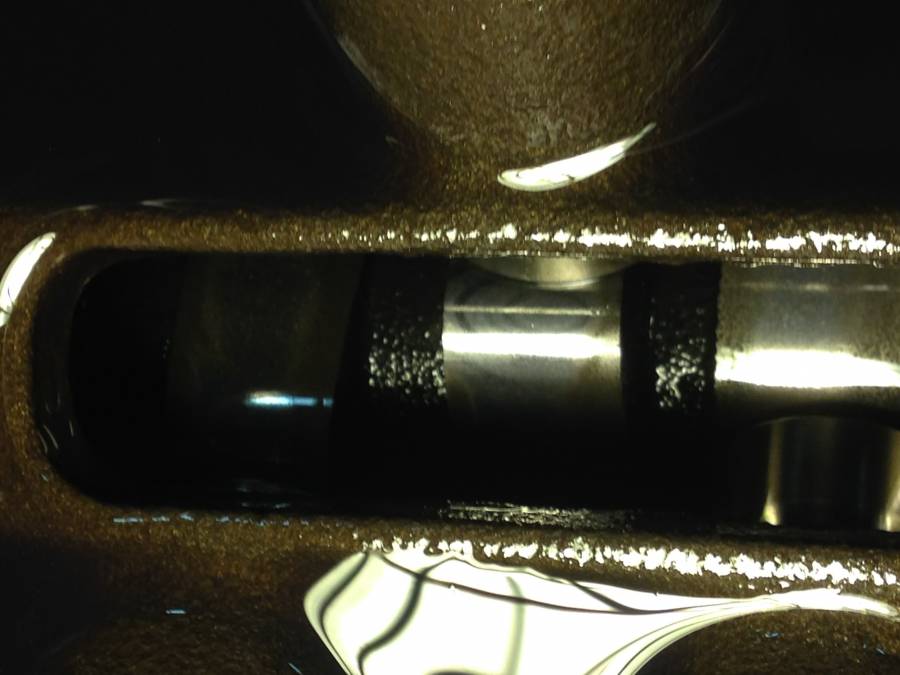
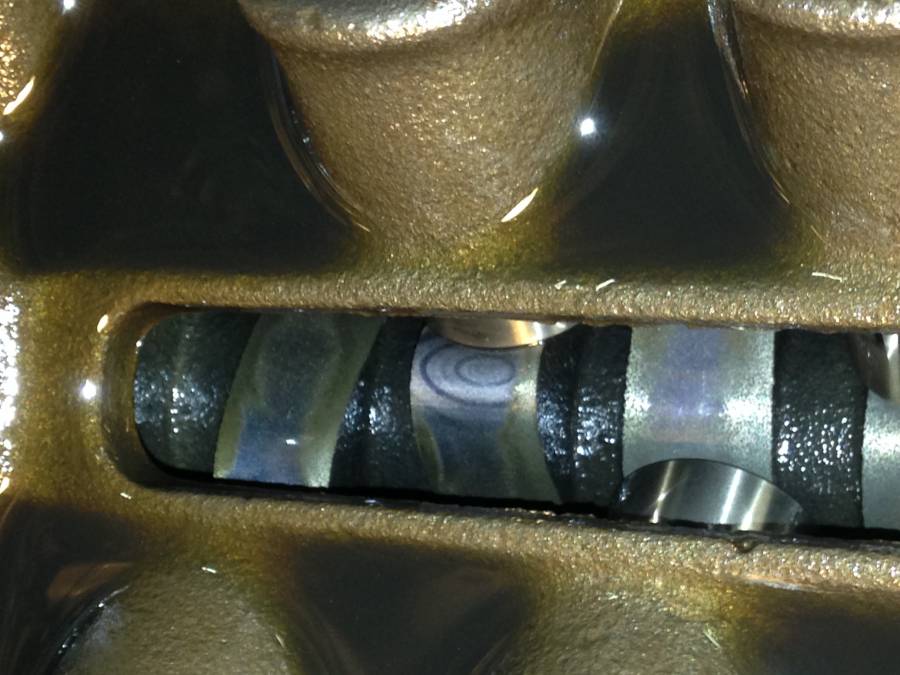
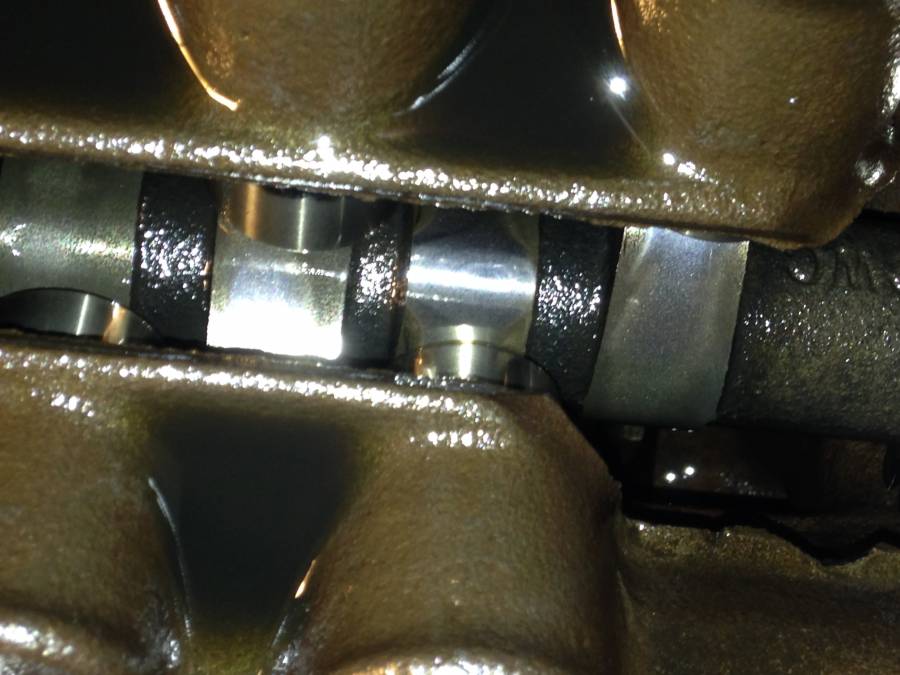
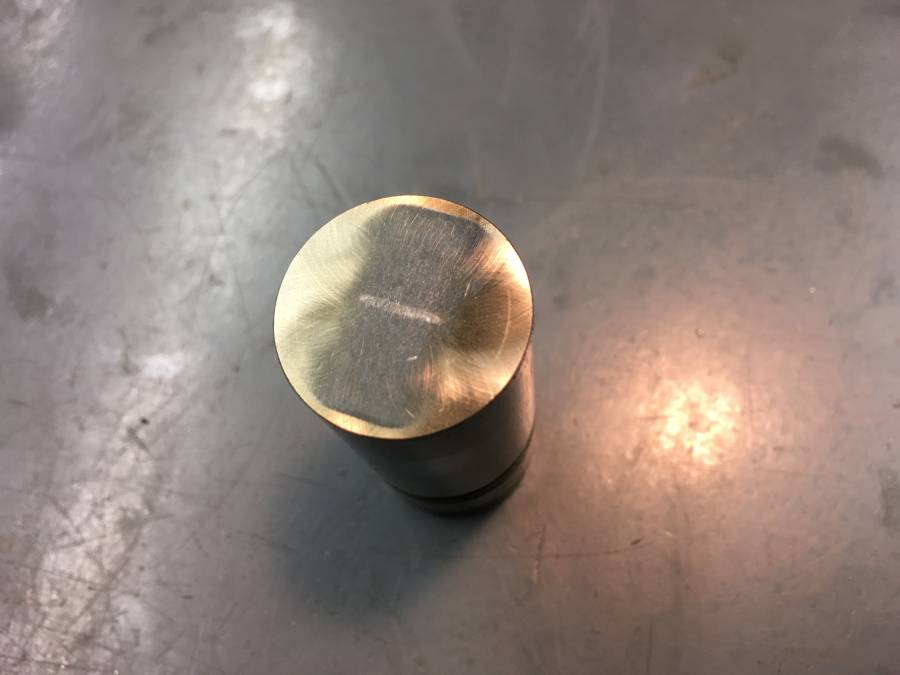
I stumbled back on my own thread while searching the forum for something else and realized I never closed it out. I'm gonna give you the entire story so its pretty long. I did talk to a few people, Comp told me it was failing based on what the lifters looked like, and said the lobes themselves were inconclusive alone. I also got the input below second hand through Bullet.
The lobes that have the circles on the noses are caused from high loading and heat. This could be caused by high spring pressures and low RPM idling and excessive idling time. Also a spring too close to coil bind will cause that look on the nose of the lobes. This cam is wearing very fast and some of it could be due to too little of taper on the lobes.
This explanation did not make complete sense to me, but I figured was close. When I broke the cam in my intake springs would have been .095 from coil bind and .078 on the exhaust, net of lash using my measured 1.55 rocker ratio (with checker springs). I had used a .060 shim because I looked up the wrong PN which spec'd a 1.82 installed height, but realized this and took it out when I installed the inners, so I was pretty far from coil bind for most of the cam's life but was a bit close on break in with just outter springs. My springs were set up at 120 on the seat and around 340 lbs open, so pressures weren't crazy. It idled around 900 RPM, but didn't sit in traffic idling all the time. It might be worth noting when I broke it in I did have to abort the break in twice. It lit right off, half a crank of the starter, right up to 2500, but had to shut it down because I stuck a yoke in the trans not thinking the yoke was going to spin with the trans in neutral. But it didn't run low, it was 2500, off, 2500, off, 2500+ for 30 minutes varying speed from 2200 or so to around 3200. Maybe the start stop had a long term effect, but the lobes didn't have this look early on, I had the intake off a few times trying different things when it was running doggy.
Anyway - I decided to pull the engine to fix the rear seal leak, and I'm glad I did. It snowballed into a bigger project but turned out for the best. Once the engine was out I noticed what appeared to be a chip out of the #1 main bearing, right around where the tang was on the upper shell. [censored] is that, how could that even get there?! So heads came off, pistons out, crank out - the shells were chamfered from the tang to the edge of the bearing. I didn't remember that when I put it together. BUT as it came apart I found I had way too much end play on the crank now, like .017, and I could see the wear on the thrust bearing. When I put it together it had .011, .001 out of the max allowable and .004 out of spec. I sent it, and it wasn't happy, especially being a stick car with a 3200 lb pressure plate. The new thrust bearing had it down to .004, much better.
Other than that the bearings looked great, but I needed a new set of mains because I needed a thrust, so I put rod bearings in it too. One thing I found that was scary was a bit of fretting on the inner three main caps. Maybe this is from detonation I couldn't hear when I had fuel starvation issues, or the time I had set the timing at 36 with one light and checked it a few months later with another and it read 44? Either way with studded mains I'm a bit concerned about the fretting.
The rear main - I put this together originally with a rope seal and orange rubber side seals that I believe I bought from Mancini. It went together poorly, the rubber side seals wanted to slide out as you slide the cap into place, and you couldn't force them in. Even though I paid attention and appeared to have clearance between the seal retainer and the rear studs, I didn't. My ARP stud kit came with 12 point nuts for the rear main cap, and I thought "Great, no problems here." Once tightened they did touch because it drew the cap closer. My rear main was leaking on one side where it did not completely meet the block. I ground the cap for clearance, used a little bit of RTV where the cap was going to meet the block, employed the 6/12 method with a standard black fel pro seal (thanks Monte!). I used the newer style fel pro blue semi rigid side seals that came with their seal, and tapped them in after I torqued the retainer, like the old fiber ones, with a little RTV smeared on them to help lubricate them. I'm happy to report my rear main issues are solved, at least for now. Its been about 400 miles and since early September, so I think I'm clear.
Intake leak issues - I found by dumb luck that the fancy ARP intake bolts were actually bottoming out ever so slightly. The threads were running into the tops of the ports, and the TM7 and Torker intakes I tried were not as thick at the bolt holes on the inner 4 bolts as the outer 4, so the issue was worse on the inside bolts. The new RPM intake MAY have been OK, but once I realized this I ground the heads a bit and ran a tap through them. When I put the engine together with the TM7 the first time the engine didn't appear to pull oil from the bottom of the intake, but I ran two .030 gaskets on either side of the valley pan. Port alignment was good, so I just ground the bolt holes to get it all together. I thought the gaskets were sealing it up but in reality they were keeping the bolts from bottoming out, or at least bottoming out less. MAN I really did not pay attention to a few critical sealing details when I built this motor, NOOB. I was happy as a clam with the knowledge my intake would finally seal up, I cut the RPM to fit right, put it all together. And nope, she still pulls oil from the bottom, not right away, but after a few miles it starts. I know when it starts leaking because when it does the engine starts to run on when I shut it off, then the idle becomes inconsistent and the engine starts to loose its edge a bit. I resealed, this time with a .030 paper gasket instead of .015. All good for a bit, now leaking again. Even though I ground a ton off the edges of the intake to keep them off the end rails one corner appears to be touching just a bit still. Going to grind more, massage the valley pan a bit more, and try again. Ugh.
The Cam - I had an itch to try a Racer Brown cam, I'd seen the results second hand observing combos on this board and others and I just wanted to try one. I called up Jim and talked to him for an hour or so twice. He actually did not try to sell me a cam, he wanted to help me determine if my cam was really toast first. Similar to Comp he told me just looking at the lobes didn't mean for sure my cam was doomed, asked for pics of the lifters, etc. He recommended an ST-21, which was pretty similar to what I already had, and he mentioned this cam was typically an "over performer." I did some googling and found some good results (including a certain heavy blue car that may or may not have been down the track in a decade running 10.97), so I went with it and Jim ground it on a 107 LSA. I know, you can get a more modern, better lobe from Comp. Or can you? Well, I guess if you define more lift as better then yes. If your definition is a "faster" lobe, well, you might want to reconsider.
Knowing I was going to be changing cams I really wanted to know how similar my next cam was, not just the .050 numbers. So I measured the XS290S before I took it out. I checked advertised duration, .050 duration, and then .100 through .300 in .100 increments. This would give me enough of the story. I wish now that I checked more for more granularity, but I didn't know what the results would be. And I didn't compare directly until after the motor was buttoned up, I just wrote down what the timing was and saved it for later. I also wish I checked the exhaust lobes, oh well.
Anyway, here is what I got, there is a nice chart attached at the bottom;
Comp XS290S - 286 @ .015 (comp advertised), 252 @ .050, 211 @ .100, 164 @ .200, 98 @ .300, .361 lobe lift
RB ST-21 - 290.25 @ .015, 287.5 @ .017 (RB advertised), 255.25 @ .050 (+3.25), 223.25 @ .100 (not a typo, +12.25), 167.75 @ .200 (+3.75), 94.25 @ 300 (-3.75), .346 lobe lift
The XS290S (6059 intake lobe) from what I can tell is one of the better lobes in the 250-255* @.050 range in Comp's catalog, based solely on .050 and .200 duration figures provided by them. This is the solid line of their "Xtreme Energy" cams. For comparison, some of the better .842 lobes in Comps catalog in this range are the 6263 and 16263 available on the XTQ series cams, and are 284/254/166 and 286/256/168, respectively. These lobes have .363 and .366 lobe lift vs only .346 for the RB. The 6254 lobe on the MH line offers 254/167 with only 280 advertised, and .368 lift. According to comp the MH line are the most aggressive .842 lobes. In a 904 specific grind Comp has the 6612 which is 288/256/171 and .365 lobe lift. They've also got the 6585 which is 281/255/173 and .388 lobe lift, and looks to be the most aggressive lobe by comparing the 3 duration figures alone. There are also some available in the .875 series that are pretty close to these. The 875 and 904 lobes are better than my RB at .200 lift by as much as 5-6 degrees, so I wonder how they would compare at .100 where the gap between the XS and ST is huge.
The catalog is also littered with lobes that are similar in advertised and .050 duration to the ST-21 but 8-10 degrees less at .200. I'm just sharing what I found. I think when most people say old tech is junk, buy a cam from Comp what is implied or at least what is understood is a Comp XE cam is way better than that junk RB designed in 1968. It appears to me that the RB cam is better than the XE equivalent, at the very least pretty on par with a bunch more duration at .100. Does that help anything I don't know. But it looks like you really have to pick out the best of the Comp catalog/.875 or .904 specific grinds to come up with a lobe that is faster up to .300 valve lift or so.
The Comp lobes look more precise vs advertised specs, which isn't surprising since Jim still grinds these the old fashioned way. I know my Comp was used and beginning to fail, but it measured dead on what Comp advertises at .050, .200, and max lobe lift. It did measure 4 degrees less advertised, but if these are all really 286 in reality then Comp is underselling it a bit. Food for thought, hopefully someone learns from my rear main and intake sealing issues, and I'm interested to see what those in the know make of the cam measurements on the ST-21.
Other than the cam change, I cut the heads .016 which upped my CR to 11:1, went with the performer RPM, and installed the RB cam at 104 which is where I had the Comp. The car had gotten pretty impressive before I tore it down, it is an absolute animal now mid range. I'm sure the RPM intake has something to do with it, I'm going to try the TM7 on it again too since I need to reseal the intake, AGAIN. I've got another project I need to finish before I can dive into the intake, but once that's done the plan is to hit the chassis dyno and see if I can finally get this heap of junk to the track after 6 years.

