|
 Re: Project Young Gun: 1971 Super Bee Budget Build
[Re: chargervert]
#43410
Re: Project Young Gun: 1971 Super Bee Budget Build
[Re: chargervert]
#43410
12/30/07 03:29 PM
12/30/07 03:29 PM
|
Joined: Jan 2003
Posts: 5,664
South Dakota
hotairballoonpilot

master
|
master
Joined: Jan 2003
Posts: 5,664
South Dakota
|
Just started following this one. I did the same thing except not as extensive work to my 72 duster. I did it in high school auto body class and did the motor at home. Got it back put together by may 15th for my prom on the 16th. Had to skip school on the 15th with a buddy to finish it. We even got our mom's to call us in sick. The bad thing is we forgot to buy tickets and had to go to school to get them. We went in the back door thinking we'd get in and out and still be safe. Nope got busted and spent 2 saturday mornings in detention for it! Was worth it though! Spent the summer driving the car until oct 4th when I was cruising/trying to find someone to race. We had the air cleaner off. The car back fired melted the plastic fuel filter(note to self after that NEVER BUY PLASTIC!) and burned up the front half of the car. Melted the sharktooth grille but barely damaged the scoops! Good for me the fire station was 1 block away!
So long story short LEARN FROM ME PLEASE!
Keep up the great work and posts you are doing a great job! Good luck meeting your deadline!
Corey
Contact Me about AMD Prices
|
|
|
Re: Project Young Gun: 1971 Super Bee Budget Build
[Re: cudaboy340]
#43411
12/30/07 03:31 PM
12/30/07 03:31 PM
|
Joined: Sep 2004
Posts: 15,995
RI Deep in the rust belt
chargervert
I Live Here
|
I Live Here
Joined: Sep 2004
Posts: 15,995
RI Deep in the rust belt
|
I wonder if that Charger was a sunroof car,and thats why the roof was cut off. Check the top of the wheelwells in the rear,and where the door hinges bolt to the body for drain holes. If there are drain holes,than it was a sunroof car.
70 Charger R/T SE 472 Hemi
70 Charger R/T convertible
70 Charger R/T V Code Sixpack
69 Charger R/T SE Sunroofcar
68 Charger 383
68 Charger 318
71 Charger R/T
70 Challenger convertible
71 Challenger convertible
71 Cuda 340
09 Challenger R/T Classic
|
|
|
Re: Project Young Gun: 1971 Super Bee Budget Build
[Re: chargervert]
#43412
12/30/07 04:32 PM
12/30/07 04:32 PM
|
Joined: Jan 2003
Posts: 8,392
Highland, MI.
Sunroofcuda
master
|
master
Joined: Jan 2003
Posts: 8,392
Highland, MI.
|
Steve & Ryan, do you need a rust-free LH 1/4 lower patch (behind the wheel) that I have been saving since the early 80's? I was going to use it on my '71 Hemi Charger which burned to oblivion in 1984. This patch has perfect contours, is rust-free, & is about the bottom 15" or so of the behind the wheel area of the driver's quarter.
I just started reading this thread - very cool.
-Eric
No Man With A Good Car Needs To Be Justified
|
|
|
Re: Project Young Gun: 1971 Super Bee Budget Build
[Re: HemiChallenger]
#43414
12/30/07 09:25 PM
12/30/07 09:25 PM
|
Joined: Aug 2003
Posts: 8,000
Millersville, PA
HemiChallenger
OP
master
|
OP
master
Joined: Aug 2003
Posts: 8,000
Millersville, PA
|
cudaboy340 -Ed, thanks for the invite, we are really pumped about being featured at Carlisle, been attending for awhile and now we will be part of it!  chargervert chargervert -I checked for the holes and they are there, im thinking the car was a dealer promo car or something, it had power windows and everything.  Only got a little done today, just pulled the old trunk extension out!  
|
|
|
Re: Project Young Gun: 1971 Super Bee Budget Build
[Re: SilverFrost Cuda]
#43416
12/30/07 09:59 PM
12/30/07 09:59 PM
|
Joined: Sep 2004
Posts: 15,995
RI Deep in the rust belt
chargervert
I Live Here
|
I Live Here
Joined: Sep 2004
Posts: 15,995
RI Deep in the rust belt
|
Not only are you guy kickin azz on that project,your showing people that it can be done affordably! You guys have had tremendous luck finding nice sheetmetal,for reasonable prices. It's gonna be a cool ride when it's done. I think I saw your Challenger in the last row of the vendor area at Carlsile,last summer.
70 Charger R/T SE 472 Hemi
70 Charger R/T convertible
70 Charger R/T V Code Sixpack
69 Charger R/T SE Sunroofcar
68 Charger 383
68 Charger 318
71 Charger R/T
70 Challenger convertible
71 Challenger convertible
71 Cuda 340
09 Challenger R/T Classic
|
|
|
Re: Project Young Gun: 1971 Super Bee Budget Build
[Re: HemiChallenger]
#43420
01/05/08 11:07 PM
01/05/08 11:07 PM
|
Anonymous
Unregistered
|
Anonymous
Unregistered
|
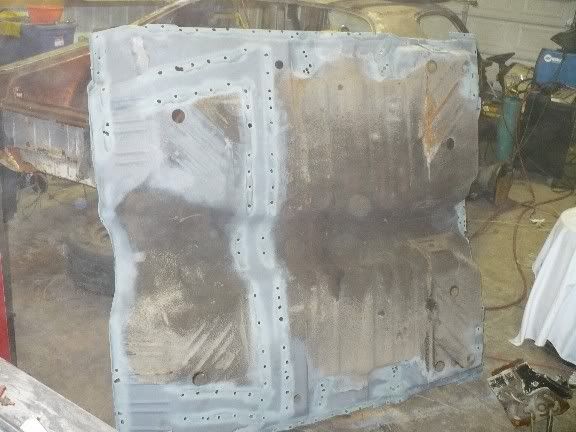
So you were not happy with the fit of the repo trunk floor? I didn't even know that one was available now for these cars. What were the issues you had with it if you don't mind me asking? Looks like it is a 2 piece, is this correct? Thanks. Nice work by the way.
|
|
|
Re: Project Young Gun: 1971 Super Bee Budget Build
[Re: HemiChallenger]
#43422
01/07/08 11:59 PM
01/07/08 11:59 PM
|
Joined: Aug 2003
Posts: 8,000
Millersville, PA
HemiChallenger
OP
master
|
OP
master
Joined: Aug 2003
Posts: 8,000
Millersville, PA
|
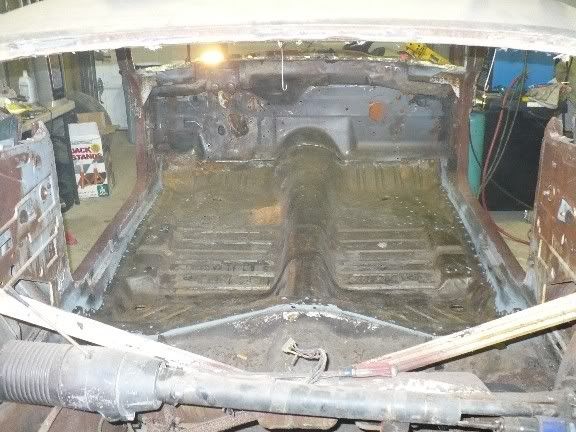
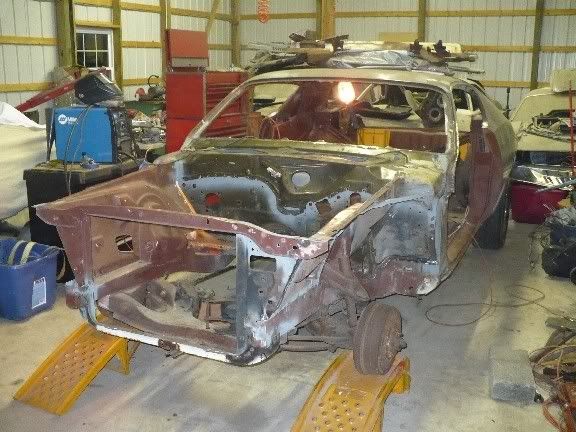
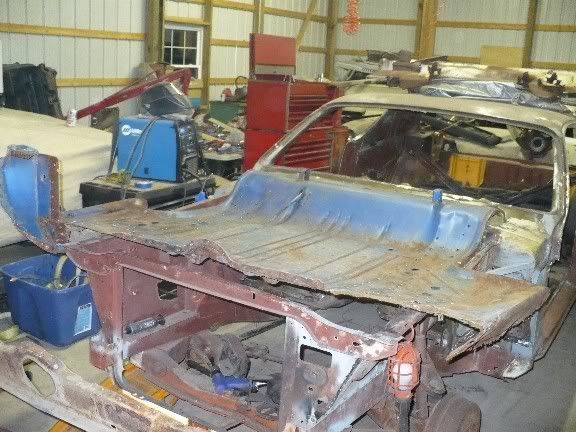
With the new rear half inside i got a little done on its deconstruction. I'm trying to take advantage of this warm weather since there is no heat in the barn. But I drilled out quarter end on the drivers side, and the quarter end and trunk gutter on the passenger for replacement of the bee's... 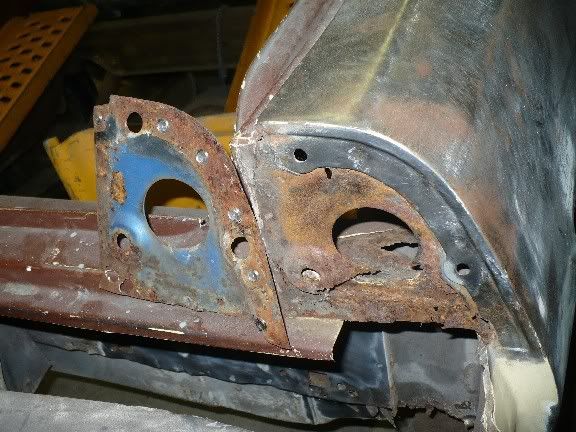  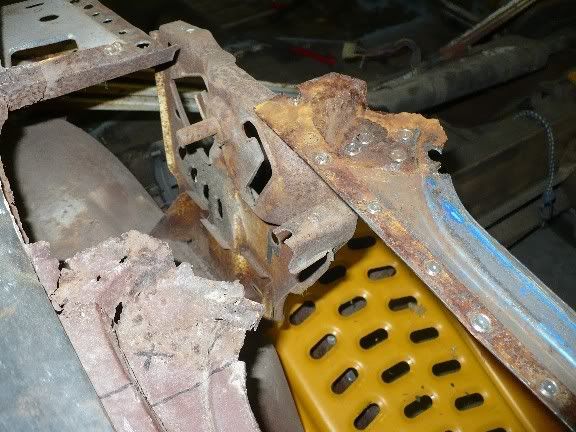 Here is what i have done to the clip, im trying to decide the best way to install and what to take off and use from the bee. Its a tough call but the only thing i am sure of is i will keep the trunk and trunk extensions together! 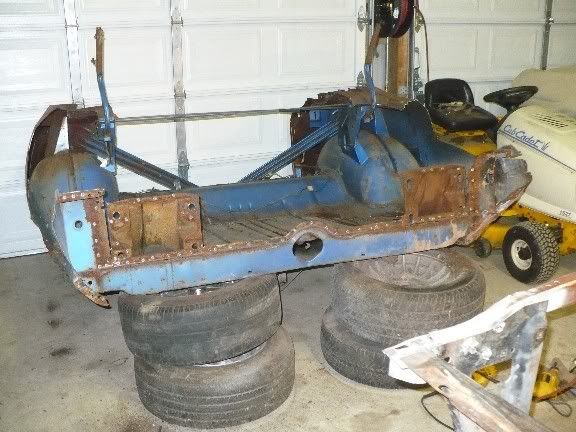 An update of the expenses, sold some stuff, bought some... Expenses: Car Cost - $1500 Deck lid (thanks to moparmarks) - $100 Front Grilles (thanks to moparmarks - $50 Sidemarkers (4) - $60 383/727 combo - $300 Parts Car - $300 F/R Bumpers - $75 Trunk Floor - $230.85 Trunk Extensions - $150.48 Complete Interior kit - $626.72 Shipping for above three - $79.35 Rear defrost unit - $20 Parts Car (second one) - $150 Dash Pad - $25 Dual Horns and Front Wiring Harness - $25 Total - $3692.40 Sold/unused items: Front Frame Rails - $500 Front Frame Rails(second parts car set) - $500 Grand Total - $2692.40
|
|
|
Re: Project Young Gun: 1971 Super Bee Budget Build
[Re: HemiChallenger]
#43424
01/08/08 10:04 PM
01/08/08 10:04 PM
|
Joined: Jul 2003
Posts: 6,342
SE PA.
QuickBpBp
master
|
master
Joined: Jul 2003
Posts: 6,342
SE PA.
|
Quote:
chargervert -I checked for the holes and they are there, im thinking the car was a dealer promo car or something, it had power windows and everything.
Yes it was a sunroof car,It also had a tilt column in it... 
Car is coming along nice,keep up the good work
Sorry to hear that the new trunk floors sound like a better than nothing type of product...
|
|
|
Re: Project Young Gun: 1971 Super Bee Budget Build
[Re: chargervert]
#43425
01/08/08 11:54 PM
01/08/08 11:54 PM
|
Joined: Aug 2003
Posts: 8,000
Millersville, PA
HemiChallenger
OP
master
|
OP
master
Joined: Aug 2003
Posts: 8,000
Millersville, PA
|
Quote:
I bet your getting pretty sick of drilling out spotwelds! 
To say the least. I drilled out a lot more but wont post pics until i get the whole assembly that i will be using off the clip!
|
|
|
Re: Project Young Gun: 1971 Super Bee Budget Build
[Re: HemiChallenger]
#43427
01/10/08 01:38 AM
01/10/08 01:38 AM
|
Joined: Jan 2003
Posts: 10,498
Chicago, Illinois
Devil
I Live Here
|
I Live Here
Joined: Jan 2003
Posts: 10,498
Chicago, Illinois
|
Quote:
Devil Well as you know its better to have a lot of extras parts then to have nothing at all. I would love to come out there and go junkyarding with yourself, its such a rush in my mind. I cant get enough of it
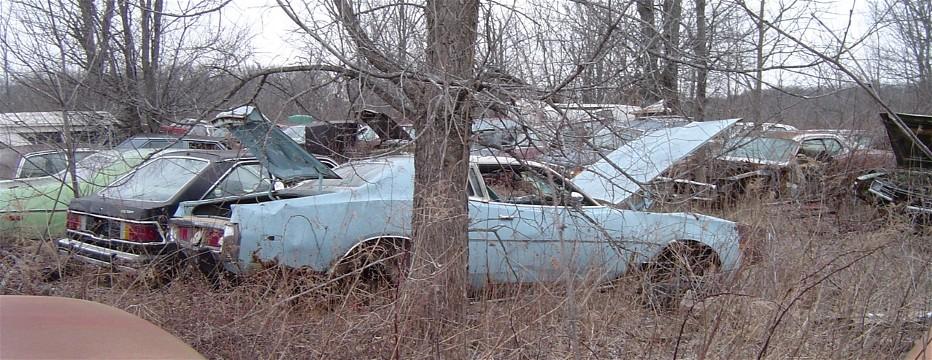
Oh yeah, nothing like going through a new yard. Never knowing what is lying in the next pile.
Look in the Bushnell folder of my Cars in Barns albums. Quite a few 71-74 b-bodies in there....
Ryan
|
|
|
Re: Project Young Gun: 1971 Super Bee Budget Build
[Re: Devil]
#43428
01/10/08 11:41 PM
01/10/08 11:41 PM
|
Joined: Aug 2003
Posts: 8,000
Millersville, PA
HemiChallenger
OP
master
|
OP
master
Joined: Aug 2003
Posts: 8,000
Millersville, PA
|
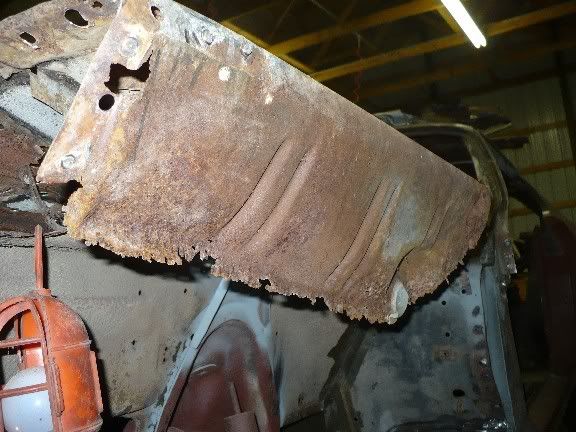
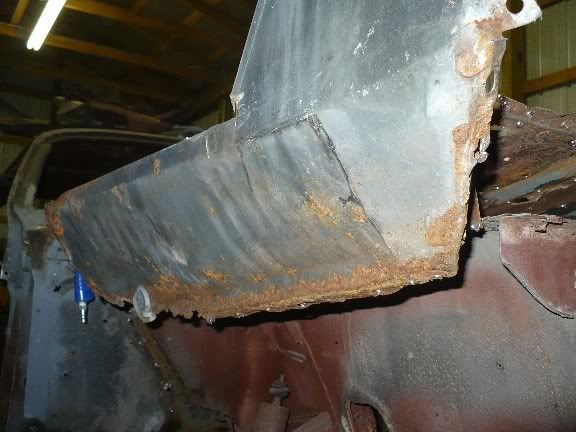
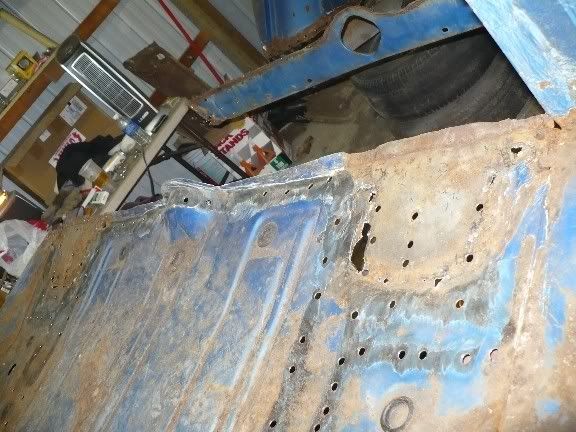
Devil There are quite of few cars in there, and complete at that. You lucky to find half those parts on the yards i go to. Did a little work to get the trunk assembly ready to go in. First was to repair the drivers side trunk extension. Cut the new reproduction piece for patches. I know some of you may thank that is nuts but its much easier considering the fitment of those pieces is not very good. It would take a lot more to make then fit than to patch. Plus its good practice! Here is the lower patch, as you can see the holes for the drain plugs are different sizes all together... 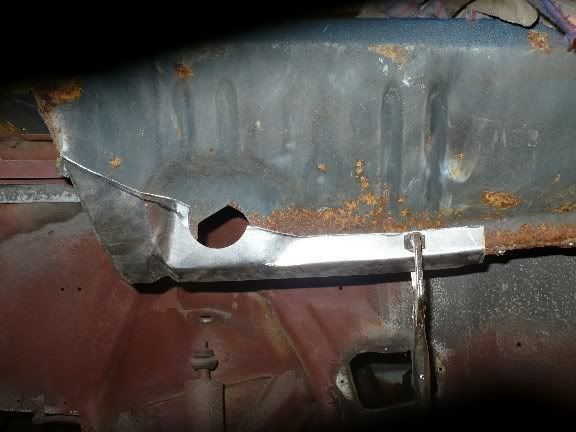 Butt welded in place! 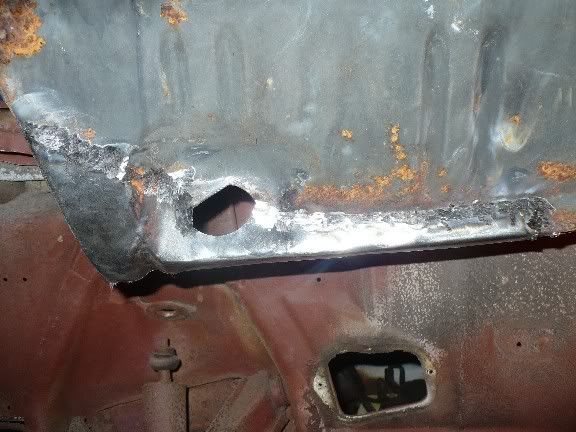 The upper lip by the wheel housing needed attention too. 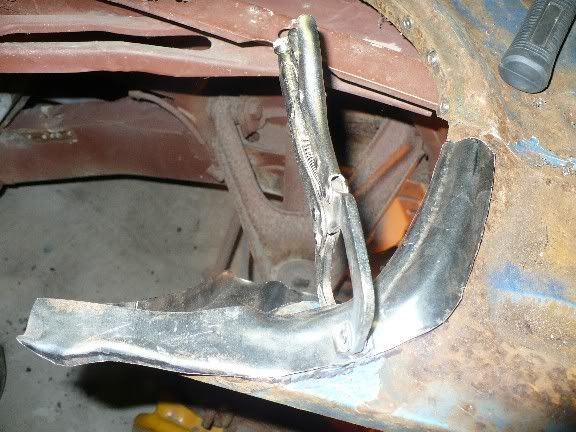 Butt welded in! 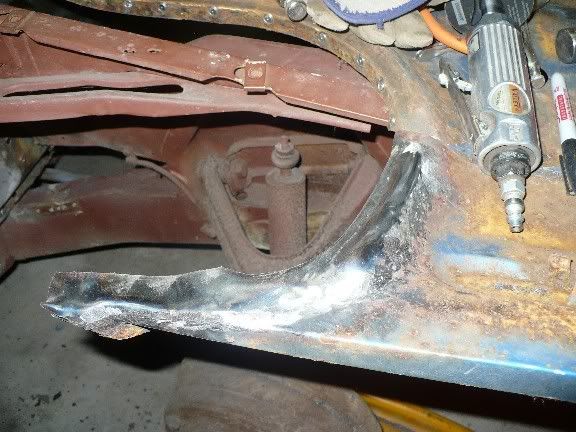 I started on the passenger side but its bedtime for me. The repro piece doesnt have the flange so ill have to salvage the one off the original extension... 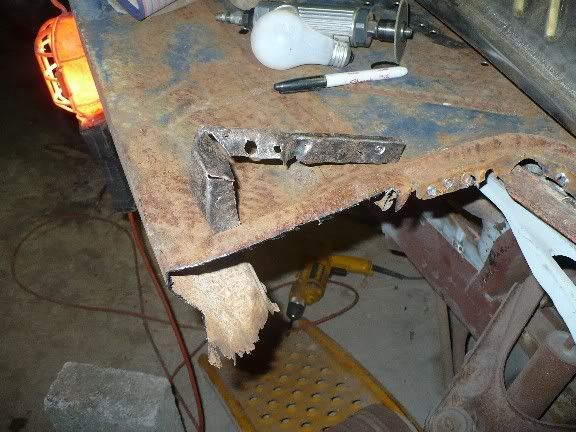
|
|
|
Re: Project Young Gun: 1971 Super Bee Budget Build
[Re: HemiChallenger]
#43429
01/11/08 10:11 PM
01/11/08 10:11 PM
|
Joined: Aug 2003
Posts: 8,000
Millersville, PA
HemiChallenger
OP
master
|
OP
master
Joined: Aug 2003
Posts: 8,000
Millersville, PA
|
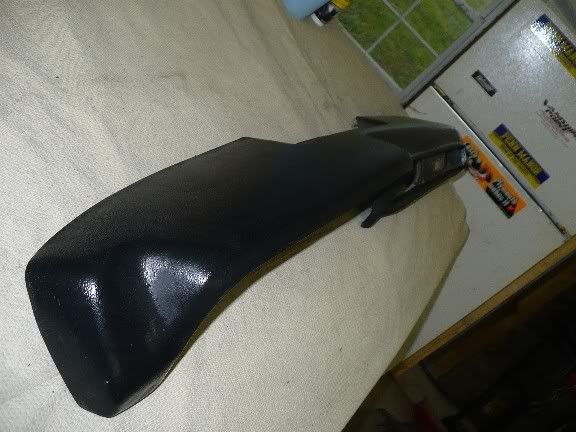
Hey guys! Some exciting news today, got my package from member Sunroofcuda. He Generously donated quarter patch panels for the drivers rear quarter! I cannot thank him enough! Check them out! I cannot wait to put them on... 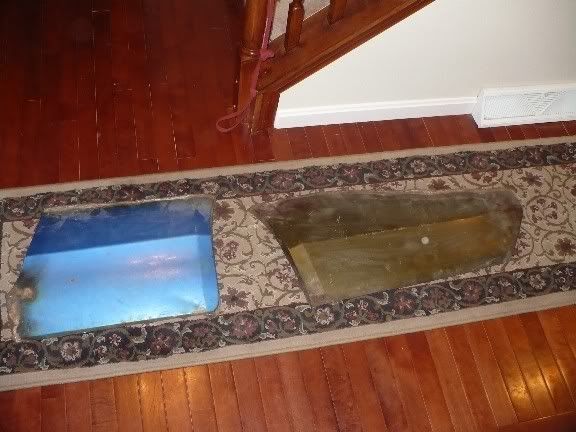 Also a few of the items that we dont need sold on ebay. If the sellers pay here is the new total... Expenses: Car Cost - $1500 Deck lid (thanks to moparmarks) - $100 Front Grilles (thanks to moparmarks - $50 Sidemarkers (4) - $60 383/727 combo - $300 Parts Car - $300 F/R Bumpers - $75 Trunk Floor - $230.85 Trunk Extensions - $150.48 Complete Interior kit - $626.72 Shipping for above three - $79.35 Rear defrost unit - $20 Parts Car (second one) - $150 Dash Pad - $25 Dual Horns and Front Wiring Harness - $25 Total - $3692.40 Sold/unused items: Front Frame Rails - $500 Front Frame Rails(second parts car set) - $500 Front Grilles - $126 Four Speed Console - $539.99 Grand Total - $2026.41 The budget is coming along great with the resale of these parts! Awesome news considering i was buying a lot of stuff...
|
|
|
|
|


 Never would sell it though, nor this car