|
 Re: Heater Control Panel, Radio Faceplate, and Dash Bezel
[Re: filmsurgeon]
#1431546
Re: Heater Control Panel, Radio Faceplate, and Dash Bezel
[Re: filmsurgeon]
#1431546
05/07/13 03:56 AM
05/07/13 03:56 AM
|
Joined: Feb 2003
Posts: 18,582
Rust Belt, SW PA
Silver70

I Live Here
|
I Live Here
Joined: Feb 2003
Posts: 18,582
Rust Belt, SW PA
|
For the silver, I use a silver/metallic sharpie. Maybe not the best way, but it's cheap. I believe 70s had a ribbed texture and not wrinkled like the parts pictured. Although maybe it changed during 70 from early to late production 
68 Road Runner, 69 Belvedere, 71 Challenger Vert
340 barracuda, 01 Ram CTD, 95 Ram, 04 Ram, 85 Daytona turbo Z
66 GTO, 06 Magnum RT AWD. 07 Ram CTD, 07 Ram
|
|
|
Re: Heater Control Panel, Radio Faceplate, and Dash Bezel
[Re: filmsurgeon]
#1431547
05/07/13 03:57 AM
05/07/13 03:57 AM
|
Joined: Nov 2003
Posts: 3,106
Ridgeland Wi
mopars_1
master
|
master
Joined: Nov 2003
Posts: 3,106
Ridgeland Wi
|
texture is part of the plastic, not paint. the smooth radio bezel is for standard dash cars (70-74 cudas and 71-74 challengers). to duplicate the chrome look, Ive heard that some higher end nail polishes look pretty convincing. the radio face plate is suppose to have chrome around the perimeter also.
Last edited by mopars_1; 05/07/13 03:59 AM.
1971 Plymouth Duster 340 auto
1937 Plymouth PT50
1969 Dodge Dart Swinger 340 4 speed
2013 Ram laramie 2500 hemi
2008 Harley FLSTSB springer
|
|
|
Re: Heater Control Panel, Radio Faceplate, and Dash Bezel
[Re: TONY_DAGOSTINO]
#1431552
05/07/13 03:42 PM
05/07/13 03:42 PM
|
Joined: Feb 2013
Posts: 401
California, USA
filmsurgeon
OP
mopar
|
OP
mopar
Joined: Feb 2013
Posts: 401
California, USA
|
Quote:
hi,
the texture on the heater panel and the radio bezel weren't in the plastic
it was paint
the best match youll have is a black wrinkle paint,
it does need to be heated for best wrinkle results, so be careful not to use too much heat or youll damage the plastic,
a hair drier or heat gun on low will do it,
although ive gotten best results from letting the item sit in the bright sun after the wrinkle paint has been applied
Thanks Tony. Any opinions on who makes the best wrinkle paint? BTW - is it wrinkle, crinkle, or crackle? Or are they really all the same? Seems that images I've seen where others have done wrinkle finish, it actually looks like "wrinkles", and not like the original texture of the paint on the radio dash bezel and heater control panel.
|
|
|
Re: Heater Control Panel, Radio Faceplate, and Dash Bezel
[Re: filmsurgeon]
#1431553
05/07/13 04:16 PM
05/07/13 04:16 PM
|
Joined: Oct 2007
Posts: 4,319
St. Louis, Mo
318 Stroker
master
|
master
Joined: Oct 2007
Posts: 4,319
St. Louis, Mo
|
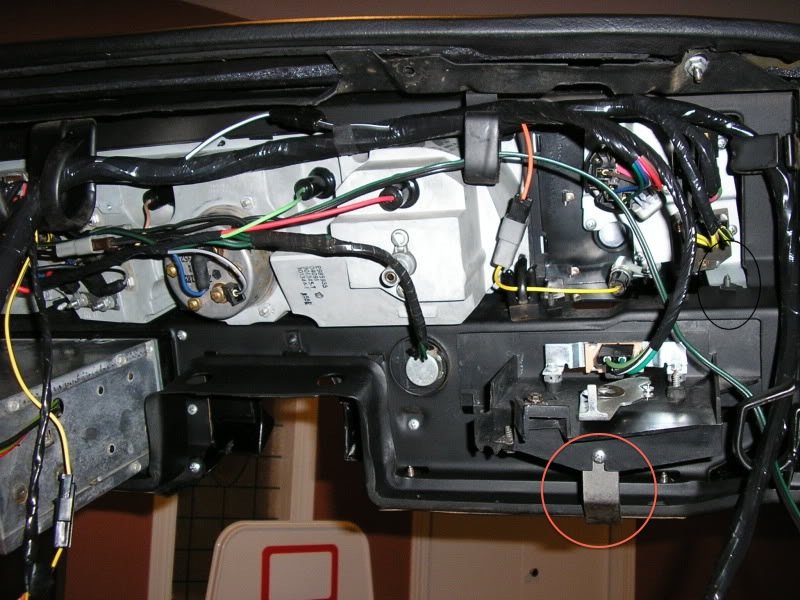
I can absolutely tell you how to professionally do the letters. I did mine and it looks fantastic. I went to the hobby store and bought a bottle of Testors white model paint, in the small square jar, and a bottle of Testors brush cleaner, and a small, cheap brush. About 7-8 dollar investment. The only other thing you need is a brand new pencil with an unused eraser on it. I lightly chucked the heater panel into my vise, with some towels for protection, just to hold it vertical and steady, letters facing up. All you need the brush for is to daub a small blob of the white paint onto a piece of scrap cardboard. Lightly daub the pencil eraser into the blob, then lightly wipe the eraser onto the cardboard, so that all you have on the end of the eraser is a light film of white paint. Lightly start touching the raised letters, with the eraser at a perfect 90 degree angle to the letters. Don't try to completely cover every spot you touch on the first daub. Just keep repeating the above steps. Took me a little experimenting, but once I got the procedure perfected, took about 10 mins. to make the letters look perfect. Too much paint on the eraser, and the excess paint will run down the sides of the raised letters. If that happens, use the brush cleaner and a rag or paper towel to wipe the boo-boo, and go at it again with less paint on the eraser. As for the edge, yes it's chrome. I used the silver/chrome paint pen. Not as chromey as it should be, but I'm happy with the results. As for the black, I can't help you. I didn't repaint my black, just scrubbed it real good with cleaners before I painted it. Good luck and I know you will be happy with the results... 
|
|
|
Re: Heater Control Panel, Radio Faceplate, and Dash Bezel
[Re: 318 Stroker]
#1431554
05/07/13 04:23 PM
05/07/13 04:23 PM
|
Joined: Feb 2013
Posts: 401
California, USA
filmsurgeon
OP
mopar
|
OP
mopar
Joined: Feb 2013
Posts: 401
California, USA
|
Quote:
I can absolutely tell you how to professionally do the letters. I did mine and it looks fantastic.
I went to the hobby store and bought a bottle of Testors white model paint, in the small square jar, and a bottle of Testors brush cleaner, and a small, cheap brush. About 7-8 dollar investment.
The only other thing you need is a brand new pencil with an unused eraser on it.
I lightly chucked the heater panel into my vise, with some towels for protection, just to hold it vertical and steady, letters facing up. All you need the brush for is to daub a small blob of the white paint onto a piece of scrap cardboard. Lightly daub the pencil eraser into the blob, then lightly wipe the eraser onto the cardboard, so that all you have on the end of the eraser is a light film of white paint. Lightly start touching the raised letters, with the eraser at a perfect 90 degree angle to the letters. Don't try to completely cover every spot you touch on the first daub. Just keep repeating the above steps.
Took me a little experimenting, but once I got the procedure perfected, took about 10 mins. to make the letters look perfect. Too much paint on the eraser, and the excess paint will run down the sides of the raised letters. If that happens, use the brush cleaner and a rag or paper towel to wipe the boo-boo, and go at it again with less paint on the eraser.
As for the edge, yes it's chrome. I used the silver/chrome paint pen. Not as chromey as it should be, but I'm happy with the results. As for the black, I can't help you. I didn't repaint my black, just scrubbed it real good with cleaners before I painted it.
Good luck and I know you will be happy with the results...
Thanks. That's a GREAT tip for the white lettering.
|
|
|
Re: Heater Control Panel, Radio Faceplate, and Dash Bezel
[Re: mopars_1]
#1431555
05/07/13 04:57 PM
05/07/13 04:57 PM
|
Joined: Feb 2003
Posts: 18,582
Rust Belt, SW PA
Silver70
I Live Here
|
I Live Here
Joined: Feb 2003
Posts: 18,582
Rust Belt, SW PA
|
Quote:
Quote:
For the silver, I use a silver/metallic sharpie. Maybe not the best way, but it's cheap. I believe 70s had a ribbed texture and not wrinkled like the parts pictured. Although maybe it changed during 70 from early to late production
the ribbed one was only used on standard dashes for 70 challengers only. ralleys used the pebble grain
Wasn't sure, thanks for clearing that up... my car has a standard dash and it's been years since I worked on the other style.
|
|
|
Re: Heater Control Panel, Radio Faceplate, and Dash Bezel
[Re: 318 Stroker]
#1431556
05/07/13 08:53 PM
05/07/13 08:53 PM
|
Joined: Jun 2005
Posts: 5,100
Western Md.
skicker
"The Champ"
|
"The Champ"
Joined: Jun 2005
Posts: 5,100
Western Md.
|
Quote:
I can absolutely tell you how to professionally do the letters. I did mine and it looks fantastic.
I went to the hobby store and bought a bottle of Testors white model paint, in the small square jar, and a bottle of Testors brush cleaner, and a small, cheap brush. About 7-8 dollar investment.
The only other thing you need is a brand new pencil with an unused eraser on it.
I lightly chucked the heater panel into my vise, with some towels for protection, just to hold it vertical and steady, letters facing up. All you need the brush for is to daub a small blob of the white paint onto a piece of scrap cardboard. Lightly daub the pencil eraser into the blob, then lightly wipe the eraser onto the cardboard, so that all you have on the end of the eraser is a light film of white paint. Lightly start touching the raised letters, with the eraser at a perfect 90 degree angle to the letters. Don't try to completely cover every spot you touch on the first daub. Just keep repeating the above steps.
Took me a little experimenting, but once I got the procedure perfected, took about 10 mins. to make the letters look perfect. Too much paint on the eraser, and the excess paint will run down the sides of the raised letters. If that happens, use the brush cleaner and a rag or paper towel to wipe the boo-boo, and go at it again with less paint on the eraser.
As for the edge, yes it's chrome. I used the silver/chrome paint pen. Not as chromey as it should be, but I'm happy with the results. As for the black, I can't help you. I didn't repaint my black, just scrubbed it real good with cleaners before I painted it.
Good luck and I know you will be happy with the results...
That sure beats me trying to use a paint pen holding it in one hand while the other hand shakes like a dog chittin razor blades. I think mine would have turned out the same using a 2" brush. Thx for the tip! 
...FAFO...
|
|
|
Re: Heater Control Panel, Radio Faceplate, and Dash Bezel
[Re: skicker]
#1431557
05/08/13 12:52 AM
05/08/13 12:52 AM
|
Joined: Oct 2007
Posts: 4,319
St. Louis, Mo
318 Stroker
master
|
master
Joined: Oct 2007
Posts: 4,319
St. Louis, Mo
|
Quote:
Quote:
I can absolutely tell you how to professionally do the letters. I did mine and it looks fantastic.
I went to the hobby store and bought a bottle of Testors white model paint, in the small square jar, and a bottle of Testors brush cleaner, and a small, cheap brush. About 7-8 dollar investment.
The only other thing you need is a brand new pencil with an unused eraser on it.
I lightly chucked the heater panel into my vise, with some towels for protection, just to hold it vertical and steady, letters facing up. All you need the brush for is to daub a small blob of the white paint onto a piece of scrap cardboard. Lightly daub the pencil eraser into the blob, then lightly wipe the eraser onto the cardboard, so that all you have on the end of the eraser is a light film of white paint. Lightly start touching the raised letters, with the eraser at a perfect 90 degree angle to the letters. Don't try to completely cover every spot you touch on the first daub. Just keep repeating the above steps.
Took me a little experimenting, but once I got the procedure perfected, took about 10 mins. to make the letters look perfect. Too much paint on the eraser, and the excess paint will run down the sides of the raised letters. If that happens, use the brush cleaner and a rag or paper towel to wipe the boo-boo, and go at it again with less paint on the eraser.
As for the edge, yes it's chrome. I used the silver/chrome paint pen. Not as chromey as it should be, but I'm happy with the results. As for the black, I can't help you. I didn't repaint my black, just scrubbed it real good with cleaners before I painted it.
Good luck and I know you will be happy with the results...
That sure beats me trying to use a paint pen holding it in one hand while the other hand shakes like a dog chittin razor blades. I think mine would have turned out the same using a 2" brush. Thx for the tip!
You're welcome... Guys use paintbrushes, toothpicks, etc. I'd have been in your boat using them...  I'd heard of the eraser method, and I first tried a big pink eraser. Not good results, as the eraser was too big and soft. That's when I hit on the pencil eraser, and that was the perfect solution. I'd heard of the eraser method, and I first tried a big pink eraser. Not good results, as the eraser was too big and soft. That's when I hit on the pencil eraser, and that was the perfect solution.
You could probably remove your paint, and do my method, possibly with the piece still in the car. Would be worth a try.
|
|
|
|
|


