Moparts

Primer results, get me going better.

Posted By: kilroy

Primer results, get me going better. - 08/02/11 01:47 AM

Ok, here we go. car is gonna be ready this weekend, (I hope) to shoot primer. Tell me whats wrong by the pic and or read extra info below.

Tests shot the trunk lid. Here are the results. Problems: the one you can see, problem 2 ME (little painting experience), problem 3 the gun?.

start with the equipment. Drip legs on the compressor, filter/water separator 50' downline of compressor, filter on the gun.

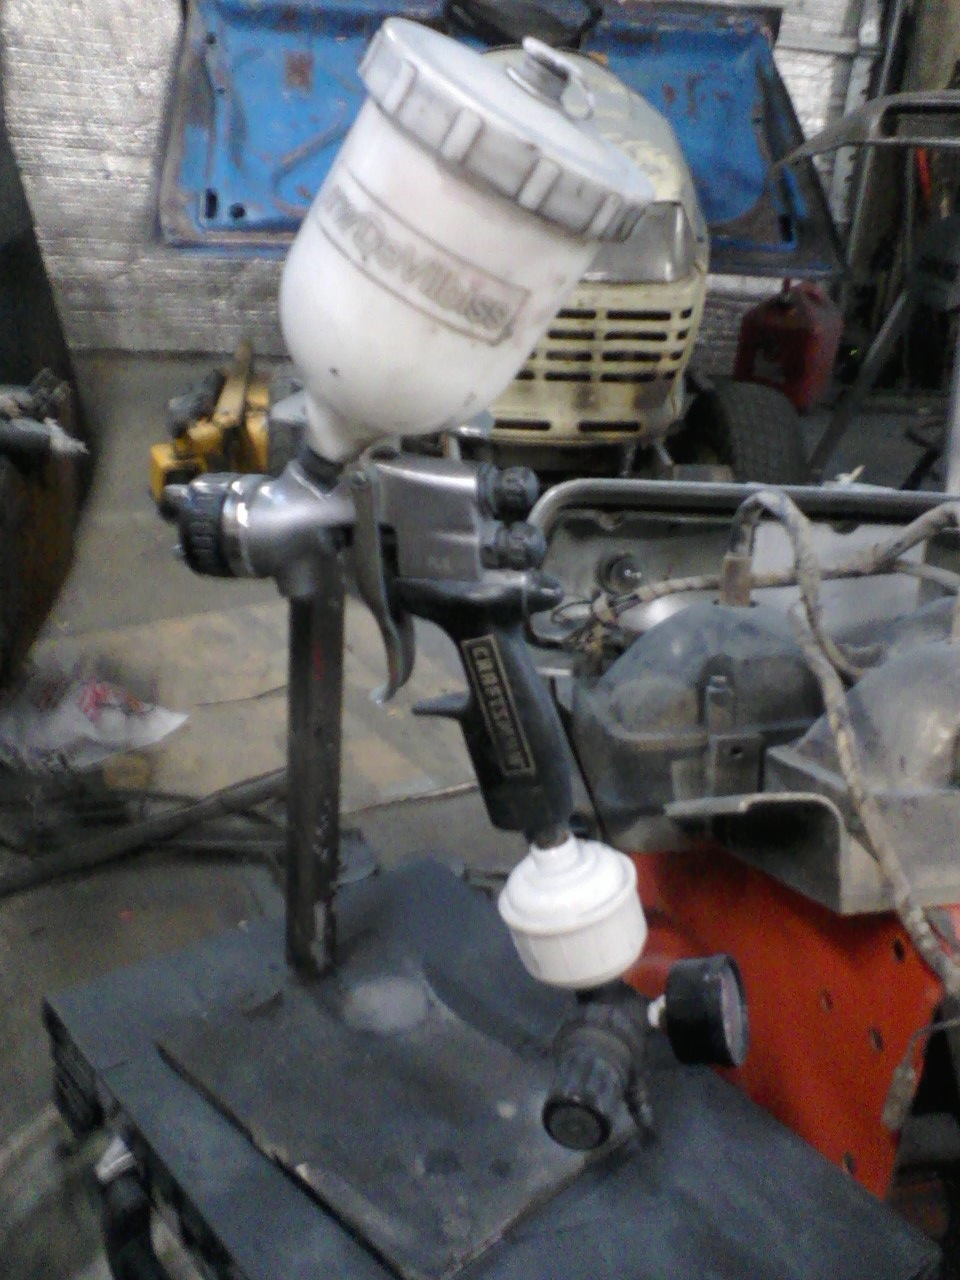
The gun is an old craftsman, back in the day it was 200dollars, now it not even the available. The air caps are plastic and sized at 1.6 or 2.2 with a universal needle. Line regulator set at 90 psi gun regulator set at 27psi.

Primer is autobahn high build black 2kprimer 5:1 with no call for reducer. 80* activator.

Ok so I shoot once using the 5:1 mix and the paint came out in big globs badly could not get it smooth. So I quite got some reducer and mixed 5:1:1 in a small batch with the it shoot better but still small globs. Both of those were with the 1.6 tip. Tried the 2.2 tip but I could not get the fluid amount down at all so I went back to 1.6. Also tried bringing air pressure up to 35psi which seemed to help. Tried another small batch after I sanded down between shots; mixed another time at 5:1:1.5 in a slightly bigger batch and shot the top of the trunk lid. This was the best and got good coverage. The vertical surfaces shoot pretty good (the way I think it should) but the horizontal surface was grainy. And oh yah the skunk stripes I painted into it.

Im really happy with the coverage but my painting skills leaves some to be desired. School me please. This pic is after I block sanded with 320, it feels smooth but looks like this.

I think I was to far away on the horizontal and I was shooting at or a degree or two above activator rating.

Oh this is my pinky aprox 1/2" wide.
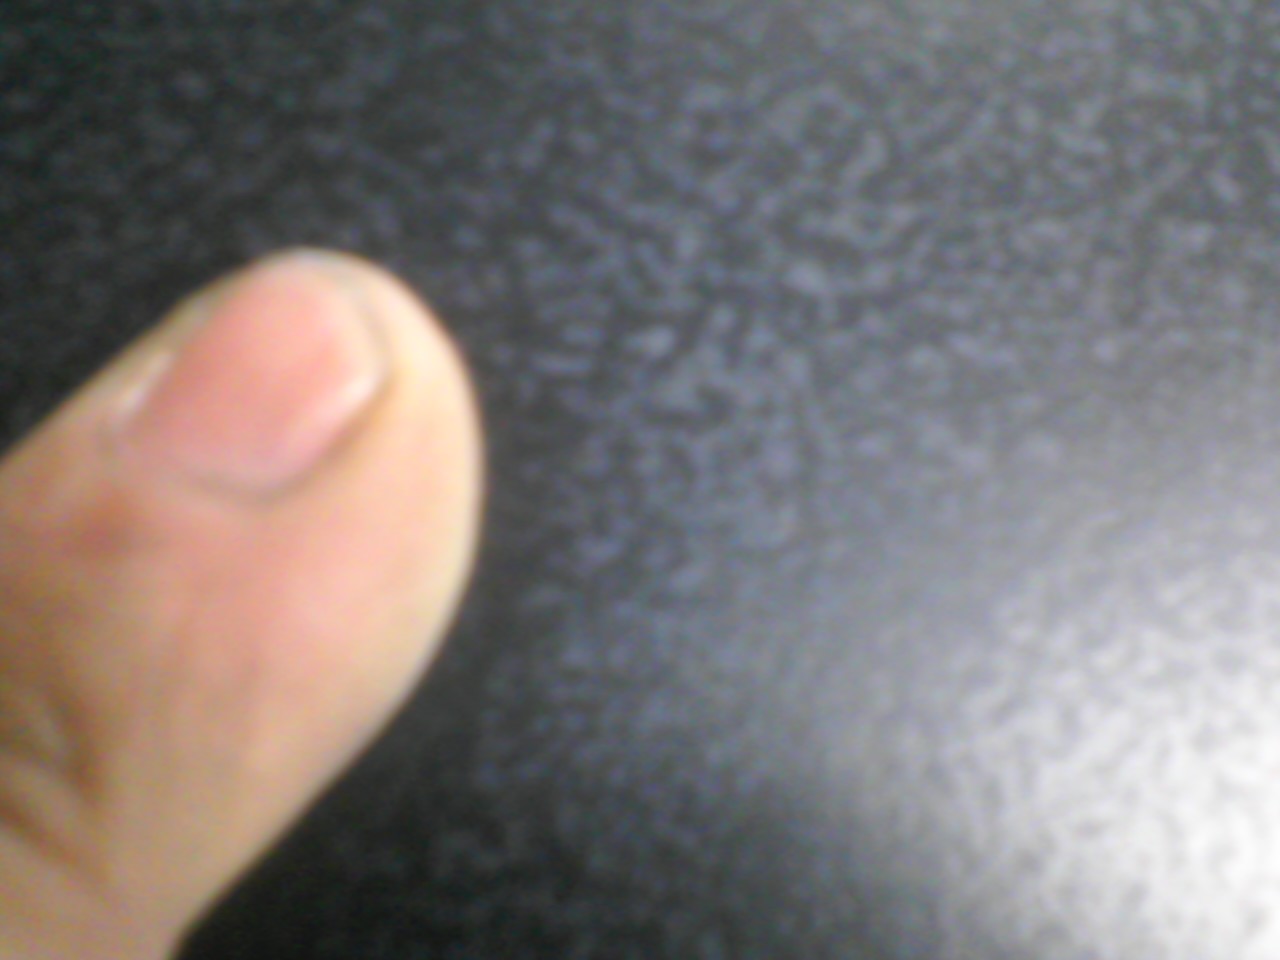
Attached picture 6758293-0801111748a.jpg
Posted By: kilroy

Re: Primer results, get me going better. - 08/02/11 01:48 AM

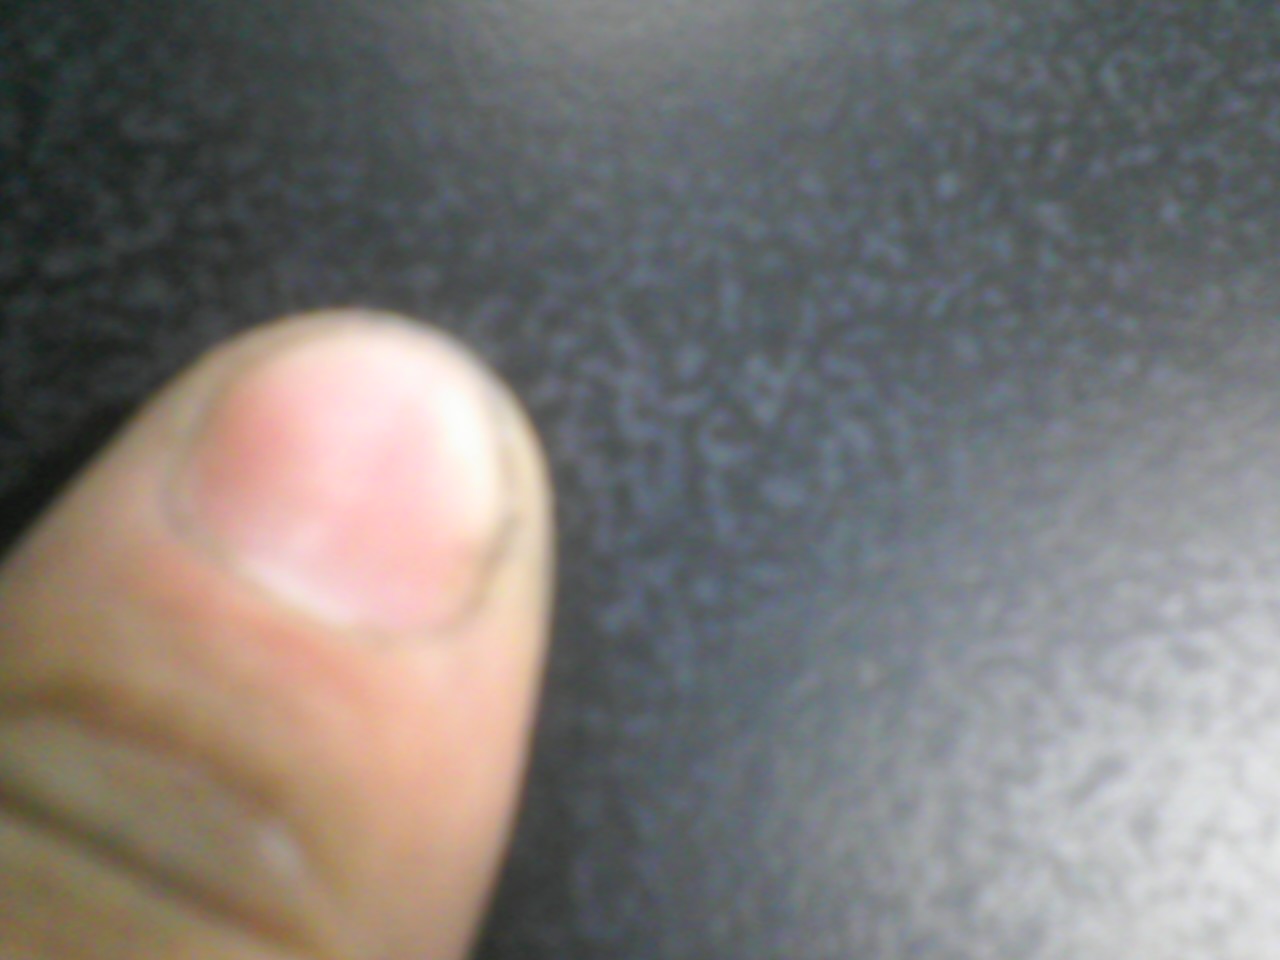
another with my index

Attached picture 6758295-0801111748.jpg
Posted By: kilroy

Re: Primer results, get me going better. - 08/02/11 01:48 AM

and gun.

Attached picture 6758298-paintgun.jpg
Posted By: BFASTER

Re: Primer results, get me going better. - 08/02/11 02:09 AM

Seriously doubt its the gun; I had one and it was a great little primer gun. Does it look blotchy after you pour it into the gun? In other words, bumpy or somewhat textured? If it is coming out of the gun in blobs, then it is like that(blobs) while its inside the cup. Sounds like either bad primer, catalyst or non-compatible products. Try straining a very small amount and look to see if there are bumps in the strainer.

You could be too far away or be going too fast; its pretty easy to see if its going on wet or not. Put it on wet enough that it almost runs. That is lesson #1 when learning how to prime. Better a little too heavy than too light. Just allow ample time between coats for flashing of the solvents.....which could also be your problem! If you apply ANY material too much/too thick it will "solvent pop" leaving little pinholes/crates and sometimes bumps. I could go on but let me know if any of this helps so far.
Jim
Posted By: BFASTER

Re: Primer results, get me going better. - 08/02/11 02:10 AM

Quote:

Seriously doubt its the gun; I had one and it was a great little primer gun. Does it look blotchy after you pour it into the gun? In other words, bumpy or somewhat textured? If it is coming out of the gun in blobs, then it is like that(blobs) while its inside the cup. Sounds like either bad primer, catalyst or non-compatible products. Try straining a very small amount and look to see if there are bumps in the strainer.

You could be too far away or be going too fast; its pretty easy to see if its going on wet or not. Put it on wet enough that it almost runs. That is lesson #1 when learning how to prime. Better a little too heavy than too light. Just allow ample time between coats for flashing of the solvents.....which could also be your problem! If you apply ANY material too much/too thick it will "solvent pop" leaving little pinholes/crates and sometimes bumps. I could go on but let me know if any of this helps so far.
Jim


BTW, how hot/humid is it where you are spraying?
Posted By: 340SHORTY

Re: Primer results, get me going better. - 08/02/11 02:20 AM

30/40 PSI spray pressure,,
mix is not thin enough

open the spray pattern to get rid of the Zebra stripes

thats opinion , and we all know about opinions..
Posted By: kilroy

Re: Primer results, get me going better. - 08/02/11 02:34 AM

Quote:

Seriously doubt its the gun; I had one and it was a great little primer gun. Does it look blotchy after you pour it into the gun? In other words, bumpy or somewhat textured? If it is coming out of the gun in blobs, then it is like that(blobs) while its inside the cup. Sounds like either bad primer, catalyst or non-compatible products. Try straining a very small amount and look to see if there are bumps in the strainer.

You could be too far away or be going too fast; its pretty easy to see if its going on wet or not. Put it on wet enough that it almost runs. That is lesson #1 when learning how to prime. Better a little too heavy than too light. Just allow ample time between coats for flashing of the solvents.....which could also be your problem! If you apply ANY material too much/too thick it will "solvent pop" leaving little pinholes/crates and sometimes bumps. I could go on but let me know if any of this helps so far.
Jim


No the solvents look great, good and smooth, nothing in the strainer. Catalyst doesnt do anything funny when mixed. NO, lumpy wasnt correct term but Im no painter so forgive me. Im 99.999% sure it me but not for sure where.

Not really craters either, it just seems almost like dust but it was the primer.

Oh and what air cap would you use, since you have experience with the gun.
Posted By: kilroy

Re: Primer results, get me going better. - 08/02/11 02:38 AM

Quote:

BTW, how hot/humid is it where you are spraying?


Right around 80* fairly high humidity, not for sure of the dew point that day.

This was done a couple of weeks ago, and I just now sanded it to see results.

It smooth after sanding but felt grainy before.

Hoping heat breaks in the evening/morning this weekend or I wont be spraying because it will be to hot for my reducer and activator.
Posted By: kilroy

Re: Primer results, get me going better. - 08/02/11 02:40 AM

Quote:

30/40 PSI spray pressure,,
mix is not thin enough

open the spray pattern to get rid of the Zebra stripes

thats opinion , and we all know about opinions..


that high even on a LPHV?

what mix ya think, as high as 5:1:2? sounds a little high on reducer but as said before I dont know.

trying to find out before the rest of the car gets sprayed. I have the bottom of the trunk, two valances to test on yet.
Posted By: crlush

Re: Primer results, get me going better. - 08/02/11 12:46 PM

I know my gun when changing needles for primer you have to change the tip also (has a bigger hole)
Posted By: ToddP

Re: Primer results, get me going better. - 08/02/11 01:26 PM

I would try removing the white inline filter on the gun.
Posted By: 79powerwagon

Re: Primer results, get me going better. - 08/02/11 01:28 PM

Adding more reducer (with in reason) only makes the primer more workable. The ratios published are for ideal situations, and can be adjusted to match your conditions. Proper reducer for your ambient temps and humidity help, too.

Otherwise, just keep playing with it until it's nice and smooth!
© 2024 Moparts Forums